A dmg file is an OS X disk image file. DMG files are used as a container of files for easy delivery on Macs.
If you’re new to Macs you will come across dmg files regularly. They’re similar to the ISO files in Windows. DMG files are used for many applications, from installing software, distributing files, and even creating recovery disks. But understanding how to open and use them is very simple.
A Quick Intro To DMG Files
Disk Image files are most often used to install software but can contain any type of files, not just app or installation files.
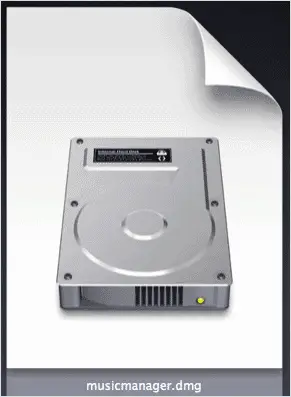
To open a dmg file just double click and the file will be mounted as a virtual disk in Finder. It will look like an external hard drive. Here’s Google’s Music Manager dmg file mounted in Finder.
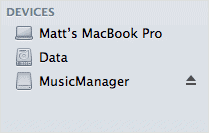
Clicking on the mounted dmg file will reveal the contents. The common use of dmg files is to install software. Often they just contain the app file which you drag to the Applications folder to install.
Other times they might contain and package installation file (pkg file), which you need to run to install the software. But dmg files can also contain a directory of files.
When you’re finished using a dmg file you need to eject it like you would any external hard drive. Just click the “eject” button next to the disk name in Finder.

How to Create a DMG File in Mac OS X
So we know that dmg files are disk image files that are useful for delivering software (or any type of files) to other Macs.
But how do we create dmg files?
You could download the software for creating disk images but you can also create a dmg file using OS X’s built-in “Disk Utility” program.
Third party software may come with a slicker interface, but it really isn’t necessary. Let’s go through the steps of creating a dmg file using Disk Utility.
First: Organize Your Files
Gather the files you want to be included in your disk image and find out the total size of all the files.
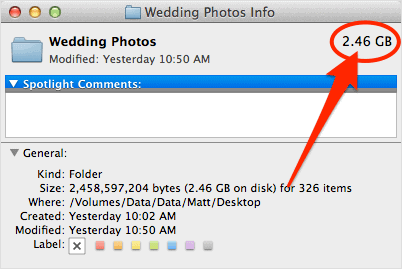
The easiest way to do this is to copy all the files into a new folder, right-click the folder and select “Get Info”.
Note down the file size of the folder. In this case, it’s 2.5GB.
Create a New Image in Disk Utility
Open “Disk Utility” and click “New Image”.

Give your image a name, select a file size that is slightly larger than the file size in the first step, and set image format to “read/write disk image”.
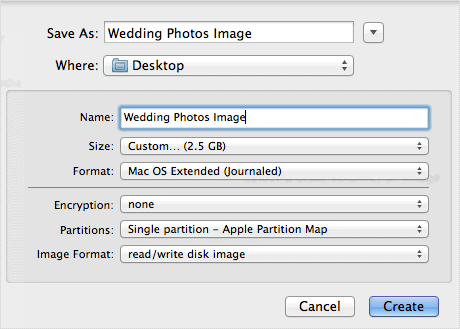
If you’re creating your image from a folder (which we are in this example) you can go to “File/New/Disk image from Folder”, select the folder and click “Image”.

Choose to compress your image then click “Save”. The image will then be created.

If you didn’t create an image from a folder you will need to drag the files into the empty image file. When the files have finished copying unmount the image and you’re done.
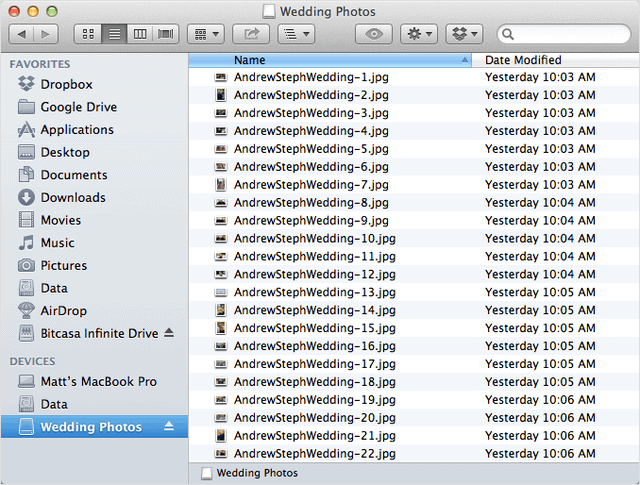
To compress this dmg file go back into Disk Utility and click “Convert”. Browse to the disk image file and click “Convert” again. The image will now be compressed.
You don’t need to follow this step if you created an image from a folder and selected the option to compress it as it was created.

The amount of compression will depend on the type of files in your image, but it’s a good idea to compress it anyway.
Now you have a dmg file ready to distribute to other Mac users.

If you want to create fancy dmg files a good free tool to use is iDMG. It will let you create dmg files with background images and folder shortcuts, a tactic used by most good software developers.

And here is a useful tutorial for iDMG.


