
Windows themes haven’t changed much since the Windows 7 era. While some minor tweaks have occurred, for the most part, you can still theme Windows the way you want.
Windows themes personalize your PC in a way you want, expressing who you are and give you a computer experience that makes it more fun to use Windows.
Let’s look at how to install themes in Windows 10 and why you should check out TechNorms’ Windows 7 and 8 themes – all of which work in Windows 10, too.
Installing Themes in Windows 10
The first step to installing themes in Windows 10 is to ensure the theme you want to install is compatible with Windows 10. For the most part, Windows 8-based themes will be compatible with Windows 10. Some Windows 7 themes may be compatible, but only if theme makers tweaked settings to make them compatible with Windows 8 first. This may take some time to figure out. The worst-case scenario is the theme doesn’t install and that’s how you figure it out.
Keep in mind that all of TechNorms’ themes for Windows 7 and Windows 8 work in Windows 10, so make sure to check out our theme galleries.
There are several ways to install themes in Windows 10. Some themes, like ours, have a self-contained installer that installs for you once you click on it. Other themes, you have to drag and drop into the theme folder.
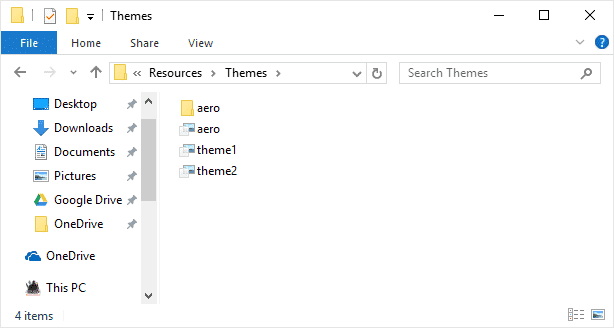
If you have one of the latter, navigate to the following area on your PC:
- C:\Windows\Resources\Themes
Drag and drop the files in your theme into the folder, then search for “Themes” with Cortana or via the Control Panel.
You’ll find the theme here, click on it to use it. Your system will automatically start using it, along with any changes the theme offers, such as mouse pointers, desktop icons, sounds and more depending on the theme.
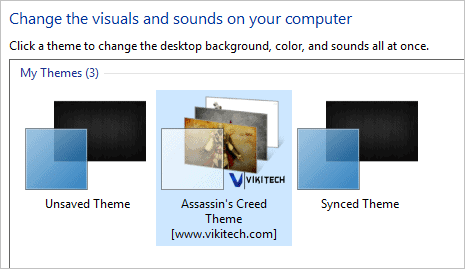
Windows 10 does take away some customization options when it comes to custom themes you might be used to in Windows 7 and Windows 8. In some cases, they’ve made it harder to find options to change, too.
Search for “Themes” in Cortana or the PC settings app.
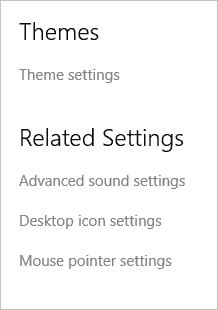
From here, you can open Theme settings in the Control Panel or adjust Advanced sound settings, Desktop icon settings and mouse pointer settings that may have been changed by your theme.
Click on “Advanced sound settings.”
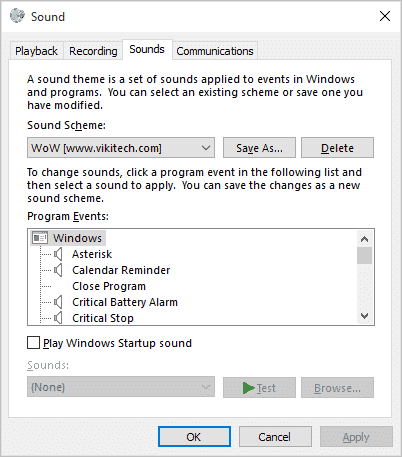
From here, you can change back any sounds your theme changed to your liking or turn off sounds in Windows 10 completely.
Now, click on “Desktop icon settings.”
![]()
This area lets you change the desktop icon settings back to default as you see fit.
Finally, click on “Mouse pointer settings.”
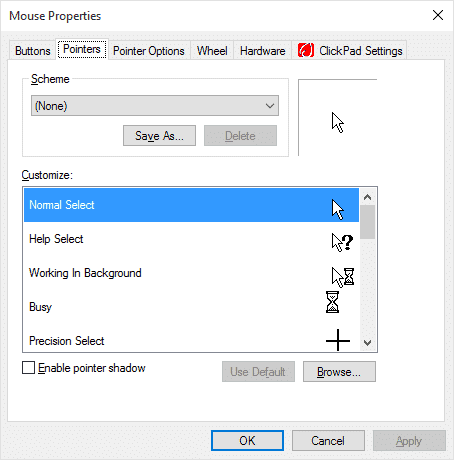
If your theme changed your mouse pointer settings, it might be driving you crazy. This is where you can tinker with these settings, too.
Installing themes in Windows 10 is easy to do and once you know where the customization options are, you can get more out of any theme you install.
Conclusion
If you’re looking for a way to quickly change the way you use Windows 10, installing a theme is one way to do just that. Take the time to find a theme you like, install it, customize it and then work your way through the personalization options to get Windows 10 exactly the way you want it.


