When we set up our computers, we don’t always think of the consequences of choosing the name associated with it. Windows 8 brought two different types of accounts to your PC: Microsoft Accounts and Local Accounts. The latter is your typical PC account you’re used to utilizing; the former allows you to sync your Windows 8 account information to the cloud letting you login with your settings, apps and more intact on another Windows 8 PC. You can even enable two-step verification for your Microsoft Account for protection.
Changing the name on a Local Account is easy but changing a Microsoft Account name isn’t. We’ll show you the correct way to change the name of a Microsoft Account in Windows 8. Before you continue, make sure you have some time, the process took us about half an hour from start to finish because of how complicated Microsoft likes to make everything.
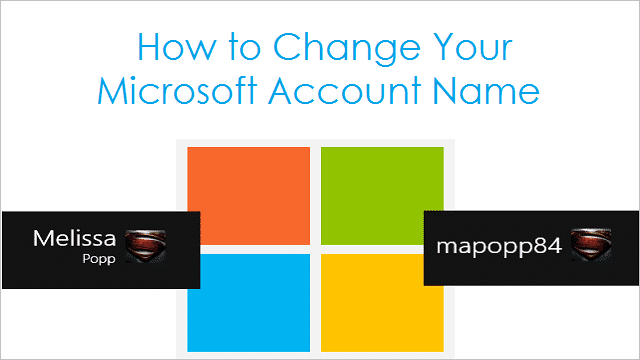
How to change the name of a Microsoft Account
Head over to your Microsoft Account settings on the Web. The only way you can change the name of a Microsoft Account is through the Web. There is no longer a way to change a Microsoft Account name on a PC since Windows 8. However, if you are using a Local Account on your PC, you can change that from the User Account settings as you would in Windows 7.
At the Microsoft Account settings on the Web, enter your login details and click “Sign in.”

Click on either “Edit name” in the left-hand menu or click “Edit display name” under Account Summary.

Change your name. You can choose any combination you want, but you do have to fill in the first and last name areas.

Click “Save” when you’re satisfied with the display name change.

You’ll see the changes have taken effect in your Microsoft Account overview.

However, if you head to the Start screen, you’ll see your display name has not changed, yet.
Click the “Windows Key + C” to open the Charms Bar, and click “Settings.”

Now, click “Change PC settings.”

Click on “Users” under PC settings.

In order to make Windows recognize the display name change, you need to switch to a Local Account temporarily, restart your PC, then switch back to your Microsoft Account.

Click on “Switch to a local account” to get started.

You’ll need to enter your current Microsoft Account password. Once entered, click “Next.”
Microsoft will warn you what the switch means. Click “Next” to continue.

Now, you’ll get to rename your Local Account, change the password and tweak the hint. Enter in these fields, then click “Next” once more.

When you head back to the Start screen, you’ll see you’re now utilizing a Local Account.

Restart your PC.
Once restarted, head back to the User settings for Windows 8.
Click on “Switch to a Microsoft account.”

Enter your Local Account password, then click “Next.”

You can either create a brand new Microsoft Account or use an existing one. Since we switched the name, we want to use the account you’ve been using.

Enter that e-mail address and click “Next.”

You’ll be prompted to enter the Microsoft Account password. Enter that, then click “Next” again.

You’ll be given a confirmation that the process is almost complete. Once more, click “Next.”

It’ll take a few moments for Windows 8 to merge the Local Account into your Microsoft Account.
When finished, you’ll see the display name change has taken effect immediately.
How to confirm your new PC with your Microsoft Account
However, your “new” PC won’t be trusted by Microsoft.

Click “Update info” to start that process.

You’ll need to be sent a confirmation code either via e-mail or text message to your trusted contact information stored within your Microsoft Account.
After receiving the code, enter it in and click “Next.”

Now, your PC is trusted by your Microsoft Account, and everything is changed properly. If you log into your Microsoft Account on the Web, you’ll see your PC is available as well as your display name change. You follow the same steps to change it again if need be.
Microsoft never seems to make anything easy, changing the name for your Microsoft Account is just another example. By following the steps above, you can change your display name for your Microsoft Account. While the steps may seem tedious, Microsoft has made it this way for some reason or another that escapes us.
If you attempt these steps in Windows 8.1’s pro preview, you may have issues down the line when upgrading to the final release of the first Windows 8 Service Pack. We recommend avoiding changing your Microsoft Account name until after the Windows 8.1 upgrade is available as a final release for users. Otherwise, you may run into issues logging into Windows 8.1. Once Windows 8.1 goes live, change your Microsoft Account name to your heart’s content.
Why would you need to change your name?
Sometimes we pick silly names, serious names or other display names that we might want to change down the line. Perhaps our PC is switching to a work account or a personal account. Maybe we were married or divorced and want our PC name to reflect it. No matter what the reason, the above steps can help you change your Microsoft Account name to whatever you need it to be. While Microsoft once again likes to make its users jump through hoops, our guide will help you through the process and let you change your Microsoft Account name in the quickest way possible.


