The audio quality of a laptop or a smartphone can be adequate for most people. However, there are some music lovers out there, who are horrified by the deterioration in sound brought about by these gadgets. Music for most of these gadgets is often an afterthought. Beats audio is meant for such music enthusiasts who want to listen to music the way an artist would have played it to them.
The quality improvement brought about by this technology is immense as it smooths out the tones and provides crystal clear output. The audio is base heavy making it a dream for rock and roll lovers.
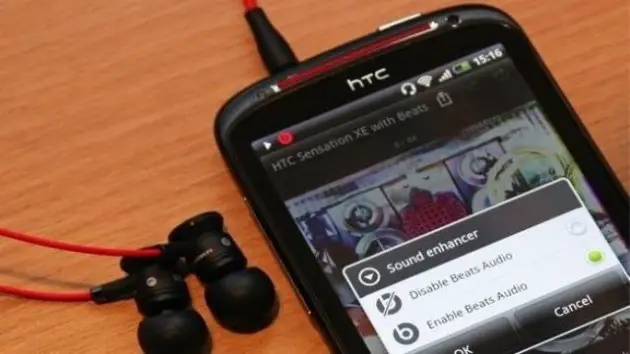
There are several speakers and headphones available by Beats now. However, the cost of these accessories can be quite prohibitive when compared to a normal headphone or speaker. Only HP laptops have the drivers for the Beats audio preinstalled. HTC phones also have the technology, this used to be a big plus for these handsets as those looking to have their own music systems in their pockets favored them. Though, things have changed now.
If you are passionate about your music and own a vanilla Android phone; there is still hope for you. Beats Audio can now be installed on all Android phones running 2.3 Gingerbread or above.
Things to do Before Beats Installation
In order to be able to install the Beats Audio drivers you need to root your phone as it is not possible to do this unless you have root privileges. Having said that be warned the warranty for phones from several manufacturers becomes void when you Root the phone.
Rooting is essentially jailbreaking an Android device providing you unlimited access into the very innards of your device. Towelroot and One Click Root are the two programs that have been popular in the market lately. While Rooting through these is really simple, these programs are not compatible with all mobile phones. Hence, you would need to check if your handset works with them, if not a bit of research to get the right Rooting program would be in order.
It is also a good idea to take a backup of your device before you root it. Backing up your ROM before you flash a new one is also a good idea. Swift Backup, Titanium, or ClockworkMod are good options to ensure that you can revert back to where you started from just in case things go awry. While this sounds a little scary, such an eventuality hardly if ever occurs.
Ensure that your phone is charged at least 80%, else it might die out on you in the middle of the installation process and if that happens then you can definitely expect a lot of trouble. Better to keep your phone connected to a charger during this process. This is a very simple step but a very important one nonetheless.
Let’s Get Down to the Actual Installation Now
You need to download the Beats Audio Installer APK to your devices to begin the process. Once the download is complete, we’re good to go. The only thing to remember here is that the little ‘Unknown Sources’ box under your Settings should be clicked.
Related Reading: What’s an APK File and How to Install One on Your Android Device
The Beats Audio Installer icon should appear on your app tray once you have done this. Select it and it will prompt you to start the installation process.
Click on Next to go further, you would be directed to a window that gives you the contact info just in case you face any issues.
Tap on Next again and then the installer would urge you to take a backup of your system. In case you have not already done this, be sure to do it now to safeguard against any loss of data in case things don’t go as planned.
Once the backup is done, click on ‘Next’ and then tap ‘Install Beats’.
While the actual installation is taking place there would be a pop-up that would ask you for permission to access all the features of the device as well as the storage.
The pop-up also warns you that granting such unrestricted access might be dangerous. However, for successful installation of the Beats Audio technology, you would have to grant full permissions. We reiterate, while all the dire warnings and grim scenarios might be possible they rarely ever come true. What does come true is the absolutely stupendous music quality that you achieve from your Android smartphone.
Once you have granted permissions, the installation is almost done. Your phone would reboot and the next time that it starts you should be able to see the Beats Audio in place.
Just in case the rebooting does not happen on its own, you can manually restart the phone once the installation is complete.
The experience of listening to unadulterated music is sure to get you hooked to this technology. However, in the unlikely event that you want Beats Audio drivers uninstalled, there is no way of doing so. Once installed it is not possible to uninstall or delete the drivers. If you try to uninstall it, you would end up deleting the notifications while the drivers remain in place.
Final Thoughts
That’s it, folks, the key to pristine music quality is now right on your Android phone. Spending big bucks on the most advanced speakers or headphones is not really required; all you need is the right technology to add the much-needed charm to your tunes.
The equalizing powers of Beats Audio is definitely beyond compare, while you might try PowerAmp or ProPlayer equalizer settings, the result while definitely good would not be as noteworthy as you get from Beats.


