If you are looking for virtualization software, why not try the built-in solution offered by Microsoft, Hyper-V? You can install Hyper-V on Windows 11 to create virtual machines to run other Windows versions like Windows 10, 8.1, and different operating systems. To do it, all it takes is to enable Hyper-V in Windows 11.
Before you use Hyper-V in Windows OS to create and manage virtual machines, you must enable virtualization in the UEFI settings. The Hyper-V feature is available in editions of Windows like Pro, Enterprise, and Education. But a simple workaround allows you to create and run virtual machines using Hyper-V on Windows 11 Home Edition. You can then find Hyper-V and enable it to start using the technology.
Minimum System Requirements For Hyper-V
To enable Hyper-V on your system, your system has to be compatible. Check if the minimum system requirements are met for Hyper-V.
- Windows 11 Pro or Enterprise 64-bit operating system
- Minimum 4 GB RAM
- A 64-bit processor with Second Level Address Translation
- BIOS-level hardware virtualization support
You can check if the system is compatible from the System Information window, as given below.
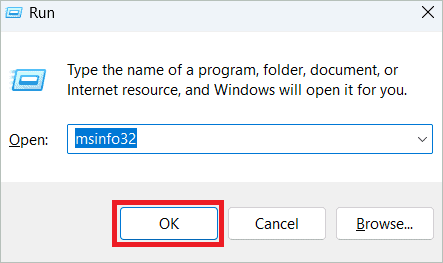
Press the Windows key + R to open Run. Type “msinfo32” and click “OK”.
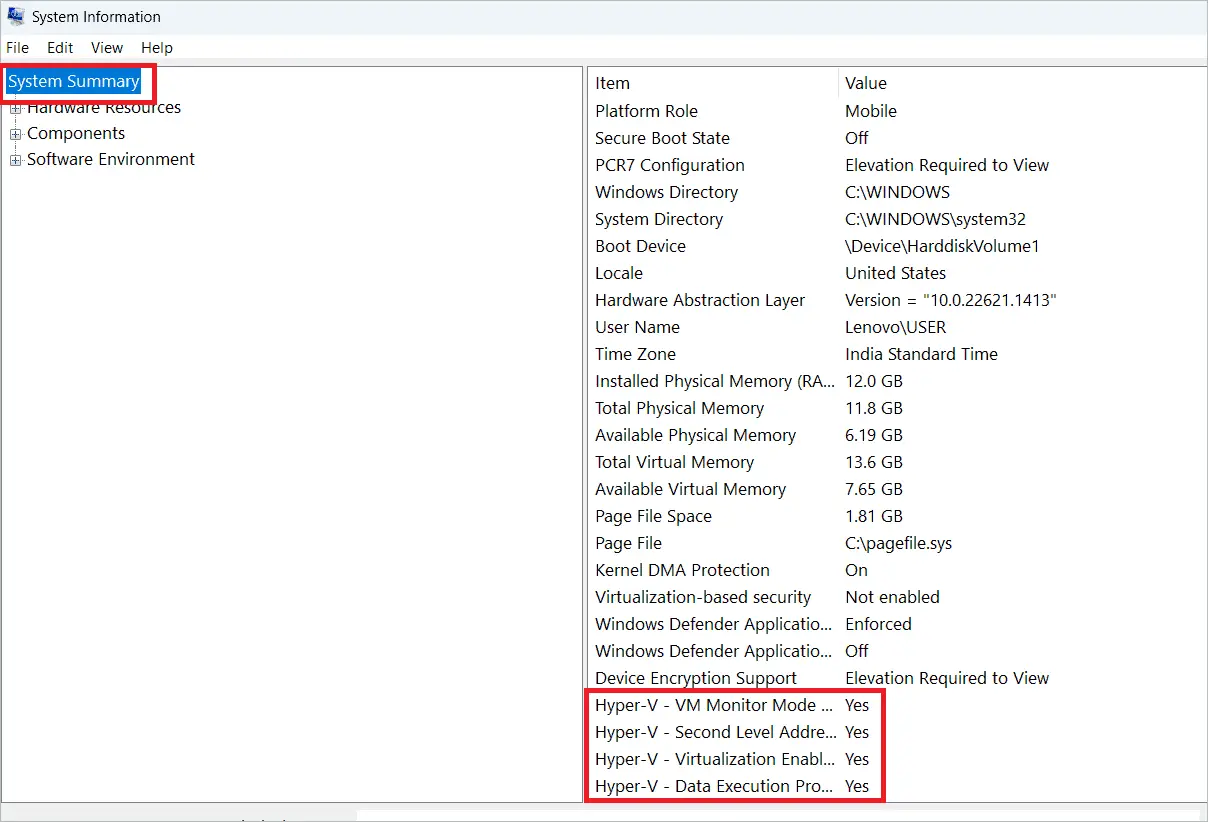
Select “System Summary” on the left pane. If all the Items on the right pane starting with Hyper-V have Value as Yes, your machine is compatible.
Turn On Virtualization
If your system is compatible, you must turn on virtualization to enable Hyper-V. For this, you need to enter the BIOS utility and enable “Virtualization Technology”. Let us see how.
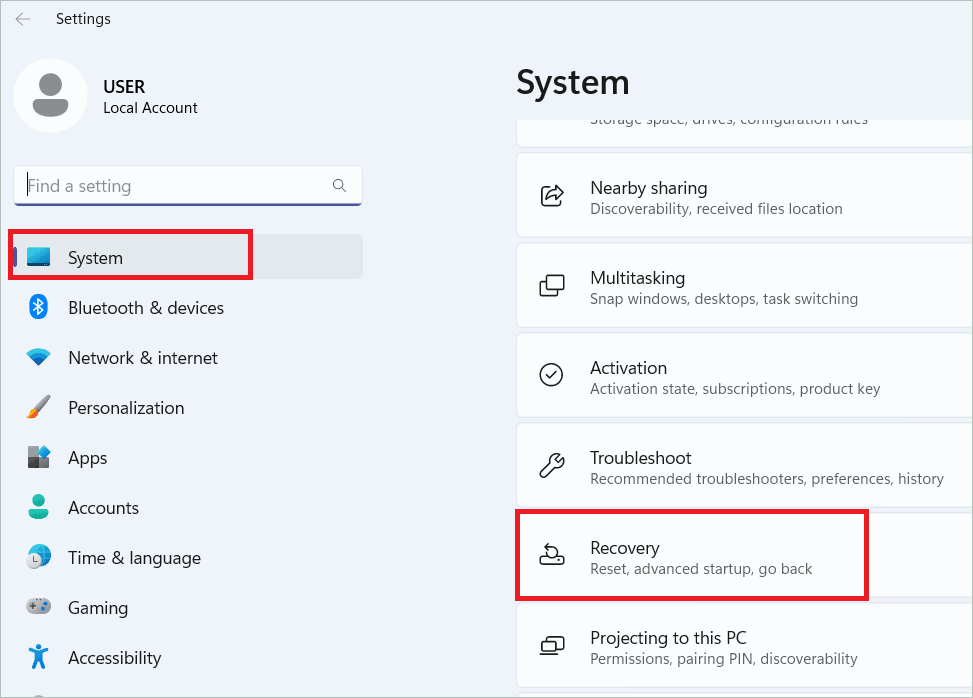
Press the Windows key + I to open Settings and select System > Recovery.
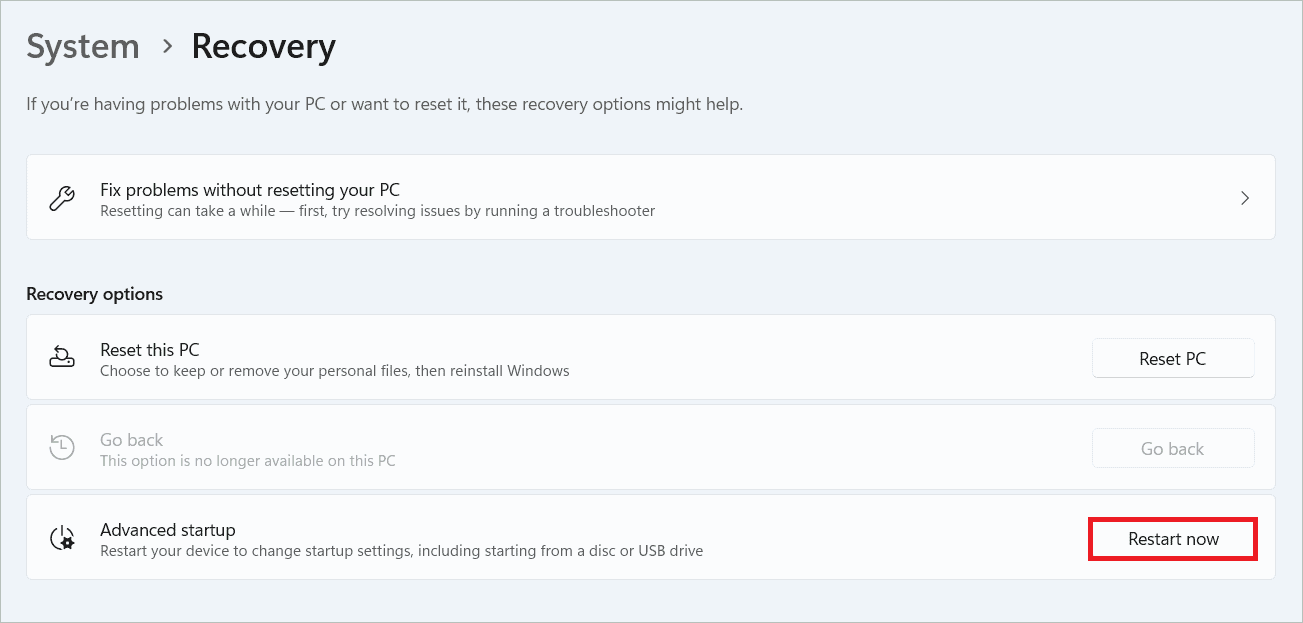
Click the “Restart now” button near Advanced startup under Recovery options.
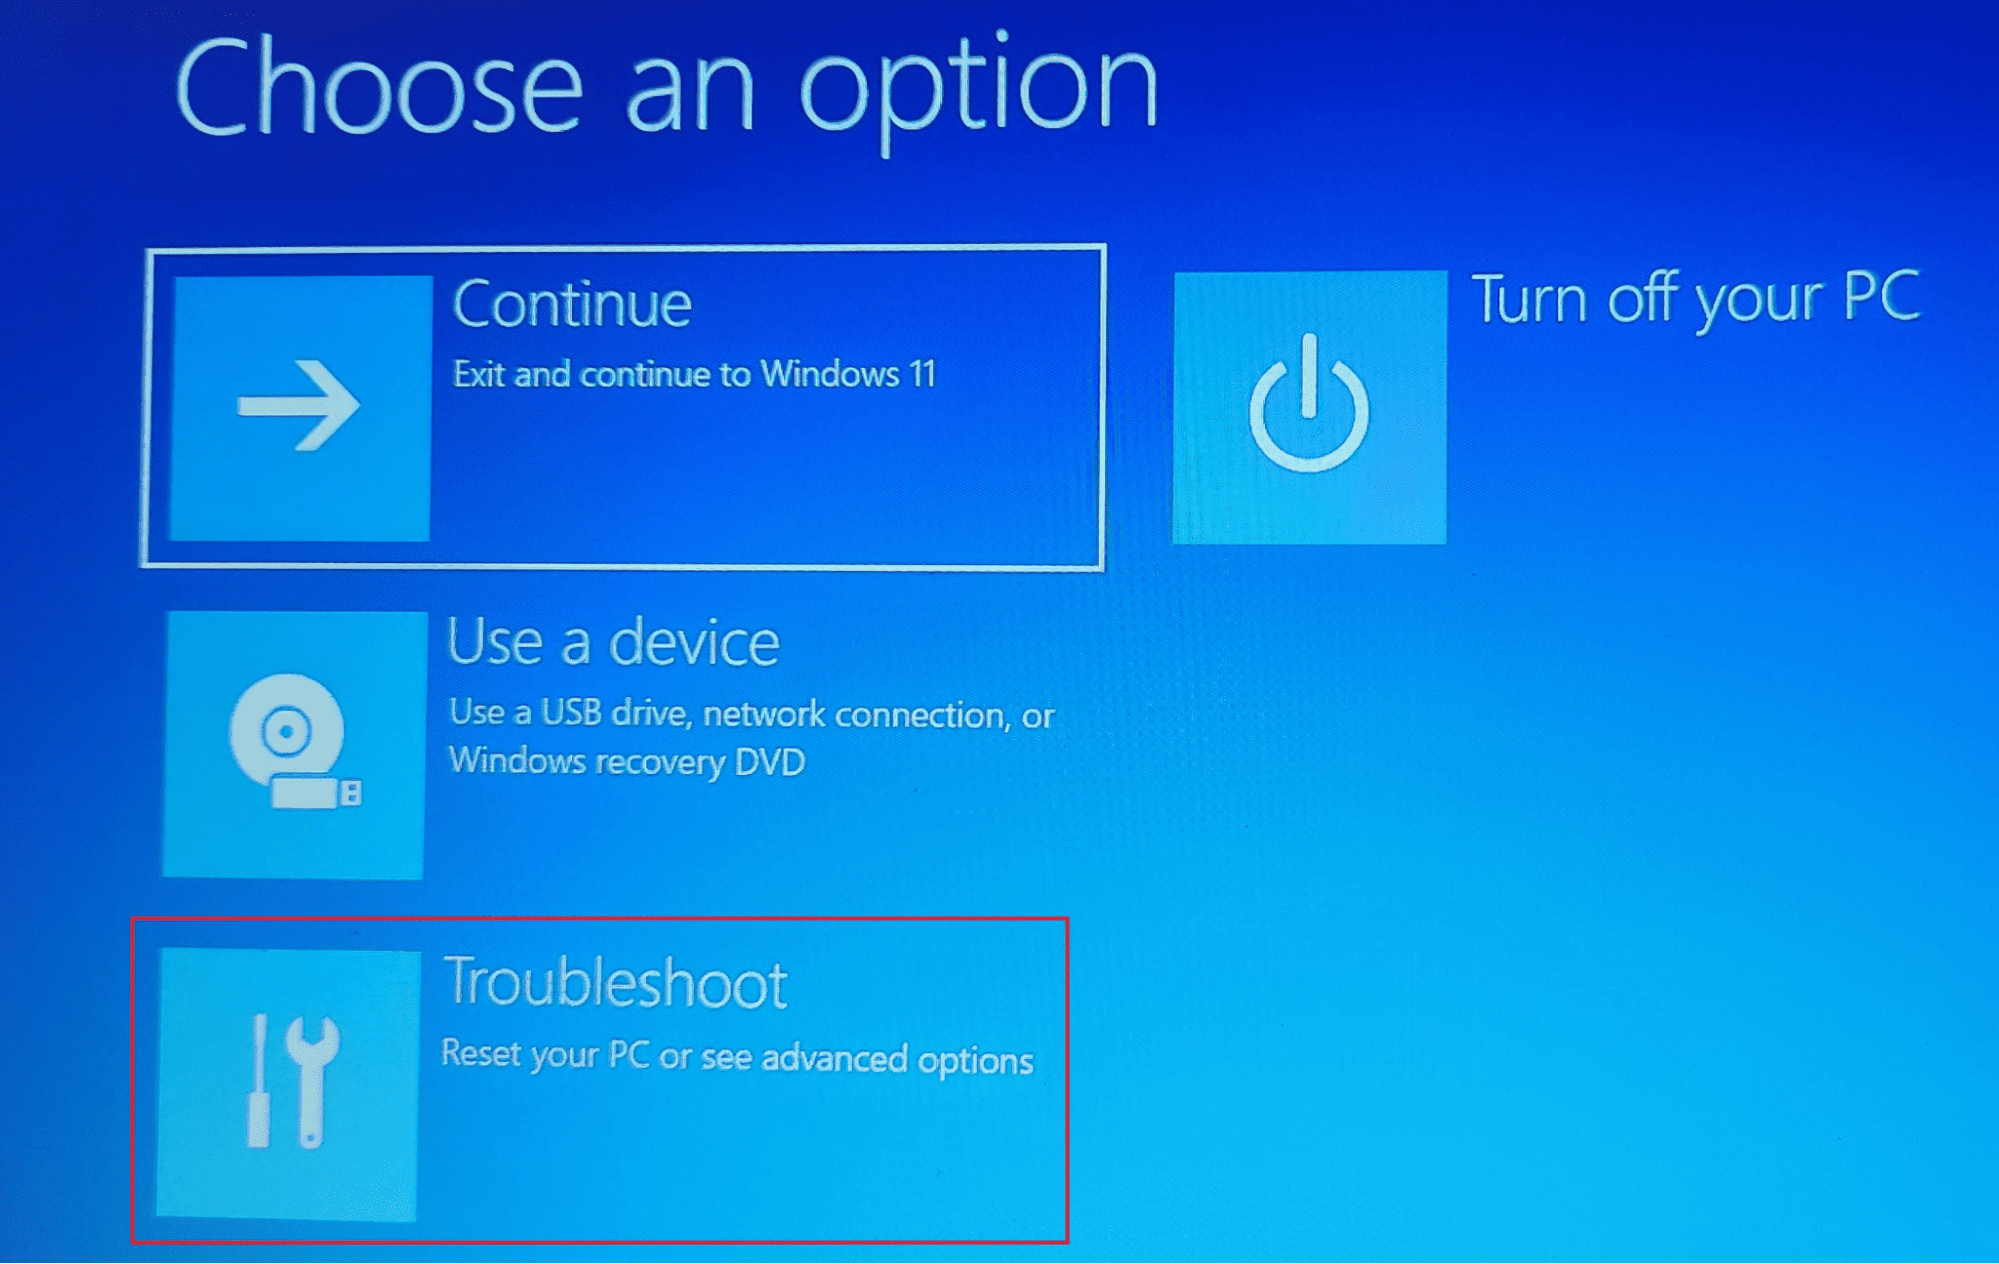
When the device restarts, select “Troubleshoot”.
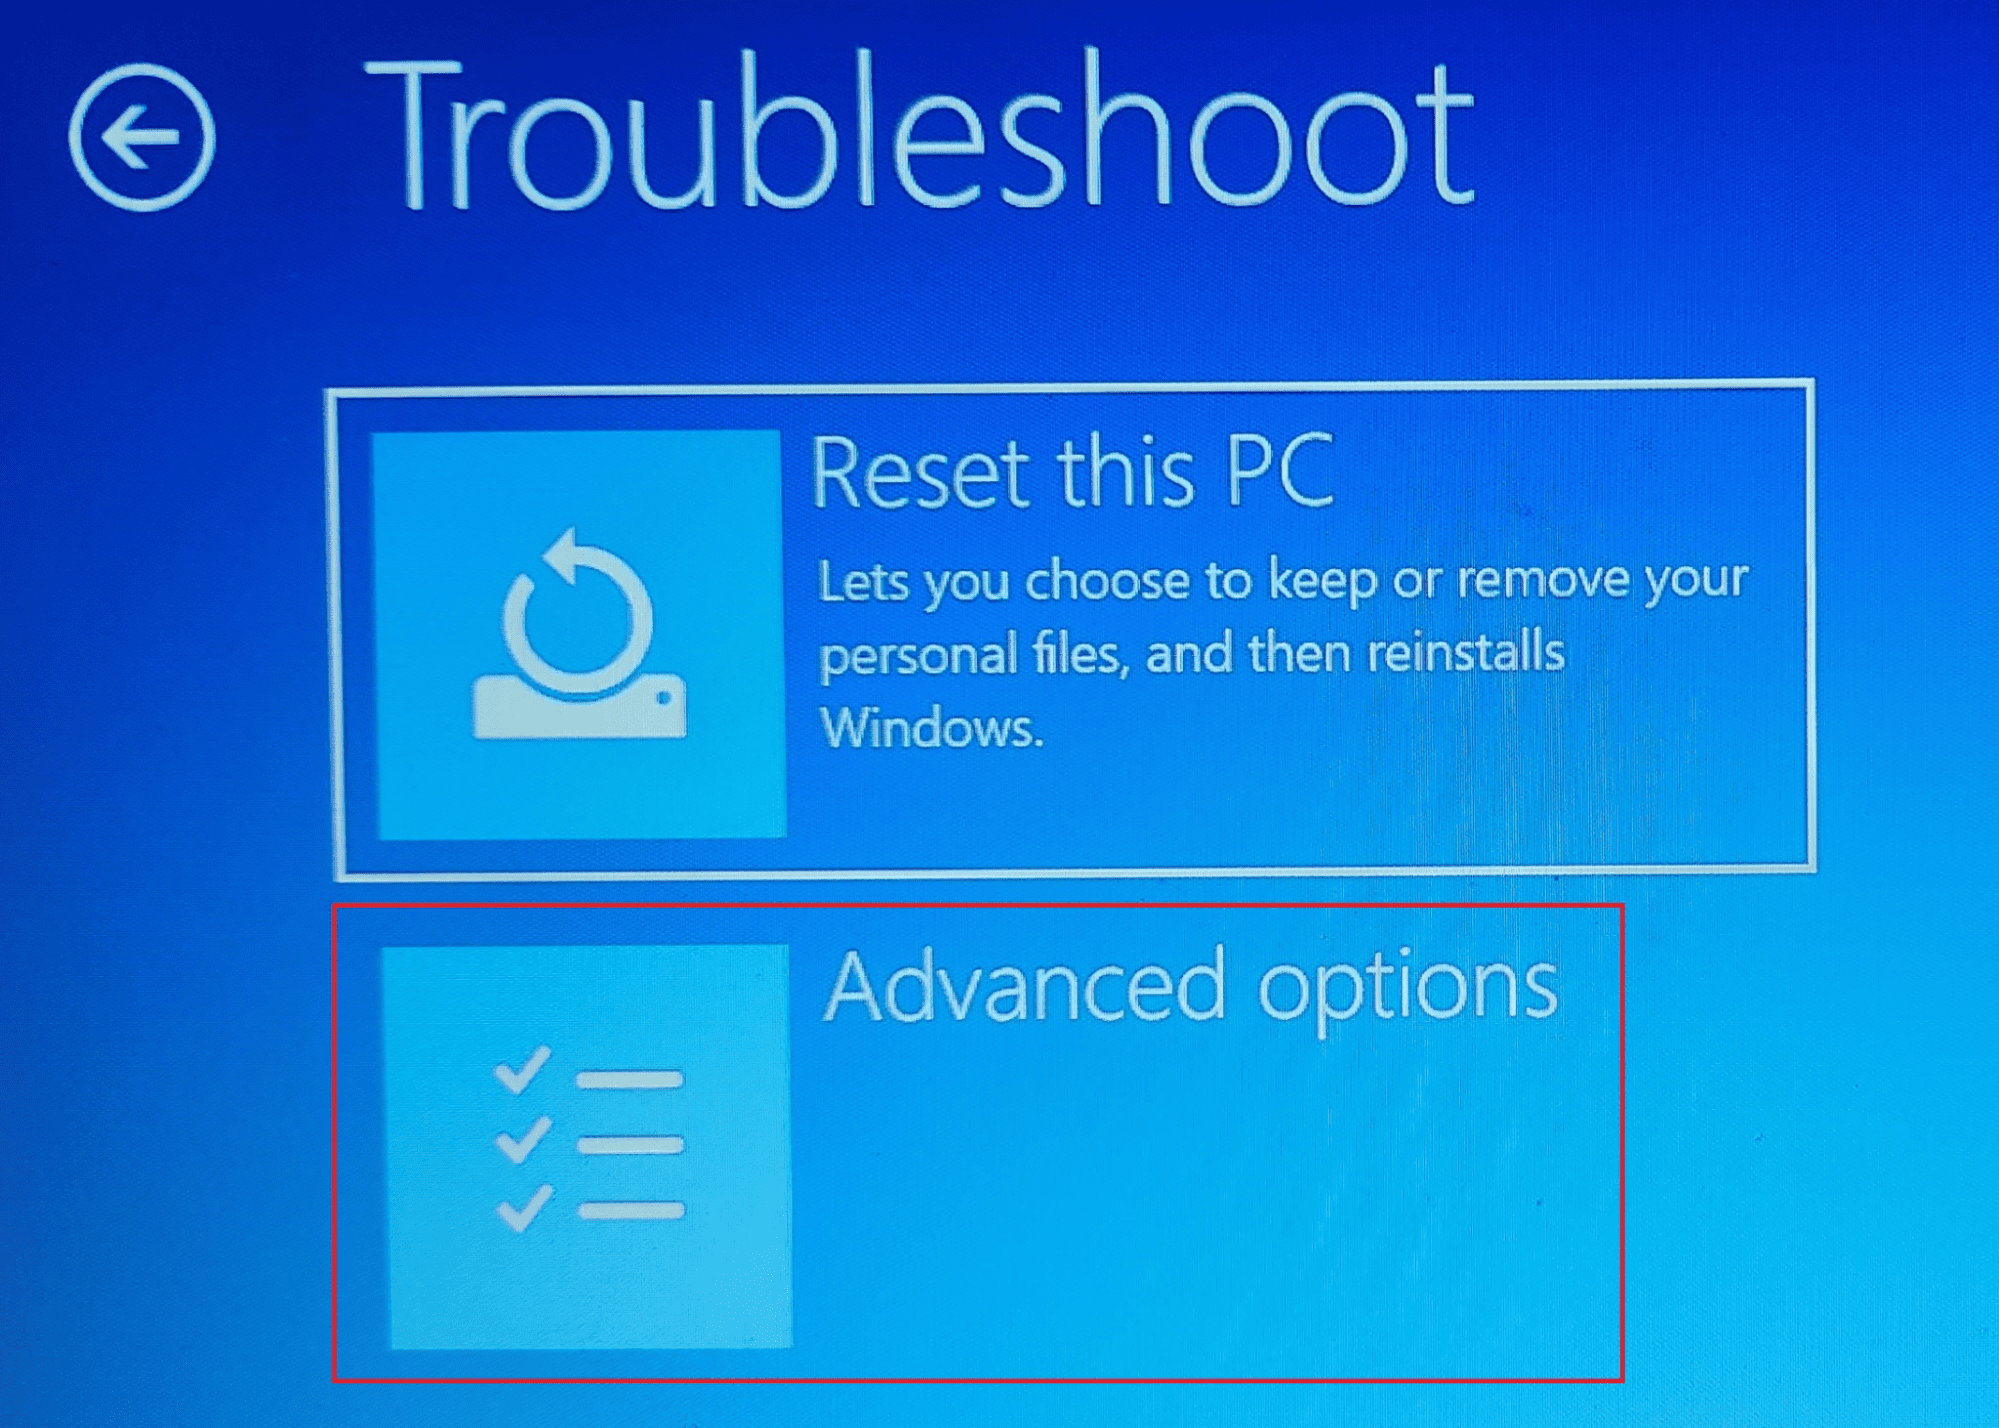
Now, select “Advanced options”.
Select “UEFI Firmware Settings”.
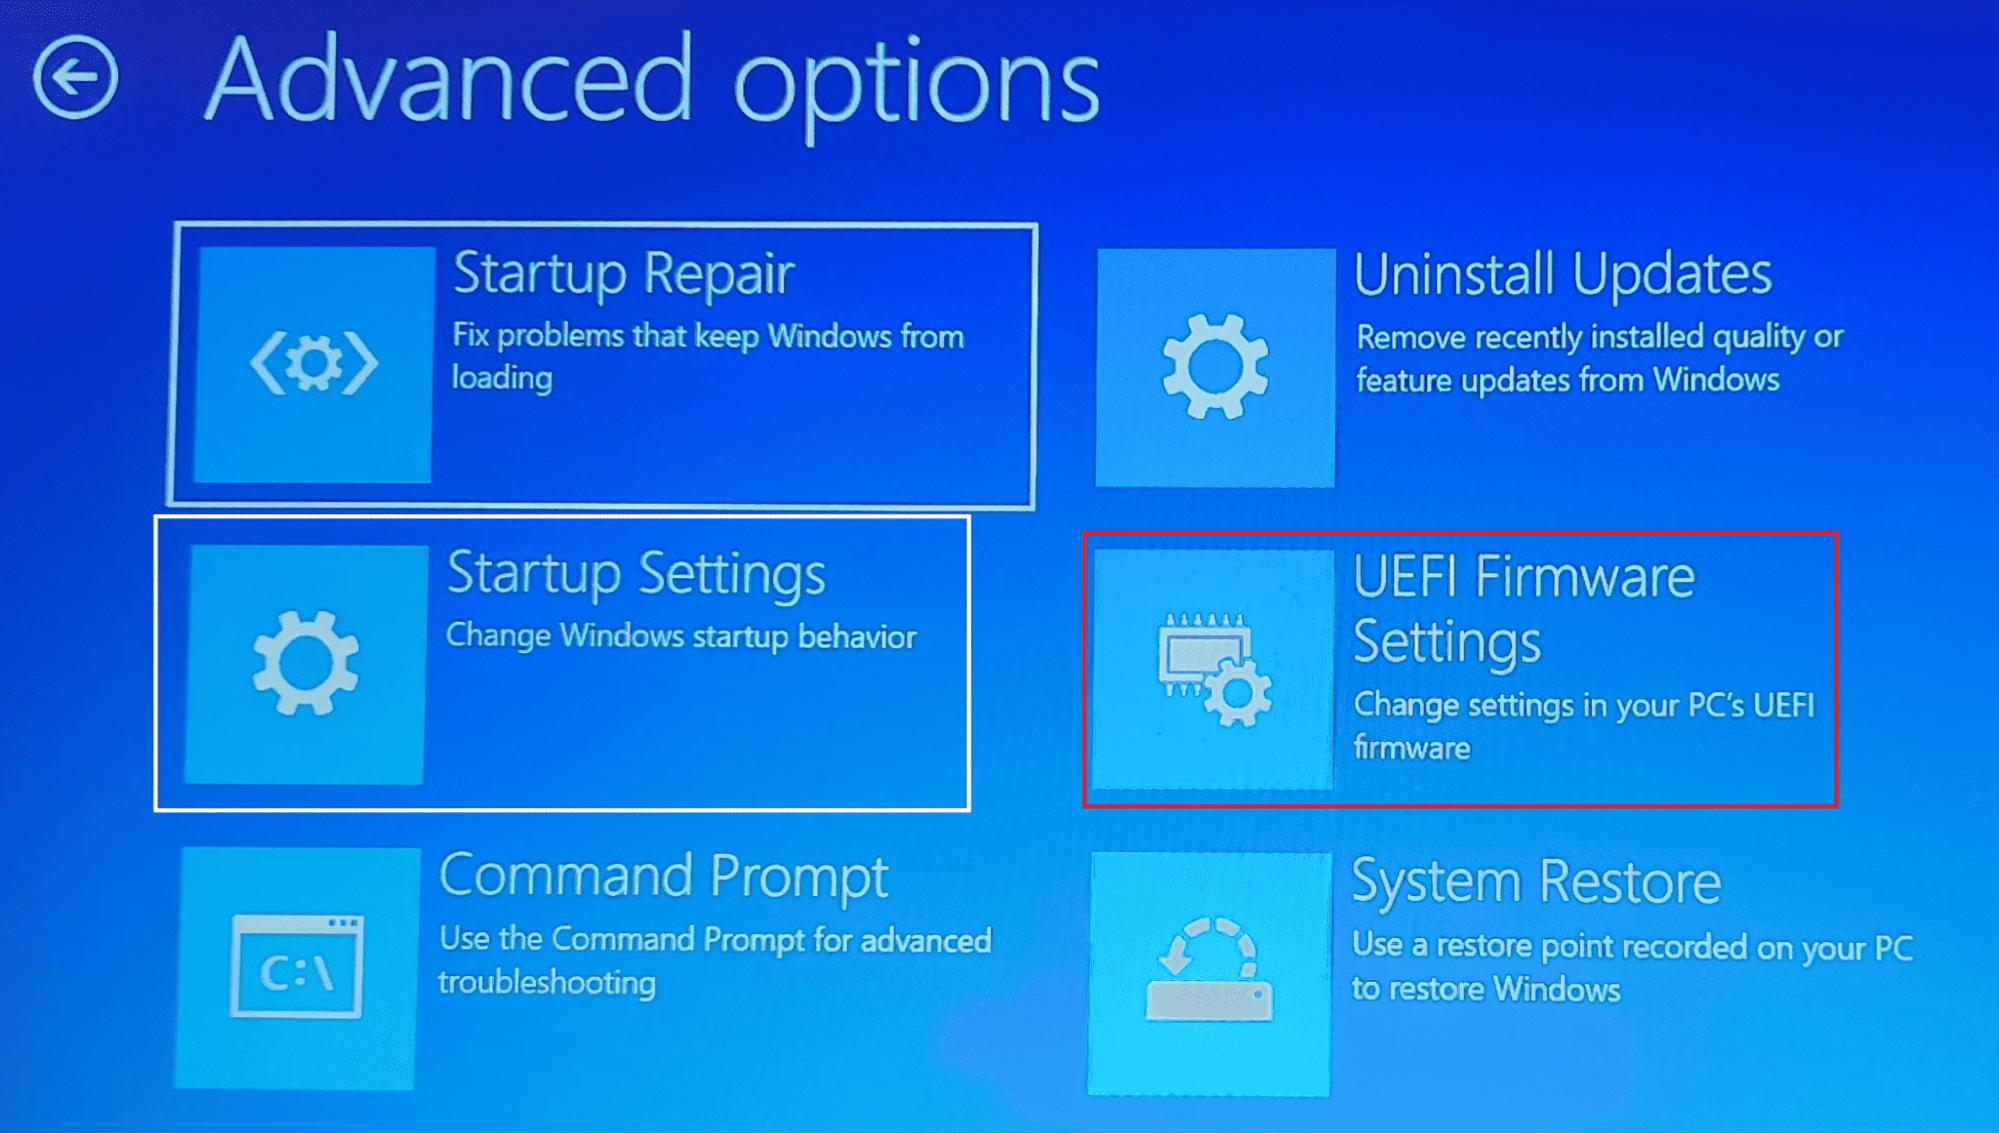
Now, click the “Restart” button. Depending on the manufacturer, select the Configuration, Security or Advanced tab. Enable the “Virtualization Technology” option using the arrow keys. Press F10 to save the settings. You can now proceed to enable Hyper-V.
How To Enable Hyper-V On Windows 11
Three methods exist to enable Hyper-V on Windows 11 Pro, Enterprise, and Education. You can use any one depending on your preferences. Note that these methods don’t apply to the Home edition.
Using Settings
As most of the Windows features can be enabled and disabled from the Settings app, we will resort to this method first. Here is how to enable Hyper-V on Windows 11.
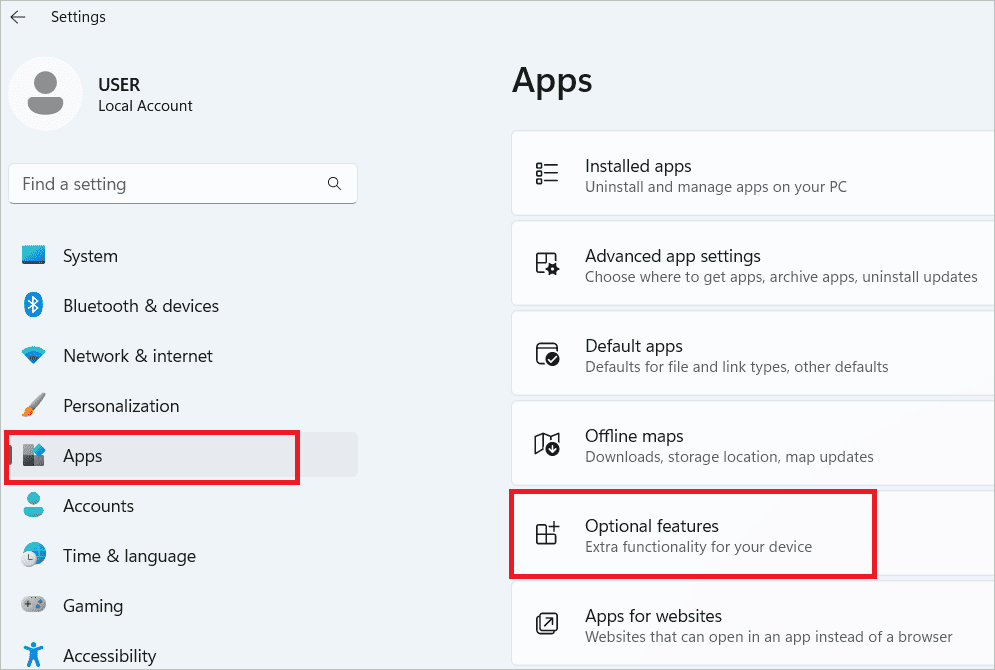
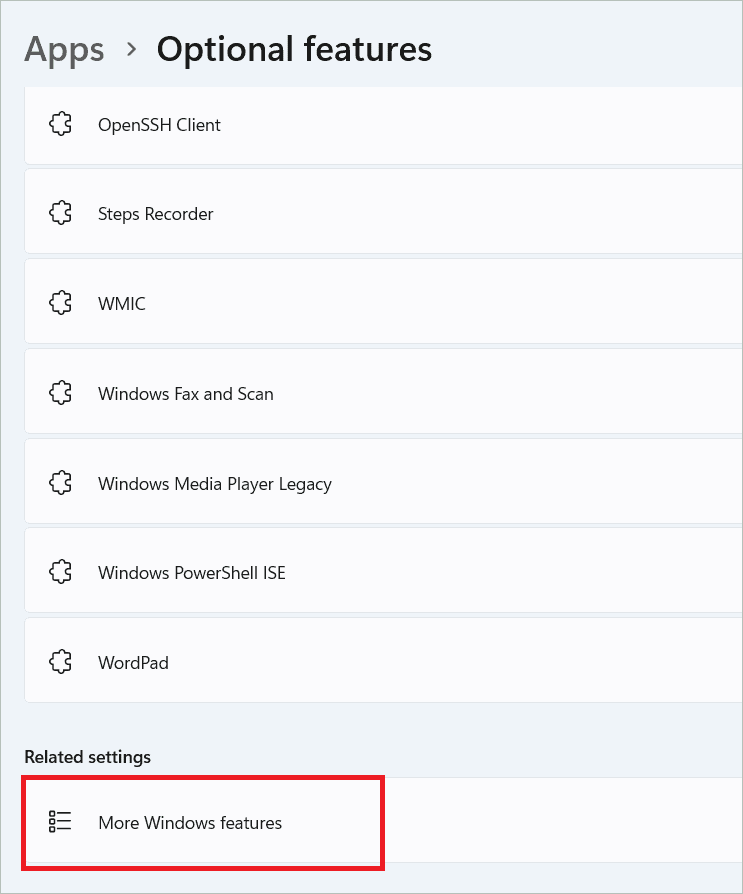
Open Settings and select Apps > Optional features.
Select “More Windows features” under Related settings.
In the Windows Features window, select the “Hyper-V” option to enable it and click “OK”. Finally, click “Restart now”.
Now, Hyper-V, along with Hyper-V Manager, will be installed.
Using Command Prompt
Command Prompt is a command line tool that performs tasks on your machine by executing commands. Here is how to use the DISM command to enable Hyper-V on Windows 11.
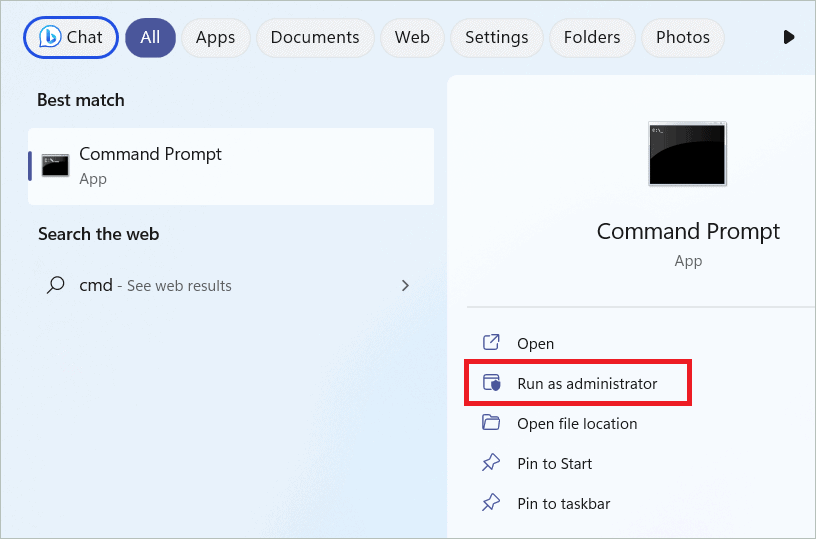
Type “cmd” in the search bar and open the Command Prompt by selecting “Run as administrator”.
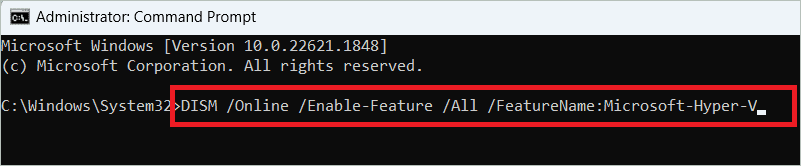
Type the following command in the Command Prompt window and press Enter.
DISM /Online /Enable-Feature /All /FeatureName:Microsoft-Hyper-V
Once Hyper-V is enabled, you will be asked if you want to restart your PC. Type “y” to confirm restart.
Using PowerShell
You can also use PowerShell’s command line utility to enable Hyper-V on Windows 11. Here is how you can do it.
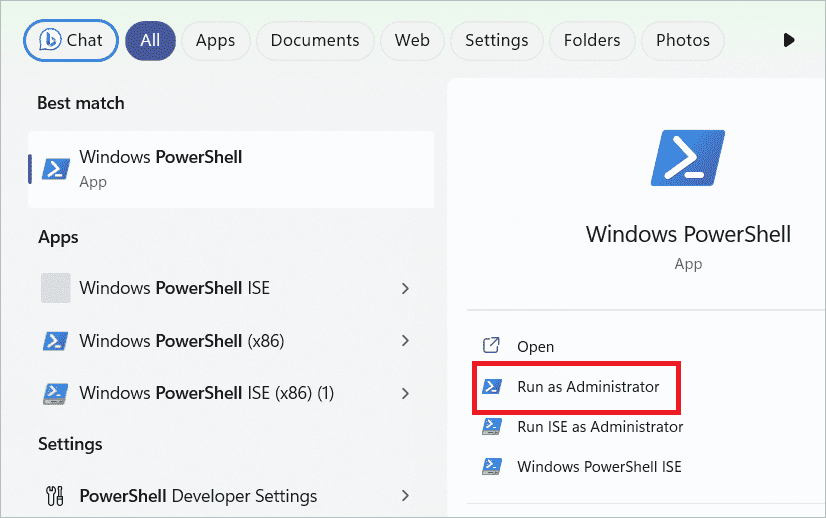
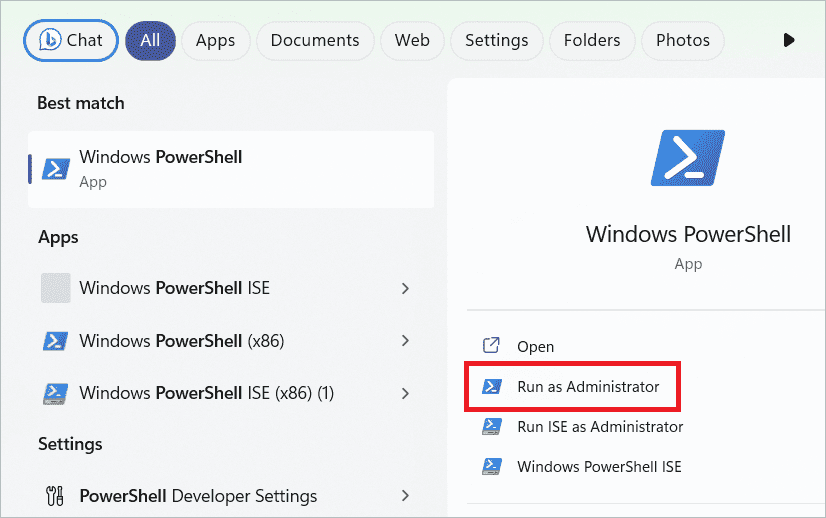
Type “powershell” in the search bar and open PowerShell by selecting “Run as administrator”.
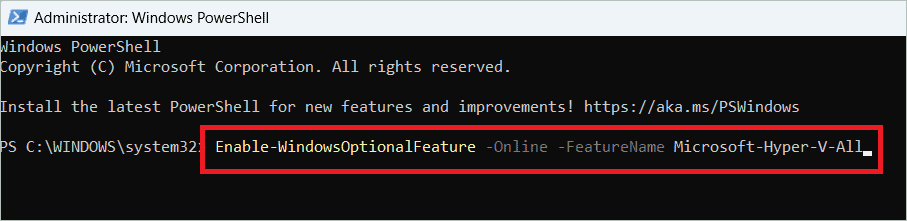
Type the following command in the PowerShell windows and press Enter.
Enable-WindowsOptionalFeature -Online -FeatureName Microsoft-Hyper-V-All
When prompted, type “y” to restart your PC.
Disable Hyper-V on Windows 11
If you face software compatibility issues or want to free up resources, you can disable Hyper-V if it is not used for a long time. There are two methods to disable Hyper-V, as given below.
Using Settings
Like how you enabled Hyper-V on Windows 11, you can turn off the feature in the Windows Features. We will navigate to the windows from Settings.
Open Settings and select Apps > Optional features.
Select “More Windows features” under Related settings.
In the Windows Features window, uncheck the “Hyper-V” option to disable it and click “OK”.
Click the “Restart” button to restart your computer.
Using PowerShell
You can also turn off Hyper-V using a PowerShell script as given below.
Type “powershell” in the search bar and open PowerShell by selecting “Run as administrator”.
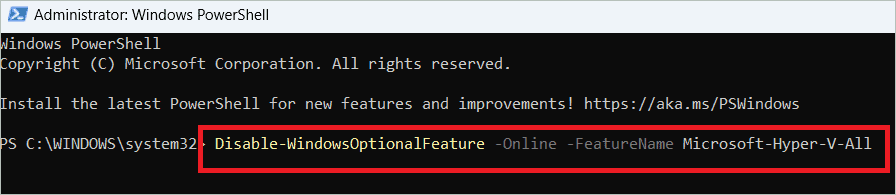
Type the following command in the PowerShell windows and press Enter.
Disable-WindowsOptionalFeature -Online -FeatureName Microsoft-Hyper-V-All
Close PowerShell and restart your PC.
How To Enable Hyper-V on Windows 11 Home
Enabling Hyper-V on Windows 11 Home is different from the methods used in the other editions. Here, we will create a batch file and run it to install the files necessary to enable Hyper-V.
Open Notepad and paste the following code into it.
pushd “%~dp0”
dir /b %SystemRoot%servicingPackages*Hyper-V*.mum >hv-home.txt
for /f %%i in (‘findstr /i . hv-home.txt 2^>nul’) do dism /online /norestart /add-package:”%SystemRoot%servicingPackages%%i”
del hyper-v.txt
Dism /online /enable-feature /featurename:Microsoft-Hyper-V -All /LimitAccess /ALL
pause
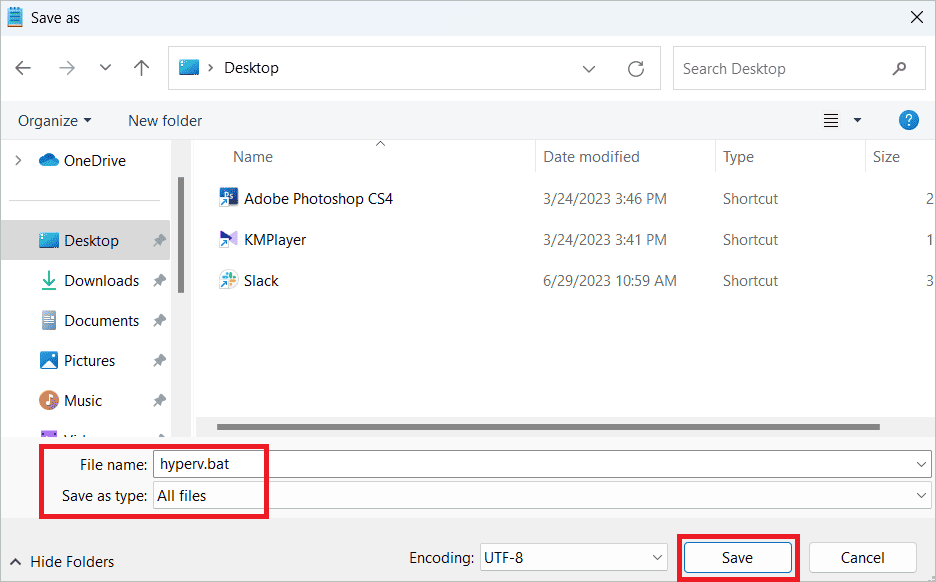
Select File > Save as.
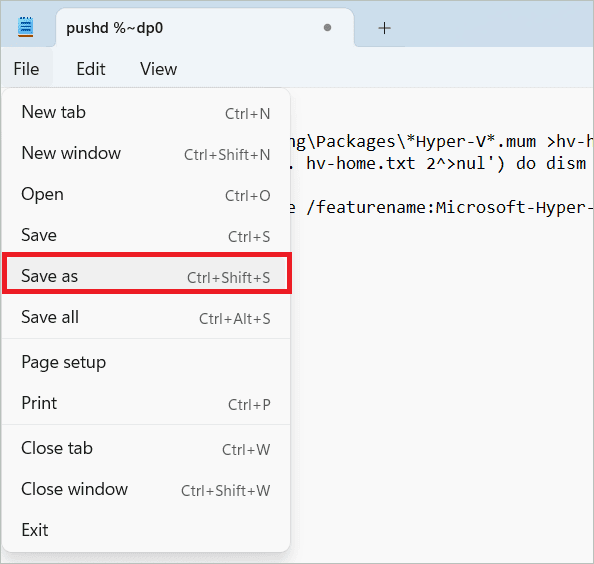
Choose a location to save the file, give the filename as hyperv.bat and select “All files” in the Save as type field. Finally, click “Save” to save the batch file.
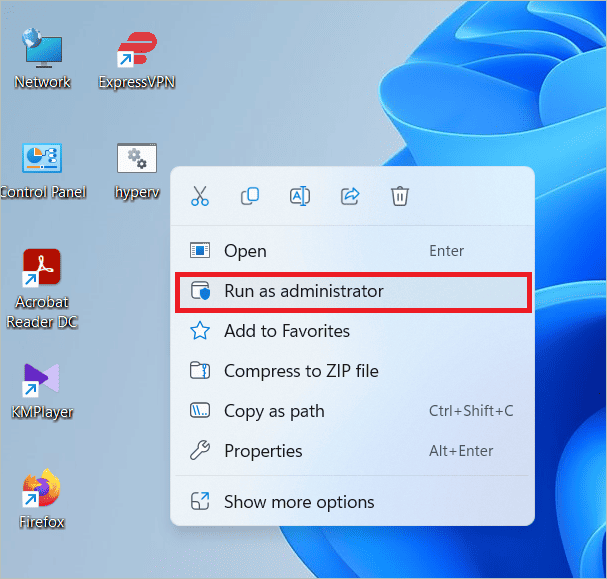
Now, go to the file, right-click on it, and select “Run as administrator” to execute the file.
After some time, you will get the “The operation completed successfully” message indicating that Hyper-V is installed successfully.
Disable Hyper-V On Windows 11 Home
Disabling Hyper-V on Windows 11 Home is from the same Windows Features window you enabled.
Open Settings and select Apps > Optional features.
Select “More Windows features” under Related settings.
In the Windows Features window, uncheck the “Hyper-V” option to turn it off and click “OK”.
Click the “Restart” button to restart your computer.
Final Thoughts
You can use the Hyper-V virtualization solution to create a virtual machine to run multiple operating systems. Microsoft’s solution lets you create virtual machines on devices running Windows 11 Pro, Enterprise, and Education editions.
With the help of the article, you will learn to turn on virtualization in UEFI to start installing Hyper-V. If you want to enable or disable Hyper-V on Windows 11, it gives you various methods for all the editions. Note that the method to enable the feature on Windows 11 Home is different from others.


