The data that we enter in Microsoft Excel or Google Sheets columns may vary on many occasions. Sometimes, the length of the data might not fit easily in the standard width of columns. In such cases, you need to know how to set column width in Google Sheets. Adjusting the column width allows people to fit the data easily in the selected cells.
You can adjust the column width manually or go for the autofit method to set the width. The whole process of adjusting column width takes very little time to execute. If you don’t want to disturb the standard settings, there are options available to ensure your Google spreadsheet maintains them.
How To Set Column Width In Google Sheets? 4 Ways To Do It
Let’s look at the simple solutions for formatting the width of columns in Google Sheets. In case you don’t want a particular column, you can hide columns in Google Sheets.
How To Set Column Width In Google Sheets
1. Open Google Sheets and select a column.
2. Place cursor on the edge of the header column and drag or double-click on it.
Now you are well-acquainted with the basic steps. Let’s see how to execute them with the help of images.
How To Set Column Width In Google Sheets Manually
The best and fundamental way to tweak the column width is to use your mouse cursor manually.
1. Select The Entire Column
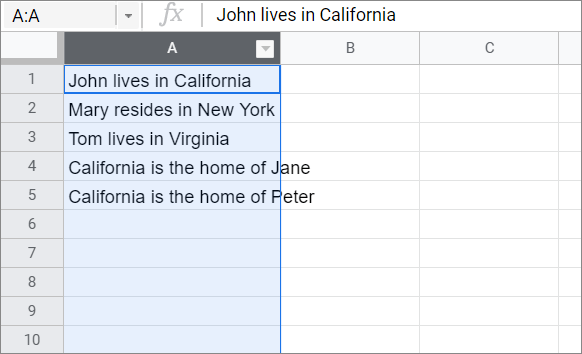
To understand how to set column width in Google Sheets, select the column by clicking on the column header.
2. Drag The Column Or Double-click On It
Now, place the mouse pointer over the column edge of the selected column in the header row. You will notice that the standard arrow turns into a double arrow.
Once you get the two-pointed arrow, you can either drag the pointer to adjust the column width or double-click on the column edge to make it wide enough to fit the content in the cells.
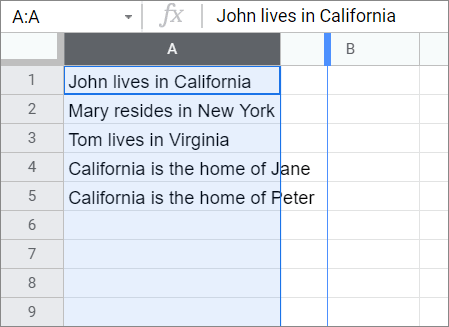
The above steps would instantly change the default column width to fit the cell with the maximum text in it. This way, no cells would have text that spills over to the next cell.
Note: If you change the cells and add/remove more column content and need to auto-fit again, you will have to repeat the same steps shown above.
Use The Keyboard Shortcut
If you want to change the width of multiple columns, you can do it using a simple keyboard shortcut. Just press Ctrl and select the columns on the sheet. Then, drag the border accordingly to adjust the rows.
Use the ‘Fit to Data’ Option
If you don’t like the method given above, you can use the Fit to Data option to change the column width.
1. Select The Entire Column
To understand this method on how to set column width in Google Sheets, select the column for changing the width.
2. Click On Resize Column
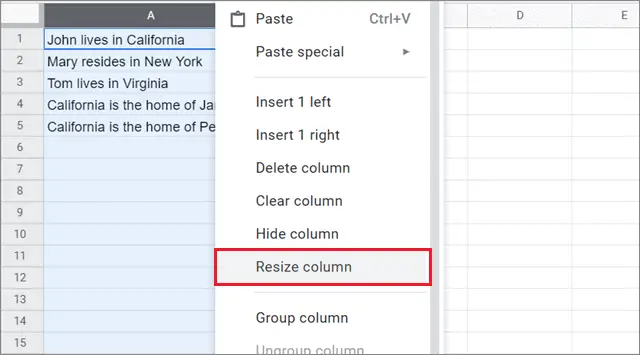
After selecting the column, use the right-click mouse button and choose Resize Column from the drop-down menu.
3. Select The Fit To Data Option
Now, click on the Fit to Data option in the Resize Column dialog box. Then, click on OK.
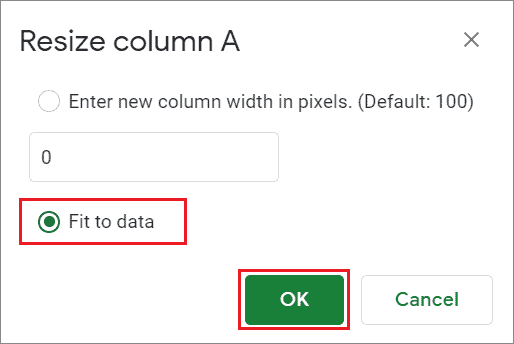
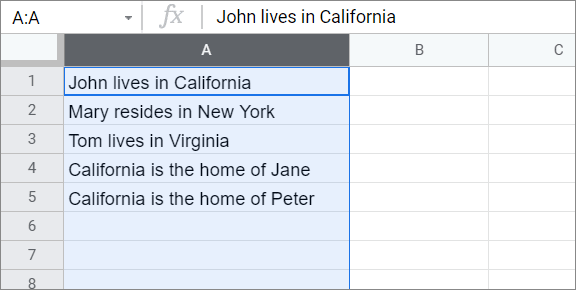
After doing this step, the column width will re-adjust itself according to the cell that has the maximum length of text. If you change the text and make it longer, you will have to follow the same steps again to autofit column width as per the text.
Set Column Width Using By Entering Pixels
If you need custom width for your Google Sheets spreadsheet columns, you can use the same Resize Column dialog box we saw in the previous method.
Instead of choosing the Fit to Data option, you can select the first option, i.e., ‘Enter new column width in pixels.’
Here, you need to enter the number of pixels you want to increase the width in the field given below. Click on OK after you make the changes.
An Alternative To Autofit
Autofit can easily allow selected columns to re-adjust themselves according to the cell that contains maximum data. However, if you are working with multiple columns on a sheet, too many wide columns may increase the necessity for scrolling the sheet more often.
Scrolling can be troublesome if you want all the columns to fit in the length and breadth of the computer screen. You can use the Wrap text or the Clip text option to solve this problem.
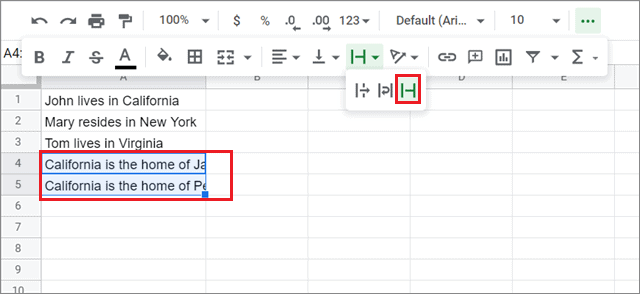
This is how the clipped text looks like. If you want to see the entire text string, click on the cell to see it in the function tab below the menu bar.
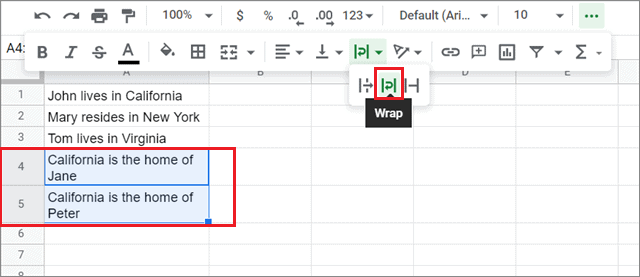
You can also use the Wrap option in text wrapping if you are okay with increasing the row border height. This option allows you to see the entire text string easily.
You can also merge cells in a selected row to stop the text from spilling out. You can still format cell width using the methods mentioned above after freezing the columns. Splitting text into columns is another way to avoid overflowing of a spreadsheet column cell, provided it doesn’t interfere with the overall organization of your data.
Conclusion
Having cell content fitting rightly into the given space in Google Sheets is a mark of tidiness. However, when the standard cell width falls short, it can make a sheet look very unorganized and shabby. Hence, it is essential to know how to set column width in Google Sheets to ensure the content fits rightly within the given space.
You can either use the manual method of tweaking the column width in Google sheet or choose the autofit method.The manual process is far quicker since you don’t need to open any menu and select an option to set or change column width.The choice of method to select columns depends on the user’s convenience and preferences, given that ease of use acts as the primary factor in deciding upon which way to go for.


