We keep our PCs on when there is a download pending, or some process is running in the background. In such scenarios, the computer needs to shut down manually later. And to make it convenient, you can configure your system and auto shutdown Windows 10 computer.
Once you set the computer to turn off at a certain time in Windows 10, you can run processes at night without worrying about waking up in between to turn off the computer. You can run errands, download software, or take a nap without worrying about your laptop’s power consumption once the auto-shutdown is configured.
5 Ways to Auto Shutdown Windows 10
There are five different ways to auto shutdown Windows 10 computers, as Windows supports the auto shutdown feature. You can choose any of the ways mentioned below and configure auto-shutdown on your PC.
1. Use Run
You can use the Run box to configure auto shutdown. The command used to auto shutdown Windows computer is –
shutdown –s –t numberPress Windows key + R to open the Run dialog box and type the following command there.
shutdown –s –t 3600Click OK to run the command so that the system can shut down at the given time.

Here, 3600 is the time in seconds; it means the PC will shut down after 1 hr (3600 seconds). You can change the shutdown timer according to your requirements. All you need to do is convert hours to seconds and add that number to the command.
2. Use Command Prompt Terminal
Another way to make your Windows system shut down automatically is to use the Command Prompt terminal. You can use the same command in the terminal prompt as well to set auto shutdown time.
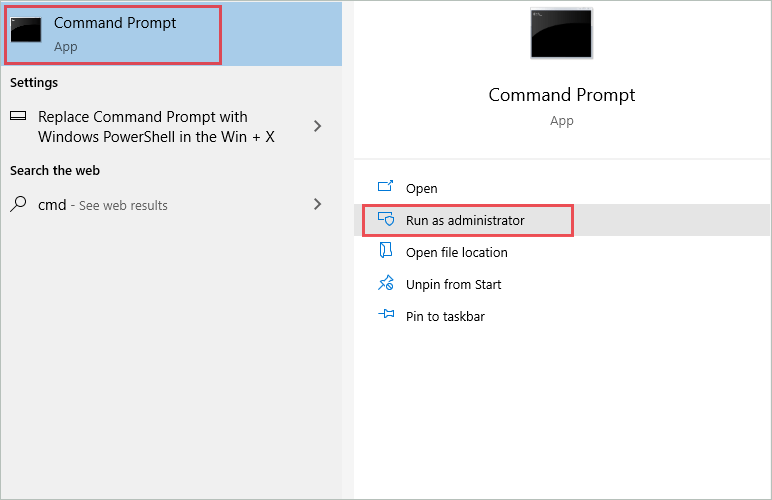
Type cmd in the Start menu and click on Run as administrator for Command Prompt.
In the Command Prompt window, type-
shutdown –s –t 3600 Now, press Enter to execute the command.
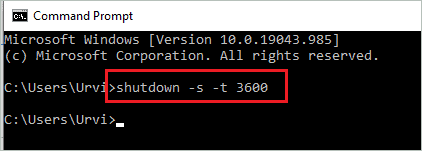
This command will shut down your PC after an hour. You can change the number to change the time.
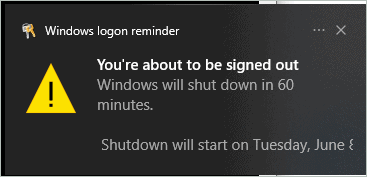
You will see a notification saying, ‘Windows will shut down in 60 minutes.’ So, you can prepare yourself minutes before the shutdown.
Now, you can run errands or do your work without worrying about your computer. The shutdown process is handled by your Windows PC once the command is executed.
3. Use Task Scheduler
If you want to shut down your computer at a specific time and date, you can use Task Scheduler for that. When you use Task Scheduler, you don’t need to calculate seconds and hours, and it is possible to set up auto shutdown time for specific days.
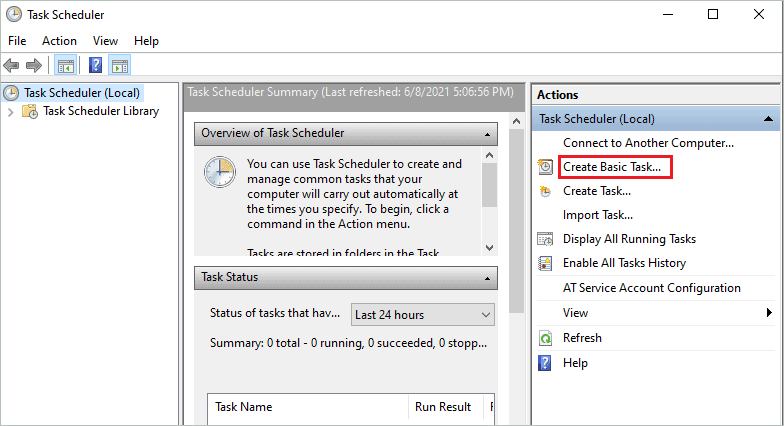
Step 1: Type Task Scheduler and open the same from the search results.
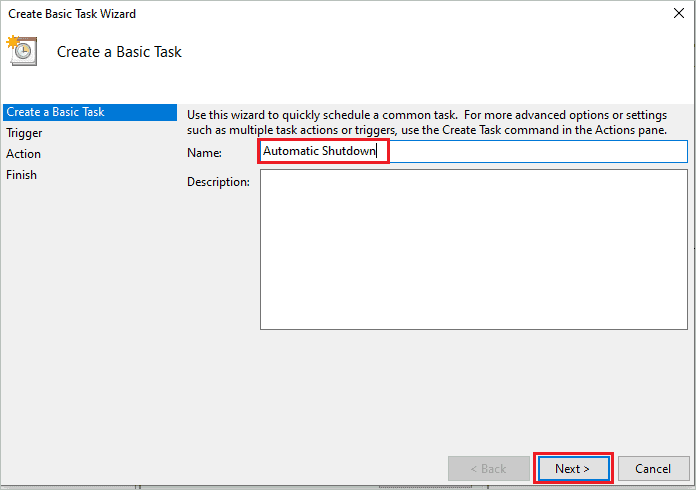
Step 2: In the Task Scheduler window, click on Create Basic Task from the right frame to create an auto shutdown task.
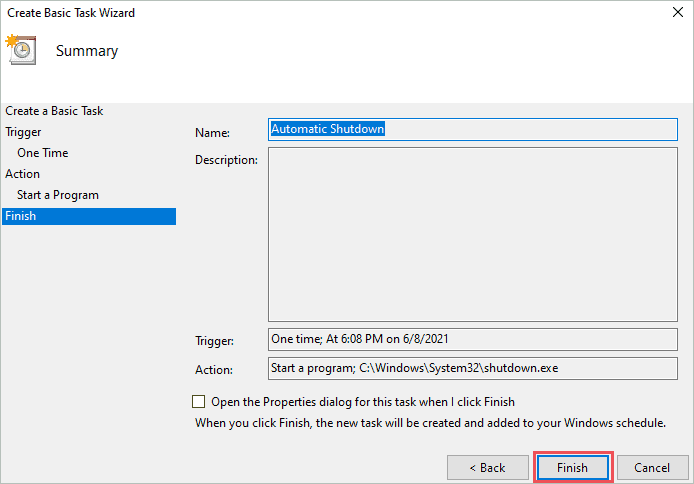
Step 3: You can name the task as per your wish in the Name column; we have called it Automatic Shutdown. Click on Next.
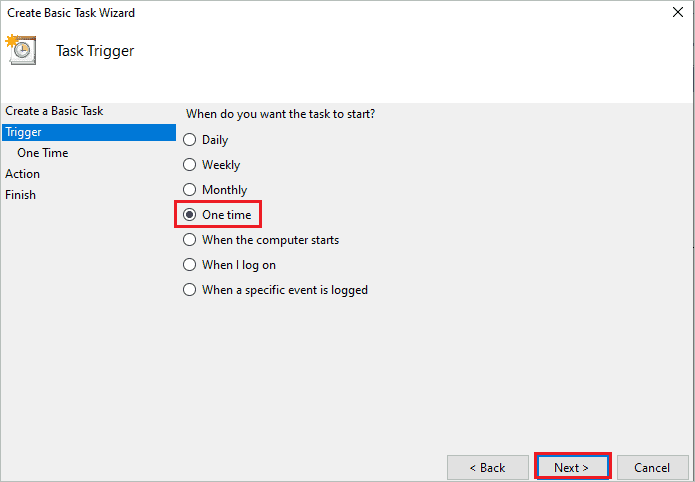
Step 4: Select One time and click on Next. If you want to change the frequency, you can select any other option.
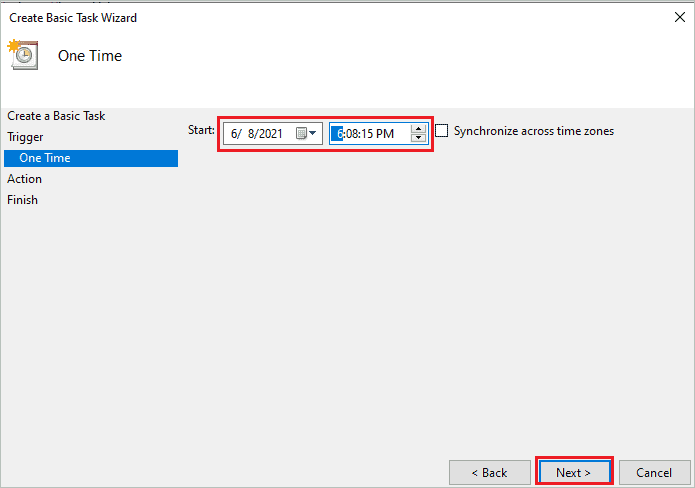
Step 5: You can set the auto-shutdown time and date and then click on Next. If you have selected a different frequency, you need to adjust the date and time accordingly. Click on Next.
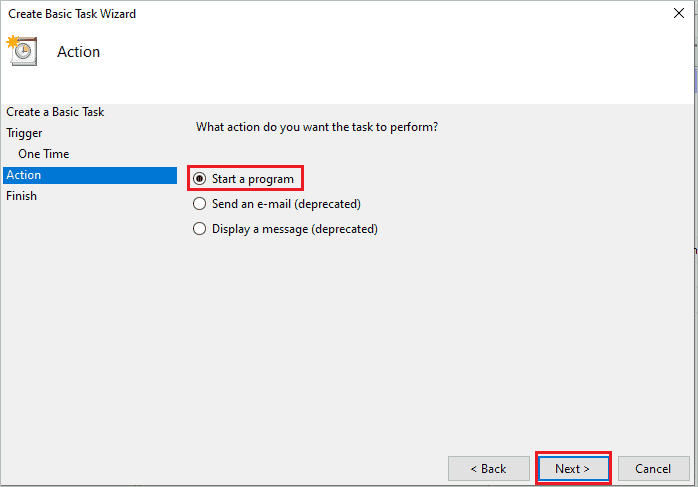
Step 6: Select Start a program and click on Next.
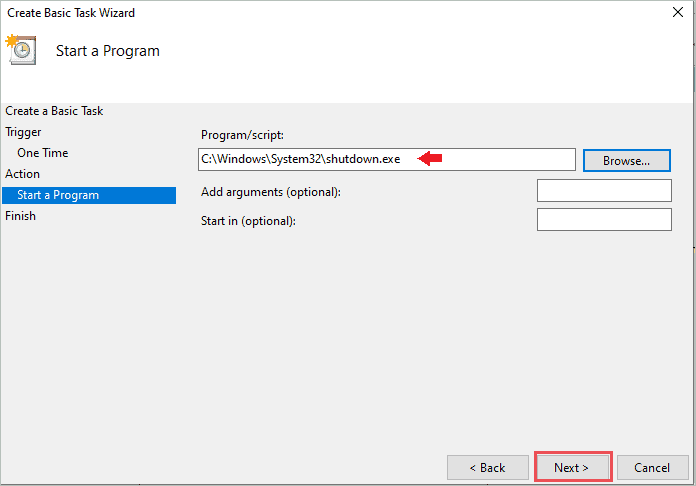
Step 7: In the Start a Program window, click on the Browse button and then go to –
C:\Windows\System32In the System32 folder, select shutdown.exe file. Once done, click on Next.
Step 8: Check the details in Summary and once you confirm everything, click on Finish.
Now, you know how to set the computer to turn off at a certain time in Windows 10 using Task Scheduler. The automatic shutdown scheduler will run on its own at the mentioned time. The auto shutdown in Windows 10 using Task Scheduler is a lengthy process, but you don’t need to calculate time and execute commands.
4. Use PowerShell
You can use the shutdown –s –t number command in the PowerShell window as well.
Press Windows key + X and open Windows PowerShell from the quick link menu.
In the PowerShell window, type –
shutdown –s –t 3600Next, press Enter button.

You will be notified when the Windows shutdown is scheduled.
5. Use Third-party App
You can use third-party software to auto shutdown Windows 10 PC. In addition, there are many applications available in the market that can shut down your computer automatically.
If you like listening to music while dozing off, you can use Sleep Timer. It works with many music applications and is specifically designed for people who love to listen to music before sleeping.
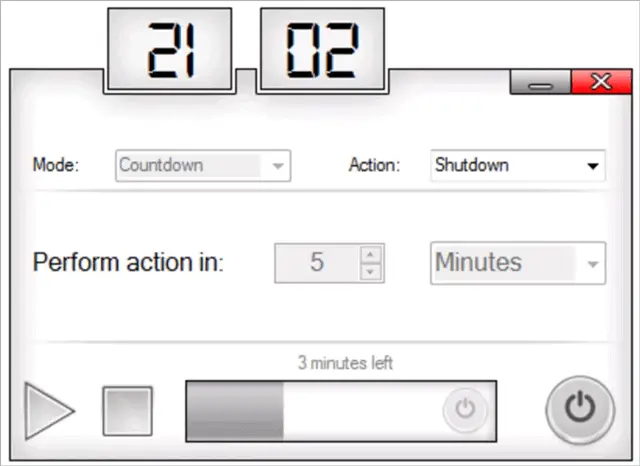
You can set the shutdown timer. Once the timer expires, the computer will stop the music and shut down the PC. Sleep Timer is an easy-to-use application with a simple interface, so anyone without any technical expertise can use it conveniently.
If you want an application that shutdowns, restarts, and logs off automatically, you can also check out PC Sleep software. The PC Sleep app can also put your computer in sleep mode automatically. You can select any software to auto shutdown Windows 10, depending on your needs.
How to Cancel Auto Shutdown in Windows 10
If you wish to cancel the configured auto shutdown, you can do so by using the command. Well, this will work only if the auto-shutdown was scheduled using Run, Command Prompt, or PowerShell.
To cancel auto shutdown in Windows 10, open Command Prompt or PowerShell terminal and execute shutdown -a command.
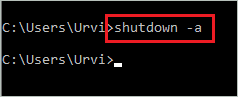
Once the command is executed successfully, you will receive a notification saying Logoff is canceled.

Now, the computer will no longer shut down on its own.
Conclusion
Sometimes, we need our systems to shut down automatically after completing a pending download or process. Windows allows you to configure your PC so that it can shut down automatically at a specified time. You can use command or create a scheduled task to auto shutdown Windows 10 PC.
Anyone without any technical expertise can set the computer to turn off at a certain time in Windows 10. All you need to know is what time you want your computer to shut down, and then you can set the command or task scheduler at that time.


