Headers are crucial when it comes to organizing data in Google Sheets and Microsoft Excel. A header makes it easier for users to identify and understand the type of information stored in a particular column. Hence, it is necessary to know how to add a header in Google Sheets.
There are two types of headers in Google Sheets. The Google Sheet header row helps in distinguishing data in columns. On the other hand, you can add an informational header similar to the one in a Google Doc to store important information like sheet title, page number, time, etc. Users can also remove headers in Google Docs or Sheets if they are unnecessary.
How To Add A Header In Google Sheets To Organize Columns
There are two simple methods in which you can add a Google Sheets header and ensure your sheet stays neatly organized and displays crucial information. Let’s check out how to add a header to Google sheets.
How To Add A Header In Google Sheets
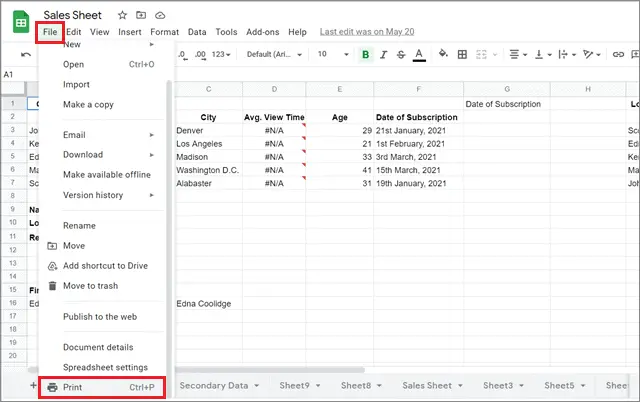
1. Open the Print options from the File menu.
2. Add the preset headers from the Headers & Footers section in the right sidebar.
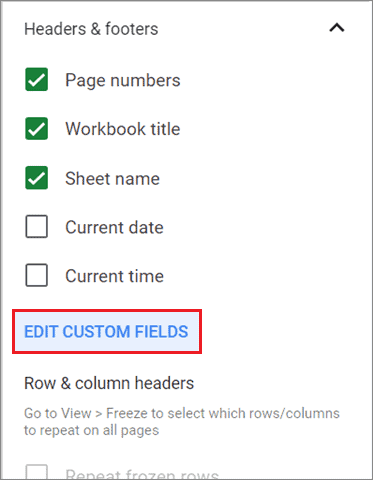
3. Add custom fields in the header by clicking on Add Custom Fields button.
Note: The quick steps mentioned above must have given you a basic idea of adding a header. Let’s look at the steps for Google Sheets header in detail, along with images.
How To Add An Informational Header In Google Sheet
Informational headers aren’t visible when you are working on the Google spreadsheet on your PC. They are only visible on a printed spreadsheet.
First and foremost, open the spreadsheet from Google Drive and click on the File menu to add a header in Google Sheets. Then, choose the Print settings from the drop down menu.
In the right sidebar, click on the Headers & Footers menu option. Now, you can select the default styles to include in the header and footer.
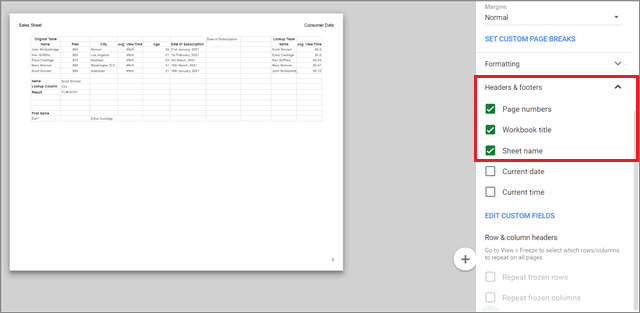
The preset header options like workbook title, sheet name, and page number are visible on the template on the left if you select them. You can select the check box and also add footers in the footer margin as per your preference.
You can also add custom fields directly to a header in Google Sheets. Click on the Edit Custom Fields option in the right sidebar.
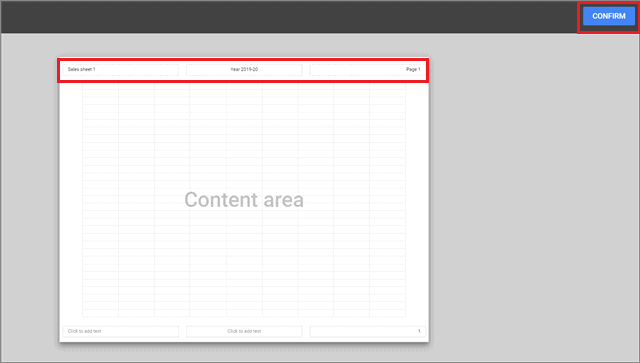
Now, add the custom fields directly on the spreadsheet visible on the left side. Finally, click on Confirm after adding the custom fields and carry on with the printing process.
How To Add A Header Row In Google Sheets
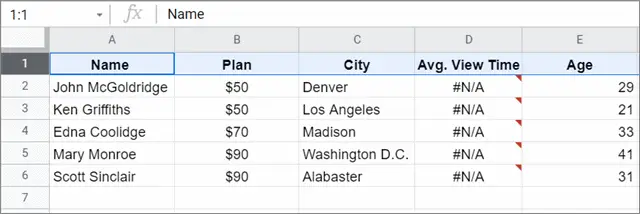
A header row is used to make sure the columns in your Google Sheets spreadsheet are correctly formatted and have an organized structure.
The best practice is to enter the Google Sheets header details first in the text box cell if you are starting with a blank Google sheet. Otherwise, you need to insert a new row above the current top row to enter the header details.
Also, make sure you embolden the row header text and select the appropriate font size so that the column names are clearly visible in the chunk of sample data.
The next thing to do is freeze the Google Sheets header row. This helps users view the header even when they scroll downwards.
Select the header row cell range by clicking on the row number. Click on the View menu and choose the Freeze option. Then, click 1 Row from the nested menu.
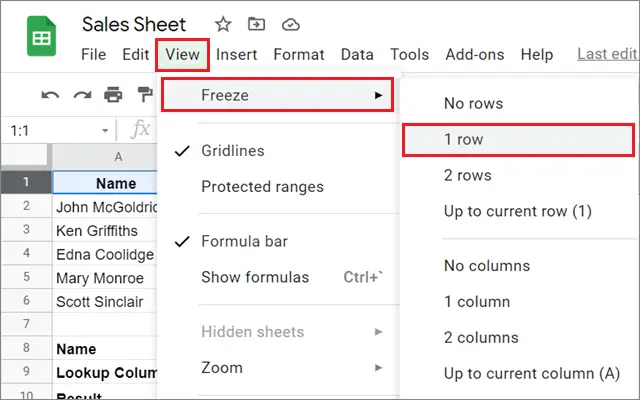
The selected row will freeze instantly. You can see a grey line below the header row that denotes its frozen state. You can also freeze multiple rows depending on your needs.

Freezing rows helps you avoid the hassle of scrolling upwards in large datasheets every time just to see what sort of column you are working on.
How To Add A Header In Google Sheets On Mobile
Unfortunately, you cannot add an informational header in Google Sheets on the mobile app. In terms of the header row, you can add the header details manually. Furthermore, there is no option to freeze rows in the Google Sheets app.
Conclusion
A header has two different meanings when it is used in Google Sheets. A header row is predominantly used to identify the data in separate columns. The absence of a header in Google Sheets might cause confusion while reading the data. You can also add a header in Google Sheets at the top to display important information like sheet name, date, page number, etc., while printing it. Also, it is essential that users understand the difference between document headings in Google Sheets, be it column headings, custom header, or the header section.
You can add a Google Sheets header either at the top of the document before printing or using the Freeze pane option. The Freeze option makes it easier to identify multiple columns when you need to scroll down frequently. Users can choose any method to add different headers as per their preferences and convenience. While the information header can be a matter of choice, a header row for differentiating between columns is mandatory to avoid confusion.


