Email service is an indispensable part of communication in the corporate world provided by Google Workspace. Hence, it is essential for users to send their emails to their colleagues on time. However, if you need to send emails at odd times, don’t worry because Gmail has your back in this case. If you know how to schedule an email in Gmail, you can easily eradicate this hurdle.
Google announced the email scheduling in April 2019, which has now become a reality. In lieu of just a few simple steps, users can schedule emails at any time of the day and avoid missing out on sending vital email messages to your colleagues. Before the arrival of Gmail’s new feature, users were required to use an email scheduler Chrome extension for scheduling emails.
The Simplest Way Of How To Schedule An Email In Gmail
Scheduling Gmail messages can be your best bet if you are communicating with colleagues who live in different time zones. In short, you can avoid missing out on communicating with people using this scheduling feature. That being said, let’s get to know how to schedule an email in Gmail.
How to schedule an email in Gmail
1. Open Gmail account and click on Compose.
2. Click on the drop-down arrow next to the Send button.
3. Choose your timing, date and time.
Considering that you have understood the basic steps, let’s take a look at the details along with images.
How To Schedule An Email In Gmail On Desktop
To begin with, you need to open a desktop web browser, ideally Google Chrome, to execute this step.
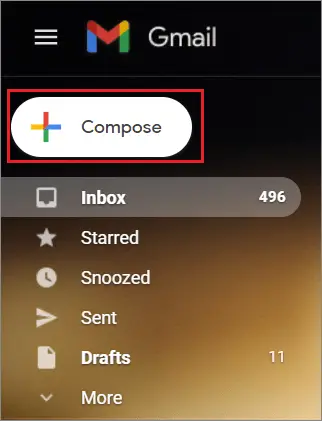
1. Open Gmail and Click on Compose
Once you open the browser, navigate to your Google inbox and click on Compose in the top left-hand corner.
2. Click on the Send Button Arrow
Then, type your message and click on the small dropdown arrow next to the Send button. Click on the ‘Schedule send’ option that appears.

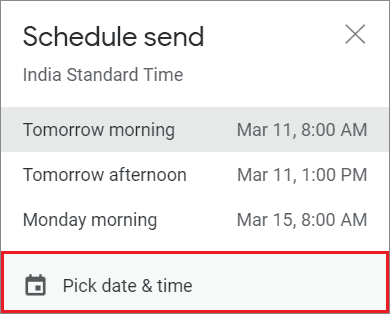
3. Choose your Timing
You will get four preset time options for sending Gmail emails in a window – Tomorrow morning, Tomorrow afternoon, Monday morning, and Pick date & time.
You can go for Pick date & time if you wish to customize the perfect time and day for the email.
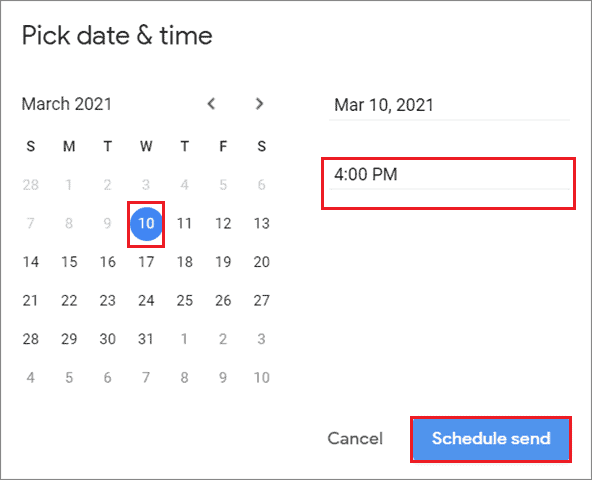
4. Pick Date and Time
Now, select the custom time and the specific date as per your convenience and click on Schedule send.
How To Cancel the Scheduled Message
If you have made a mistake in scheduling the mail or need to change the scheduled date and time for any other purpose, here’s the easy way to do it.
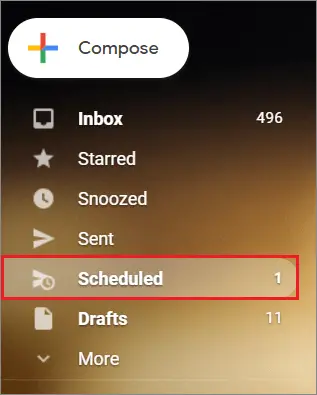
1. Click on Scheduled
Navigate to the left sidebar in your Gmail inbox. Locate and click on the Scheduled option in the sidebar.
2. Select the Mail and Cancel it
Now, select the mail that you want to cancel and click on Cancel send at the top.

Once you cancel the scheduling, the email will be saved in the draft folder and you can access it from there.
How To Schedule An Email On Mobile
If you don’t have a PC at hand for using the scheduling tool, you can know how to schedule an email in Gmail using the Android or iOS app.
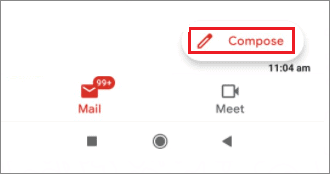
1. Click on Compose
In the Gmail app, tap on Compose to open the Compose window write a new mail.
2. Tap on Three Vertical Lines
Now, tap on the three vertical lines in the top-left corner.
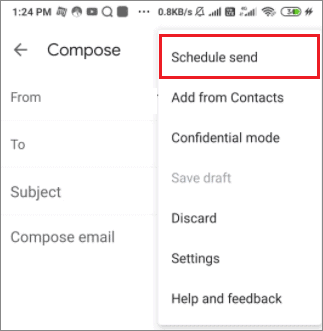
3. Select Schedule send
Tap on the Schedule send option from the drop-down menu.
4. Select Date and Time
Next, you will see the same options for scheduling as you saw in the desktop method. Click on Date and Time from the available options.
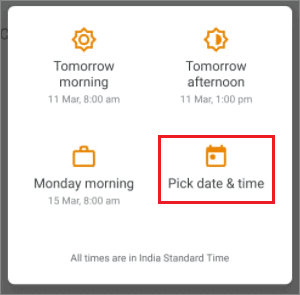
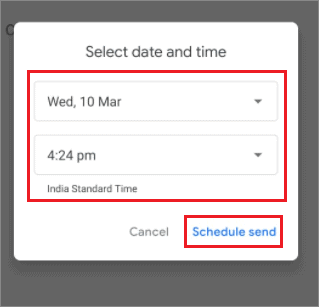
5. Schedule the Email
Once you tap on Date and time, a pop-up menu will appear on the screen. Choose the appropriate date and time as per your preferences and select the Save button.
How To Cancel A Scheduled Mail On Mobile
Now that you know how to schedule an email in Gmail on a smartphone device, it’s also essential to know how to cancel the scheduled time for the mail.
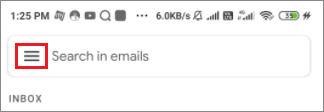
1. Tap on Three horizontal lines
Once you open the Gmail mobile app, tap on the three horizontal lines in the top left corner, also called the hamburger.

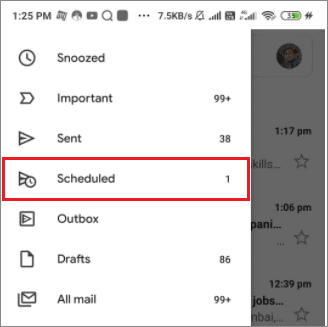
2. Select Scheduled
Scroll down in the left sidebar and select Scheduled from the list of options.
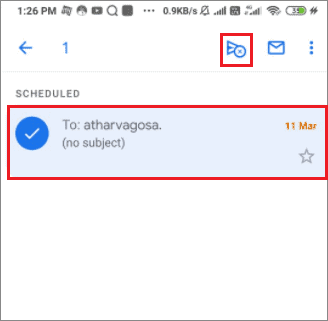
3. Cancel the Scheduled Emails
Now, select the scheduled email and tap on the Unschedule option at the top.
Scheduled sending is one of the best ways to ensure seamless communication with your recipients. You can also use other email features like read receipts or the Out of Office facility in Gmail to make sure you maintain clear communication with your contacts via emails.
Conclusion
Ever since Google introduced email scheduling in Gmail, users can now easily ensure communication with their colleagues even in times when they are unavailable. It’s safe to say that this function acts as a boon especially for those users who work with people from different time zones.
So, if you know how to schedule an email in Gmail, you are all set! It is also important to note that you can schedule an email using the Gmail app on your Android or iOS mobile devices. That being said, using the email scheduling feature isn’t mandatory for every Gmail user.


