Windows 10 and 11 users use a PIN on the login screen to make the login process faster than a password. But if you get the Windows 11 PIN not available, things won’t be as convenient as they should be. The error presents itself as Something went wrong and your PIN is no longer available or something in a similar line.
The PIN is no longer available due to a change to the security settings or the corrupted system files are in play. The problem may also be inside the NGC folder, where the login information is saved. If you are able to get past the PIN is not available issue, you can set up your PIN manually and fix the problem forever.
How To Fix Windows 11 PIN Not Available
A Windows 11 PIN not available screen will naturally lead you to try restarting your PC. If the PIN code is not working, it could be due to a faulty keyboard. So, try the on-screen keyboard to be safe. Another thing you can do is uninstall the third-party antivirus software. If none of these are good enough to help you fix the Windows PIN issue, here are a few solutions to try.
1. Login With Password
If you have a local or Microsoft user account, it is a great relief for your Windows 11 PIN not available problem. Once you gain entry to your PC using your Microsoft account password instead of the PIN, you can reset the PIN and end the issue.
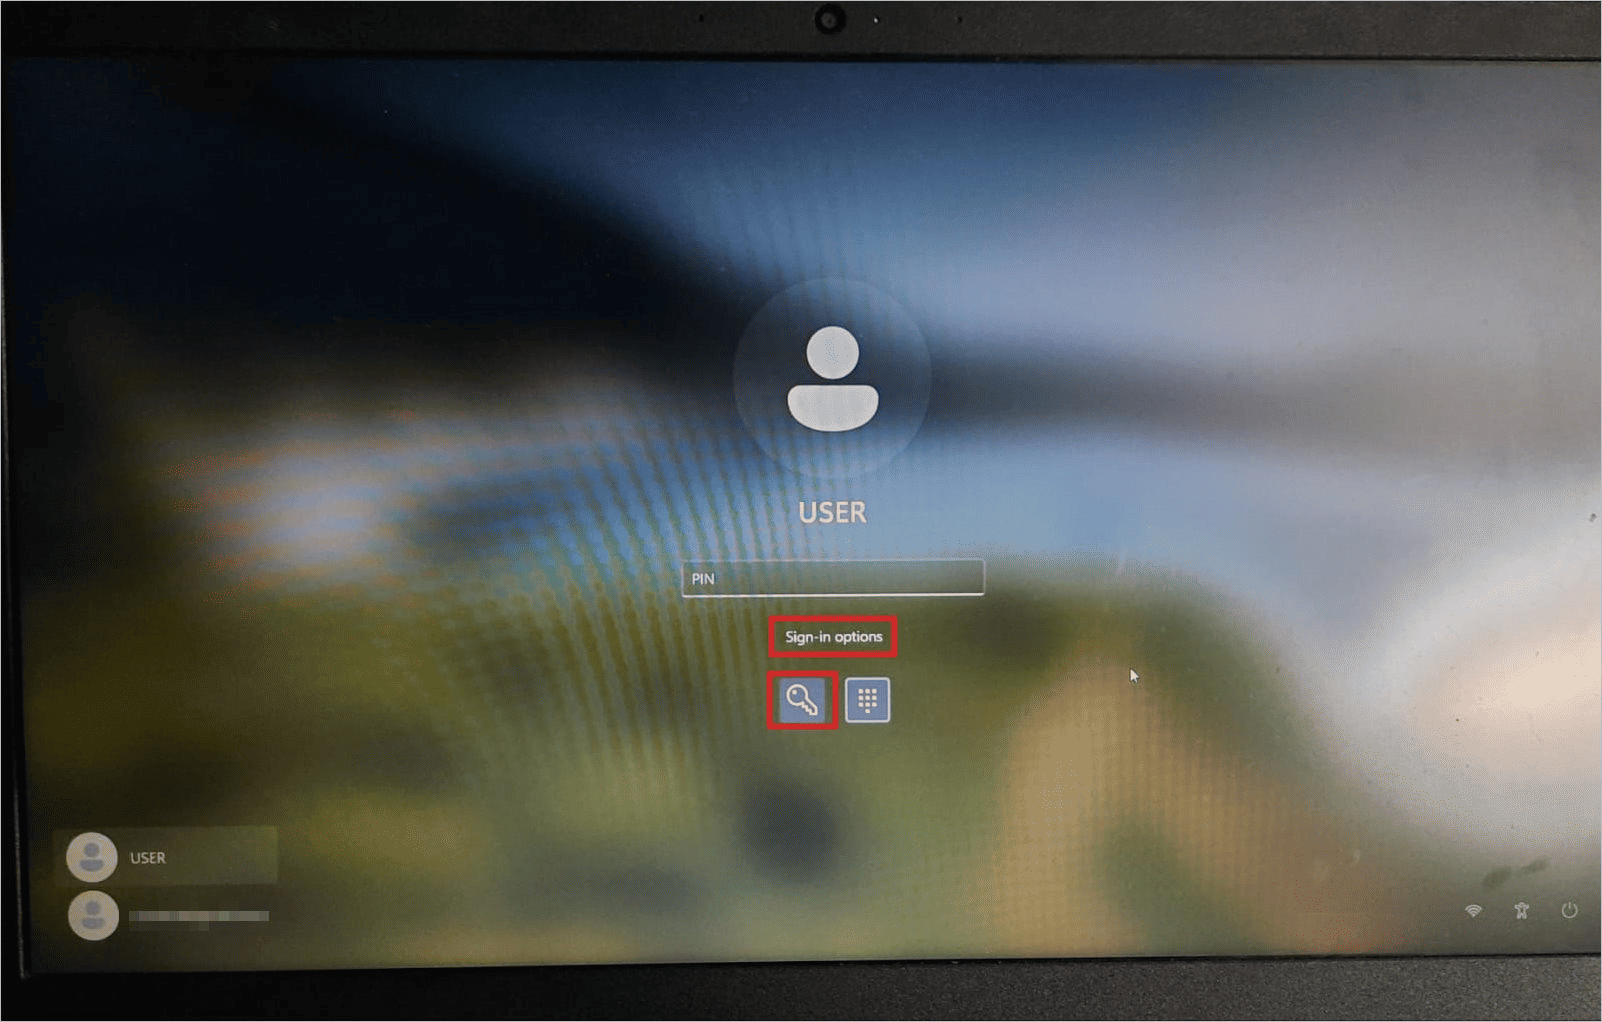
Press any key on the lock screen to take you to the sign-in screen.
Click “Sign-in options.” You will now be able to enter your password and sign in to your device.
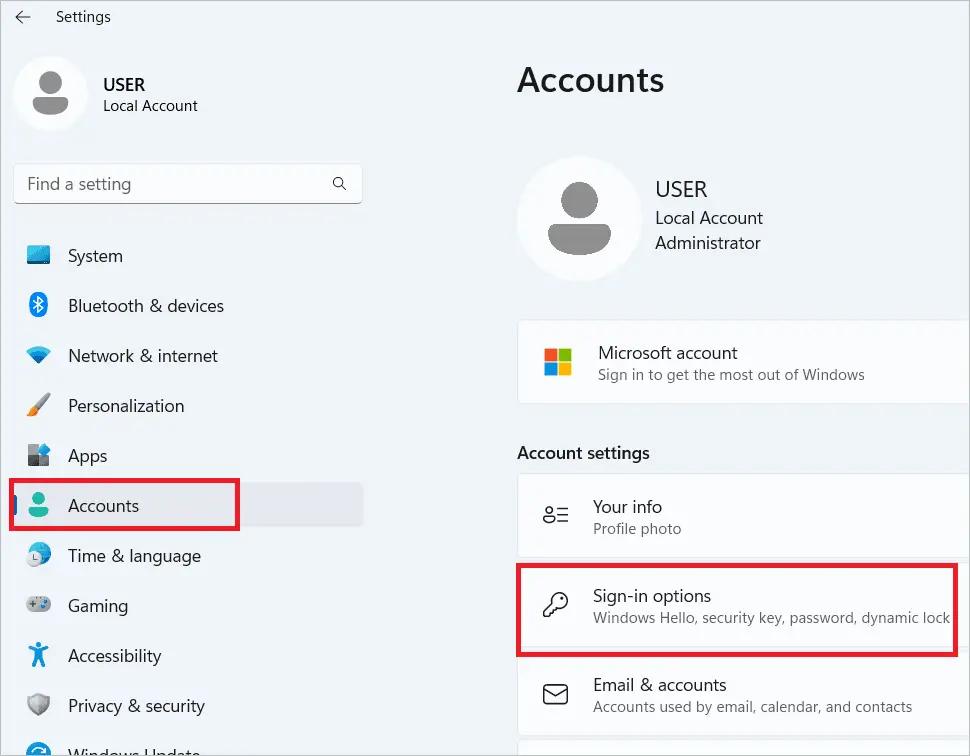
Open Settings by pressing the Windows key + I, and navigate to Accounts > Sign-in options.
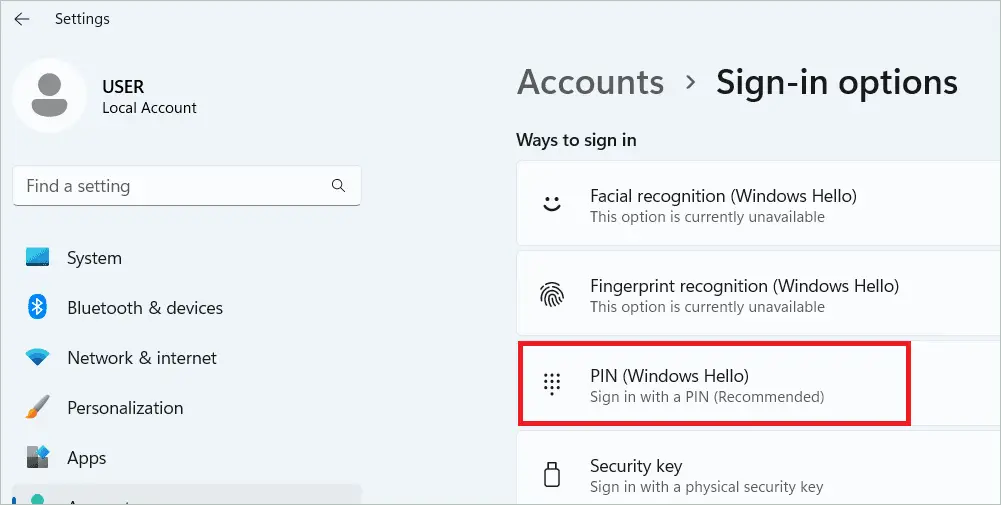
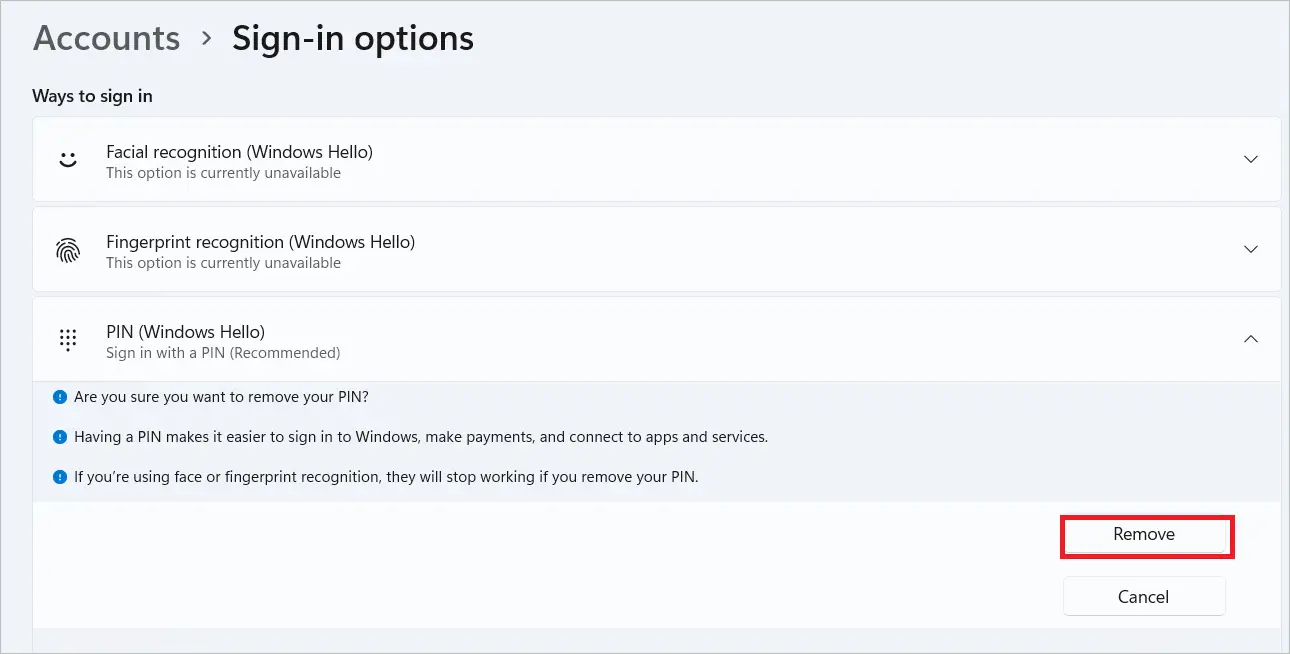
Select “PIN (Windows Hello).”
Click the “Remove” button to remove the PIN and add another one. You can also use the I forgot my PIN option and continue from there.
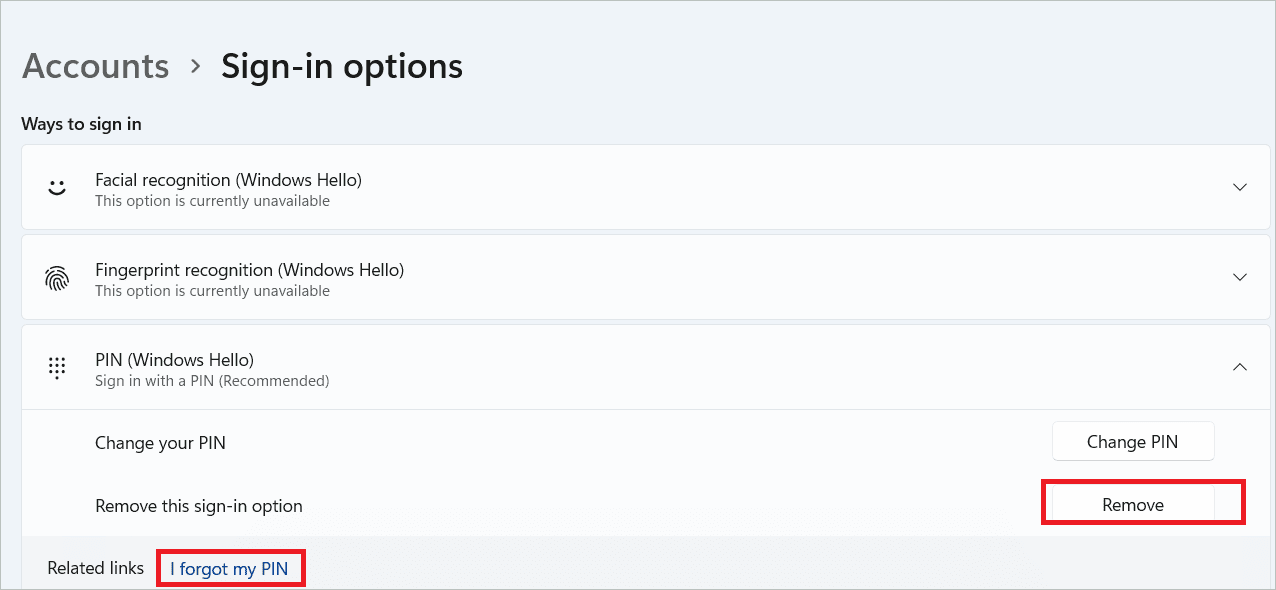
Click “Remove” again to confirm.
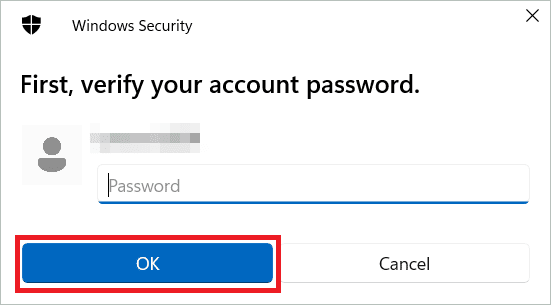
Windows will ask for your account password. Provide it and click “OK” to remove the pin.
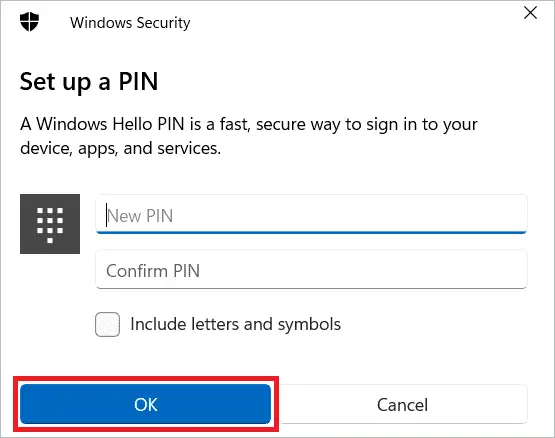
Now, click “Set up” to create a new pin.

Enter the new PIN code, re-enter it, and click “OK.”
Log in again using the PIN and check if you are able to fix the issue.
2. Uninstall Windows Update
If you suspect that the Windows 11 PIN is no longer available issue popped up after a new Windows update, you can uninstall the update and check again.
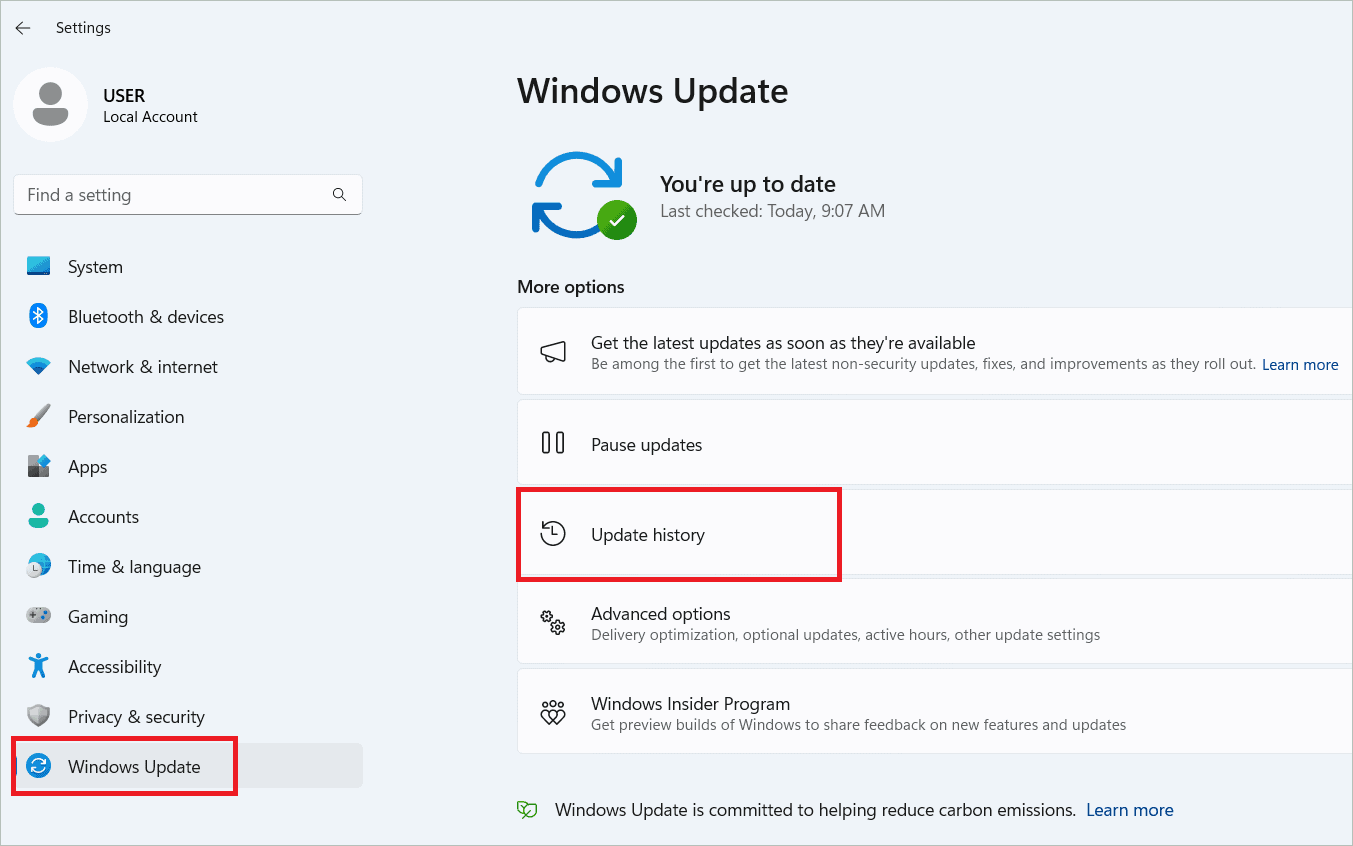
Press the Windows key + I to open Settings. Select Windows Update > Update history.
Select “Uninstall updates” under Related settings.
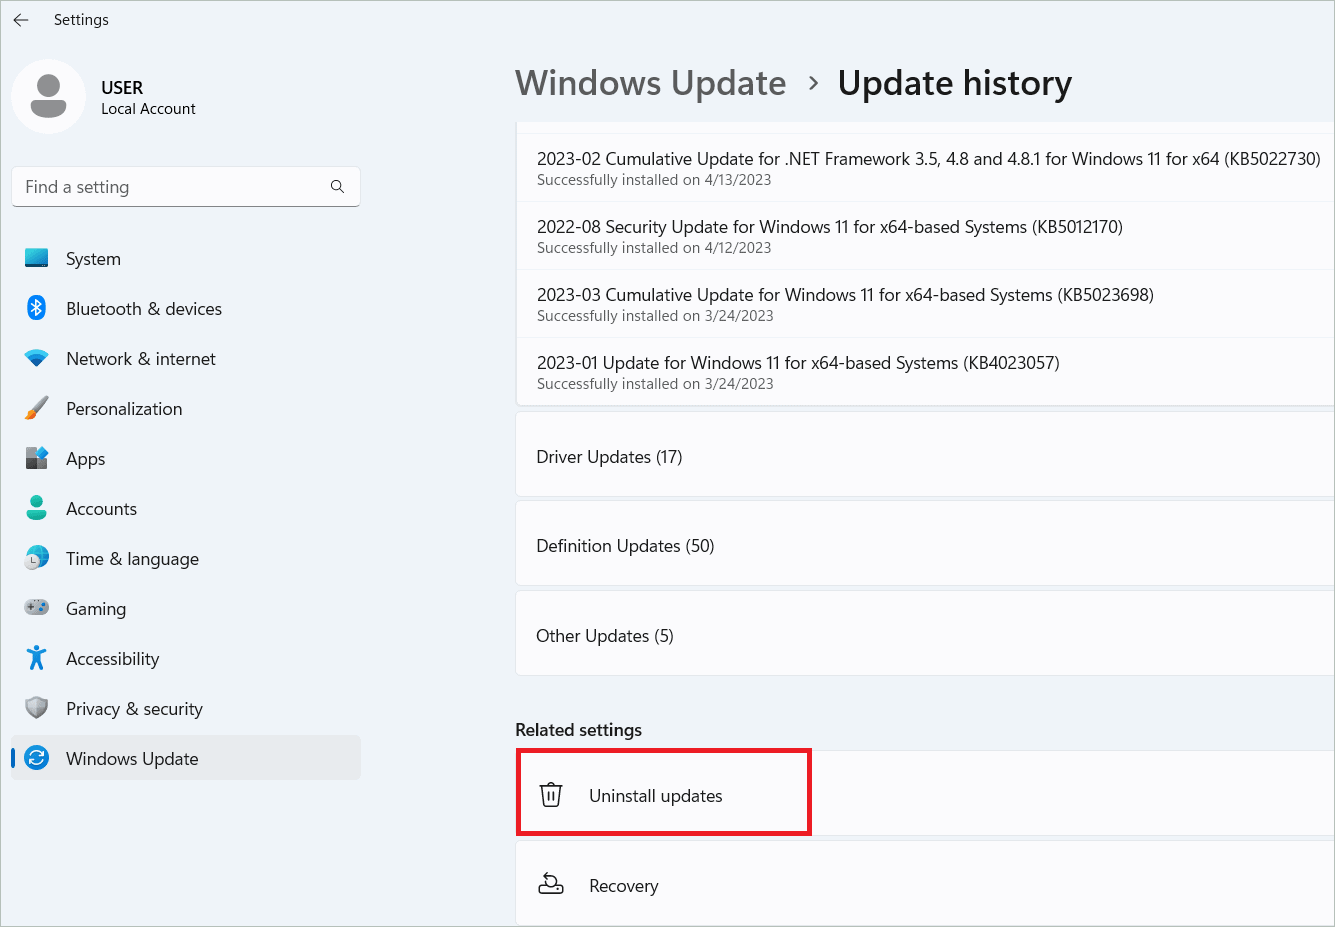
All the updates will be listed here. Locate the update you want to uninstall and click the “Uninstall” button.

Alternatively, you can go to the Windows Recovery Environment and perform the action if you are not able to sign in.
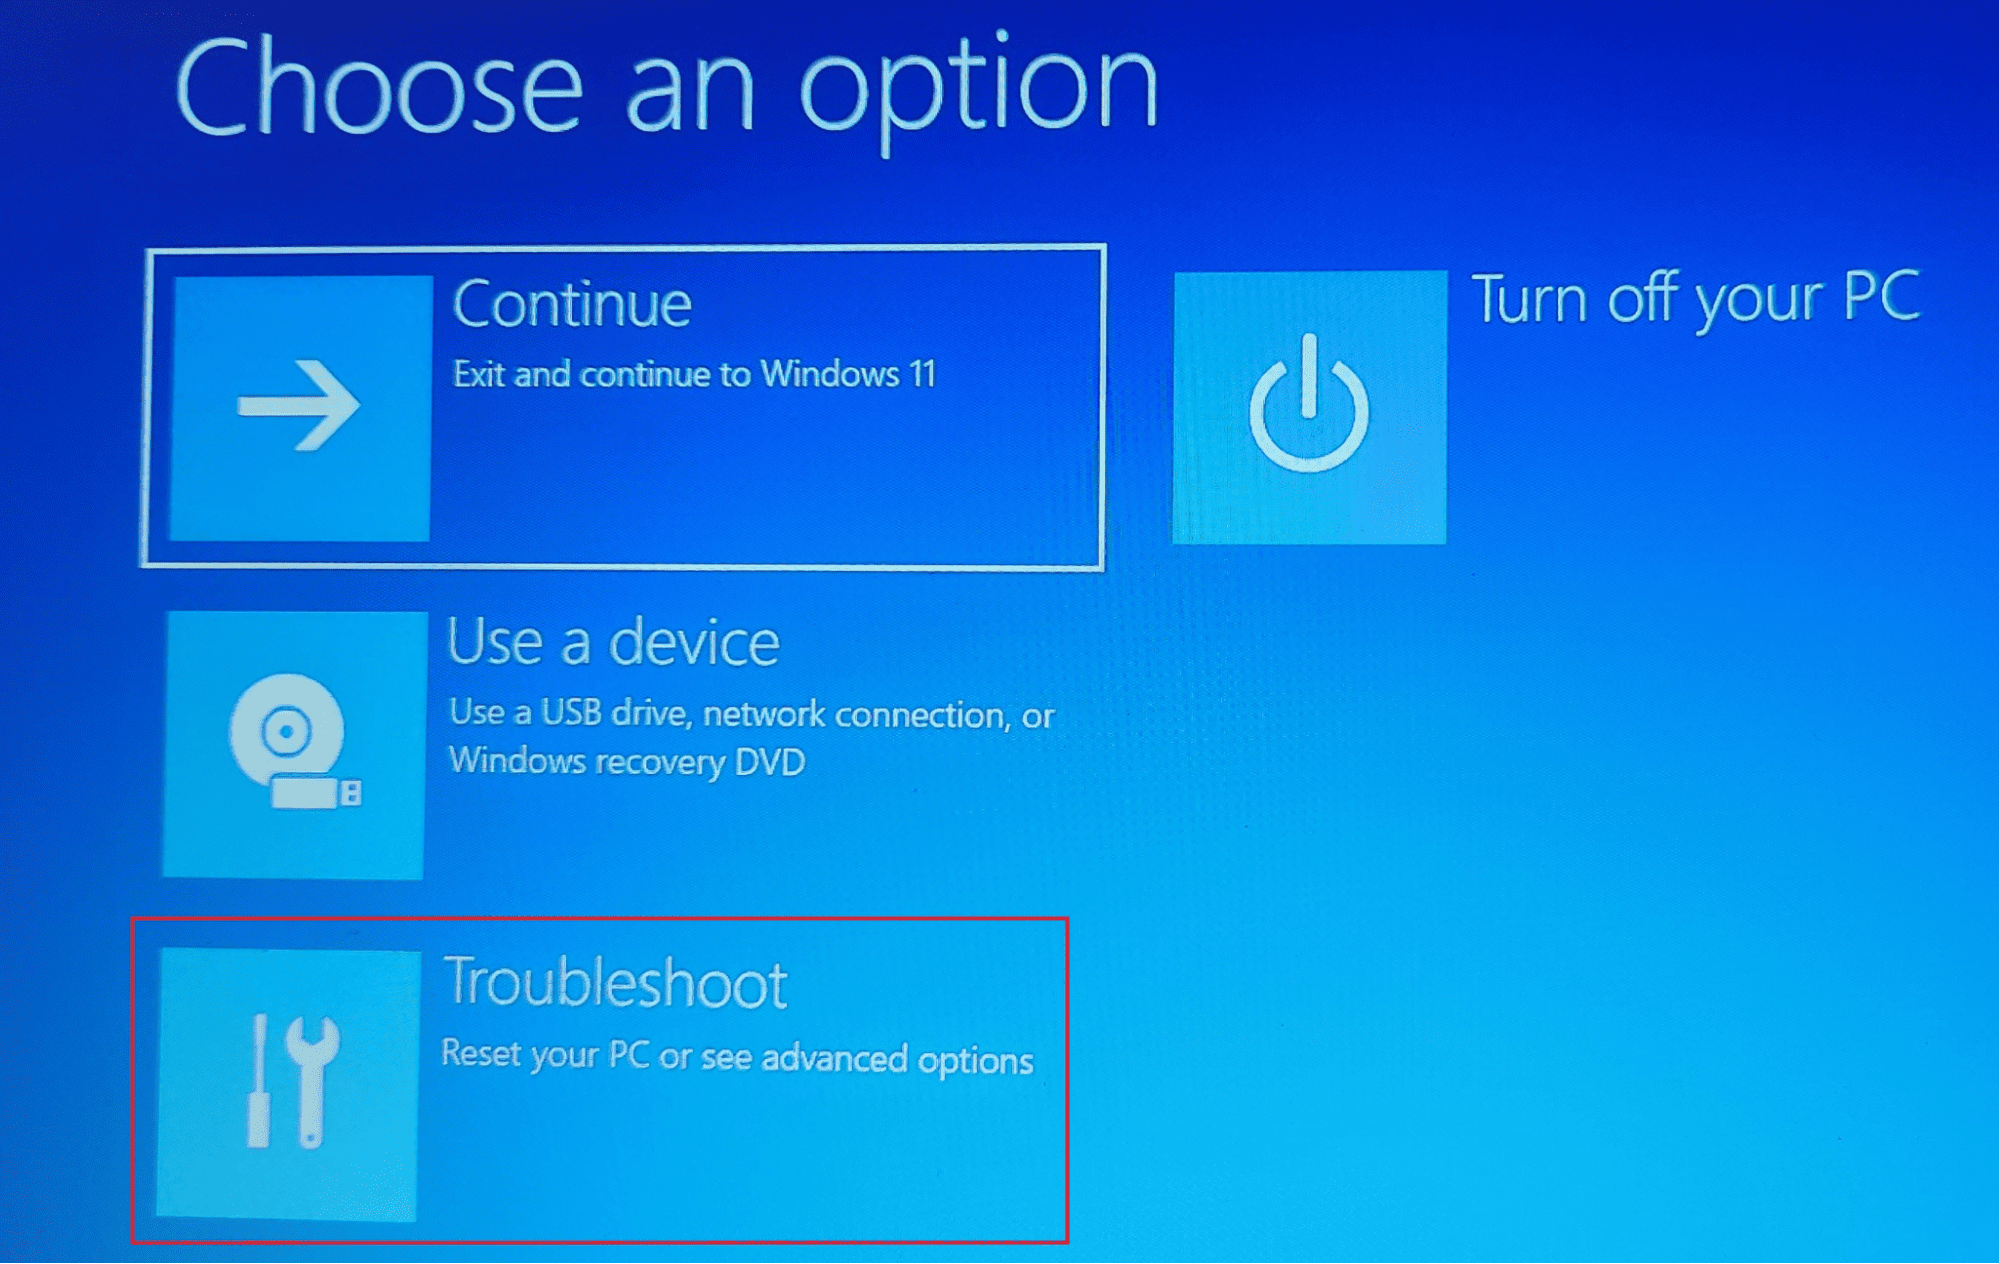
Press and hold the Power button to turn your device off and then press it again to turn on. Repeat it thrice, and you will enter the Windows RE.
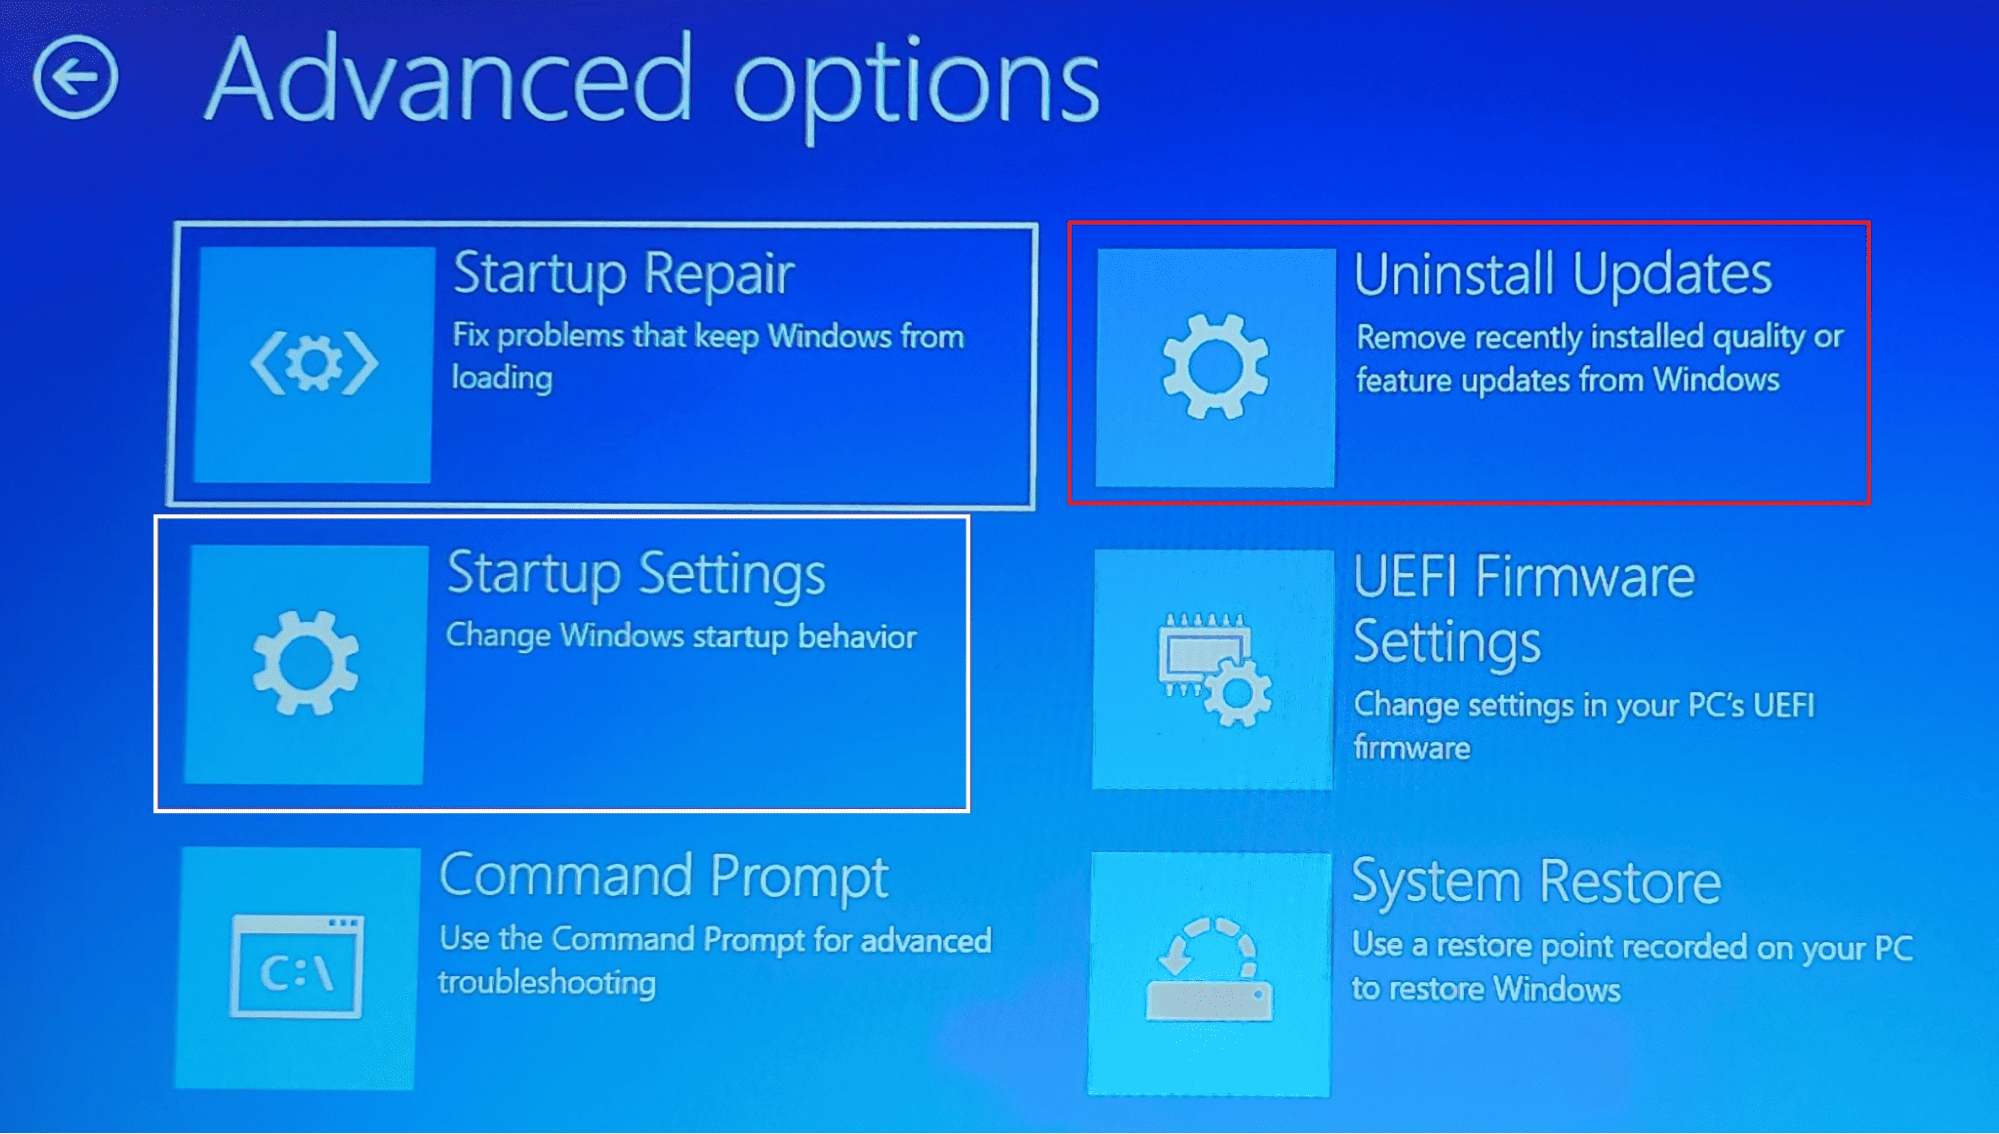
Select Troubleshoot > Advanced Options > Uninstall Updates.

When the updates are listed, uninstall the desired ones, and you must be able to log in successfully.
3. Startup Repair
Startup Repair is a process that corrects the damaged system files so that Windows doesn’t face problems while starting. Performing a Startup Repair might solve your Windows 11 PIN not available issue. It is initiated from the Windows recovery environment, which we will see below.
Enter the Windows RE as the previous method explains and select Troubleshoot > Advanced Options > Startup Repair.

When the repair process starts, Windows fixes the issues with the startup files.
4. Delete NGC Folder Contents
The NGC folder stores your login information, including your fingerprint and PIN. If the folder is corrupted or has permission issues, you need to delete the folder and set up a PIN again. Here are the steps to delete the NGC folder by taking ownership of the folder.
Open the File Explorer, paste the following path in the address bar, and press Enter.
C:\WINDOWS\ServiceProfiles\LocalService\AppData\Local\MicrosoftIf it says that you don’t have permission to access the folder, click “Continue” on the prompt.

To delete the folder, you need to change the permission. So, right-click on the NGC folder and select “Properties.”

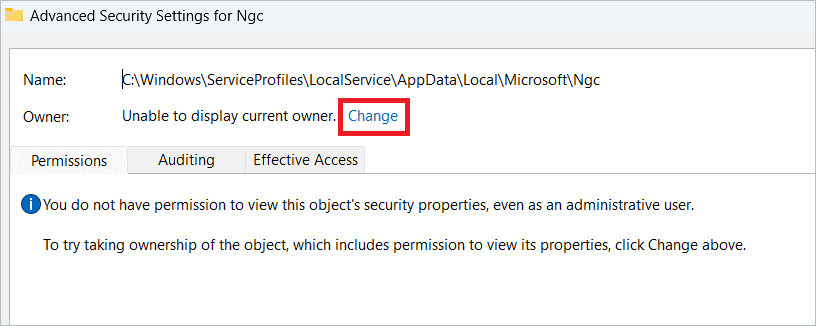
Select the Security tab and click “Advanced.”

Click “Change” seen near Owner.
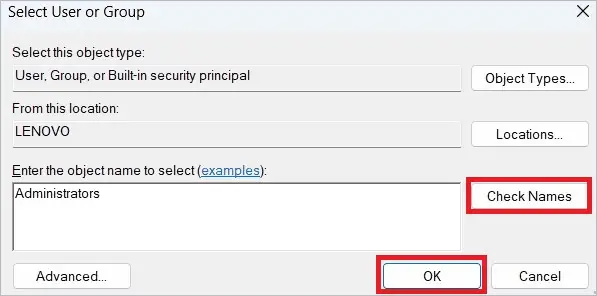
Type “Administrators” in the “Enter the object name to select” field if you have the administrator account. Then, click “Check Names” and “OK” to close the window.
In the Advanced Security Settings for NGC window, check the “Replace owner on subcontainers and objects” box, click “Apply” and “OK.”
Now, you can delete the NGC folder contents. Then, you can change the PIN using the Settings app.
5. Create A New User Account
If you find the Windows 11 PIN not available, you can try creating a new local user account. For some reason, this workaround has worked for many users. When you create a local account in Windows 11, you no longer have to manage the old pin, which is not working.
Open Settings and select Accounts > Other users. Next, click the “Add account” button.
Select I don’t have this person’s sign-in information > Add a user without a Microsoft account. Finally, add the username and password, and click “OK” to complete the account creation.
You can use the new username and password of the new account and login effortlessly, and even create a new PIN.
6. Modify Local Group Policy Settings
The Local Group Policy Settings is accessible only to users of Windows 11 Professional, Enterprise, and Education editions. So, if you have got any of these, you can modify the Group Policy Settings to remove the PIN error in Windows.
Type “gpedit.msc” and click “OK.”
In the Local Group Policy Editor, navigate to Computer Configuration > Administrative Templates > System.
On the right side, double-click “Logon” and then double-click “Turn on convenience PIN sign-in.”
Select “Enabled” in the next window, and click “Apply” and “OK.”
7. Enable TPM
TPM or Trusted Platform Module offers many security functions to your Windows computer. It generates keys and restricts unauthorized people from accessing your device. It also supports Windows Hello. So, it is important to know how to enable TPM 2.0 (TPM 2.0 is the compatible version for Windows 11), so you may not face Windows 11 PIN not available.
Open Settings and go to Advanced Options> Recovery. Click the “Restart” button near Advanced Startup under Recovery options.
You will enter the Windows RE. Select Troubleshoot > Advanced options > UEFI Firmware.
Click the “Restart” button in the UEFI Firmware Settings window. When you enter the BIOS menu, select Settings > Security > Trusted Computing. Here select your TPM device. Then select “Security Device Support” and click “Enabled” in the pop-up menu. Do remember to select the “Save & Exit” option to exit BIOS so the changes apply.
8. Perform A Clean Boot
Only the important Microsoft service will be loaded when you clean boot your computer. All the applications and tools installed on your PC are disabled in clean boot. So if you have installed any app recently, you can find out whether it is the cause of the Windows 11 PIN not available issue.
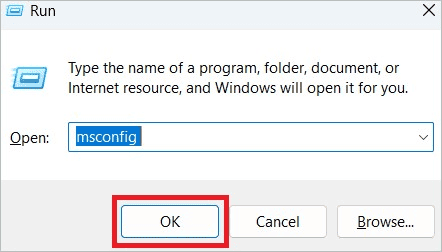
Type “msconfig” in the Run dialog box and click “OK.”
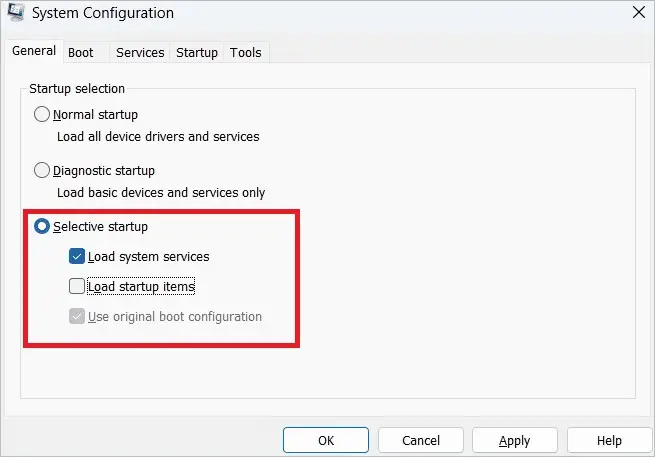
In the System Configuration window, go to the General tab and Select the Selective Startup radio button. Then, check “Load system services” and “Use original boot configuration” and uncheck “Load startup items.”
Select the Services tab and check the “Hide all Microsoft services” box. Now, click the “Disable all” button, and click “Apply” and “OK.”

Once done, restart your PC and check if the PIN is working. If yes, uninstall the recently installed application.
9. Change The Startup Type of IPsec Policy Agent
Some users reported that changing the startup type of the IPsec Policy Agent helped solve the PIN login issue. So, you can try doing it from the Services window as detailed below.
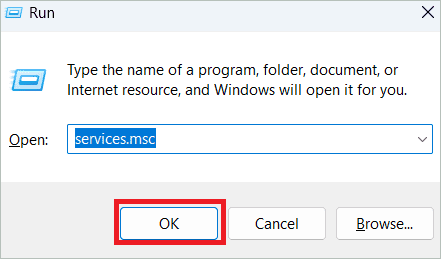
Press the Windows key + R to open Run. Type “services.msc” in it and click “OK.”
Double-click “IPsec Policy Agent” to open its Properties.

In the Startup type drop-down menu, select “Automatic.” Finally, click “Apply” and “OK” to save the changes.

10. System Restore
The process of System Restore includes taking back the system to a previous state when it was working fine without the Windows 11 PIN not available error. The OS automatically creates restore points before updates. You can also create one manually. So, here we will select a previously created restore point and perform System Restore.
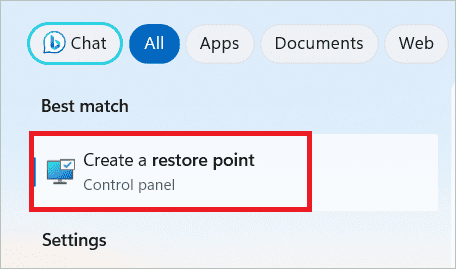
Type “restore point” in the search bar and open Create a restore point.
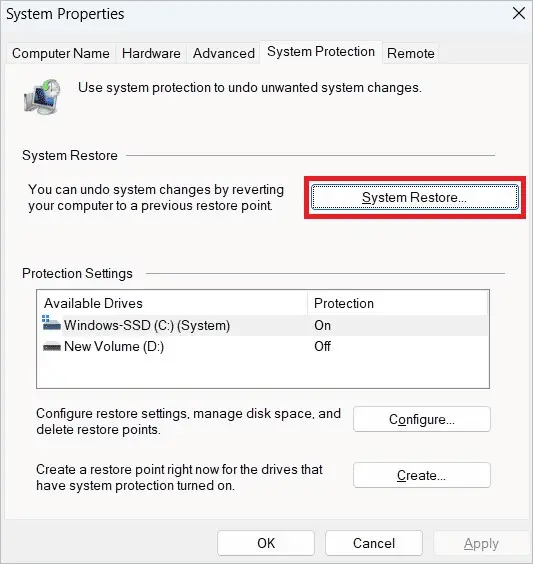
Click the “System Restore” button in the System Protection tab and select the restore point in the next window.
Now, your PC will restart and revert to its previous state.
11. Reset PC
When you reset your computer, all the configurations are set to the default values. So, all the settings you have made, including login credentials will be removed. Let us see how to reset the PC from the Settings app.
Open Settings and select System > Recovery.
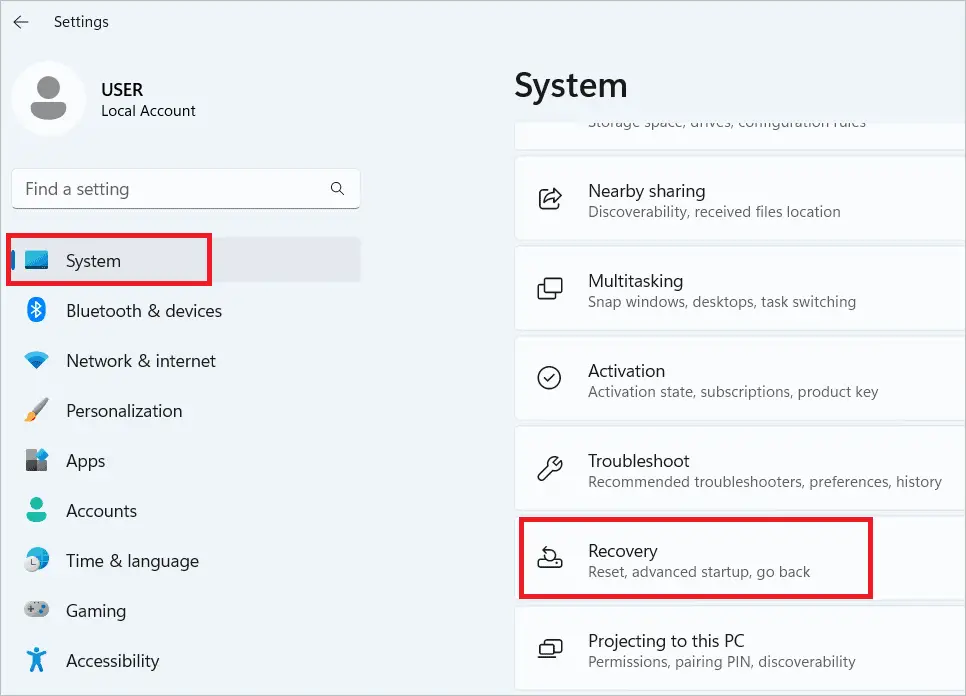
Click the “Reset PC” button under Recovery options.

You can choose between keeping your files or removing them in the next window. Choose one and confirm to reset the PC.
Final Thoughts
Windows 11 PC lets you log in using a password or PIN. But when you enter your PIN, you may find that something happened and your PIN isn’t available. If the Windows 11 PIN not available issue comes up often, you must check if you have entered the correct PIN. You can also restart your PC and check if you can log in now.
We give you several ways to fix the issue to make the current PIN work or reset your PIN. The error code may be due to system file corruption or some other misconfigured system settings. The post will give you all possible ways to identify and rectify the issue.


