Key Takeaways
- Disk Management on Windows 11 is used to perform advanced-level tasks.
- Using the tool, you can create a new drive, configure the partitions, and do many other tasks to enhance system performance.
- To get the tasks done, you must open the Disk Management utility, where many settings can be changed.
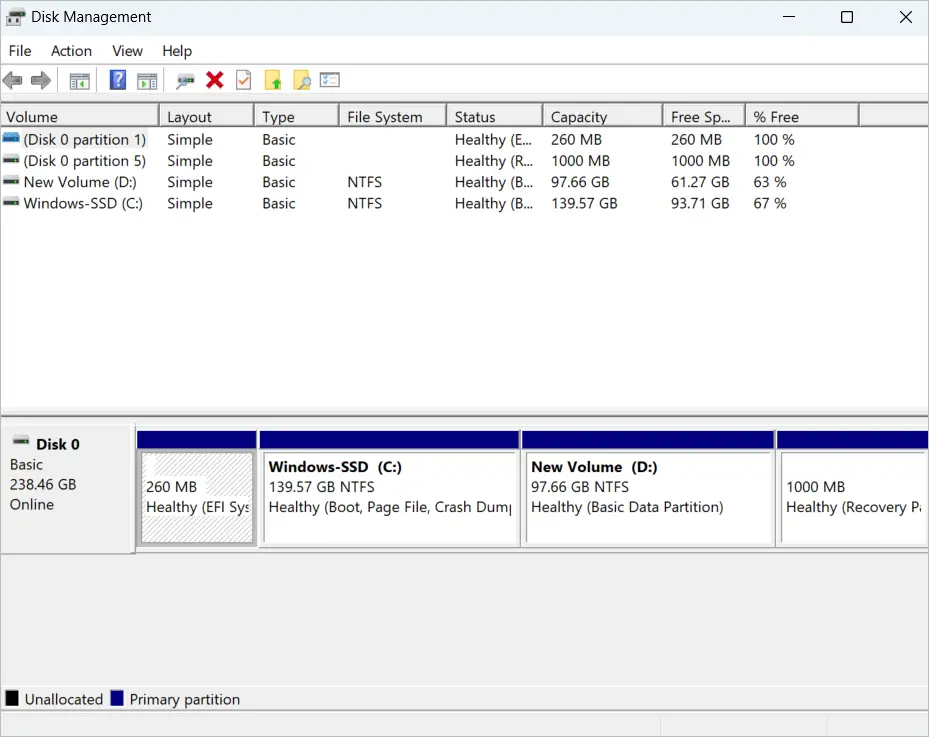
The built-in Disk Management tool can do more things than you imagined. You can access this powerful tool to set up the hard drive efficiently. The first step to making this happen is to open Disk Management on Windows 11. After that, you can view disk overviews and accomplish advanced storage tasks like creating a new disk drive, adjusting the partitions, changing the drive letter, and many others.
You can also use the Disk Management tool to customize its appearance and performance. Most of the tasks you perform using the utility are advanced ones. And these are vital for better management of the disks. Users with internal and external disks can use the tool as it works well with both. So, there is little need for additional software. Let us see how to get to Disk Management.
9 Ways To Open Disk Management On Windows 11
There are enough ways to open Disk Management on Windows 11 and change the current disk setup. Fortunately, most methods are simple and have only a few steps to follow. If you want to use the command line user interface, you can use that method, or if you simply want to search for the tool, you can use the search tool.
1. Open Disk Management on Windows 11 using Search Menu
Is there anything on your PC that the search tool doesn’t fetch? When you search for a file, app, or any other utility on your computer, the relevant search results will give you what you are looking for. The Search menu is the easiest way to open Disk Management on Windows 11. Here is how you can do it.
Click on the search icon in the taskbar to open the search box. Next, type “create and format hard disk partitions.” Then, open the app when it comes up.
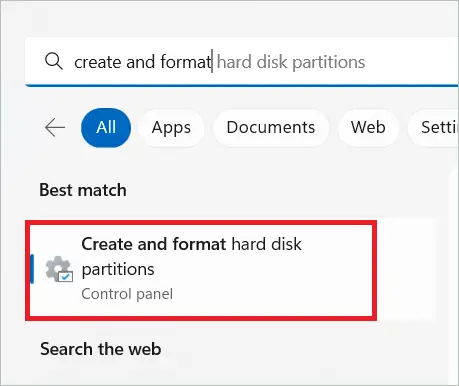
You have opened Disk Management with a simple search. You can now pay attention to disk management tasks.
2. Open Windows Disk Management using Quick Access Menu
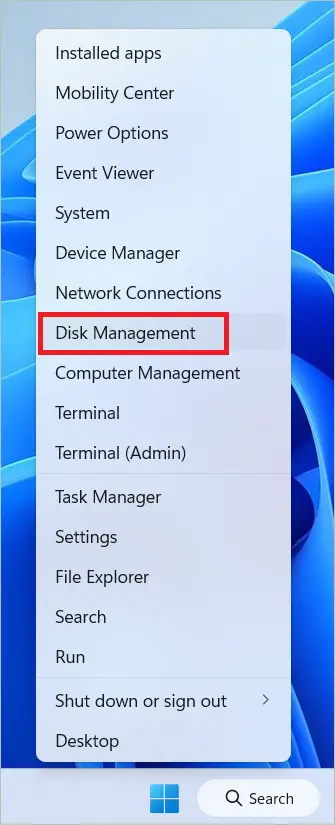
The Quick Access or Power User menu houses shortcuts to many utilities and important locations. Again, it is an easy option that opens the chosen option with a single click. You can open the menu using the keyboard shortcut Windows key + X (thus getting the name WinX menu) or right-clicking the start menu. Let us see the simple steps to open Disk Management on Windows 11.
Right-click on the start menu to open the Quick Access menu. Select “Disk Management” from the list of options to open it.
3. Open Windows 11 Disk Management using Run Command
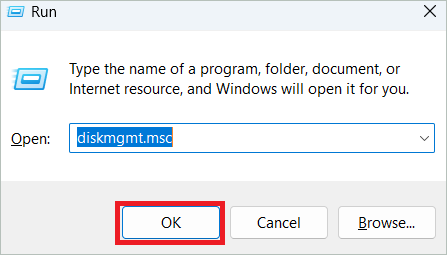
The Run command is a third method to open Disk Management on Windows 11. The Run command directly opens a file or an application if the path is known. However, it takes one extra step than the previous methods. Here, you must open the Run dialog box and execute the disk management Run command. Let us see how to do it.
Press Windows key + R to open the Run command box. Type “diskmgmt.msc” in the textbox and click “OK.”
4. Open Disk Management using PowerShell or Command Prompt
Users comfortable with command line methods can skip the GUI methods explained above. Both PowerShell and Command Prompt can be used to open Windows Disk Management. If you know the correct commands, the process is easy. Here are the steps.
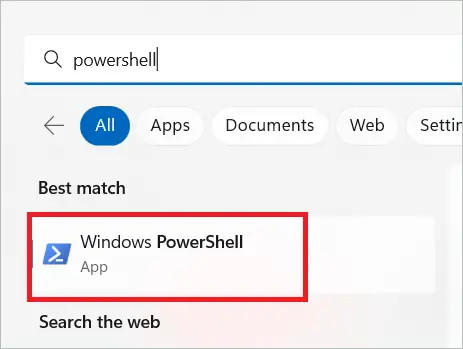
Click on the search icon and type “PowerShell.” Open Windows PowerShell when the option appears.
Type “diskmgmt” in the PowerShell window and press Enter to open Disk Management.

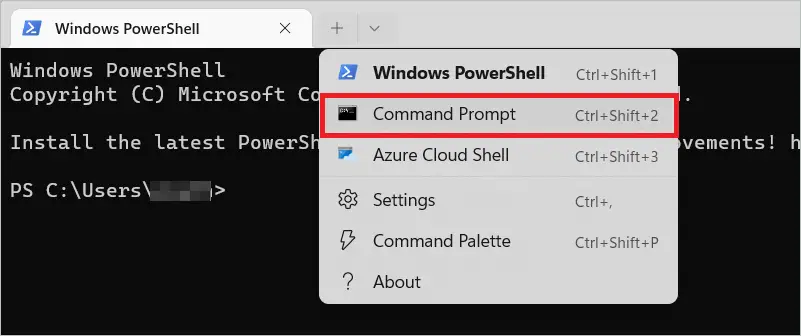
For the Command Prompt method, you must execute the command in the Command Prompt tab.
Click on the down arrow and select “Command Prompt” to open the Command Prompt window.
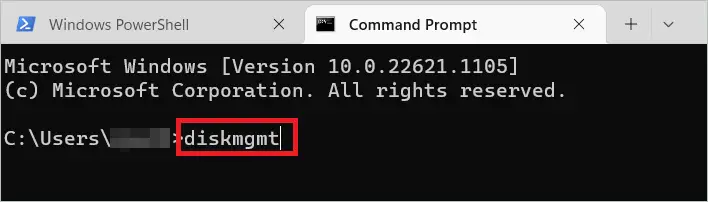
Type “diskmgmt” in the window and press Enter.
5. Open Disk Management on Windows 11 using Control Panel
The Control Panel helps configure some advanced hardware and software settings. Even though many options in the Control Panel are moved to Settings, it is still handy in navigating many settings. Here, we will use it to open Disk Management on Windows 11.
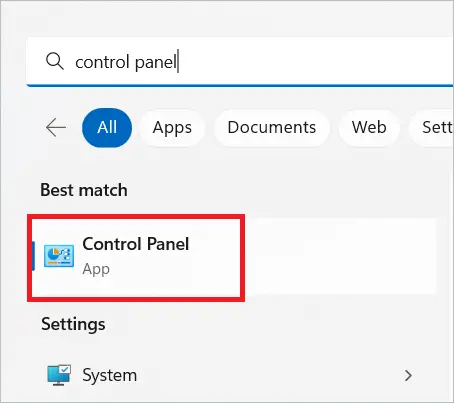
Use the search icon to search for the Control Panel and open the option when it comes up.
Select “System and Security” in the Control Panel window. If you cannot see the option, click on the View by drop-down menu and select “Category.”
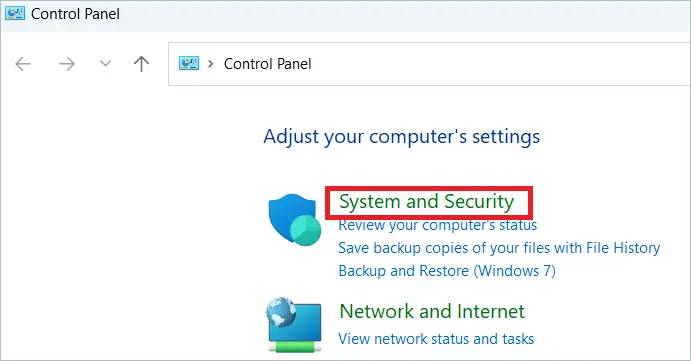
In the extreme bottom, click “Create and format hard disk partitions,” which will open Disk Management.

6. Open Windows 11 Disk Management using Task Manager
We usually go to the Task Manager to view the tasks running in the background and tweak some settings. It also allows us to run a new task, which we will utilize to open Disk Management. Given below are the steps for the same.
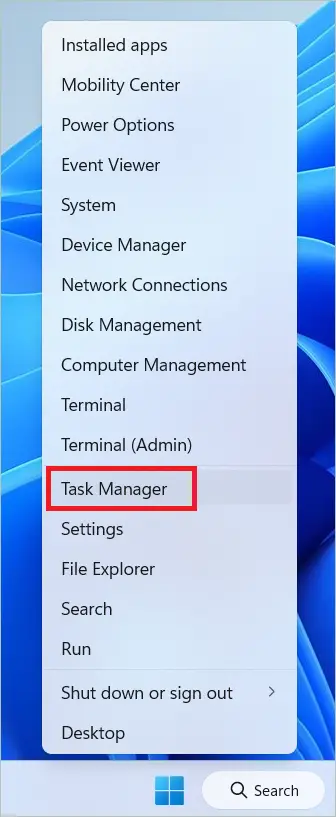
Right-click on the Start menu icon and select “Task Manager.”
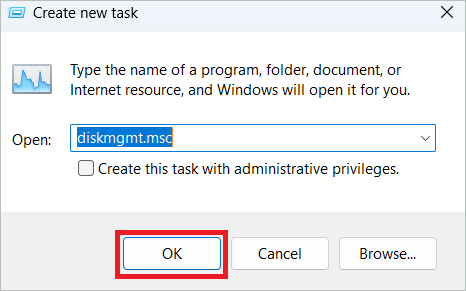
In the Task Manager window, click the Run new task option.

In the next window, type “diskmgmt.msc” and click “OK.” Now, Disk Management will be opened.
7. Open Disk Management in Windows 11 using Computer Management App
The Computer Management app contains many tools that help perform various tasks on your computer. It is beneficial getting things done from a single place. Let’s see how to open Disk Management on Windows 11 using the abovementioned app.
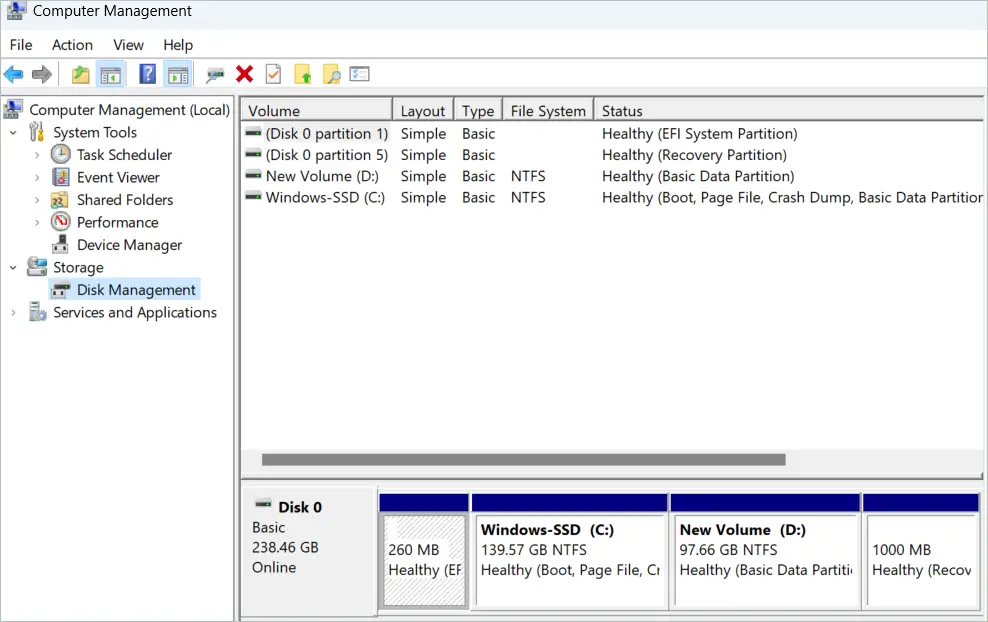
Type “computer management” in the search bar and open the Computer Management app.
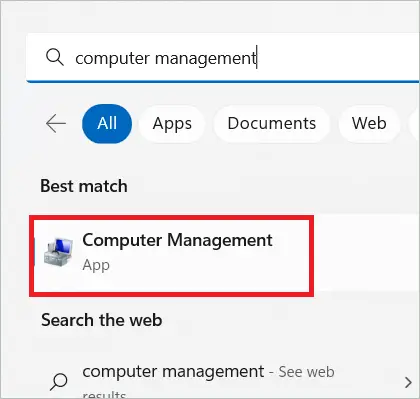
In the left column, you will see Disk Management under Storage. Click on it to open the Disk Management window.
8. Open Windows Disk Management from File Explorer
Opening Disk Management on Windows 11 from File Explorer is a pretty straightforward method. The idea is to open it by navigating to the file location. You can do this if you know the path of the file. Follow the steps given here.
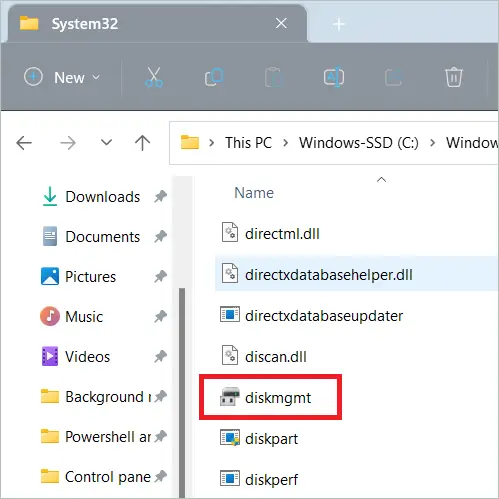
Open File Explorer and go to Disk C > Windows > System32. On the right pane, you will see a file named diskmgmt. Double-click on it, and the Disk Management window will open.
9. Open Disk Management in Windows 11 via Shortcut
Desktop shortcuts come in handy to quickly open folders, apps, etc. Windows 11 creates shortcuts for certain apps by default. But, there is none for Disk Management. So, you can create one and place it on the desktop and open it whenever necessary. Here is how to open Disk Management on Windows 11 by creating a shortcut.
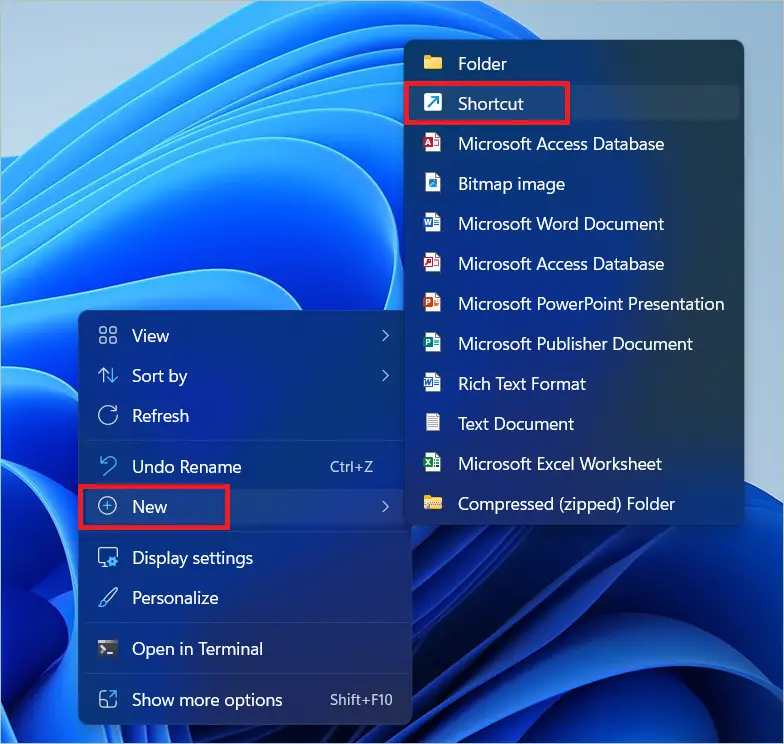
Right-click anywhere on your desktop and select New > Shortcut.
In the Create Shortcut window, type “diskmgmt.msc” in the textbox near the Browse button, and click “Next.”
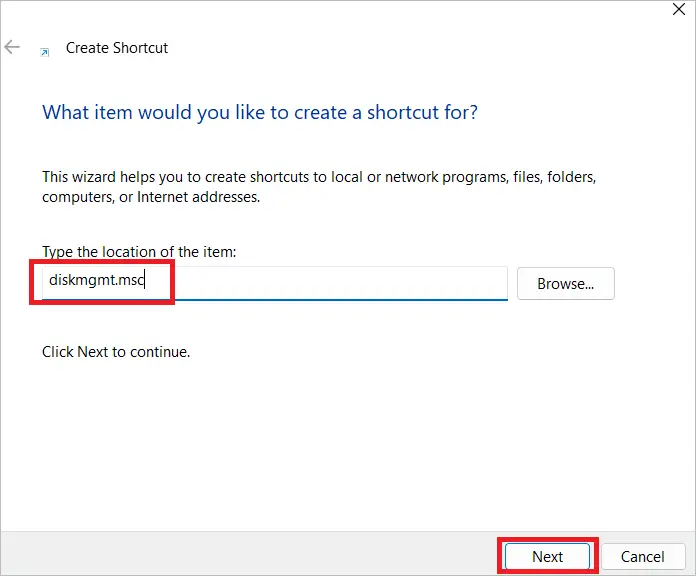
In the next window, enter a name for the shortcut, and click “Finish.”
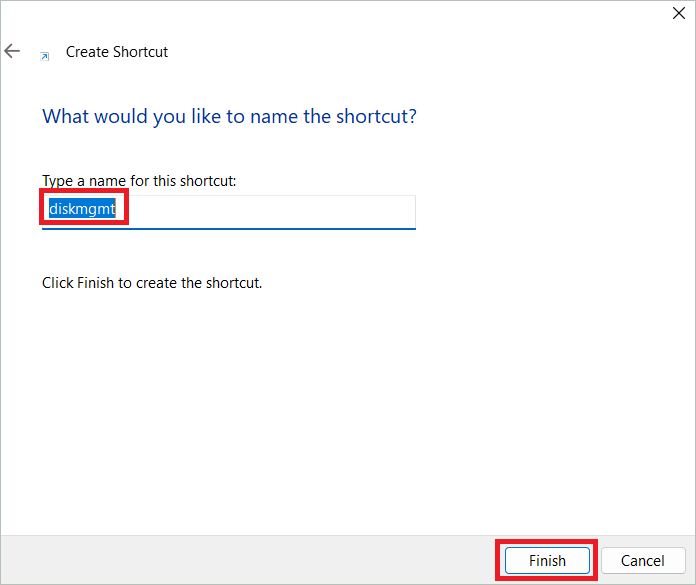
You will now have a Disk Management shortcut on your computer. Any time you want to open it, you can double-click on it.
Final Thoughts
The disk resources must be in good working order, so the system performance is not affected. The user-friendly Disk Management utility lets you perform many disk management operations like initiating new drives, configuring disk volume size, changing the disk letter, and more. You can get these done by opening Disk Management on Windows 11 instead of relying on third-party software.
We have listed the best methods to open Disk Management’s interface. These are all simple methods, so users can choose whichever they like. Once the utility is opened, you can find the disk customization options.


