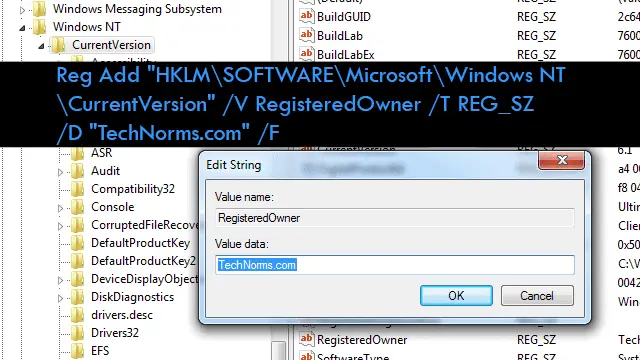
Everything Windows refers to when it comes to software installation directories, system variables, network mappings, and even basic system properties are found in the registry. When these values are present, changing them aren’t difficult at all.
The owner of a computer is the name used when the operating system was first installed. The string value used for this name is called RegisteredOwner and can be easily modified. No matter the method of changing the value, a registry tweak is what’s taking place. We’ll look at our options below.
Edit the registry manually to change the registered owner
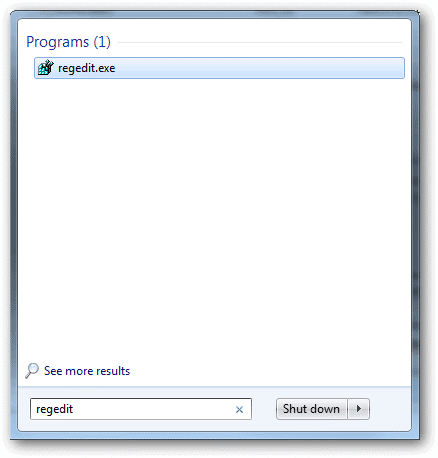
As always appropriate, open the Windows Registry Editor. In Windows 7 and 8 and search to open “regedit” from the Start Menu.
Open the folders necessary to arrive at “HKEY_LOCAL_MACHINE\SOFTWARE\Microsoft\Windows NT\CurrentVersion” for Windows XP, Vista, 7 and 8. Notice the information in the right pane. These values looks very familiar.
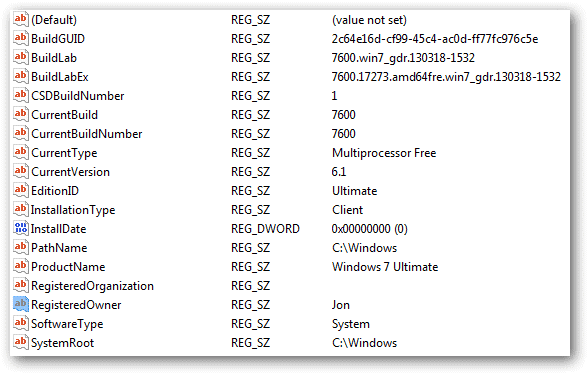
These are the values Windows pulls system information from like when you run “winver” from a command line. The “RegisteredOwner” string value from the registry directly determines what is listed for the name of the owner. On a side note, the “CurrentBuild” values as well as the “CurrentVersion” listed in the registry above are also what are used for more version information below.
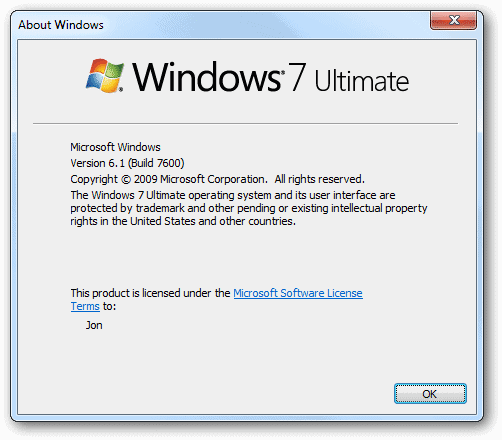
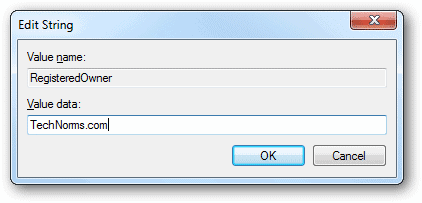
Simply double-click the “RegisteredOwner” string to modify it. Changes will not take effect until the first reboot.
Execute commands to change the registered owner
As opposed to other registry files we’ve created, this one can be different per person and will be reflected as such. In our example we’ll use “TechNorms.com” as the owner. Instead of wasting time making a registry file and running it only to then delete it, let’s take a look at how to execute the necessary commands from within the command prompt itself, thus eliminating the need for using a notepad program.
Similar to running a file, you can remove the need of an actual file and just run the above commands in one line in the command prompt. All the switches and proper values can be ran just like in a .reg file but we’ll need to specify certain things manually.
Copy the following:
Reg Add “HKLM\SOFTWARE\Microsoft\Windows NT\CurrentVersion” /V RegisteredOwner /T REG_SZ /D “TechNorms.com” /F
Change “TechNorms.com” to “Anything” while keeping the quotation marks as we have them. “/V” denotes a value name, which we’ve entered as “RegisteredOwner.” If we were changing the “CurrentBuild” string, this is where we’d enter that instead. “/T” specifies a key data type which, in this instance, is for a string value so we’ll enter “/REG_SZ.” “/D” is the data to enter, which changes depending on the owner that should be specified. Finally, we’re forcing an overwrite of existing values with the “/F” switch.
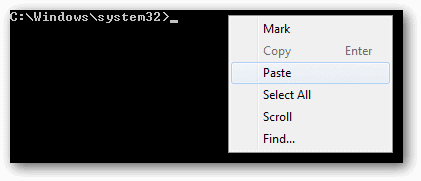
This should all be pasted in an elevated command prompt window. Open “cmd” by searching from the Start menu and then right-click to “Run as administrator.” Right-click in an empty space, choose “Paste,” and press Enter.
Instead of the regular success prompt, it will display as a line in the command prompt window.

We’ve shown you how to customize the Windows 8 start screen and also the “Send To” right-click context menu. Changing registry values, however, are a little more complex as we don’t always have programs to do it for us. The method we used today is simple and right to the point. Understand how the commands are used, when to use them, and how to run them for easy customizations using nothing more than the Registry Editor Windows provides.


