If you’re looking for a way to password protect folders in Mac OS X you have a few options.
You can use buy third-party software that will encrypt your files and folders. Most of these apps you need to purchase, but there is a free app that we’ll have a quick look at.
Or you can use OS X’s built-in Disk Utility app to create an encrypted folder image that can be accessed with a password and used as a regular folder.
Let’s have a look at that method first.
Encrypting Folders With Disk Utility
Encrypting a folder with Disk Utility is easy, safe, and best of all it’s free.
The idea is to turn a folder into an encrypted image and then mount the folder as a virtual disk. By adding encryption to the image you’ll be asked to enter a password when you mount the image. When you’re done using the folder unmount the image.
Here’s how we do it.
Open Disk Utility under “Applications/Utilities”. Go to “File/New/Image From Folder”.

Browse for the folder you want to protect and click “Image”. From the next window select the image format as “Read/Write”, and encryption as “128-bit AES”. Click “Save”.

A new screen will prompt you to enter a password. Type in a strong password, or click the “Key” icon to generate a password. Make sure you uncheck “Remember Password”. Click “OK”.

The encrypted disk image will then be created. Double click the image to open it, and enter your password. Don’t select “Remember my password” or you won’t be asked to enter a password again.

The disk image will mount in Finder and you can move and remove files and folders to the image like you would any other folder.
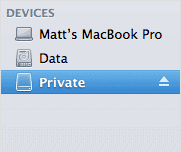
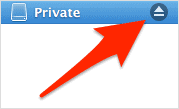
When you’re finished using the folder click the “Eject” button so it’s protected again. And that’s all there is to it.
Using Free Software To Protect Folders
There are a lot of apps that will password protect your folders, using an attractive interface to do so. But after a lot of searching there doesn’t seem to be any truly free options.
MacHider is a popular app, and its trial version doesn’t expire. But it limits you to three files, so probably not a great choice.
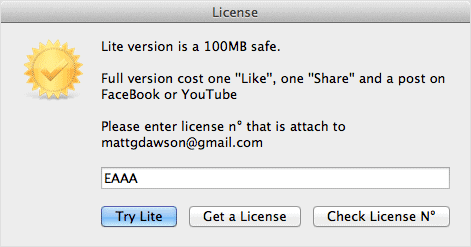
The best option I found is an app called MySafe. The Lite version is limited to 100mb, but you can get a full license with a like and share on Facebook.
It encrypts folders using the same disk image method as Disk Utility but has a user-friendly set-up. It also throws in some extra features such as emailing you whenever your protected image is opened. It can also send a webcam image of the person accessing your data.
When you run MySafe for the first time you’re asked to enter a password. Type a strong password and click “Next”.
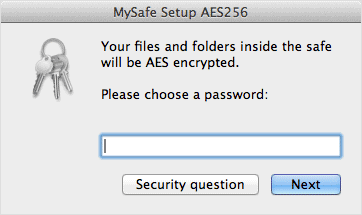
You will then be asked to enter an email address and enter a license key for the full version. When you finish the set-up it will go through the process of creating the encrypted disk image.
To access your encrypted data run the MySafe app and it will mount the disk image after you enter your password. You can then create folders and copy data into the app.

When you close the program your data is protected again.


