There are many different ways to restore, recover and boot Windows. Sometimes you create recovery disks, other times you use recovery partitions. You might even use system restore. Wouldn’t it be easier if you could create a bootable version of your OS? How about a bootable version of MS-DOS?
With WinUSB Maker, you can quickly create a bootable clean version of your Windows OS to use on the go or for recovery.
Steps to create a USB bootable copy of Windows with WinUSB Maker
The first thing to do is to download WinUSB Maker from its web site.
Once downloaded, you’ll want to unzip the archive and run the EXE within it. WinUSB Maker does not require actual install, so store the EXE somewhere safe and pin it to your taskbar, Start Menu or Start screen for easy access.
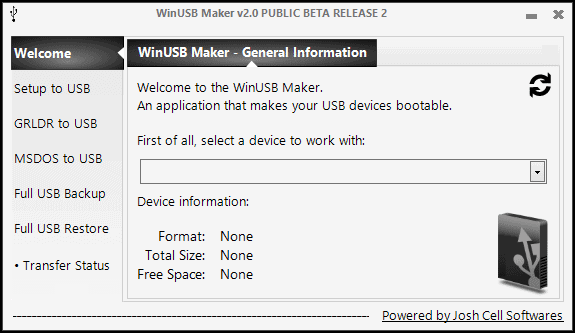
WinUSB Maker offers the following types of USB bootable Windows setups:
- Installation setup of Windows XP, Vista, Server, 7 and 8
- GRLDR
- MS-DOS
It will also let you do a full backup of your USB device as well as restore it with the recovery file it creates. This can be useful if you need to quickly use your USB device for something but have files, programs and more on it. You can create a backup, then use that restore image to recover your USB drive after using it as a bootable copy of Windows.
How to use WinUSB Maker
The first step to using WinUSB Maker is to select your USB device. Click on the “Drop Down” arrow to choose it.
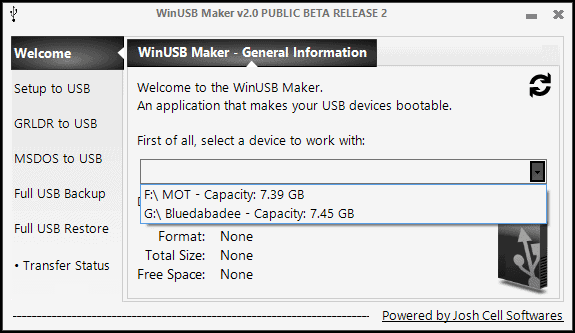
Once selected, you can choose any of the options at the left. We’ll go through each one-by-one, so you understand what each does.
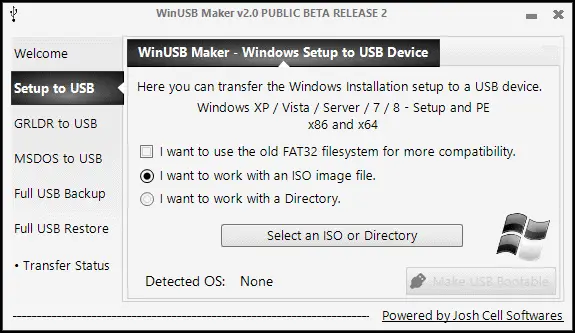
The first option – Setup to USB – allows you to create a bootable installation of the Windows OS of your choice on your USB device. This can be handy as a backup, as a way to use an OS on another computer or for a variety of reasons. You can choose to use an ISO image or work with a setup directory for Windows.
The next option – GRLDR to USB – allows you to create a GRUB Loader on your USB device. A GRUB Loader is utilized with Linux operating systems.
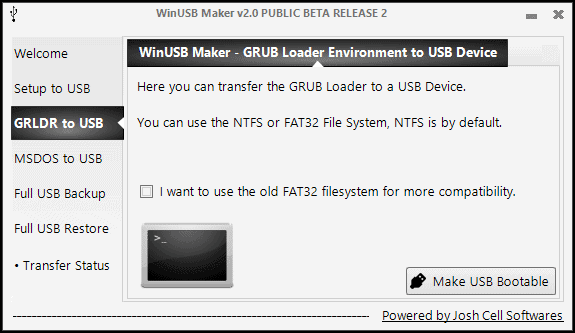
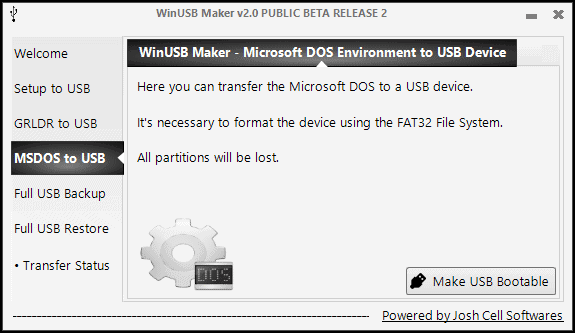
The third option – MSDOS to USB – allows you to create a MS-DOS loader on your device. Not that many people still use DOS, but every once in a while it comes in handy for something or other. This can help you have handy access to it.
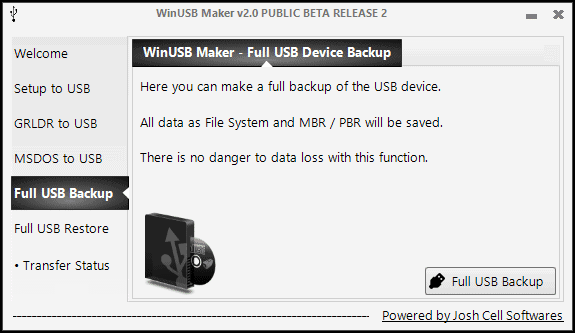
The fourth option – Full USB Backup – lets you create a backup of your USB device. This saves everything on the USB drive for use later.
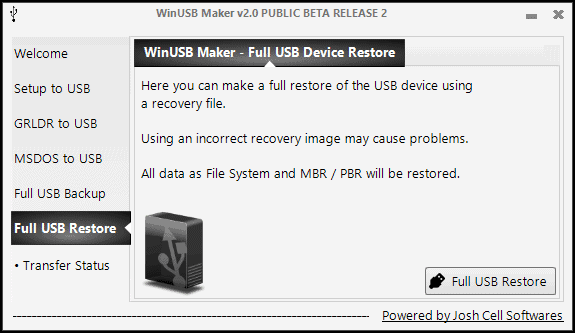
The final option – Full USB Restore – lets you restore your Full USB Backup created by WinUSB Maker with the recovery image created.
How to create a Windows bootable USB device
I’ll be using WinUSB Maker to make a bootable USB device containing Windows 7 Ultimate Edition. We own the DVDs to install it, so I’ve popped the install DVD into my DVD drive.
Click on “Setup to USB,” then click on “Select an ISO or Directory.”
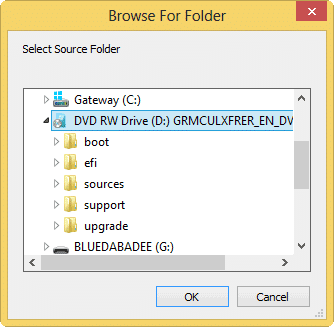
You’ll want to navigate to either the ISO image or the Directory that hosts the setup files. In this case, since we’re using an install DVD, we’ll head to our DVD Rom drive and select it and then click “OK.”
It’ll take WinUSB Maker a few seconds to read the location, and if successful, you’ll see that it’s detected your OS.
When ready, click “Make USB Bootable.”

You’ll be warned that all information on your USB device will be eliminated. Click “Yes” to move forward.
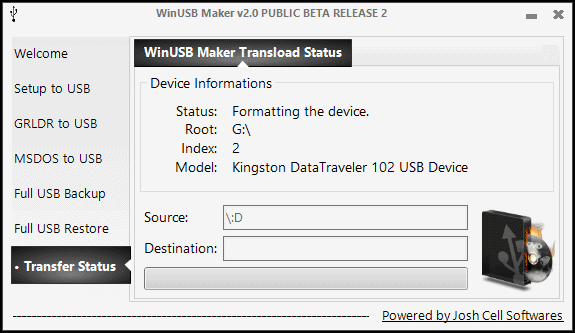
WinUSB Maker will format your USB device. This allows more information than possible to fit on to make a bootable OS version.
Then, the process will begin to convert your ISO or Directory into a bootable image on your USB device.
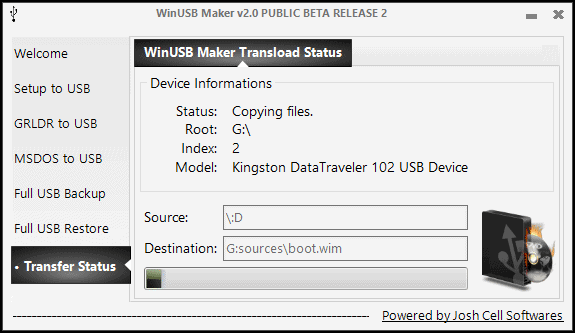
This can take several minutes up to an hour. Sit back, relax and let WinUSB Maker run its course. We recommend closing all windows, programs, and apps for the quickest creation.
Creating our USB device with Windows 7 Ultimate on it took about 33 minutes total from start to finish.

When finished, a pop-up will appear to let you know that the process is finished.
If you open your USB device, you’ll see all the files you need to begin the setup process for your version of Windows.
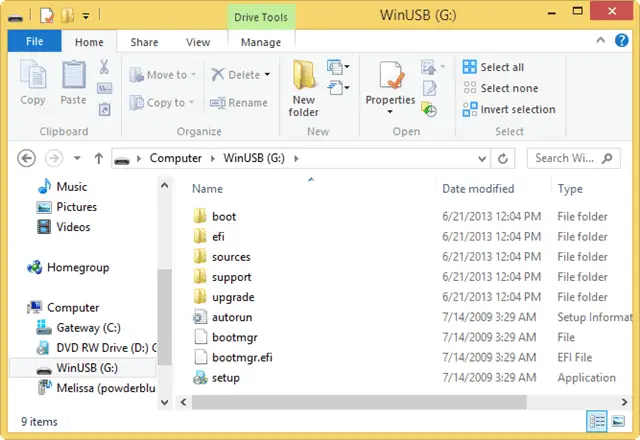
If you pop the USB device into a PC, depending on the auto-run settings, it may ask you what to do or simply open the directory.
You can then click on “Setup” and begin the installation process.
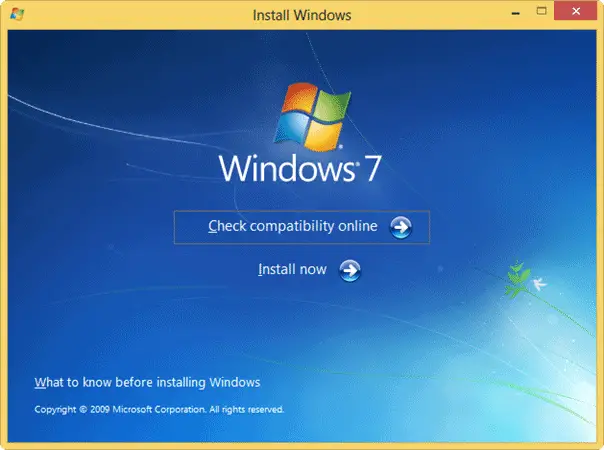
Now, you can take this USB device and as long as the PC you’re working on utilizes the removable media like it, you can use it to install Windows as necessary. Keep in mind that during the installation process, you’ll still need a valid product key to use that version of the Windows OS.
Is WinUSB Maker any better than other similar tools?
One of the niftiest things about WinUSB Maker is how simple it is to use. While other tools work just as well, WinUSB Maker’s easy to use interface makes it the go-to choice for users who might be skeptical of this working.
If you’re looking for a way to make a bootable copy of Windows, WinUSB Maker is an alternative to check out besides the Windows 7 USB/DVD Tool. This is an excellent way to make a backup/recovery copy of Windows or just to keep spare versions lying around if you need them down the line.


