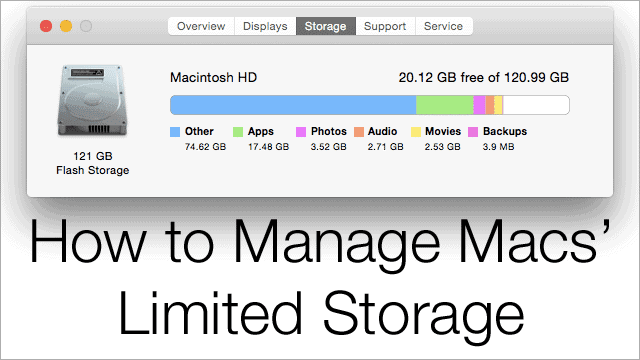
I love my MacBook Air but the darn storage is always pretty tight. Like so many other Mac users, I bought the minimum storage amount. 128 GB of storage doesn’t sound so bad until you’re juggling which programs to delete and what photos get moved to an external drive.
Managing hard-drive space on a Mac, especially in this age of non-expandable storage, can be annoying. Personally, I go through my storage at an impressive rate once I start managing files for my TechNorms videos.
Thankfully, there are some ways to cope with having limited hard drive space. Here’s how you can make the best of that 128 GB thimble of storage.
Option One: Delete What You Don’t Need
I hate seeing other people’s computers when they don’t keep orderly file organization. Keeping a massive Downloads folder and stuff all over your desktop is a rookie mistake.
You don’t want that. Go through your hard drive and delete everything that you really don’t need. It’ll free up a shocking amount of space.
The best way to figure out what’s taking up the most room is to use a program that visualizes files on the drive.
For that, GrandPerspective is free and easy to use. You can download it here. I start it up, point it at my root directory ( / ) and let it run. The resulting window shows you where to start deleting.
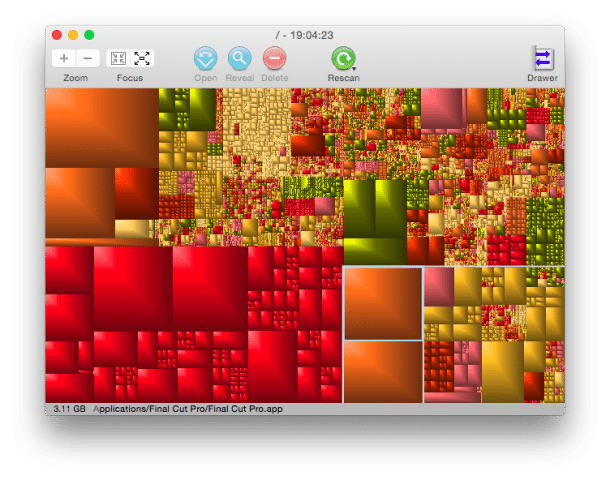
For what it’s worth, not everything can or should be deleted. One irritatingly large file labeled /private/var/vm/sleepimage is used to put your Mac to sleep and should not be deleted.
To get to the items, right-click on the box in GrandPerspective and choose “Show in Finder.” You can delete from there.
Once that’s done, empty your Trash. The Trash folder gets surprisingly large when not emptied. Just right-click the trash can on your dock and choose “Empty Trash” to free up a significant portion of hard drive space. Just be careful – whatever you empty from the bin is gone for good (barring a specialized recovery program).
Option Two: External Storage
This is a very viable option, especially since the cost of massive hard drives is dirt cheap these days. You can get a 1.5 TB external spinning hard drive for $70. That’s incredible.
Pro tip: Check if your PC supports USB 3.0. If it does, make sure your drive does too. It’ll speed up data transfers immensely.
If you do opt for the external hard drive route, just copy over data you don’t need to access constantly and delete it off the onboard hard drive.
Make sure to also keep multiple backups of your data. Never trust one hard drive not to fail, as that can and does happen. In fact, you could use something like…
Option Three: Online Storage
![]()
For those who have fast internet and don’t mind paying for the storage, there are online services aplenty.
Dropbox is the gold standard in this space, though Google Drive and Box are serviceable alternatives. Any of them work fine for storing files online. The “best” choice in that area is linked to whoever’s ecosystem you’re locked into.
Final Thoughts
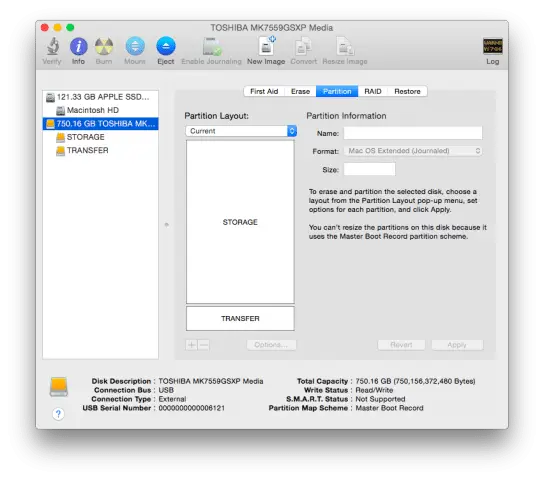
The best solution for managing limited storage on a Mac depends on your needs and available tools. That said, an external hard drive is a very cheap and effective way to extend your storage.
My 750 GB USB drive isn’t as fast as my Mac’s SSD, but that’s okay. It doesn’t have to be.
How do you manage your storage? Let us know in the comments!


