Key Takeaways:
- The Settings app is the most frequently used app on your Windows 11 computer.
- Sometimes, the Settings app can lag, freeze, and stop responding for no apparent reason.
- When you reset the Settings app, the settings are not restored to default or factory settings.
With Windows 11, many configurations are moved from the Control Panel to the Settings app. Thus the need to access the Settings app has increased compared to the previous version of the Windows operating system. Sometimes, the app can not function as expected, and therefore you must know how to reset the Settings app in Windows 11.
The reset process can be helpful when the Settings app is not opening or has some issues. You can try different ways to open the Settings app, but reset is the only way to fix it if you still fail.
How To Reset The Settings App in Windows 11?
You can reset Windows Settings app manually via app settings or use a command to do it for you. The command to reset the Settings app can be executed by the PowerShell window. You can opt for the command approach when you cannot open app settings on your Windows 11 PC.
Reset Settings App Manually via App Settings
You can use the Settings app user interface to reset it. Follow the steps below to know how to reset the Settings app in Windows 11.
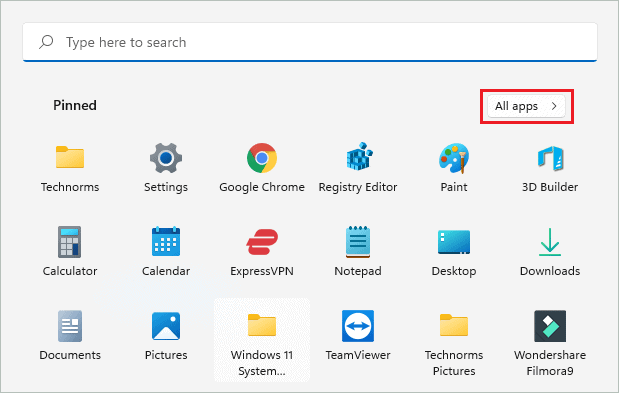
Step 1: Click on the “Start button” on the taskbar or press “Windows key” on your keyboard to open the Start menu.
Step 2: In the Windows 11 Start menu, click on “All apps.”
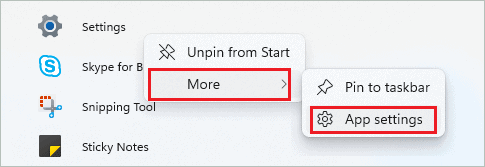
Step 3: Scroll down to S and right-click on the “Settings” app icon. Select More ➜ App settings from the context menu.
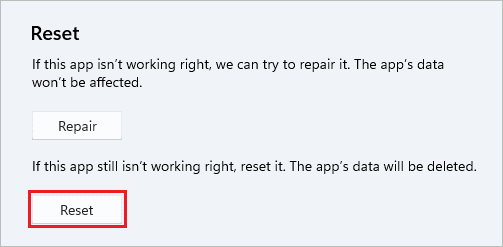
Step 4: Click on the “Reset” button under the Reset section in the Settings window.
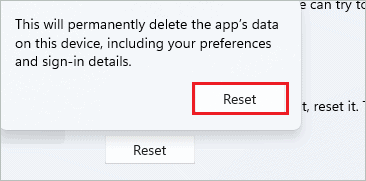
Step 5: When a box with “This will permanently delete the app’s data on this device, including your preferences and sign-in details,” click on “Reset” for confirmation.
The Settings app will close and reset itself. You can relaunch the Settings app after some time to check if everything is working properly or not.
Reset Settings App via PowerShell Command
If the Settings app is not opening, you can use a PowerShell Command to reset the Settings app. This may look tough for users who have never used the terminal prompt; however, copying the mentioned command and pasting it in the PowerShell window will reset the Settings app in a few seconds.
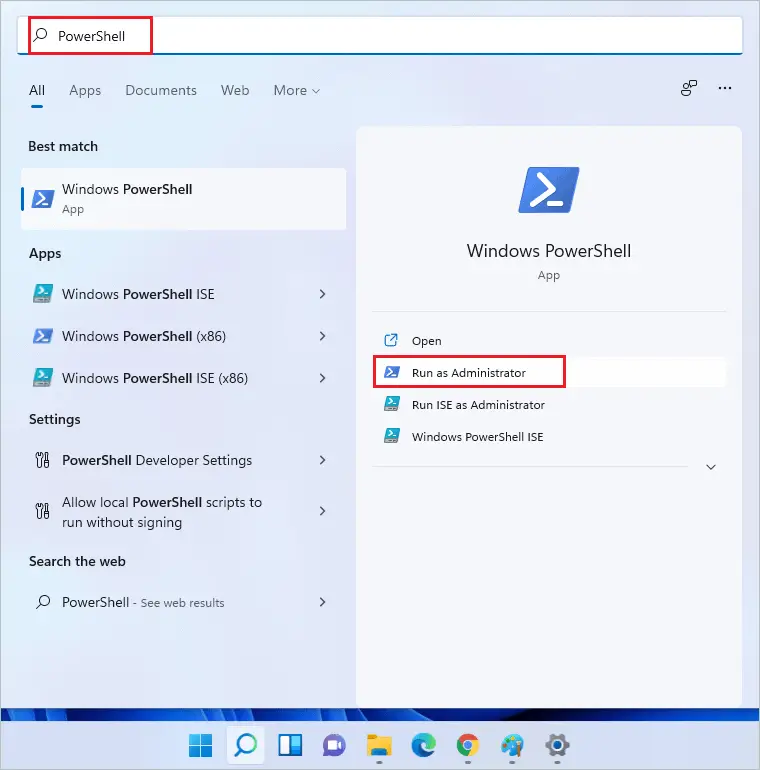
Press Windows key + S and search for PowerShell. Next, select “Windows PowerShell” from the search results and click on “Run as administrator.”
This will open PowerShell with administrative rights.
In the PowerShell window, type the below command and press the “Enter” key to execute it.
Get-AppxPackage *windows.immersivecontrolpanel* | Reset-AppxPackage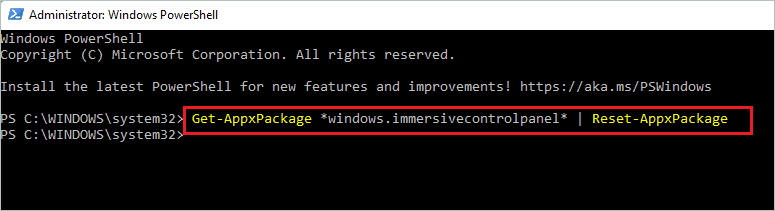
You now know how to reset the Settings app in Windows 11 via the PowerShell window as well.
Final Thoughts On How To Reset The Settings App In Windows 11
Sometimes, the reset is the only option to help the app work properly again. For example, the Windows 11 Settings app can freeze, lag and stop responding all of a sudden for no apparent reason. In such cases, you can perform an app reset to fix Windows Settings app.
The guide shows how to reset the Settings app in Windows 11 using the Settings app itself and PowerShell command. The PowerShell command can be used if you cannot open the Settings app at all. However, if you are more familiar with user interfaces, using the Settings app to reset can be a better option.


