Key Takeaways
- Proper power management in your computer ensures a balance between power consumption and saving energy.
- Windows 11 has its default power settings for desktops and laptops.
- Users can change the power settings for a customized experience.
Computer power management is an important aspect that reduces the power consumption of your PC and thus saves energy and money. Changing the Windows 11 power settings to optimize power usage enables users to contribute to this initiative in their own ways. Windows 11 offers many power settings that balance performance with energy consumption. If you have been a Windows 10 user, you will find that a few settings in Windows 11 and its predecessor are very much alike.
There are many settings that the users can configure, including Screen and sleep, Power mode, Battery saver, and Battery usage. You can create a custom power plan with your desired configurations if required. All these and much more are detailed in this comprehensive guide. So, keep reading to know your power settings better.
How To Change Windows 11 Power Settings
Default users can use two methods to change the power mode on Windows 11: the Settings app and the Control Panel. Both ways are easy to execute. Let’s check the steps in detail –
Change Power Mode via Settings
The first method to change the default power mode settings is to use the Settings app. Opening the Settings app and making changes requires no introduction to a Windows user. So, just follow the steps to change Windows 11 power settings.
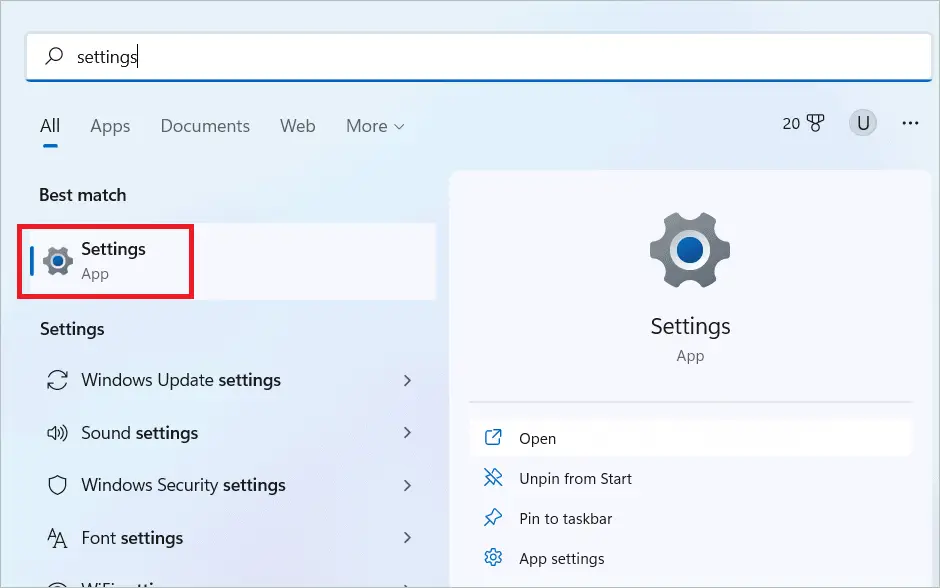
Type in “Settings” in the search bar and open the Settings app when it comes up.
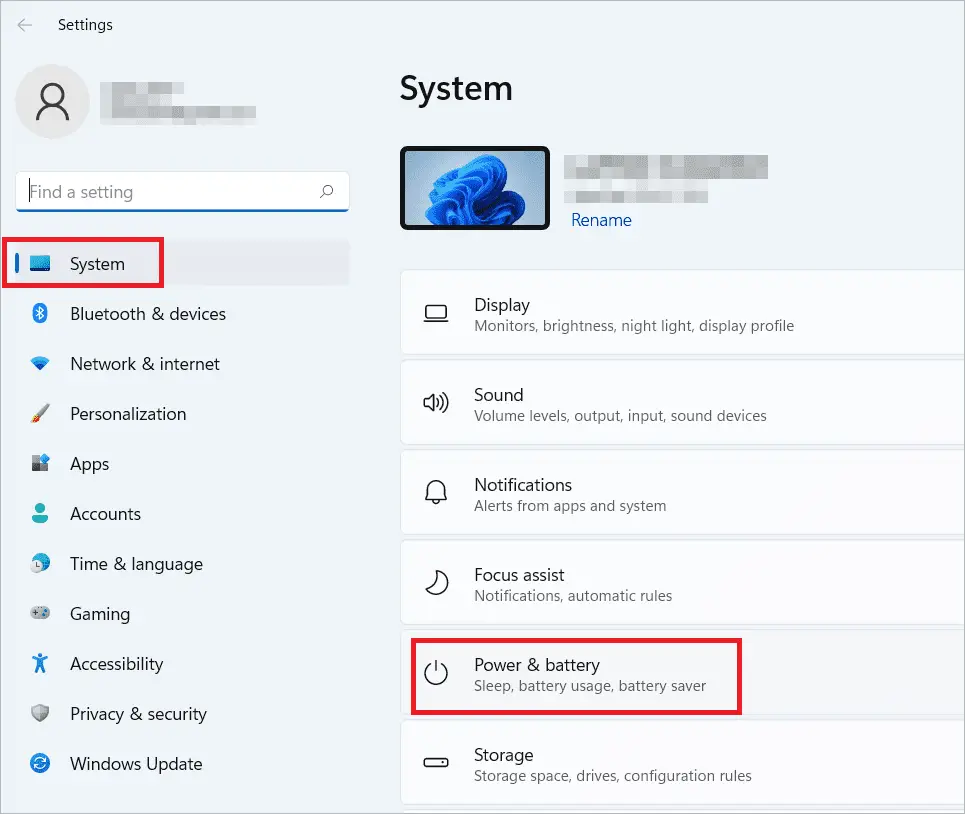
In the left pane of the Settings window, select “System” and on the right, “Power & battery.”
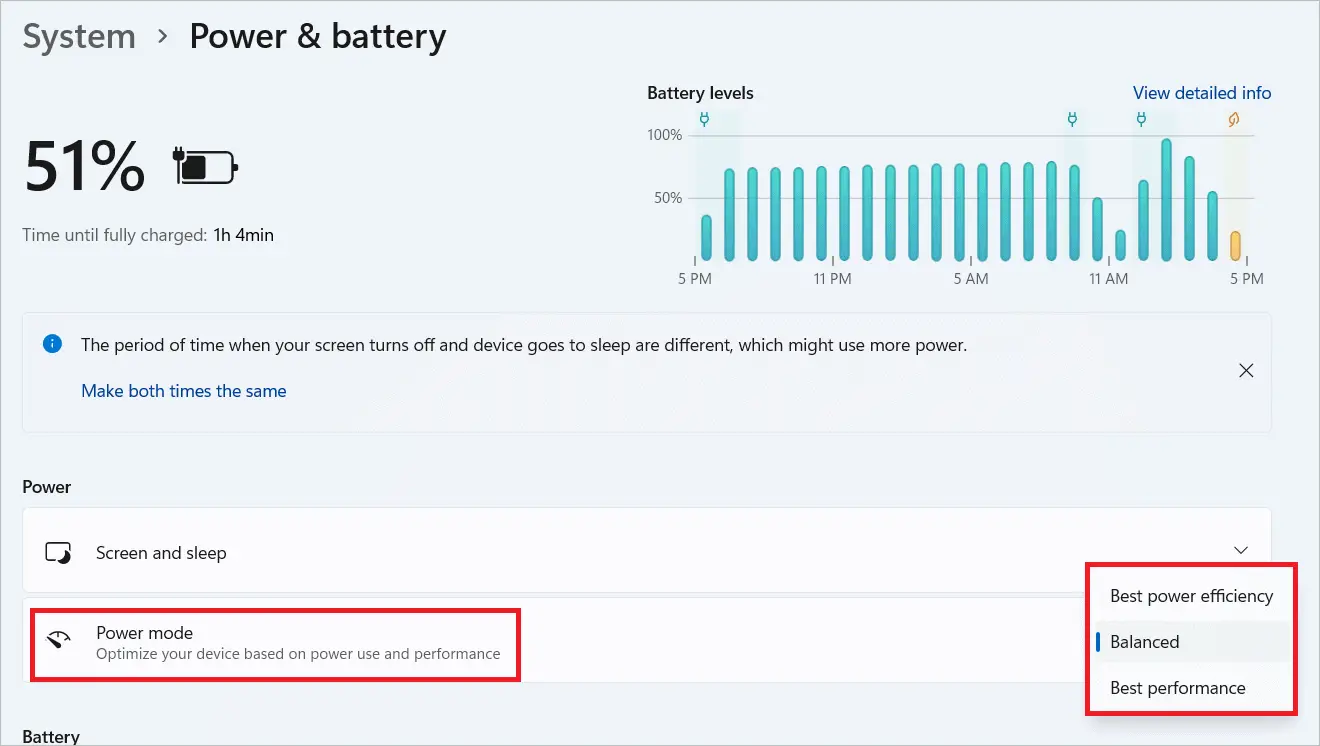
Look for Power mode and select an option from the three options in the dropdown menu: Best power efficiency, Balanced and Best performance.
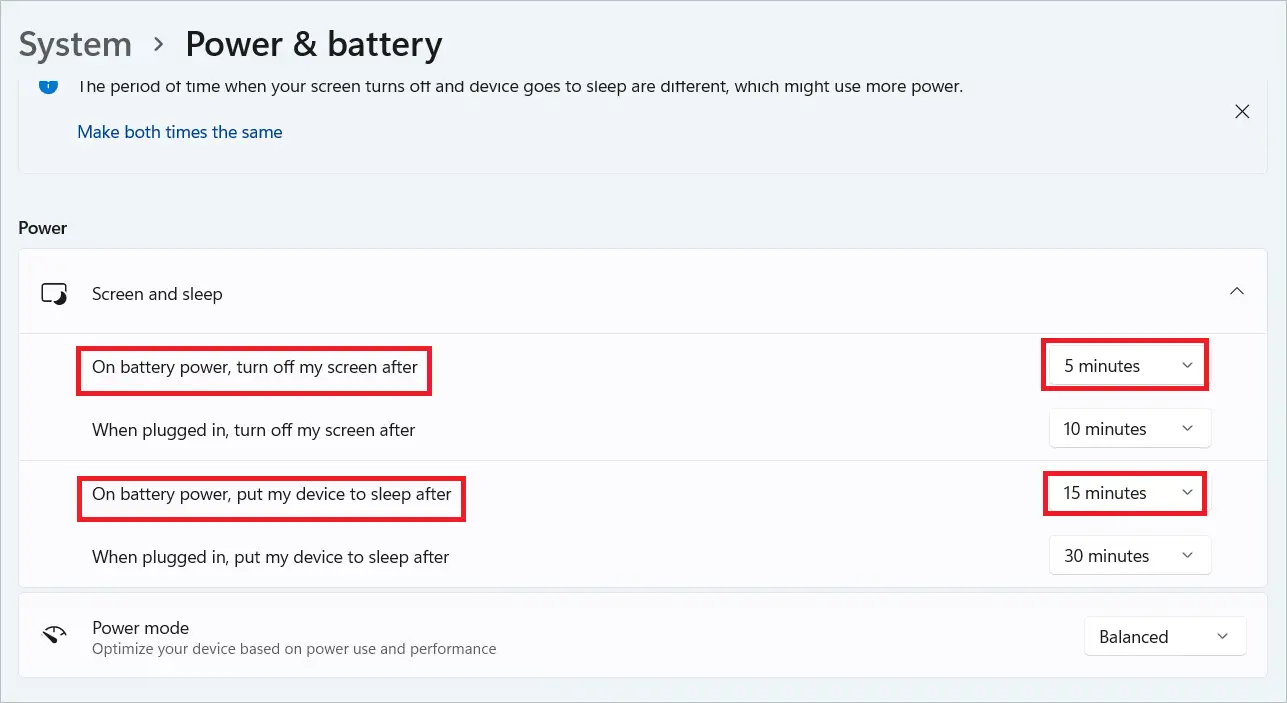
Next is the option to choose the time after which your device will turn the screen off or go to sleep mode.
Expand the Screen and sleep settings, which is found above the Power mode. Next, select an option for “On battery power, turn off my screen after” and “On battery power, put my device to sleep after.”
You have successfully changed your power mode settings now.
Change Power Mode via Control Panel
If you have worked with a Windows 10 machine, you must be familiar with changing the Windows 11 power settings using the Control Panel. Follow the instructions given here to replace the current power scheme with another one.
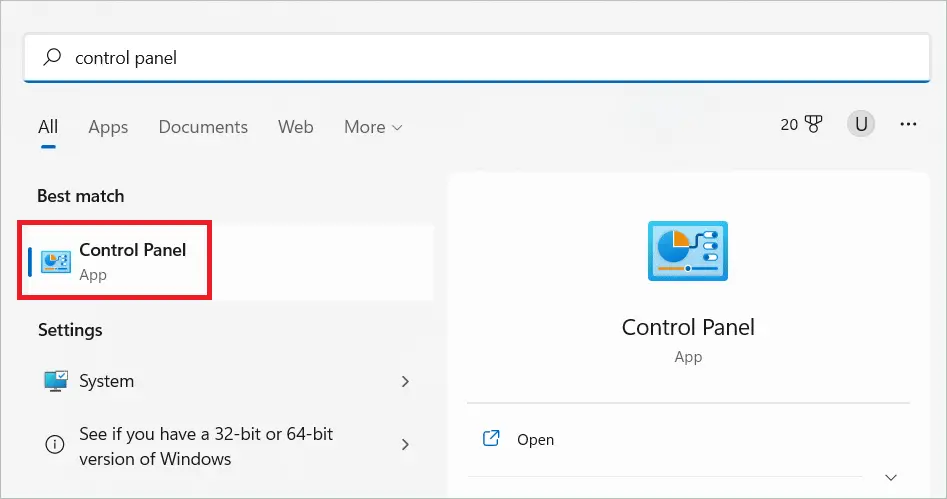
Type in “Control Panel” in the search bar and open the Control Panel when it comes up.
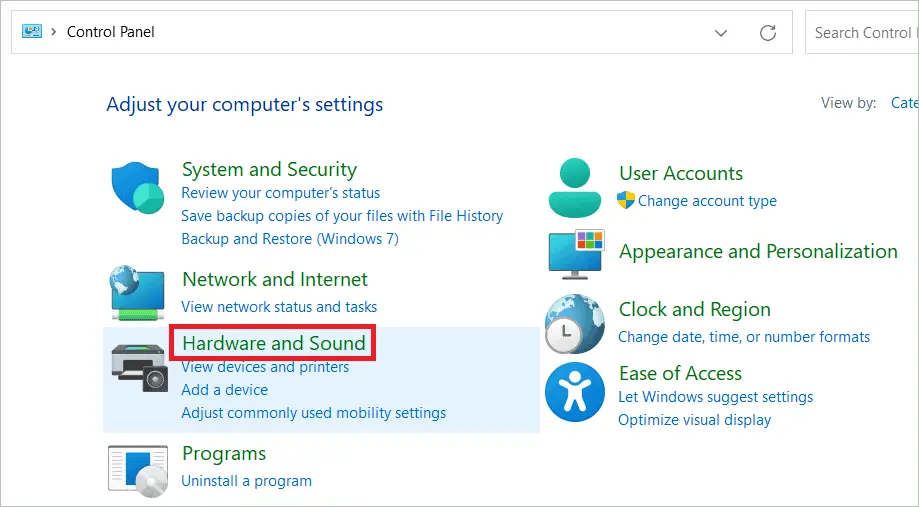
In the Control Panel window, select “Hardware and Sound.”

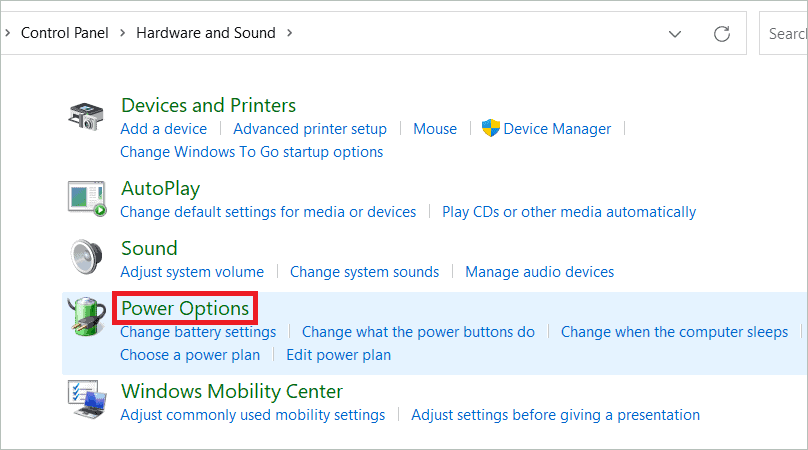
Now, select “Power Options.”

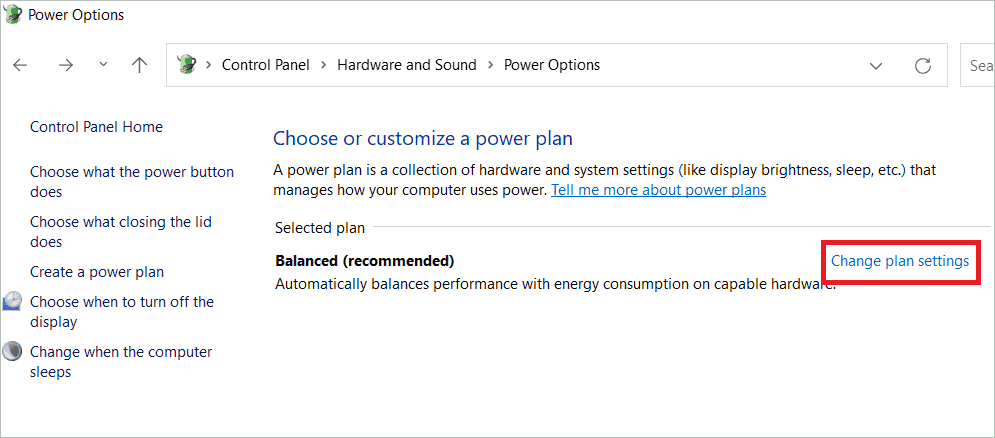
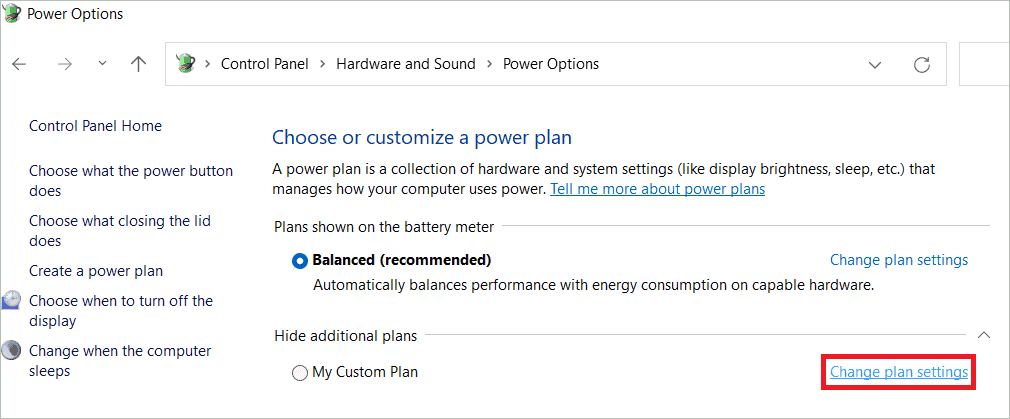
You can see your selected plan here. Click “Change plan settings.”
Caption:
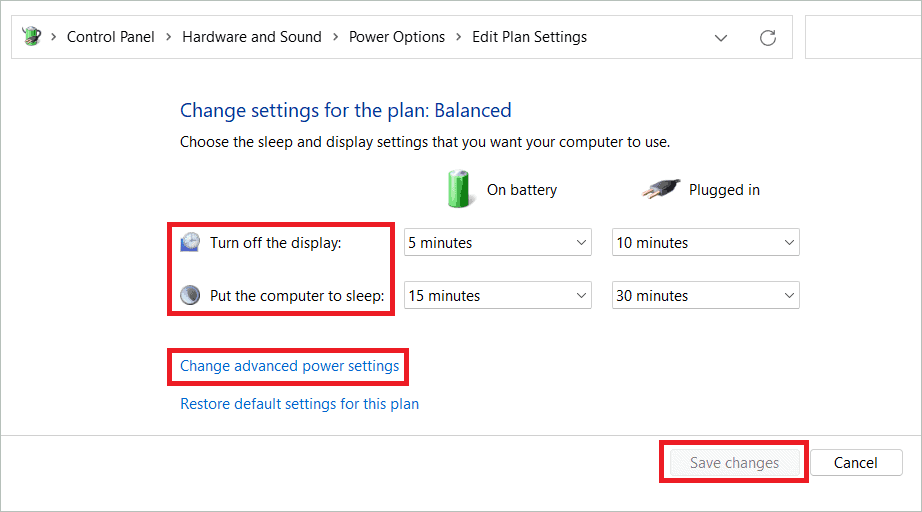
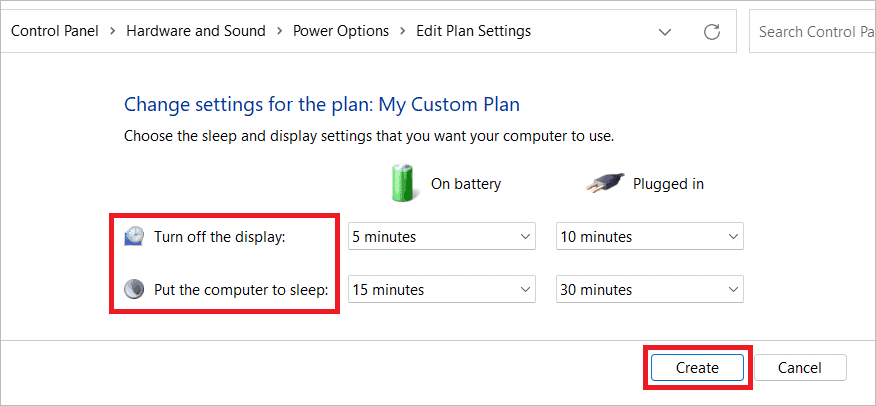
You can select your desired options for “Turn off the display” and “Put the computer to sleep.” This is to choose the duration for which the system remains inactive before turning off the display and going to sleep.
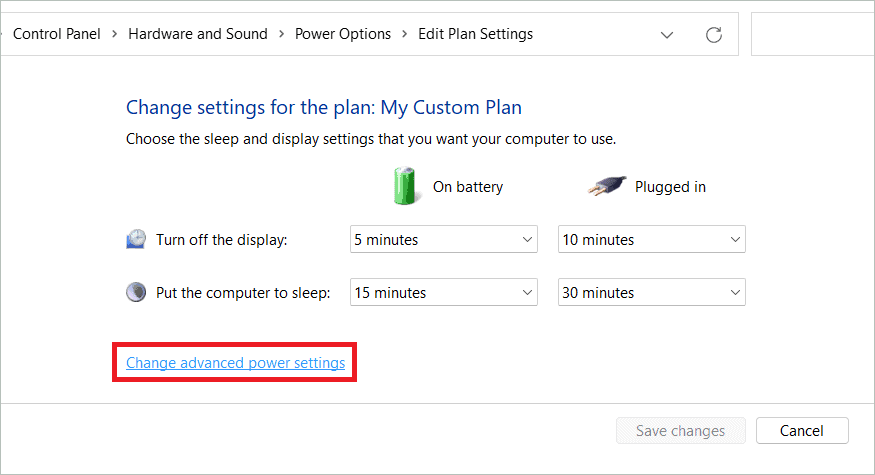
You can experiment with the settings by clicking “Change advanced power settings.” Once you have all the settings, click “Save changes.”
Your settings have been changed now.
Manage Power Options Using Windows 11 Power Settings
Create A Custom Power Plan in Windows 11
Windows 11 has its default settings for power, and they are incorporated keeping in mind the best interests of the device. But in some cases, you may want to tweak the Windows 11 power settings or even go a step ahead to create a custom plan to choose the power settings. This will let you make a suitable power plan that offers a customized experience. Here is how to do it.
Create a custom plan
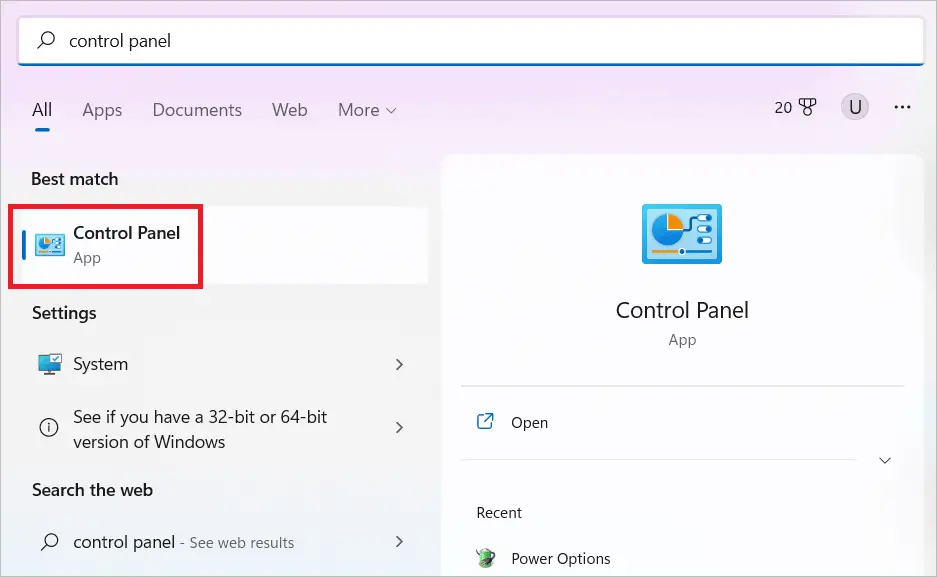
Type “Control Panel” in the Start menu and open the app when it comes up.
In the Control Panel window, select “Hardware and Sound.”
Now select “Power Options.”
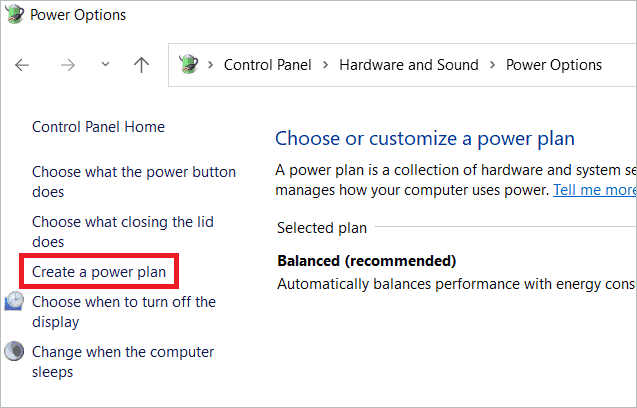
From the left panel, select “Create a power plan.”
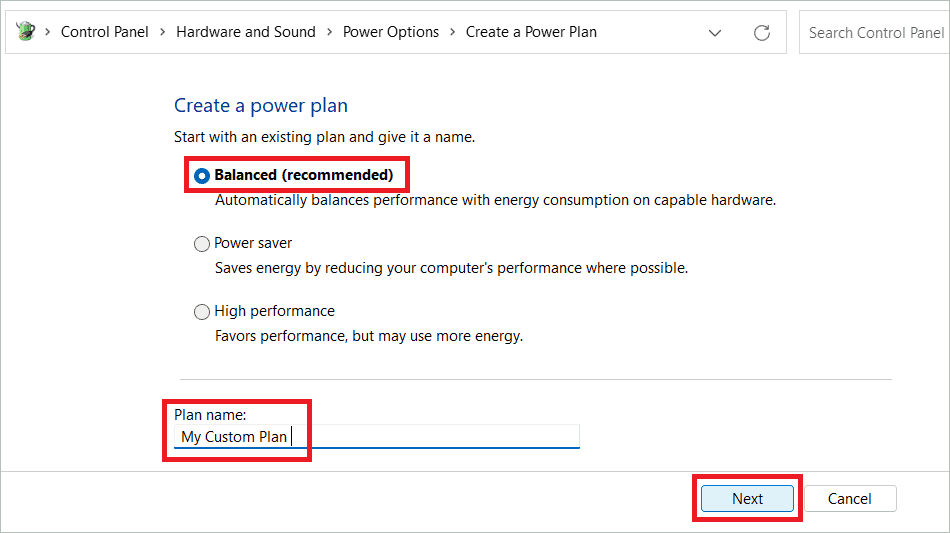
Choose a base power plan from the options provided and give a name for your custom plan. Click “Next.”
Select your custom sleep and display settings from the two drop-down menus and click “Create.”
The Power Options section now shows your custom plan and some additional plans.
Change the custom plan settings
The plan you just created can be better customized to set the sleep options, wake timers, turn off the hard disk, processor power management, and much more. For this, select the “Change plan settings” option beside your custom plan.

Select “Change advanced power settings.”
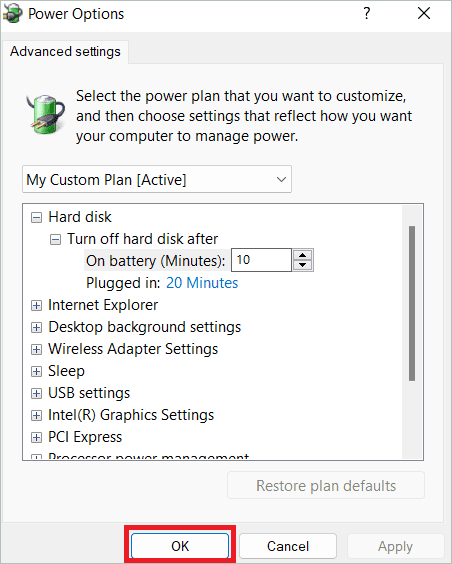
In the advanced power settings window, change your desired settings and click “OK.”
Delete the custom plan
You can remove the custom power plan created any time you wish. Follow the steps for the same.
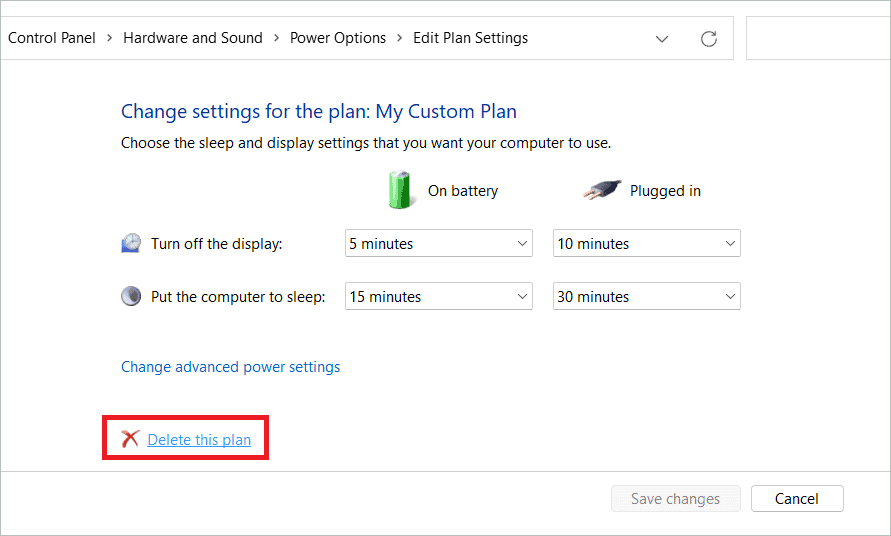
If the radio button near your custom plan is selected, change it to another plan offered by Windows 11. Now, select “Change plan settings” beside your custom power scheme.
Click “Delete this plan.”
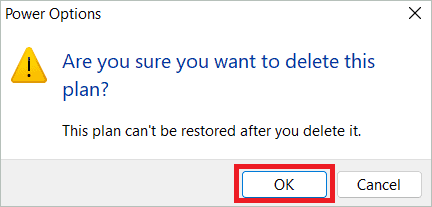
Click “OK” in the confirmation window. Now, your plan has been deleted from the system.
Enable Battery Saver On in Windows 11
In the System tab, you will find a section called Battery that allows changing the battery settings. This is an important section in Windows 11 power settings, as setting the proper configurations can prolong your battery life. In addition, taking the correct steps, like decreasing the background activity, can be a lifesaver, especially when the device is not plugged into the power outlet. Change the battery settings by following these steps.
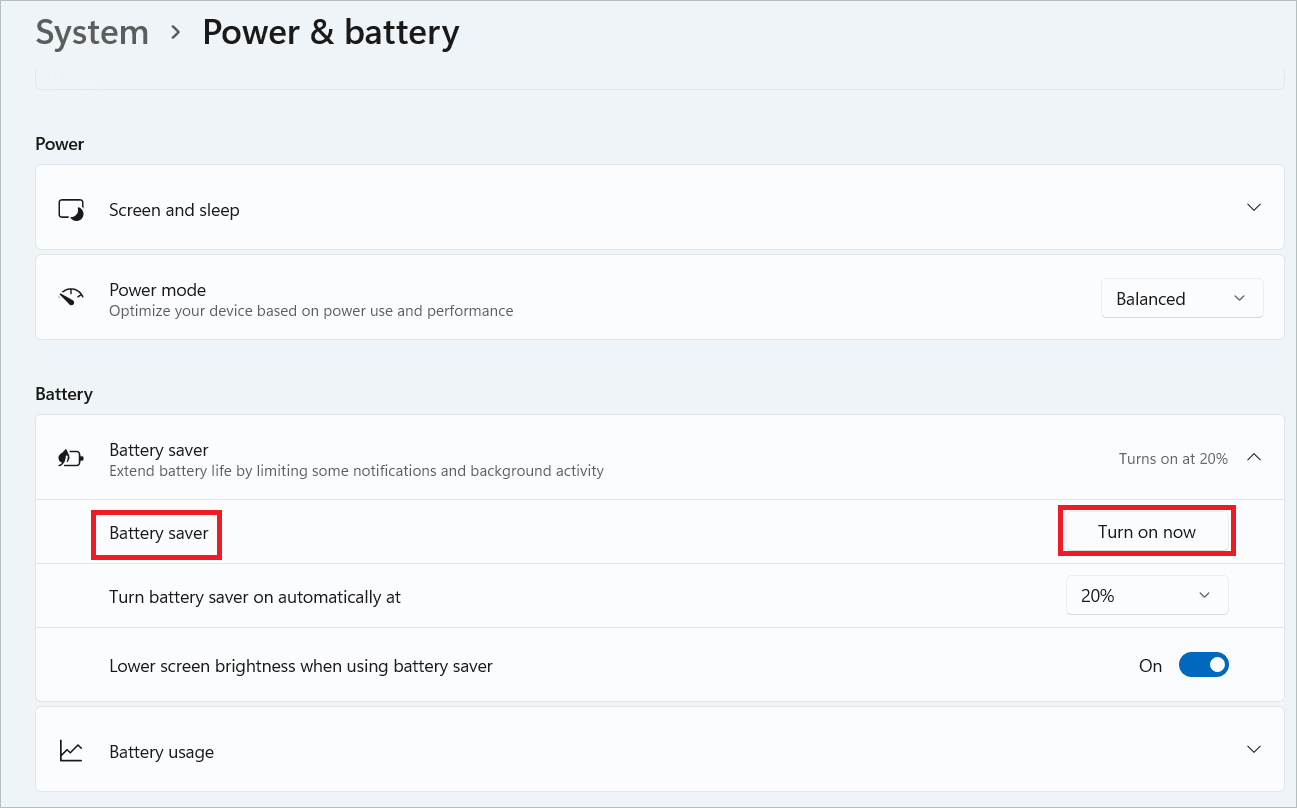
Open the Settings app by right-clicking the start menu and selecting Settings from the context menu. Go to Settings > System > Power & battery menu.
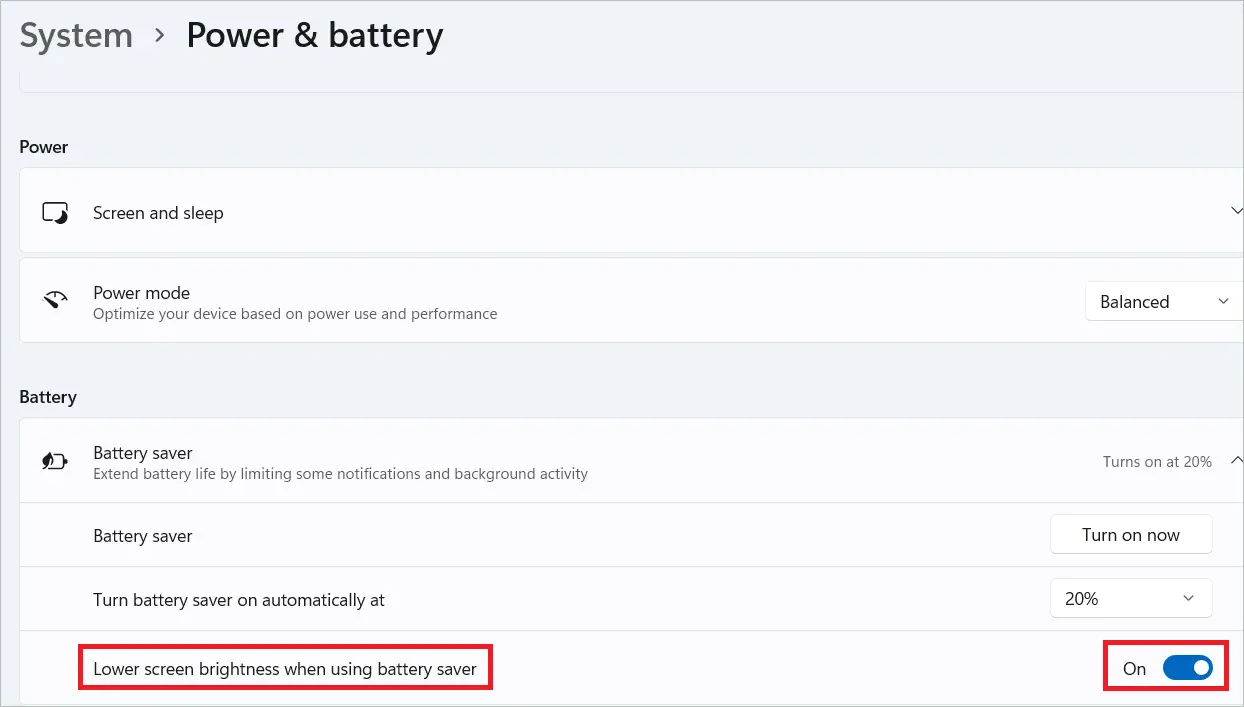
Expand Battery saver (shows a battery icon) under the Battery section. Click the “Turn on now” button to instantly turn on the battery saver feature.
To perform the same task automatically, you must change the percentage value in the drop-down box near “Turn battery saver on automatically at.” For example, when you select 20%, the system goes into battery saver mode when the battery capacity comes down to 20%. Here, you can select “Never” if you never want the mode On. Choosing “Always” will keep the battery saver mode On at all times.
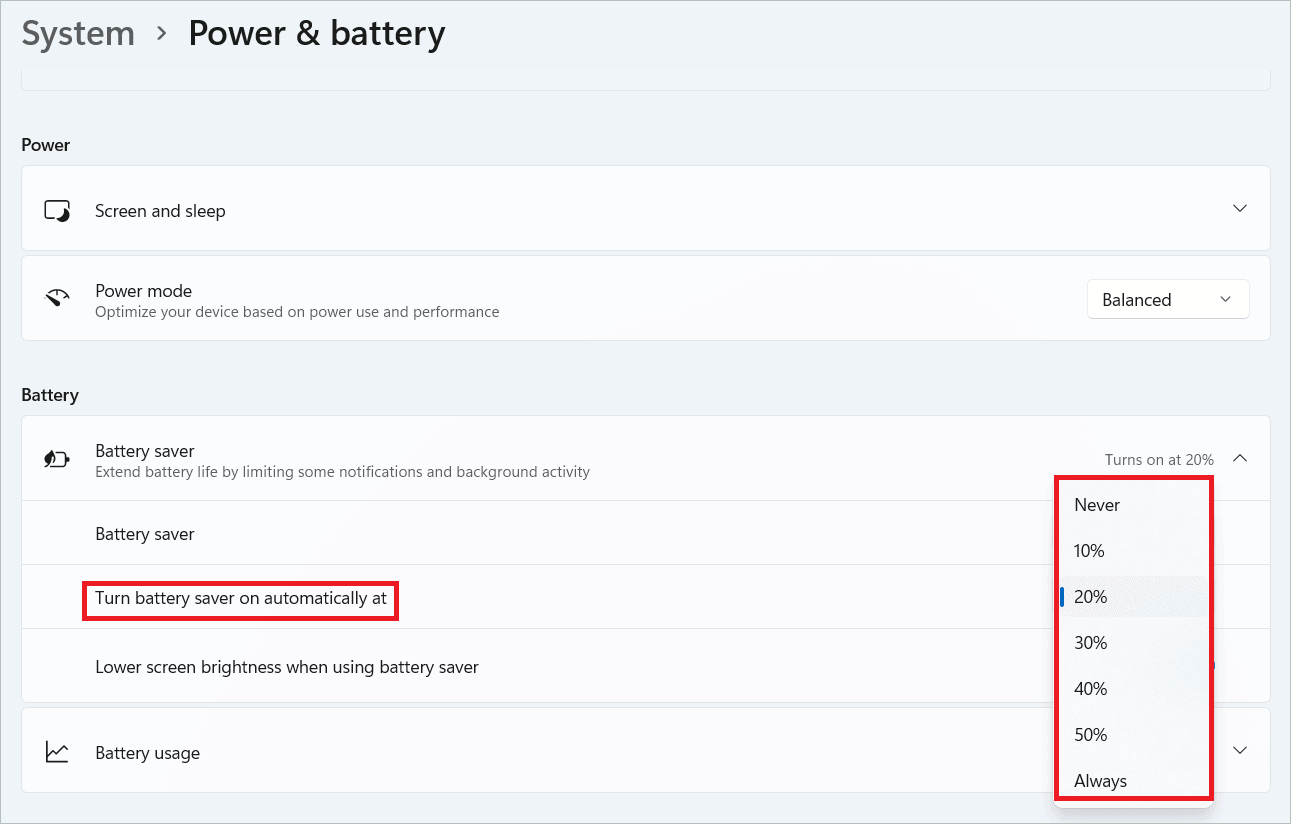
Another option you can see here is the toggle button near “Lower screen brightness when using battery saver.” Toggle it on and off to choose your configuration. However, it is advised to keep it on, as dim screens contribute better to extended battery life.
Manage Battery Usage In Windows 11
The next action you can perform is managing the battery’s energy usage. The battery can use up more power if the screen brightness is too high, too many background applications present, and many other scenarios. Windows 11 power settings give you better control over battery usage by changing some settings. Let us see how.
Open the Settings app window. Select “System” in the left pane and “Power & battery” in the right.
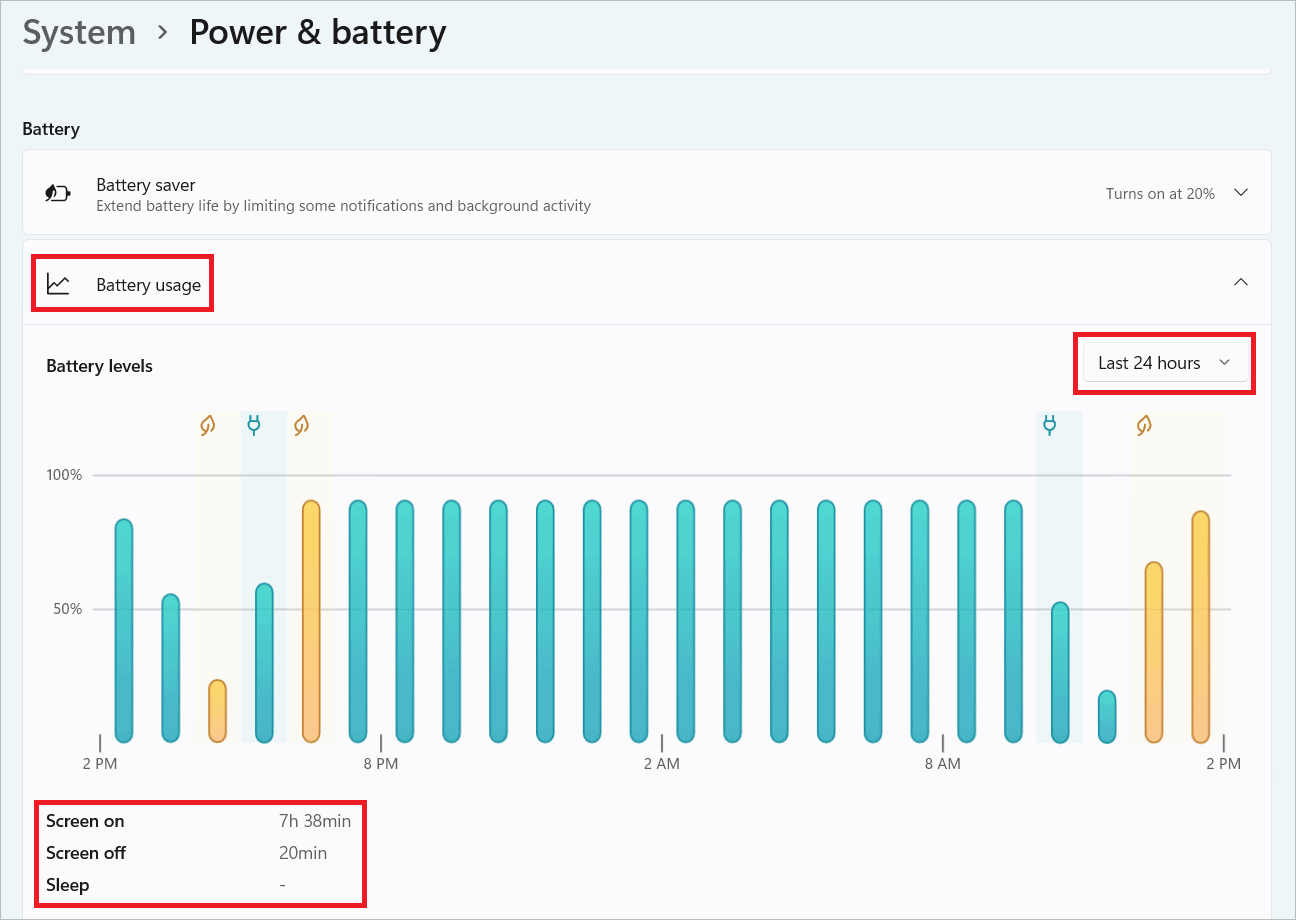
Click “Battery usage” under the Battery section. This shows an expanded view of battery usage in the last 24 hours. You can change the option in the drop-down menu to view the usage over the previous seven days. You can understand the current level of battery usage and also that of the last few hours. Below the battery level info, you will see data regarding for what duration the screen was on, off, and how long the computer was in sleep mode.
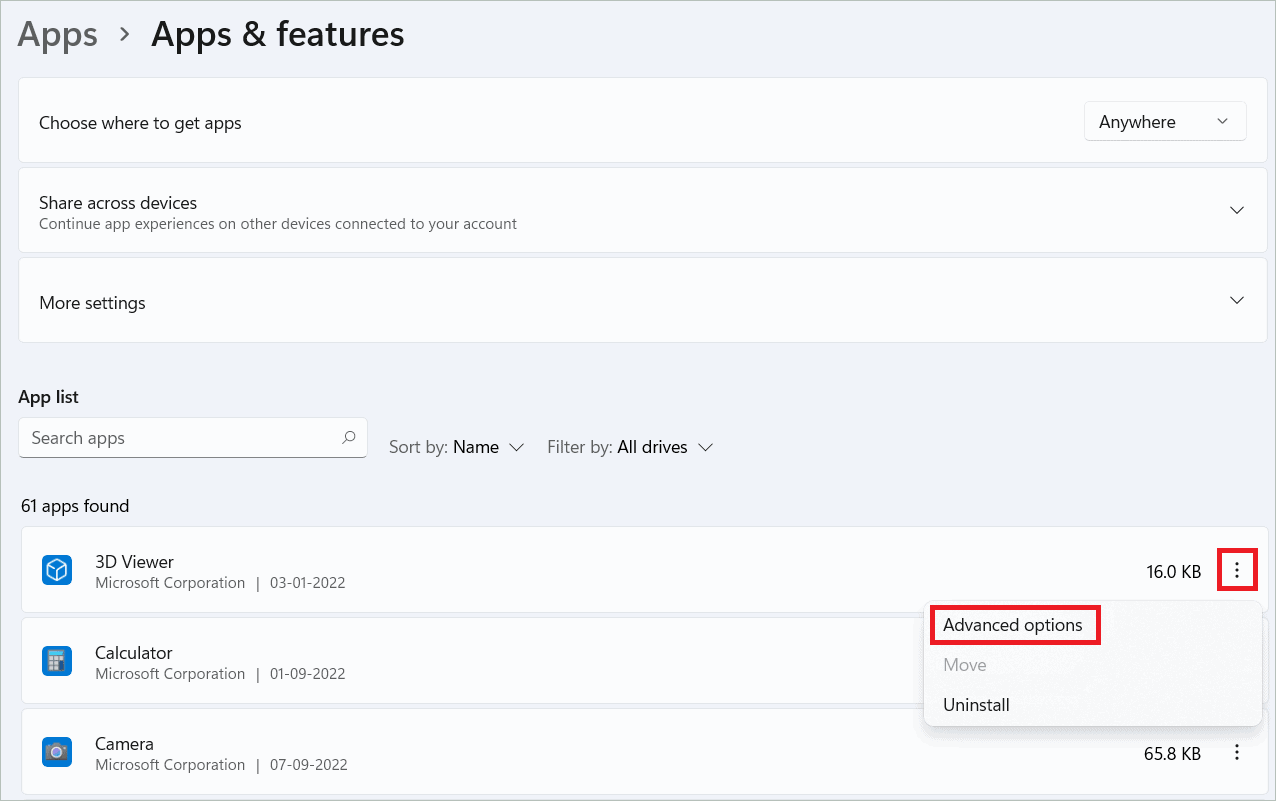
Below is the information about how each app in your system uses energy to run. You can manage app background activities from here. Click on the three-dotted menu near each app to manage its background activity.
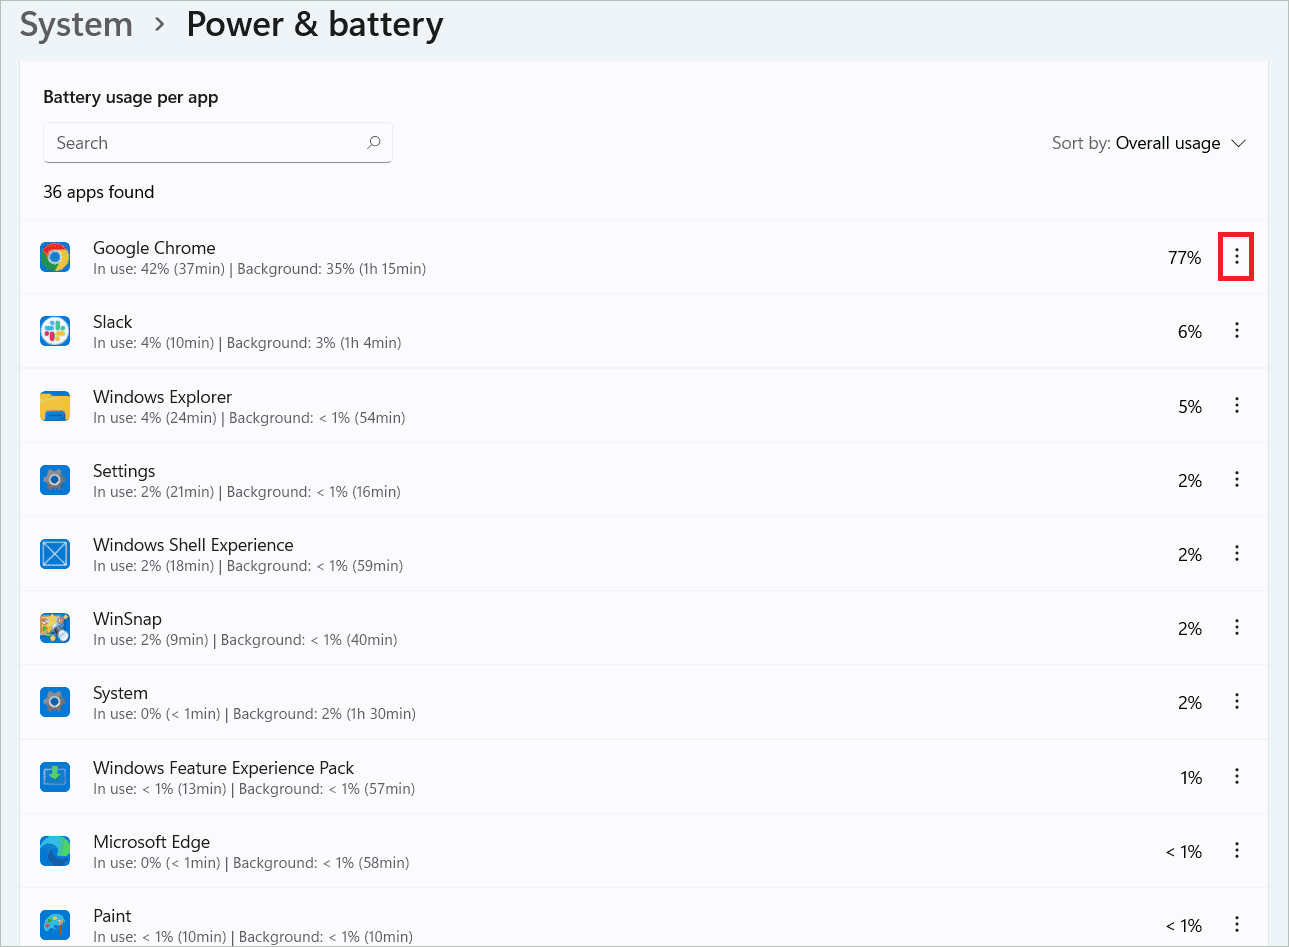
An important thing to note here is that you can change the settings of the apps you got from the Microsoft store using this method, but not that of the apps that came with the desktop. For such apps, you must go to the Apps tab.
In the Settings window, select “Apps” in the left panel and “Apps & features” on the right.
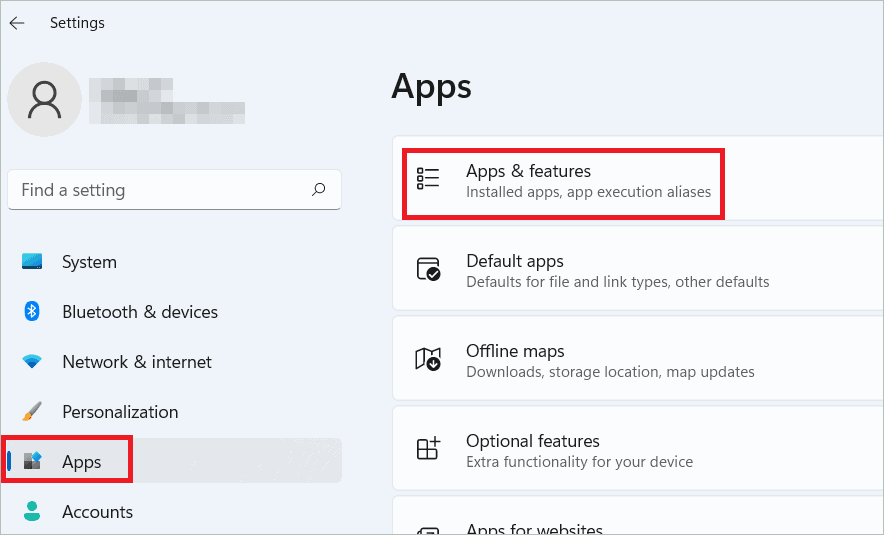
Find the app for which you want to change the settings. The ‘Sort by’ drop-down menu can be used to sort the apps to find yours easily. Then, click the three dots near it and select “Advanced options.”
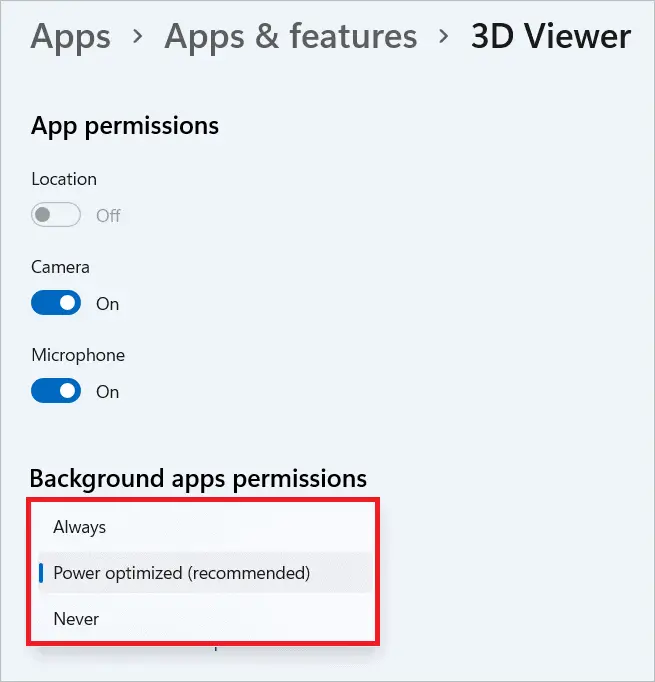
Under “Background apps permissions,” choose one of the three options: Always, Power optimized (recommended), and Never. This decides how the app will run in the background.
Enable Hibernation in Windows 11
Sleep and hibernate are two Windows 11 power settings options that temporarily suspend the system when you are not using it for a while. As sleep uses more power than hibernate, it can be beneficial to set the mode to Hibernate when the device is not in use. And when you are back, you can start from where you left off. Keep in mind that putting the device to hibernate is a better option if you are not expected to be back for an extended time. Configure the settings as given below.
First, you need to check if the Hibernate option is available on your computer. If yes, turn it on.
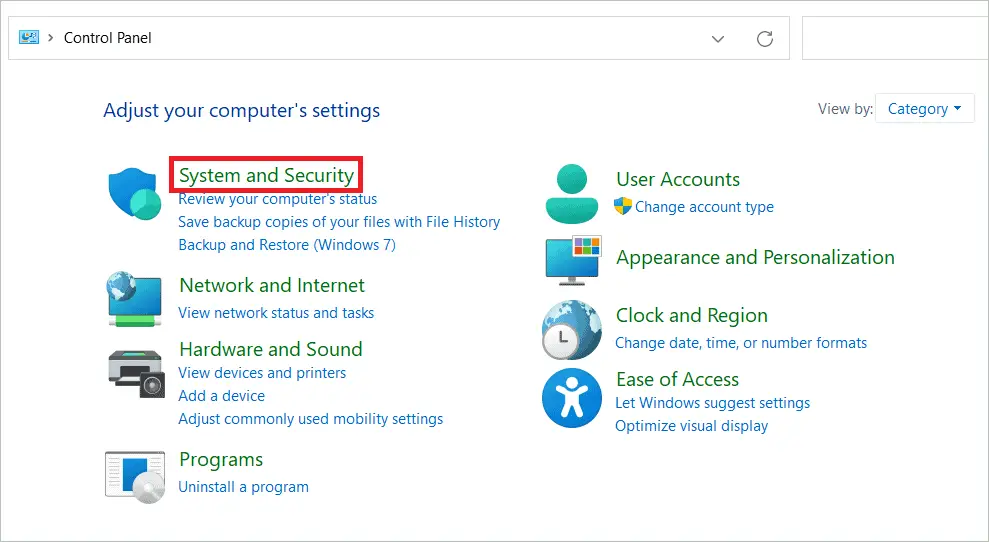
Open the Control Panel and select “System and Security.”
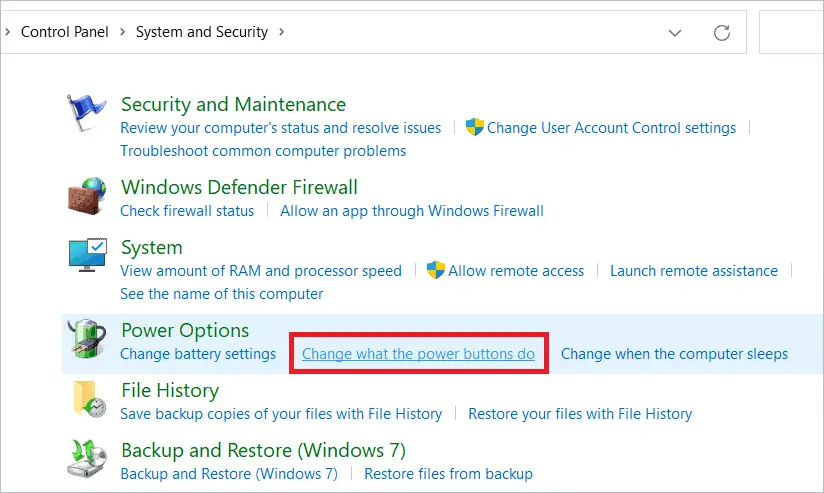
Under the Power Options, click “Change what the power buttons do.”
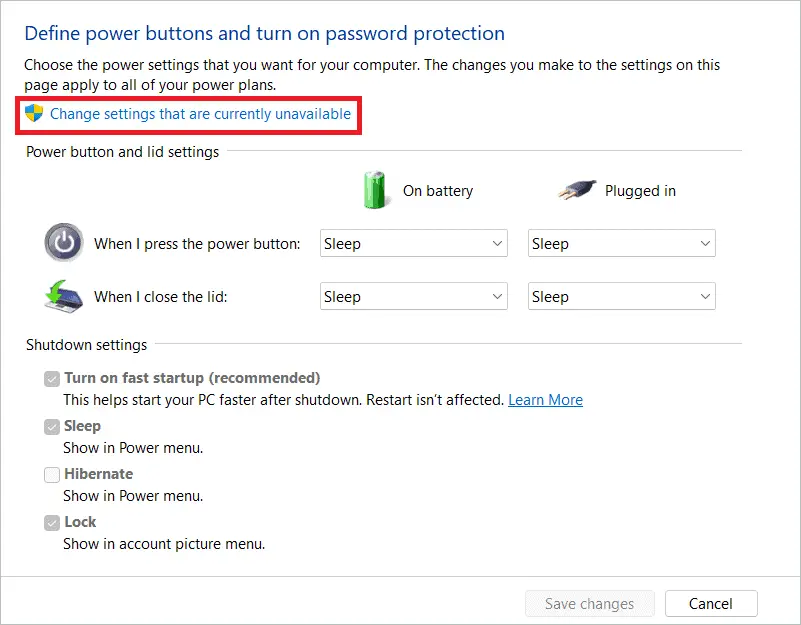
Click “Change settings that are currently unavailable.”
Check the Hibernate feature and click “Save changes.”
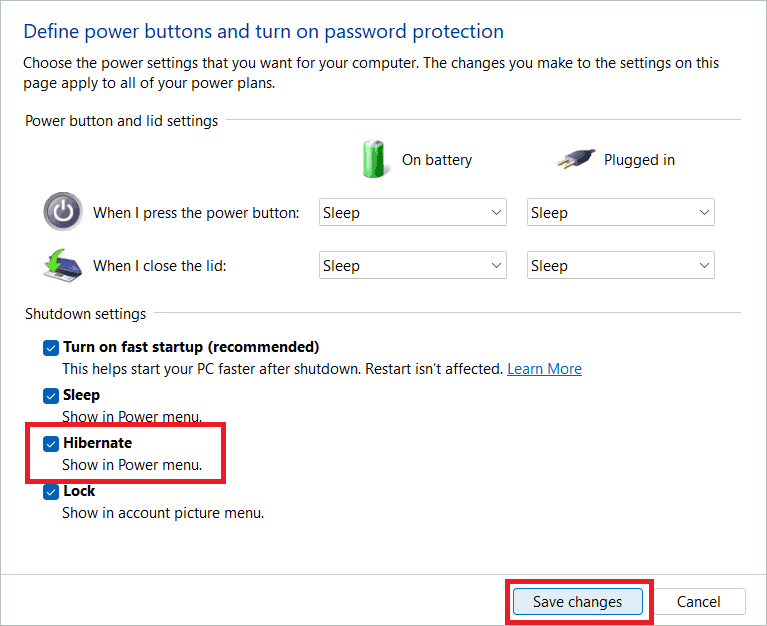
Now, you will see the Hibernate along with other options by clicking the Power button.
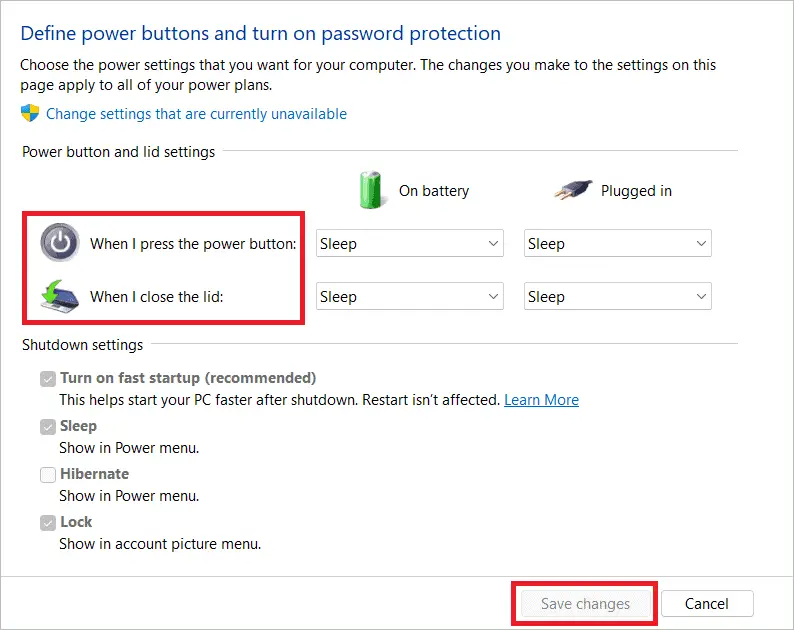
Note: In the same window where you checked the Hibernate feature, you can see two other options: “When I press the power button” and “When I close the lid” under the Power button and lid settings. Choose your settings from the drop-down menus and click “Save changes” for the actions to be performed when you press the power button and close the lid. This can be done for On battery and Plugged in conditions.
Final Thoughts
Windows 11 users can change the active power scheme to enable better settings that reduce battery power consumption. The Windows 11 power settings window lets you switch settings to optimize your device for performance. Your device’s battery life and performance are two vital concerns that must be taken care of without fail.
Methods like changing power mode, enabling battery saver, and taking many similar actions make a lot of difference to your battery life. You can find which settings are not optimized in your device and make changes that would reflect in better device performance.


