Key Takeaways
- The Hibernate mode helps save your device’s battery life.
- The Hibernate option is not in the Windows 11 Power menu by default.
- You can enable Hibernate in Windows 11 and customize it to extend the battery life.
The Hibernate option is a boon for Windows users, saving battery power and extending life. But the latest Windows 11 operating system does not feature the Hibernate mode in the Power menu. But this doesn’t mean that it is entirely absent. You can enable Hibernate in Windows 11 and set the device to the Hibernation mode to use the device battery for an extended period.
Hibernate is similar to Sleep mode, which saves the system’s current state in the Random Access Memory. The difference is that the Hibernate mode saves everything into the hard drive. So a period of inactivity will still retain the state, even if there is a power loss. Then, when you resume your work on the system, you can start from the current session you were involved in. The step-by-step guide is about turning on Hibernate in Windows 11.
3 Ways To Enable Hibernate In Windows 11
After you enable Hibernate in Windows 11, you can change a few configurations. These let you customize the Hibernation settings so as to optimize power consumption. But before all, you need to turn on the option. So, here are the best ways to enable the Hibernation feature.
How to Enable Hibernate in Windows 11 Through the Control Panel
When you cannot see the Hibernation option in the Power menu, you may have to add it manually. Using the Control Panel is the best method to enable Hibernate in Windows 11. Follow the step-by-step instructions to add the Hibernate option to the Power button.
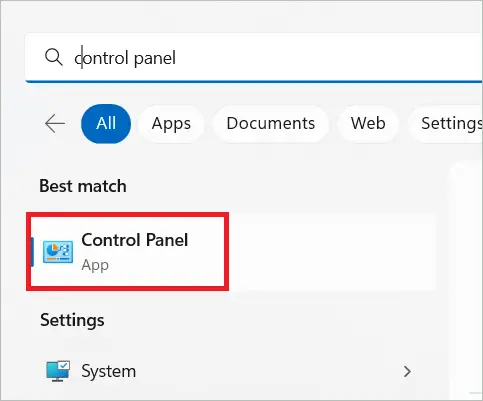
Click the search icon in the Taskbar and type Control Panel in the search bar. Then, open the Control Panel when it comes up in the search results list.
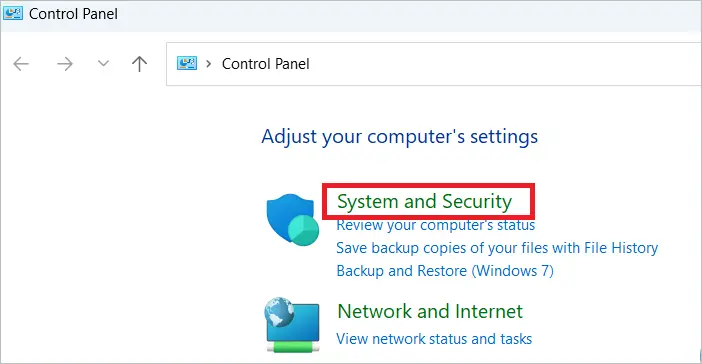
Select Control Panel >System and Security.
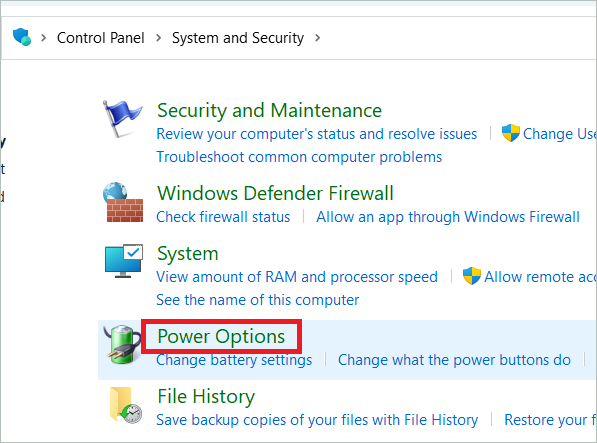
Select “Power Options” in the next window.
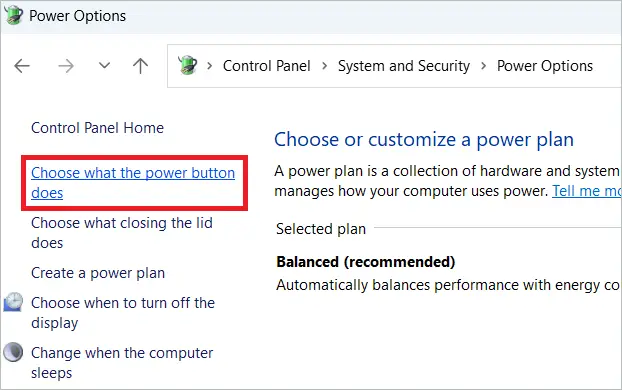
Click “Choose what the power button does” from the left pane of the Power Options menu.
Click “Change settings that are currently unavailable.”

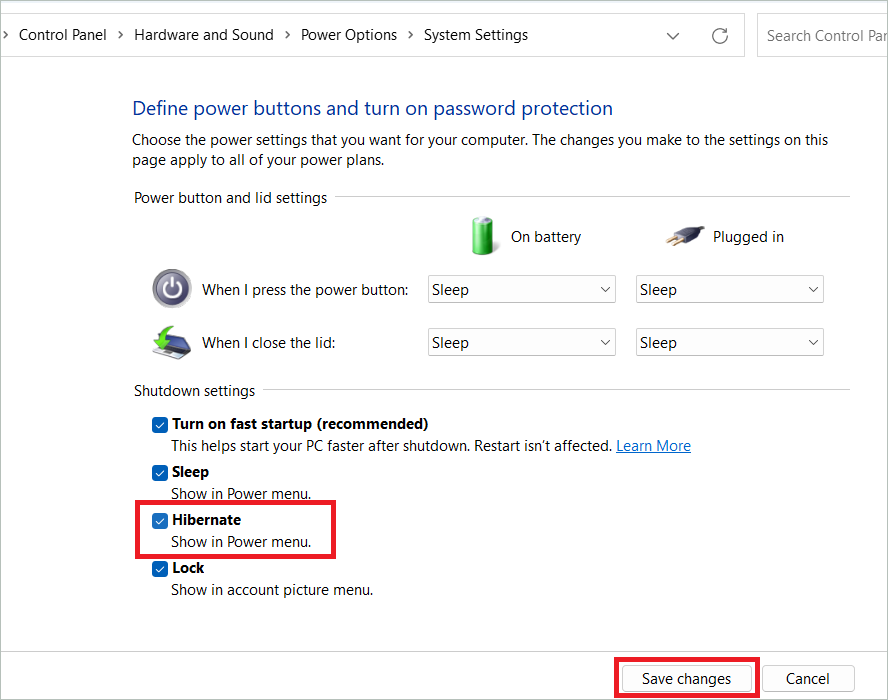
Check the box next to Hibernate under Shutdown settings and click “Save changes.”
You can now check if the Hibernate option has appeared in the standard shutdown menu.
Note: You can use the reverse method to disable hibernate from the Control Panel. That is, uncheck the Hibernate option and click “Save changes.”
How to Enable Hibernate in Windows 11 Using Command Prompt
The following method to enable Hibernate in Windows 11 uses the command line tool, the Command Prompt. Executing a single command is all you have to do to get it done. You must open the administrator Command Prompt with administrative privileges to make the task possible. Let us see how to do it using simple steps.
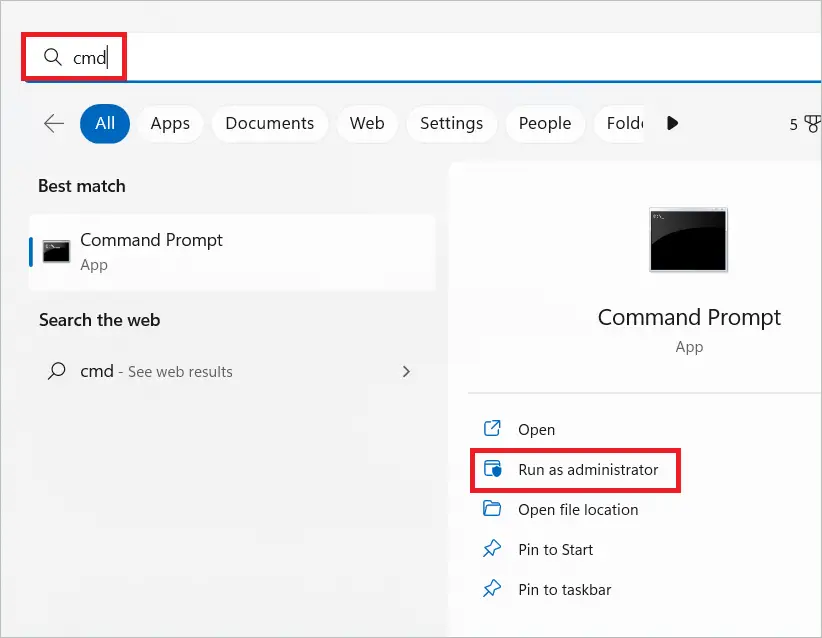
To use the search function to open the Command Prompt, type cmd in the search box and open it when it appears in the search results list. For this, select the “Run as administrator” option.
Before running the command for hibernate, let us check if the Hibernation feature is available. Type the following command and press Enter.
powercfg /availablesleepstates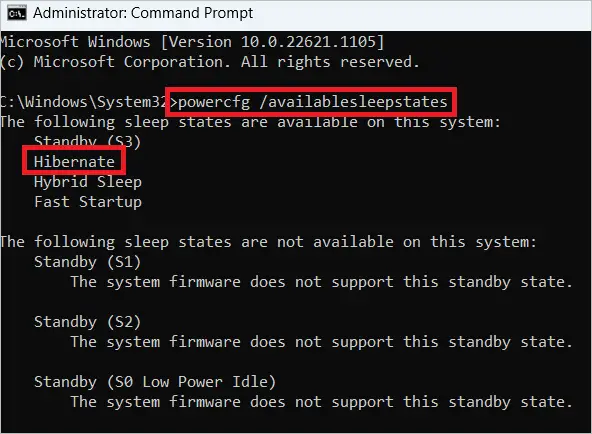
Type the following command in the Cmd window and press Enter if the feature is available.
powercfg.exe /hibernate on
Now, Hibernate will be enabled on your device.
You cannot see the Hibernate option if the hibernation file is missing. However, you can create the Hibernation file and make the option available using the Command Prompt. After running the command for enabling Hibernation, you must run the following command.
powercfg /h /type fullOnce the file is created, you will get a message with the size of the Hibernate file in bytes. Now, the Hibernate option will be available in the Power options.
Note: To disable Hibernate, execute the following command in the Command Prompt window.
powercfg.exe /hibernate offHow to Enable Hibernate in Windows 11 Using the Registry Editor
The Registry Editor is the utility to change specific settings of your Windows system. You can change the registry keys in the Registry Editor and achieve desired results. Here is how you can enable Hibernate in Windows 11 using the Registry Editor.
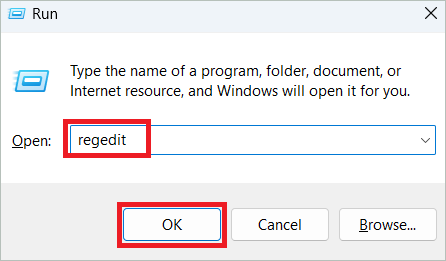
Open the Run dialog box by pressing the Windows key + R. Type “regedit” in Run and click “OK” to open the Registry Editor.
Type the following path in the address bar and press Enter.
HKEY_LOCAL_MACHINESYSTEMCurrentControlSetControlPowerDouble-click on HibernateEnabledDefault.
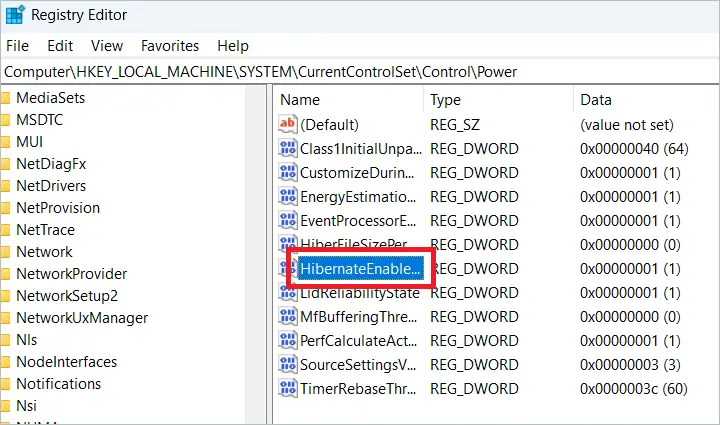
Type 1 in the Value data field and click “OK” to enable Hibernate.
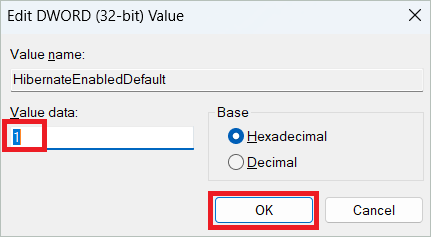
Note: To disable Hibernate, change the Value data from 1 to 0.
How to Customize Hibernate Option in Windows 11
You can set your PC to hibernate any time after you enable Hibernate in Windows 11. But if you want to automate the process and set it to meet specific conditions, you can customize it from the Control Panel. Here is how you can do it.
Use the search menu to open the Control Panel. Then, go to System and Security > Power Options > Choose what the power button does, as explained in one of the previous methods.
You will see two drop-down menus near ‘When I press the power button’ and two near ‘When I close the lid.’ Next, select the Hibernate option in all the drop-down menus and click “Save changes.”
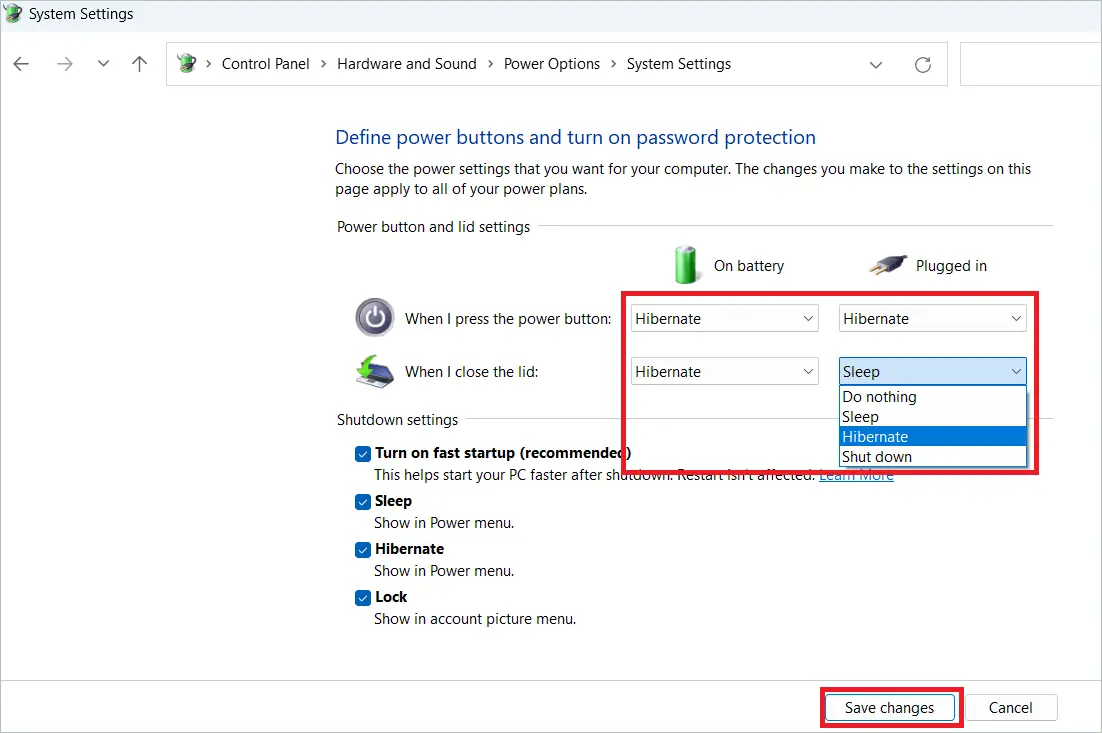
Once the changes apply, your device will go to Hibernate state when you press the power button or close the lid.
If your PC remains inactive frequently while you are into something else, you can configure the settings such that the PC goes into the Hibernate state automatically. Here are the steps for it.
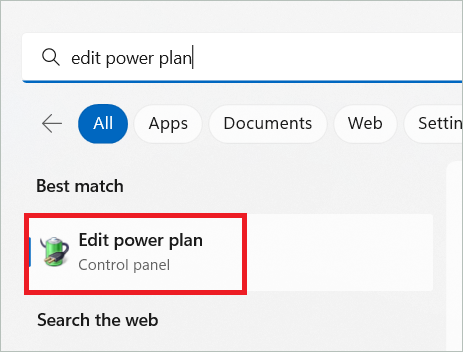
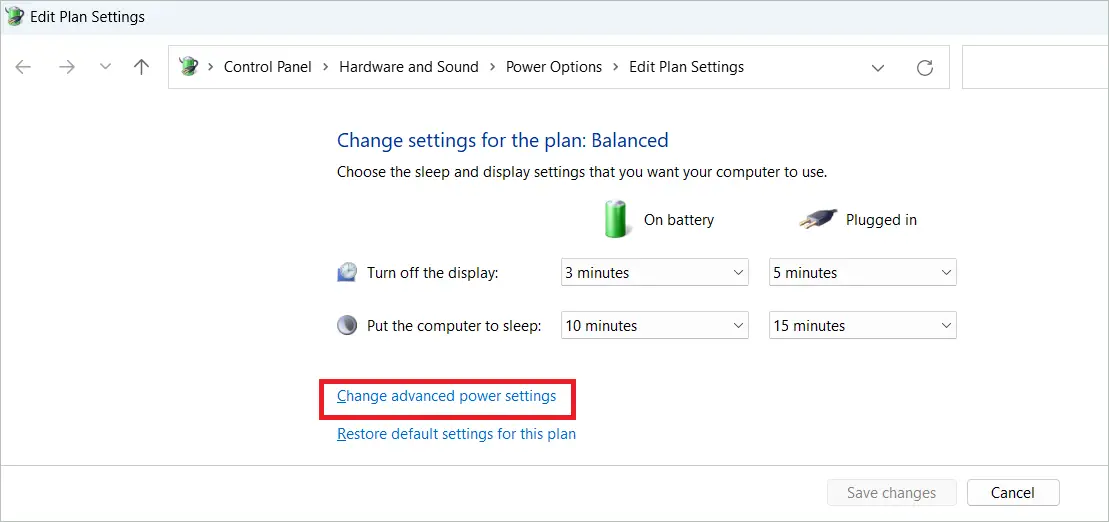
Use the search function to search for the Edit power plan and open it when the option comes up.
Click the Change advanced power settings option in the Edit power plan window.
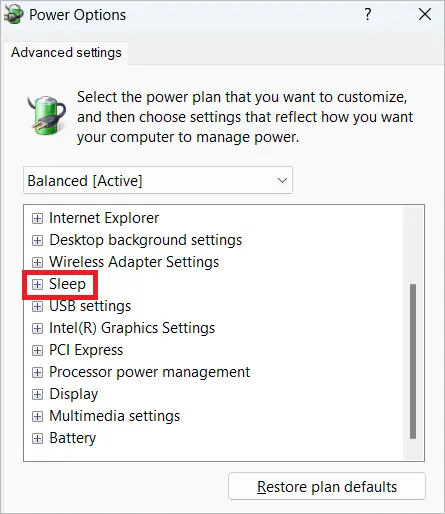
In the Power Options window, click the ‘+’ sign near Sleep to expand it.
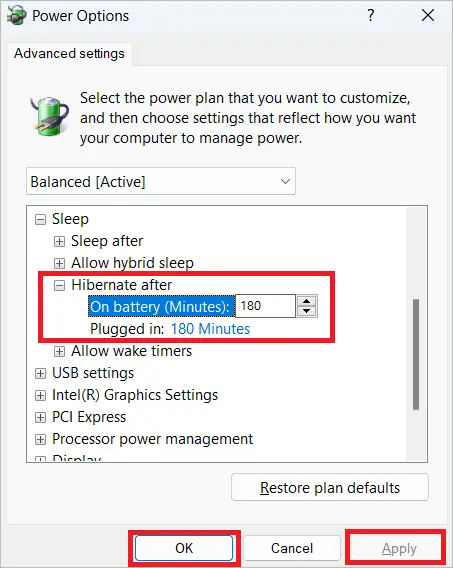
Expand the ‘Hibernate after’ option and enter the minutes after which your PC should go into the Hibernate state in the two drop-down menus for ‘On battery’ and ‘Plugged in.’
Finally, Click “Apply” and then “OK.”
Final Thoughts
Hibernate is considered better than the Sleep option as it does not take up the system resources like Sleep. Its efficiency in saving battery urges Windows 11 users to take advantage of its capability. But you will not find the Hibernate option in the default power menu, unlike the Sleep button. You must manually enable hibernate in Windows 11 to appear in the shutdown options.
The helpful article gives you several methods to turn on the Hibernate option. Once it is turned on, you can go to the power option and change the power plan. Customizing the Hibernation feature will push your PC to the Hibernate state when the laptop lid is closed or if the system is inactive for a short span of time.


