Key Takeaways
- Windows Installation Assistant is used to upgrade from Windows 10 to 11.
- But some users face the Windows 11 Installation Assistant not working due to issues like less storage space.
- You can fix the Installation Assistant issue by ensuring that your PC has no compatibility issues and enough space.
With each latest version of Windows OS, Microsoft brings something new and exciting to the table. Naturally, users were eagerly waiting to upgrade to Windows 11 after it was announced, and some of them actually did successfully. But those who didn’t get the prompt resorted to the Installation Assistant, only to face the Windows 11 Installation Assistant not working. Though it was not with everyone, many users reported getting the error message.
When you upgrade from Windows 10 to 11 using the Installation Assistant, you must first download the executable file from the Microsoft website and then run it. But, sometimes it says that the assistant is already running or something went wrong. It may not be an issue with the Installation Assistant, but the problem lies primarily with your PC. So one must fix the Windows issues.
8 Solutions To Fix Windows 11 Installation Assistant Not Working
The Installation Assistant is the best tool that helps you upgrade Windows. But if you are stuck with Windows 11 Installation Assistant not working, you must do some troubleshooting to find the issue and resolve it. Let’s learn how to deal with the Windows 11 Installation Assistant error code using different solutions.
1. Check If The Device Meets The Requirements
The device has to meet some system requirements for an upgrade from Windows 10 to 11. If these are not met, you may face the Windows 11 Installation Assistant not working. So first and foremost, let us see if your computer meets the following conditions for the installation to happen.
- Windows 10 license
- PC with Windows 10, version 2004 or higher, for the Installation Assistant to run
- 9 GB of free space on the disk to download Windows 11 OS
Note: Windows 11 Installation Assistant requires PCs with x64 processors. It cannot run on ARM-based PCs.
2. Restart Your PC
You might have often faced an issue with your Windows 11 PC and tried restarting it in the hope of resolving it. If the issue is due to some minor bugs, restarting helps combat it. So, if the Windows 11 install assistant is not working, you can restart your computer as an initial trial-and-error fix.
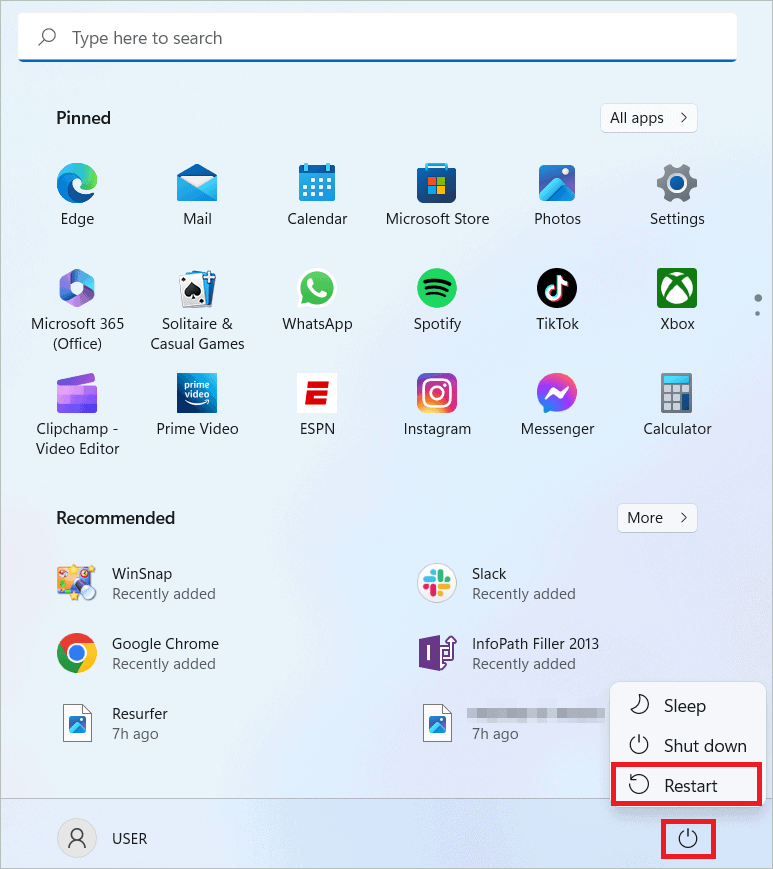
Click the Start Menu to open it. Now, click the Power button and select “Restart.”
Once your PC restarts, run the executable file and check if the Installation Assistant works properly.
3. Run The Installation Assistant As An Administrator
You will find the Windows 11 Installation Assistant not working if it is not run as an administrator. If any application on your computer seems to be an obstacle to the assistant running, giving it admin rights will solve it.
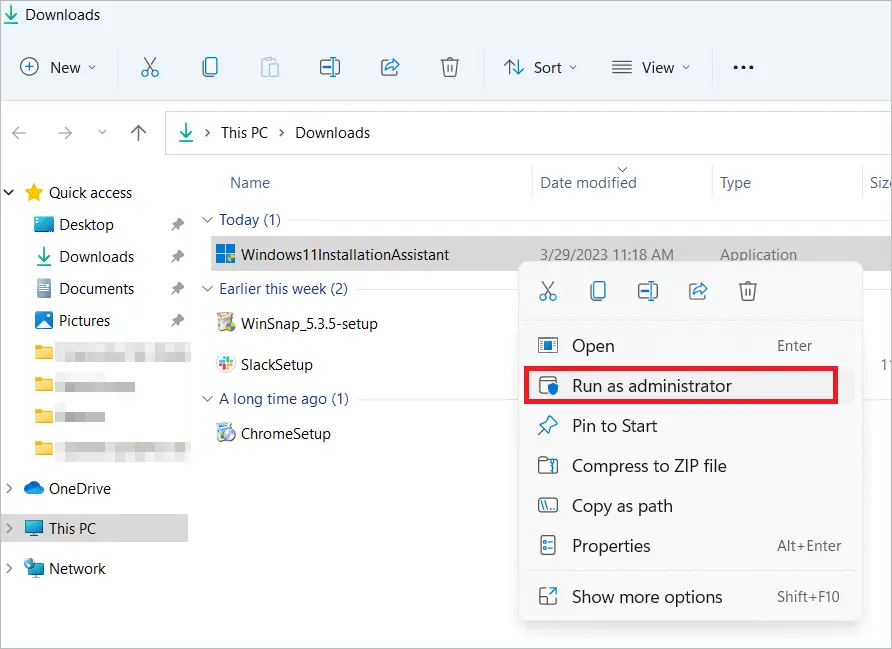
Open Microsoft’s official website and download Installation Assistant. Go to the Downloads folder on your PC and locate the executable file. Right-click on the file and select “Run as administrator.”
Click “Yes” in the confirmation dialog box to permit the Installation Assistant to run as administrator. Now, you can download and install Windows 11 by properly following the on-screen instructions.
4. Disable Antivirus
Every Windows PC is protected from malware by the built-in Windows Defender. But most of us have some third-party antivirus software installed on our PC as an extra security measure. Sometimes, the security program interferes with the working of the Installation Assistant and makes it impossible to install Windows 11 successfully. So, you can disable the antivirus software.
Locate the antivirus app icon in the system tray. Right-click on it and select “Disable.” Give permission, if asked, by clicking “Yes.” You can run Windows Installation Assistant once the program is disabled.
5. Update Graphics Driver
An updated graphics driver is necessary for the proper working of any PC. Else, many issues pop up while you are about to do some task on your system. For example, the Windows 11 Installation Assistant not working issue could be due to a faulty or outdated graphics driver. So, get the latest updates and install them to find a solution to the issue.
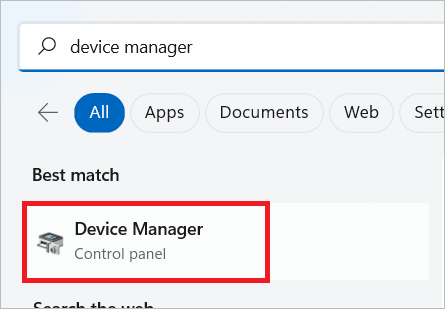
Type “device manager” in the search bar and open the Device Manager.
Double-click on Display Adapters to expand it. Right-click on the driver and select “Update driver.” The OS will update the driver on its own.
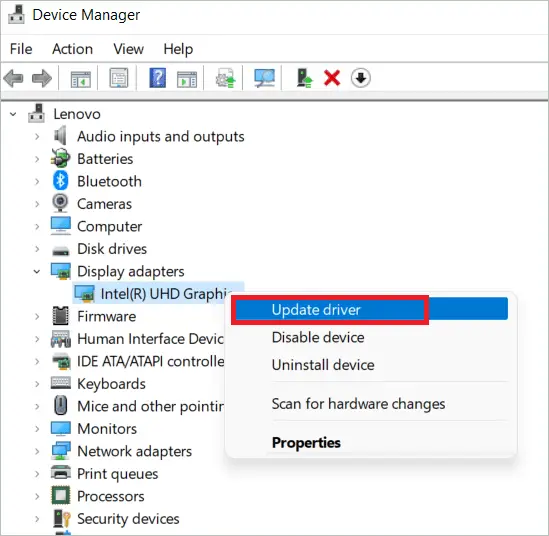
If you want, you can also select the “Uninstall device” instead of the Update driver option. In that case, you must visit the manufacturer’s website to search for and install the latest graphics driver.
After installing the graphics driver, restart your PC and rerun the assistant.
6. Run In Compatibility Mode
If you are running a new program on your PC, it may not work well if there are compatibility issues. The same is true for Windows Installation Assistant. You can fix this issue by running the program in compatibility mode for Windows 7.
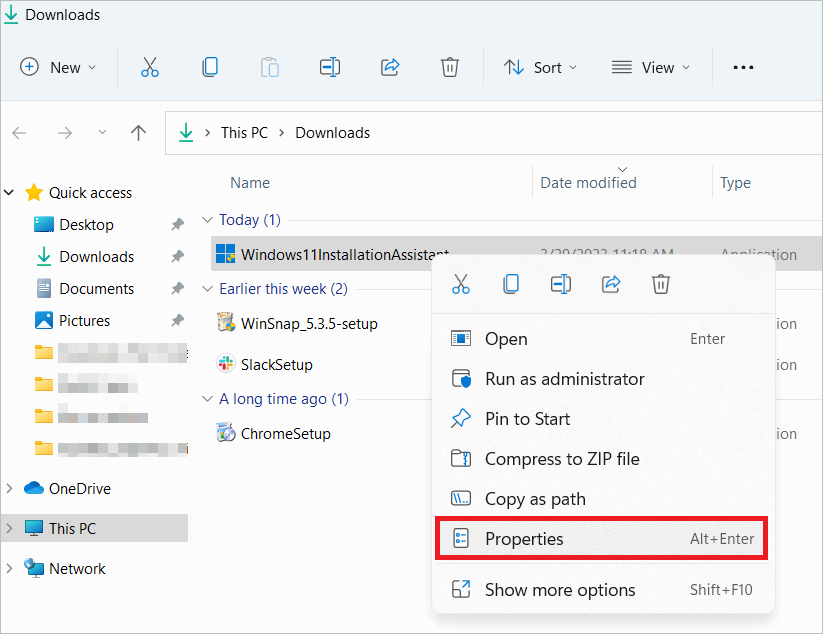
Find the Installation Assistant’s executable file and right-click on it. Next, select “Properties.”
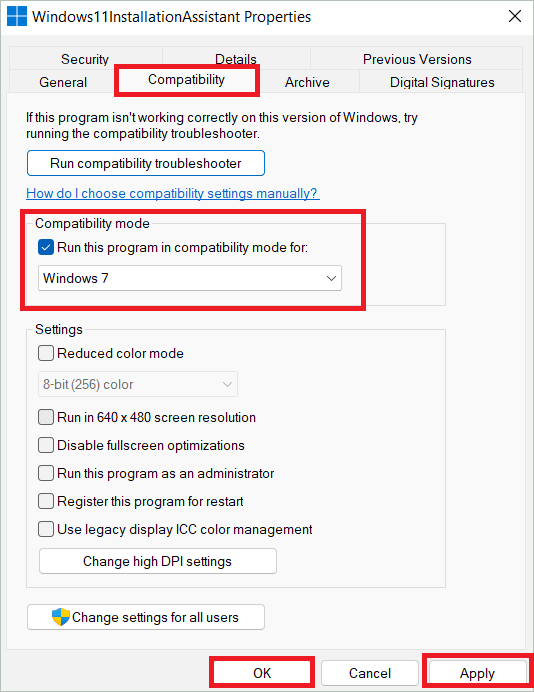
In the Properties window, select the Compatibility tab. Check “Run this program in compatibility mode for:” under Compatibility mode, and select “Windows 7” in the drop-down menu. Click “Apply” to save the changes and then “OK.”
Now, initiate the Installation Assistant and see if the problem is resolved.
7. Run SFC Scan
System File Checker, or SFC, is the utility that identifies and fixes issues with system files. The corrupted system files can cause the Windows 11 Installation Assistant not working. Running an SFC scan will find the problematic files and replace them.
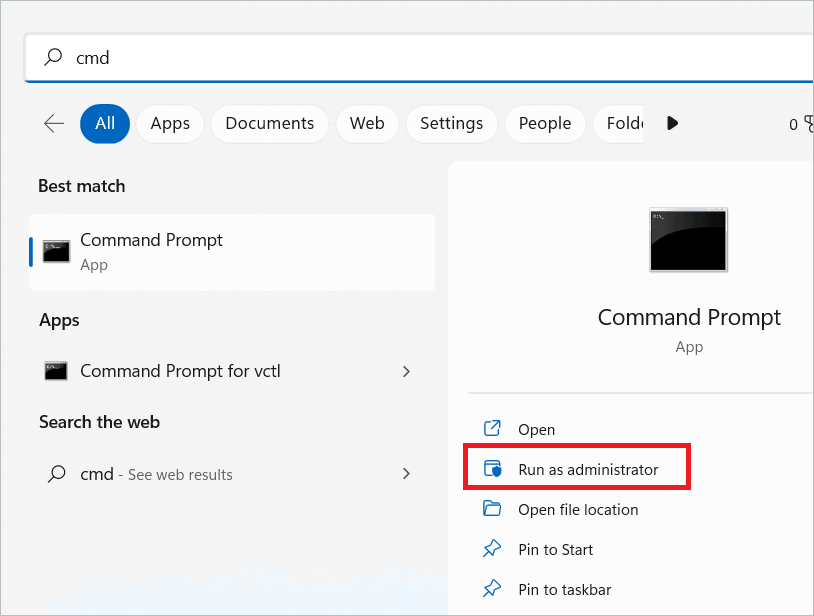
Type “cmd” in the search box and open Command Prompt by selecting “Run as administrator.”
Type the following command and hit Enter to run the SFC scan.
sfc /scannow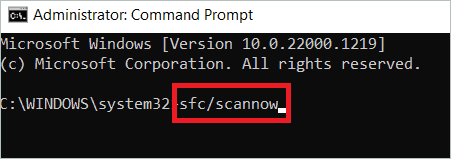
Restart your computer after some time, and run the Windows Installation Assistant again.
8. Free Up Space
We mentioned this point while listing the system requirements to upgrade to Windows 11. The Installation Assistant fails to run if there is insufficient space on your system drive. The system drive is usually the C drive, so clean up the drive to make enough room to install Windows 11 without any glitches.
The Disk Cleanup utility is a built-in tool in Windows that helps clean the selected disk. You can also use some third-party software to get the job done. Additionally, consider deleting unwanted data, duplicate files, and the like to regain storage space.
Final Thoughts
The Installation Assistant is a powerful tool that helps install Windows 11 on your computer if there is no prompt. But it does not work as smoothly as expected for everyone. Many stumble upon the Windows 11 Installation Assistant not working issue that results in a failed upgrade.
When faced with issues like this, it is recommended to try simple fixes first, like restarting your PC. You can even download the Installation Assistant again and run the new file. If nothing works, our fixes come to the aid. Employ them and make your Windows 11 work in full swing.


