You might have used a Microsoft account during the installation of Windows 11 because Microsoft is particular about having one, especially in the Home edition. Needless to say, it is handy and allows you to sync your settings across devices. But if you want to remove Microsoft account from Windows 11, you can do that during or after the installation. In addition, the account with admin privileges can be deleted anytime you wish.
When installing Windows 11, you must provide a Microsoft account during the sign-in process. But a workaround lets you bypass the step and create a local account instead during the initial setup. But here, we will discuss how you can remove Microsoft accounts after installation. Remember to create a new local account if you don’t have one already.
How To Remove Microsoft Account From Windows 11
It is beneficial to have a Microsoft account added to Windows 10 and Windows 11 as it gives a seamless experience across devices you have signed in. It also lets you download apps from the Microsoft Store and use other Microsoft services. But if you no longer want to use the account on Windows 11, you can delete it after creating a local account. Let us see a few methods to remove your Microsoft account.
How To Remove A Microsoft Account From Windows 11 Using Settings
The Settings app is the first place we turn to for any tweaks we need to do on our system. It serves well if you need to change desktop settings, network settings, user account settings, and more. It also gives a way to remove Microsoft account from Windows 11 PC. Follow the steps to remove the Microsoft account on your PC using the Settings menu.
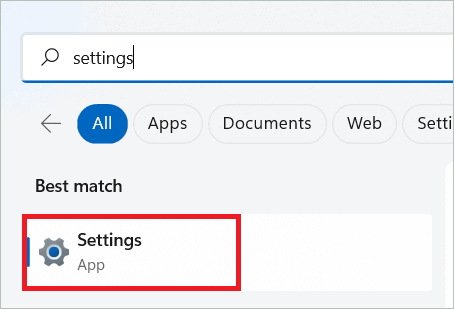
Type “settings” in the search box and open the Settings app.
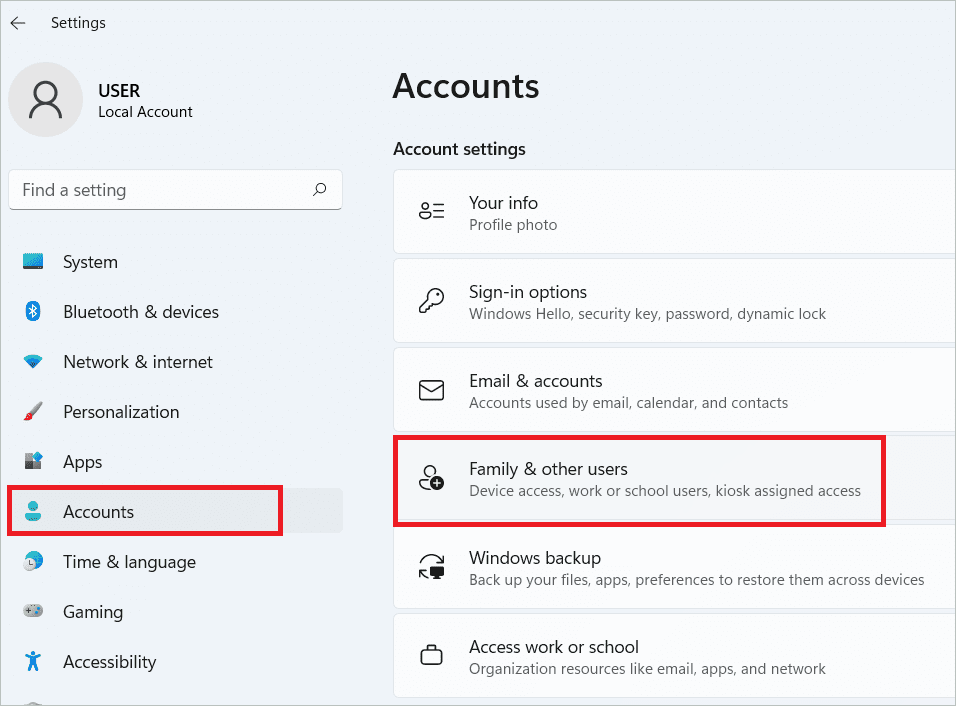
Select Account > Family & other users.
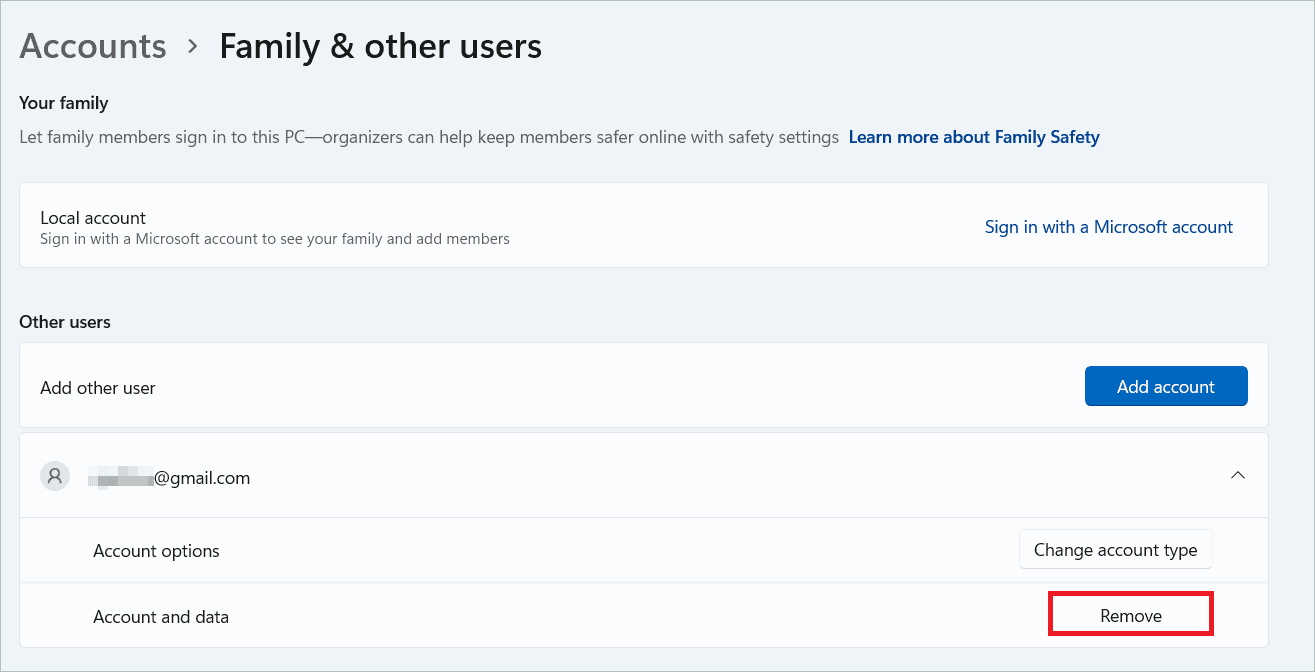
Click the down arrow near the Microsoft account you want to remove. Next, click the “Remove” button near Account and Data.
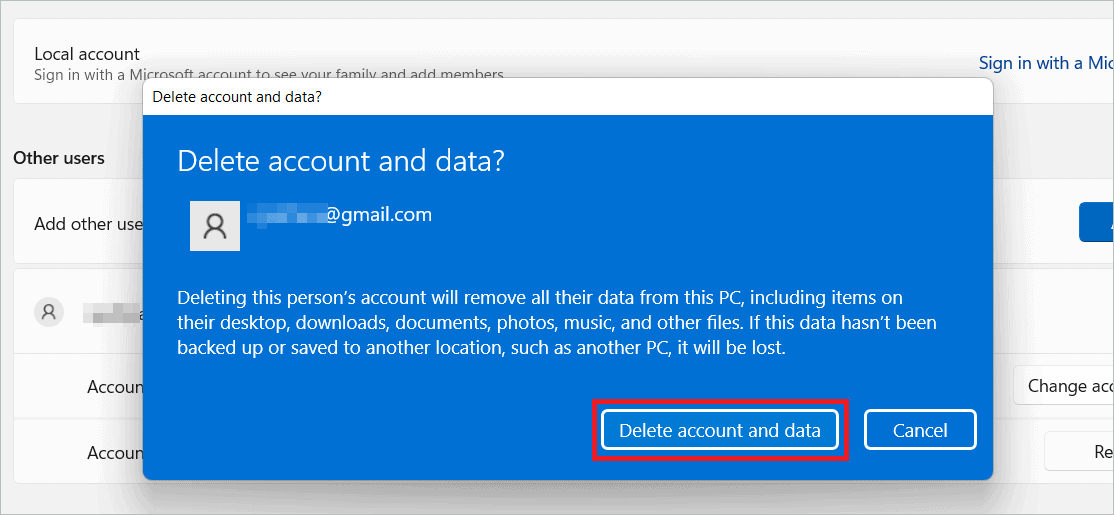
Click “Delete account and data” in the confirmation window to complete the deletion process.
How To Delete Microsoft Account Using the Control Panel
To get rid of your Microsoft account using Control Panel, you will need a local account with admin rights in the first place. If you don’t have one, create it and start with the following steps.
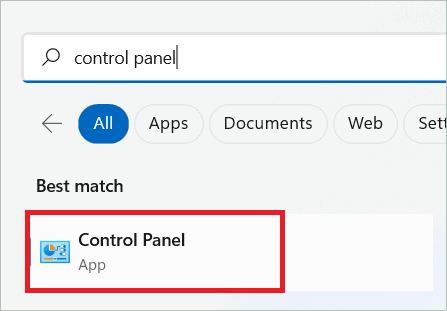
Type “control panel” in the search bar and open Control Panel when the option comes up.
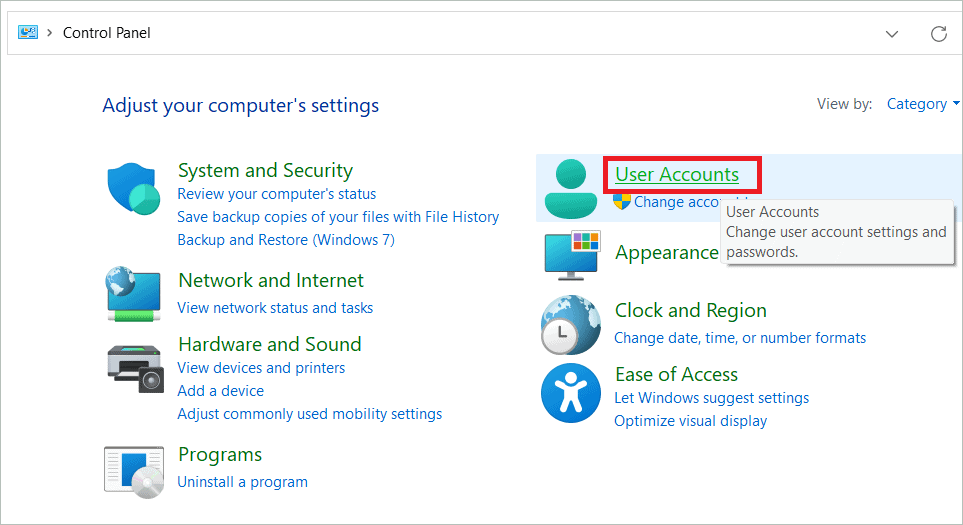
In the Control Panel window, click the “User Accounts” option.
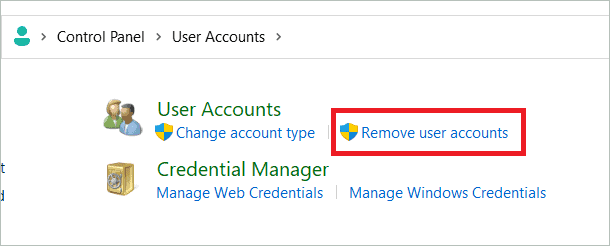
Click “Remove user accounts” under User Accounts.
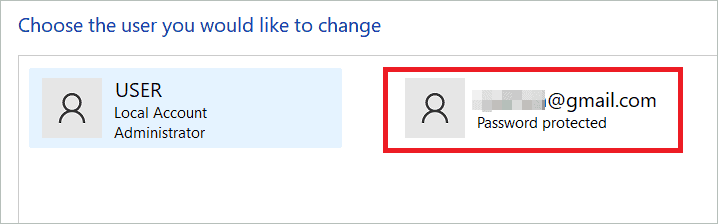
Now, select the Microsoft account you want to delete.
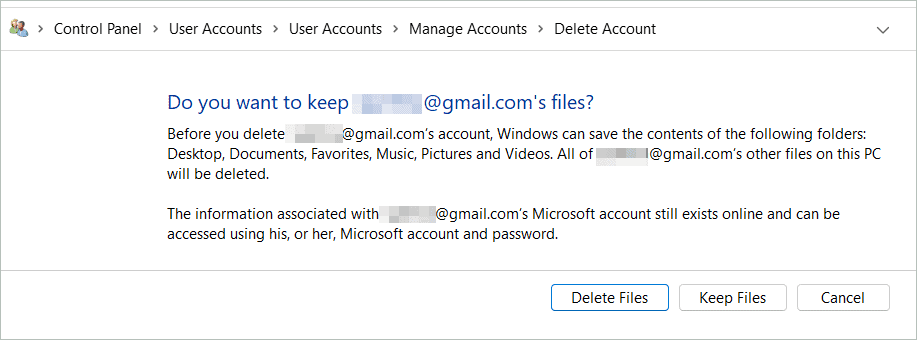
Click “Delete the account.”

The following window will give you two options – Delete Files and Keep files. If you choose the first, all the files related to the account will be deleted. The second option will retain the files for you. Choose one of the options to delete the account.
How To Delete a Microsoft Account From User Account Settings
Using the User Accounts is another way to remove Microsoft account from Windows 11. We will use the Netplwiz Run command to open the User Accounts window. This method is easier as it asks for only a few clicks.
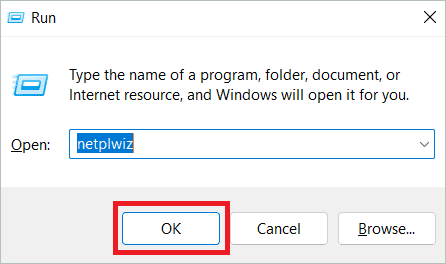
Press the Windows key + R to open the Run dialog box. Type “netplwiz” and click “OK.”
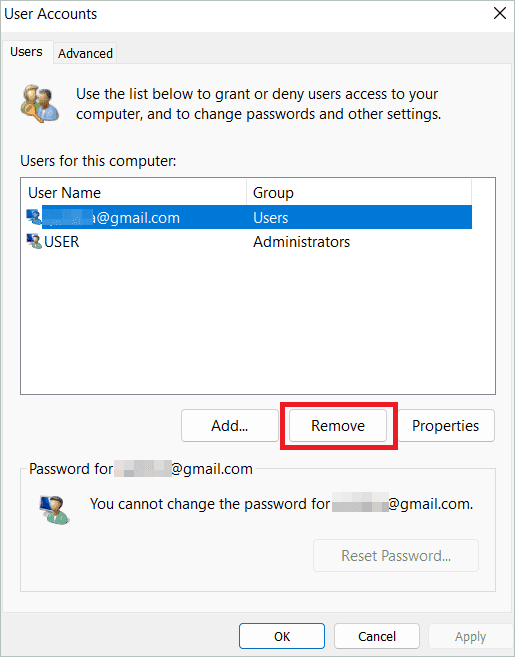
In the User Accounts window, select the Microsoft account you want to remove, and click the “Remove” button.
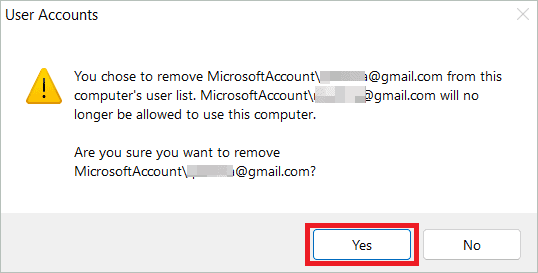
When asked for confirmation, click “Yes” to easily remove the account.
Final Thoughts
Even though it is necessary to have a Microsoft account while you install Windows 11, you can still use a local account instead to log in. Microsoft does not let you do without a Microsoft account, but it is your choice whether you want to sync everything from the Microsoft account on your computer. If you decide to remove Microsoft account from Windows 11, there are a few ways to do it.
Deleting a Microsoft account is a matter of simple steps, as you might have understood from the methods listed. You can choose any technique if a local account is created on the operating system. And you won’t lose any data associated with the account, so there is no need to worry.


