Back when the internet was in its infancy, one host file contained the names of all the computers and the matching IP addresses. But with the increased number of devices, the Domain Name System (DNS) came into being that connected a hostname or URL to an IP address. But Windows 11 host file is the first place that the computer will check for a website’s IP address.
The hosts file on Windows contains the IP addresses and the corresponding host names. The PC connects to a DNS server or checks the DNS cache when no entry is found. If you check the host file on your system, you will find it doesn’t contain any mappings. This gives room for you to edit the host file on Windows. So, if you want a faster connection to a site, you can use the host file to save an entry.
What Is Windows 11 Host File?
Windows 11 host file is a text file saved inside the ‘etc’ folder on your PC that contains entries with IP addresses and matching host names. Each entry is kept on an individual line. Every entry has an IP address followed by the corresponding hostname, separated by at least one space. Adding an entry makes it easy for your computer to connect to the given IP address.
You can edit hosts files in Windows 11 using any text editor, but the Notepad app is preferred. If you give an IP address for a specific hostname, the connection is made when the PC looks up the host file. But if you add an entry with an IP address that does not exist, the website is automatically blocked. Note that you can add as many entries as you wish.
How To Lock And Edit Windows 11 Host File
If you need to edit the Windows 11 host file, you must know its location. Once you open the file from its location using Notepad, you can manually add entries to specify the IP address and the hostname. So, here is how to lock and edit host files.
How To Lock Windows 11 Host File
If malware has managed to get into your system, you never know what it will do. It can corrupt your system files, lock up important files, slow down your PC, and much more. Yet another thing malware can do is alter your Windows 11 host file.
For example, when you want to open a website, you may be redirected somewhere else due to the changes made by malware in the host file. The process of making such undesirable changes is termed a host file hijack.
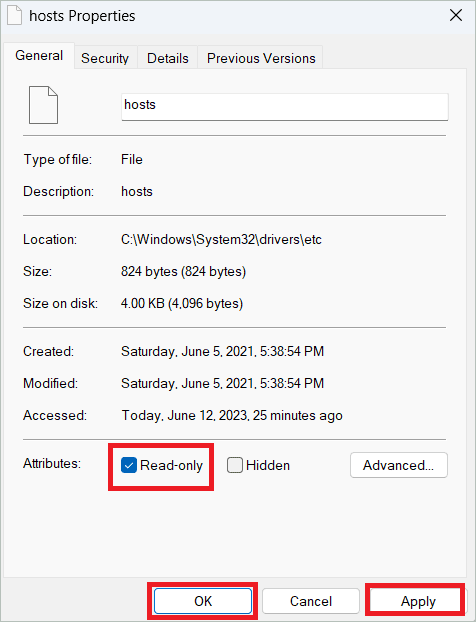
If you want to keep your host file safe and locked, you can make it read-only. This can be easily accomplished from the file’s Properties window, as shown below.
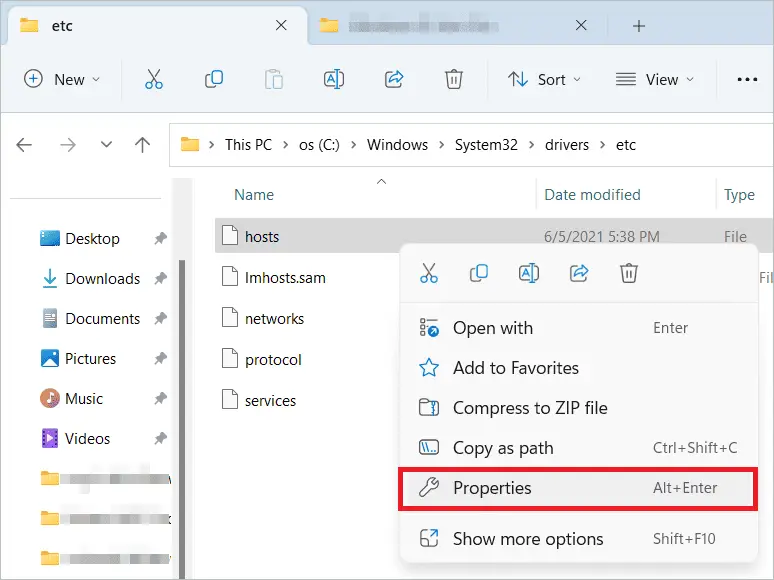
Open File Explorer to go to the host file location in Windows 11. Paste the following path in the address bar and press Enter.
C:\Windows\System32\drivers\etc
You will find the host file in the etc folder. Right-click on the file and select “Properties”.
Tick the “Read-only” checkbox near Attributes and click “Apply” and “OK” to save the changes.
How To Edit Windows 11 Host File
Users may want to edit the Windows 11 host file for one or more reasons. One popular reason is to speed up your internet search for a website. Usually, the DNS server does it for you by identifying the IP address and domain name. But if it seems to be inefficient, you can edit the host file by adding entries that will make the process faster.
Also, the host file comes in handy if you want to block websites on your computer. The trick is to add an invalid IP address for the domain name. So, when your PC looks up the host file, it finds the address but cannot open the non-existent IP address.
Before editing the host file, you may save its copy in a different location or create a restore point to revert if something goes wrong. So, here is how you can edit or modify the host file in Windows 11 using two ways.
Using Notepad
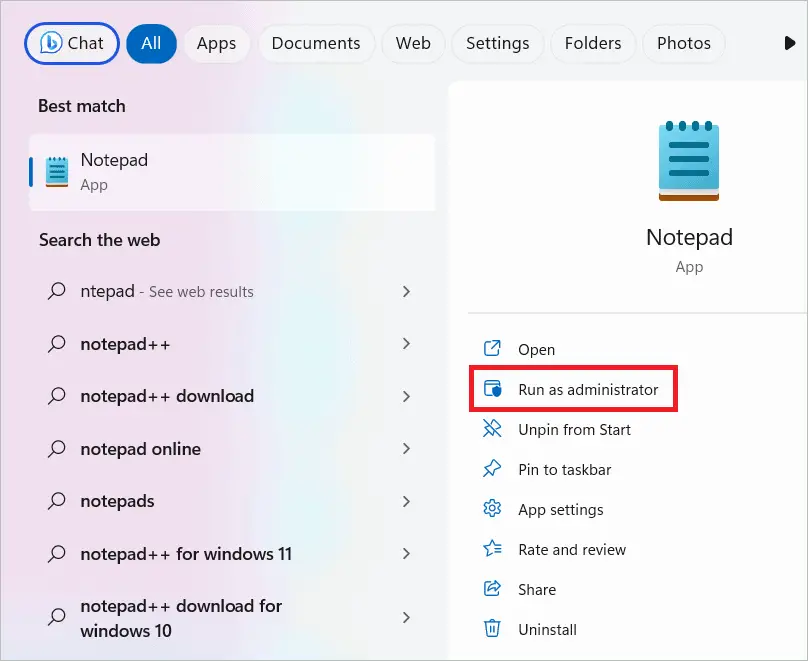
When you use Notepad to edit the host file, remember to open it with administrative privileges. This is because you need administrative permissions to edit the file’s contents. Here is how you can do it.
Type “notepad” in the search bar, and when the option comes up, select the “Run as administrator” option on the right side. The step is the same for Windows 10 and 11. But in Windows 11, you may have to click a down arrow to view the Run as administrator option.
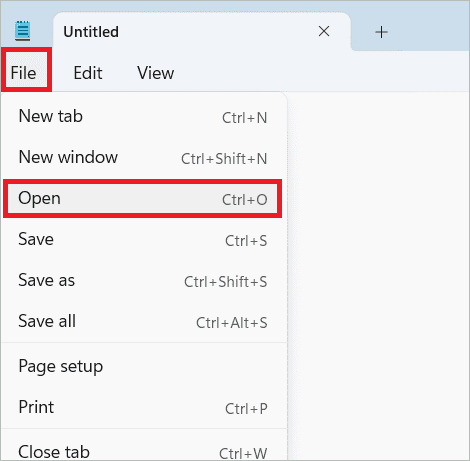
When the Notepad opens, select File > Open.
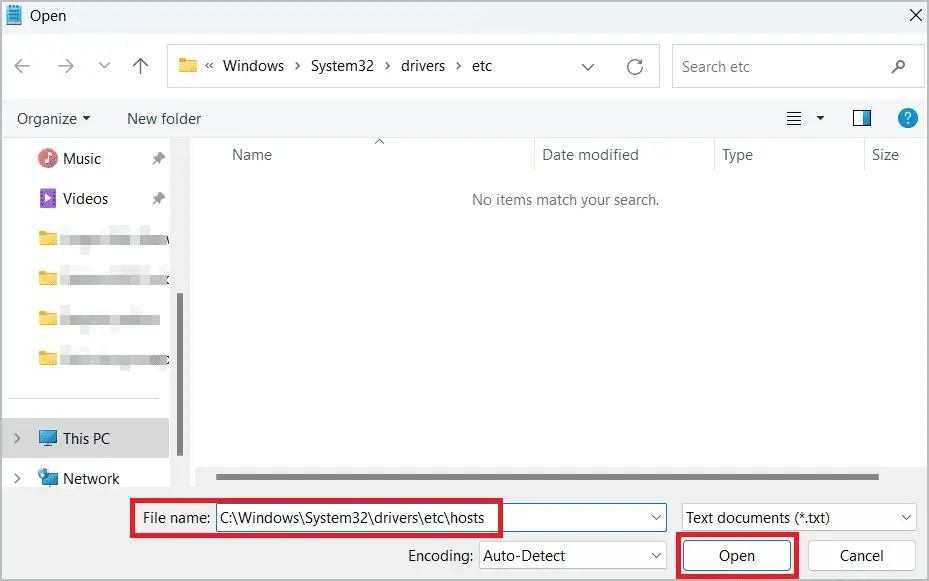
Paste the following path in the File name field and click “Open”. The hosts file will now open.
C:\Windows\System32\drivers\etc\hosts
Scroll to the end of the file and type the IP address followed by the domain name of the website you want to block.
For example, if you want to block Facebook, type the following text.
127.0.0.1 www.facebook.com
Or, you can type the following.
0.0.0.0 www.facebook.com
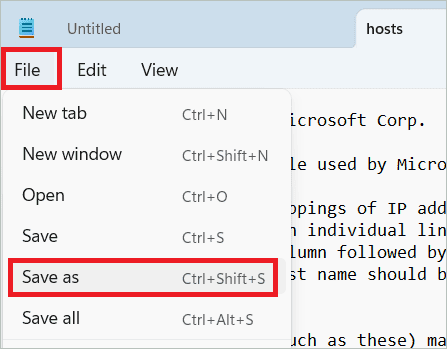
Once you have added all the entries, select File > Save as.
In the Save as type drop-down box, select “All files”. Give another name for the file and save it on the desktop.
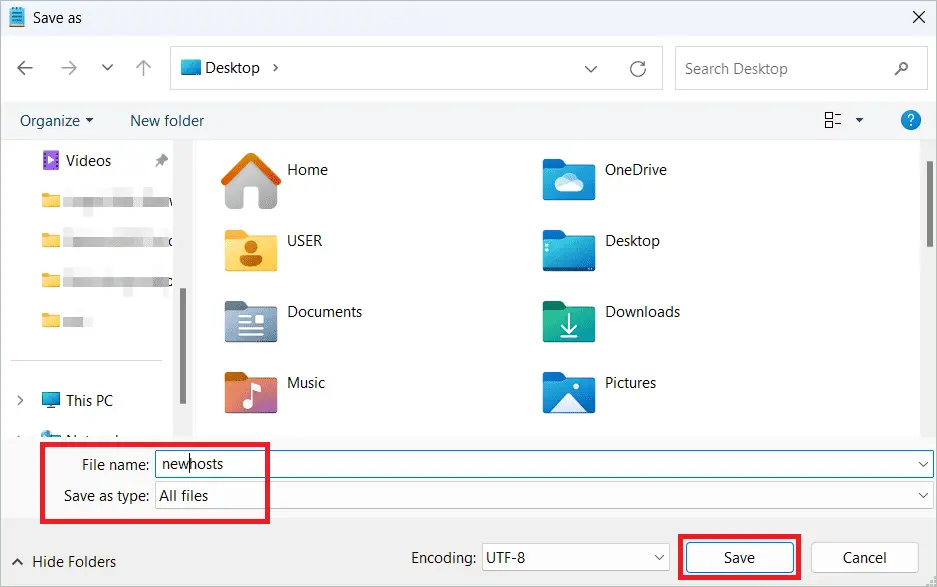
Now, copy this file and save it in the original location of the host file with the name ‘hosts’. You may choose the replace file option when the prompt appears.
Using Command Prompt
Using Command Prompt to edit the Windows 11 host file is a much easier process than the one mentioned above. Here, all you have to do is execute the command to do the edit. So, let us see how it is done.
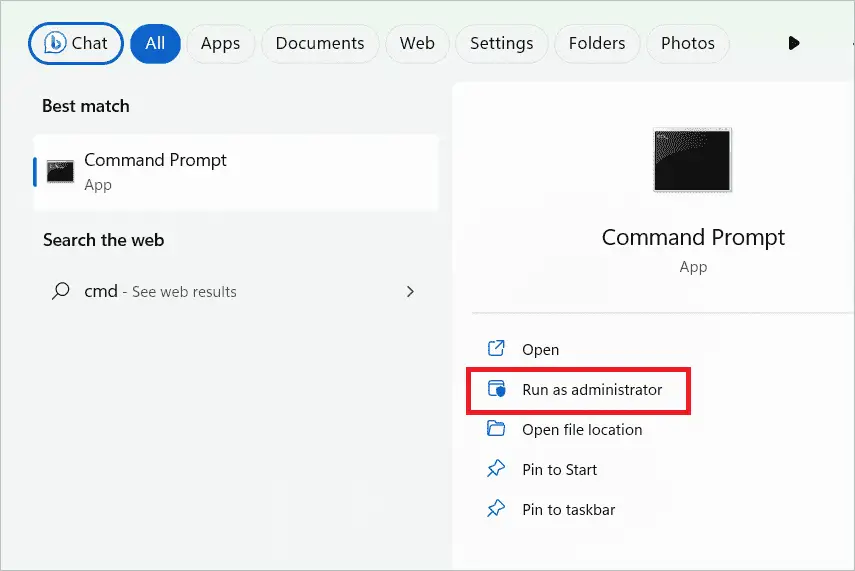
Type “cmd” in the search bar and open the Command Prompt by selecting “Run as administrator”.
Type the following command in the Command Prompt window and press Enter to add the entry successfully. Replace the IP address and the hostname with the actual values.
echo [IP address] [hostname] >> %SystemRoot%System32driversetchosts

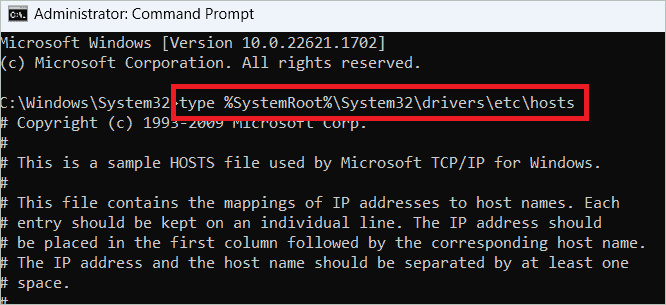
To check whether the changes have taken effect, use the ‘type’ command, as shown below.
type %SystemRoot%System32driversetchosts
To remove any entry from the host file, you may open the Notepad, delete the entry and save the changes.
Using Third-Party Software
If you don’t want to edit the host file manually, you can use a third-party tool that performs the edit for you. The benefit is that the software comes with several features that edit the host file and support many other functions.
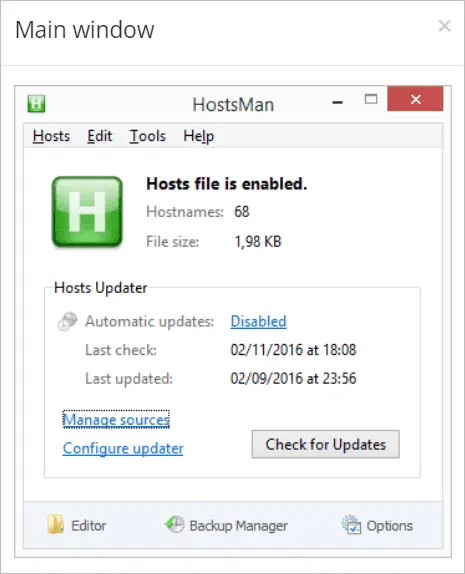
HostsMan is a tool that allows you to add, edit or remove entries in the host file. It scans the file for duplicate entries, errors, and potential vulnerabilities. It also lets you backup the host file and save it elsewhere. You can even take the help of the tool to restore the file, if necessary.
A second tool we would suggest is SysMate Hosts File Walker, which has functionalities similar to HostsMan.
Final Thoughts
The Windows 11 host file is a text file where you can configure the mappings of IP addresses and hostnames. The hosts file is located deep inside the C drive and you will be able to open it using a text editor like Notepad. When the PC needs to access a website, it first checks the hot file for a relevant entry. If not found, it connects to a DNS server.
So, you can give the IP addresses of important websites followed by the corresponding host names so the search becomes faster. You can also use the hosts file to block a website. The article tells you how to lock the hosts file and gives different ways to edit it.


