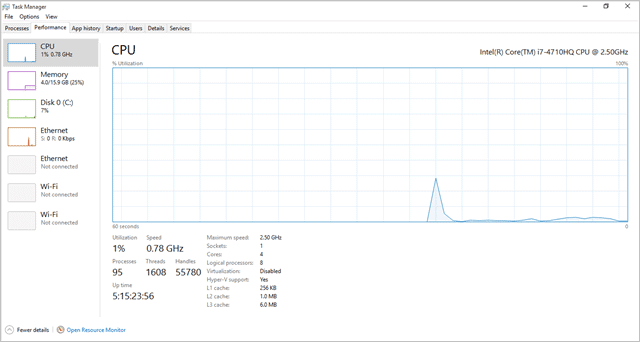
The CPU usage in Windows 8, 8.1, and 10 can sometimes be a problem. For users on older PCs, it can render a computer useless.
In the case that you have programs, services, and other factors spiking your CPU usage in Windows 10, there are some steps you can take to help limit it so that you can use your computer normally.
Let’s look at how to limit CPU usage in Windows 10 with a few different methods.
Limiting CPU Usage in Windows 10
Find the Culprit for High CPU Usage

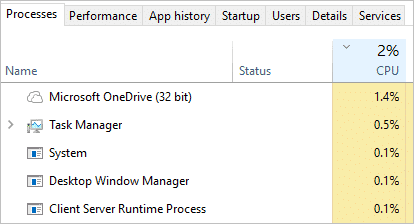
The first way to limit CPU usage in Windows 10 is to find the culprit and eliminate it. In many cases, anti-virus and anti-malware programs are the biggest issues in Windows 10.
Avira, Avast, and Baidu had issues on launch day with Windows 10, causing an overload of CPU resources and rendering PCs useless. All three have released patches to fix the issue, but sometimes switching software is the quickest way to limit CPU usage in Windows 10.
Normally, when you first install software, the first few instances of it running will overload your CPU, memory and disk usage as your system adjusts to it being on the PC. Once this calms down, a few minutes after booting, you’ll find the levels running at normal. If not, you’ll want to look at alternatives to accomplish the same thing on your Windows 10 computer.
Clean Your Fans
The majority of PC owners, desktop and laptop alike, never blow out their fans. Over time, the dust, debris, and build up that covers your fans can cause your CPU to overheat which then causes it to max out.
Turn off your PC, blow your fans out with a can of compressed air, let it sit for 30 minutes, then boot up your computer and see if it helps.
Change Your Power Options
Power options can cause issues with system performance in general.
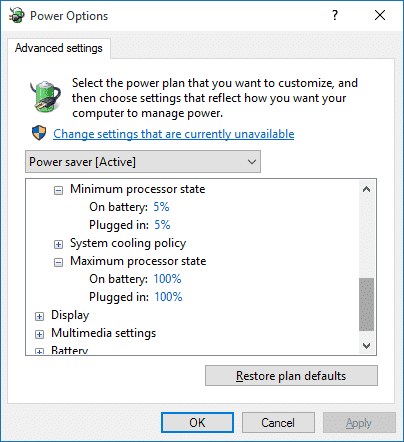
Open the Advanced settings for Power Options in Windows 10. You’ll need to look at these settings for each plan to maximize the impact.
Look for Processor power management, then change the minimum processor state to: 70 percent for minimum and maximum processor state.

Click “Apply” then “OK” to save the settings.
Change Program Affinity
In the Task Manager, under the Details tab, you can change which processor programs are assigned to. You’ll need to do this every time you log in to Windows 10, which can be a bother, but it can be a way to limit certain processes and cut down on their CPU usage.
Open the “Task Manager,” then go to “Details.”

Right-click on any program or service, and click “Affinity.”

You’ll be able to limit a program to service to certain core processors.
Third-Party Solutions
If you still can’t figure out where the CPU issues lie, consider third party software.
Three of the best software solutions for Windows 10 include:
BES is considered one of the best Window-based CPU programs out there to manage CPU issues. It’s easy to use and can change the way you use Windows 10 forever.
Conclusion
It takes some troubleshooting to figure out what’s causing issues with your CPU and how to limit it in Windows 10. The above steps should help you figure it out without wasting too much of your time.
If you’re still having issues with your CPU maxing out, we recommend contacting Microsoft tech support for them to get into some advanced level troubleshooting to fix the issue permanently.


