If you have used Google, I’m sure you’d have heard about Google drive. In the rare chance that you haven’t – Google Drive is a cloud-based data storage service that helps to backup and sync your files and folders. We can use Google Drive for editing documents online, taking a backup, and storing data on the cloud for easy and anywhere access.
Usually, to access all these services of Google Drive, we need to open it on our web browser. Wouldn’t it be great if we could add Google Drive to Windows Explorer or File Explorer, as it’s now known in Windows 10?
Adding Google Drive to File Explorer brings ease to handling your drive data. You can have your documents from Google Drive in your File Explorer for offline access. The steps to sync all your data, including your photos and videos, are explained below.
When you download Google Drive Windows 10 app, it automatically creates a folder under the Quick access section in the left sidebar of File Explorer. This folder can be removed from the Quick access area by anyone in just a click.
However, to permanently add Google Drive to the File Explorer Navigation Pane, you need to follow some specific steps on your Windows 10 system. Let’s see how to get this done.
Add Google Drive to File Explorer in Windows 10
Step 1: Download Google Drive Backup and Sync App
If you have already installed Google Drive on your desktop, then you can skip this step.
You can download Google Drive for Windows 10 or any previous version of Windows from its official website. If you do not have a link to the official website, you can use the below link.
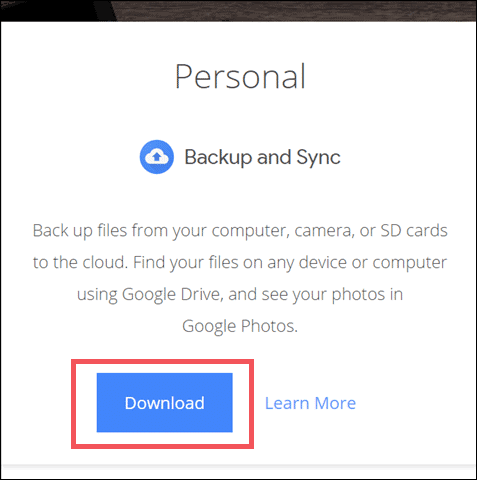
Click on Download under Backup and Sync. As you need Google Drive for personal use, you need to download the Backup and Sync option.
After clicking on, Agree, and download a file named installbackupandsync.exe will be downloaded. Run that executable file to install Google Drive for Windows 10 or any other Windows system.
Step 2: Sign in To Your Google Account
To use your personal Google Drive account on the desktop, you need to sign in to Google Drive by confirming your login credentials.
Important note: Please make the required changes for backup and sync as detailed below. This will help you sync only the data that you actually want on your PC and let any other data be online. Choosing the right options can help you conserve your Google Drive space as well as get the important data for offline, anywhere access.
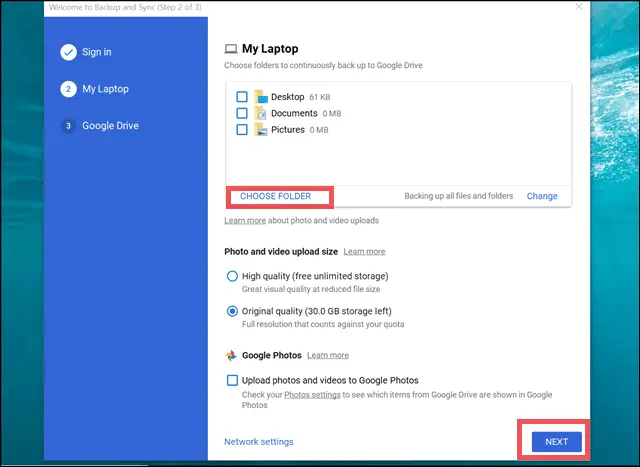
For example, if you do not want a backup of all files and folders, you can select the specific folder for which you want to keep a backup by clicking on CHOOSE FOLDER. After making the required changes, click on NEXT.
Step 3: Select the Data You Want to Sync
After installing Google Drive, you need to sync it to your computer to access Google Drive’s data offline. Do not forget to add your computer’s data to the Google Drive folder.
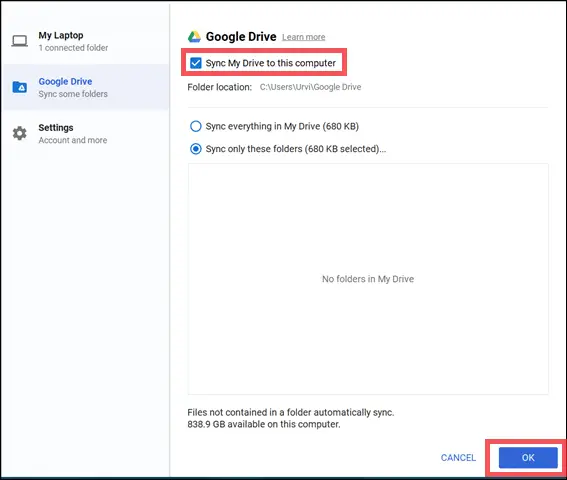
There are three options in this window.
Sync My Drive to this computer – check this option to access the data in your Google Drive from your system.
Sync everything in My Drive – this option will sync your every file and folder present in Google Drive with your computer
Sync only these folders – select this option to sync particular folders.
Select the appropriate option and then click on OK
Once this is done, you will now see Google Drive Folder in the Quick access area.
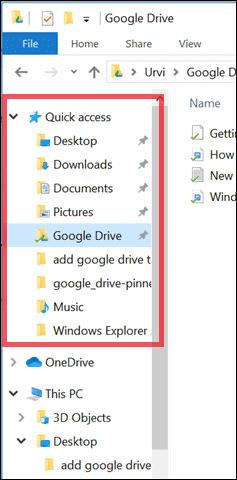
There is also a shortcut created on the desktop for Google Apps such as Google Docs, Slide, and Spreadsheet. You can add the files and folders you want to upload to your Google Drive in this folder. You can also access your Google Drive files from the same folder.
Data Handling is quite easy with Google Drive once it’s added to Windows File Explorer. However, if you followed the above process, it’s only visible to you in the Quick access menu.
Now let’s see how to add Google Drive to File Explorer. In order to pin it to the Navigation Pane of File Explorer, you need to follow the below steps.
Editing Registry Files To Add GDrive To File Explorer
Once Google Drive is accessible from the Quick Access area, you can pin it to the Navigation Pane of File Explorer by using .reg files.
Note: Take a backup of registry files before running the below .reg files.
Taking backup is also the necessary step as registry files are an essential part of the system, and any changes made in them may affect the normal working of the system.
Disclaimer: The files we have shared with you have been tested by us and are safe. However, if you are not sure, please refrain from downloading them as we would not be responsible for any unwarranted issues with your PC.
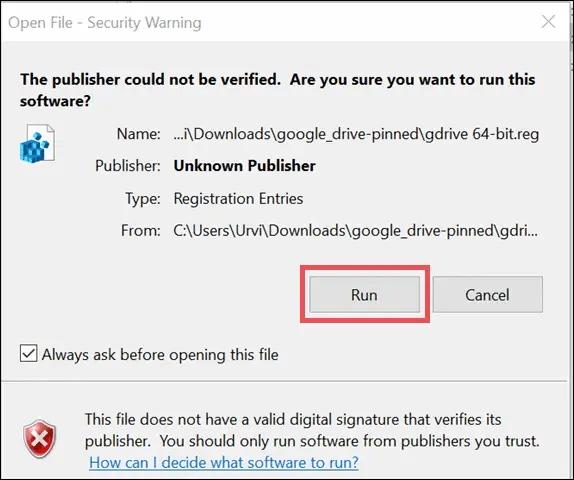
Download the registry file using this link, double click on Gdrive 64-bit for 64bit Operating System, and Gdrive 32-bit for 32bit Operating System, then click on Run.
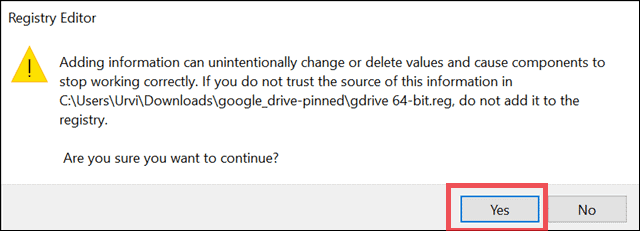
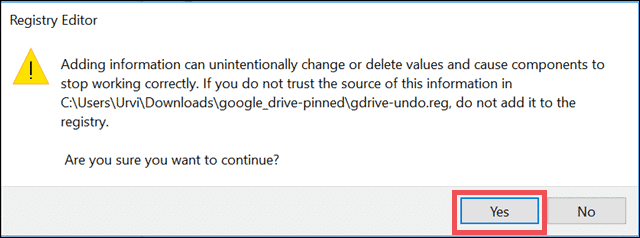
Now click on Yes when the warning box appears. A warning box appears because, as said above, changes in registry files affect the workings of the system.
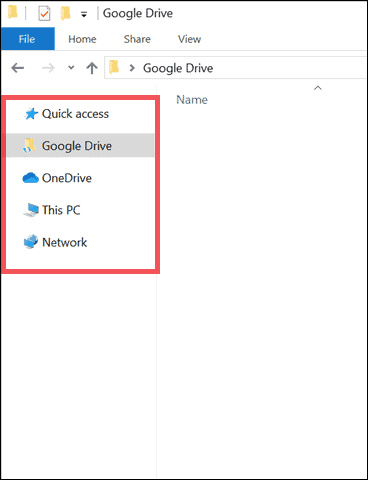
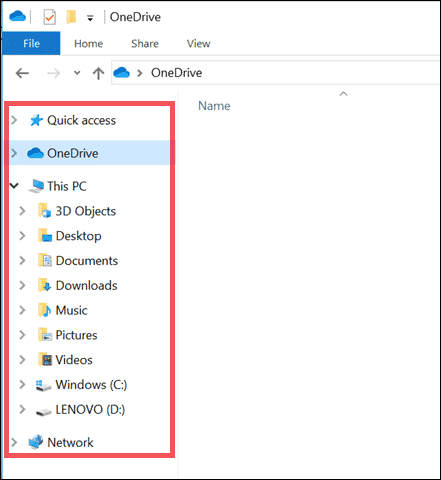
Now check your File Explorer after this step the Google Drive would be pinned on the Navigation bar separately and not under the Quick access area.
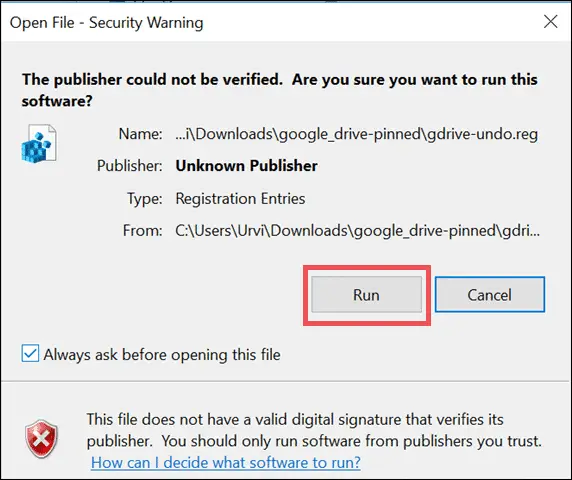
If due to some reason you wish to remove Google Drive from navigation pane double click on gdrive-undo registry file and then click on Run.
Now click on Yes when the warning message appears.
Now Google Drive will not appear in the Navigation Pane.
Change Google Drive Settings
If you wish to change the Google Drive settings, then you can do it as shown below.
Pause/Resume Google Drive Sync
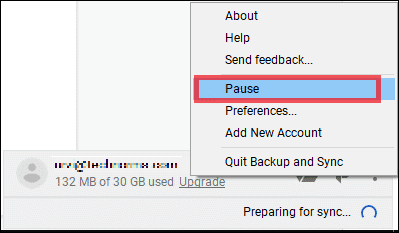
To pause or resume sync, you can click on the Google Drive icon from the system tray and click on the three dots next to your account name.
Click on Pause to pause the sync.
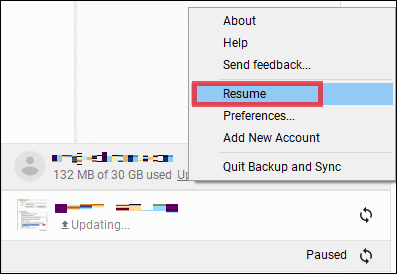
Click on Resume to restart the sync.
Sync Videos and Images
To sync videos and images, click on Preferences by following the procedure mentioned above.
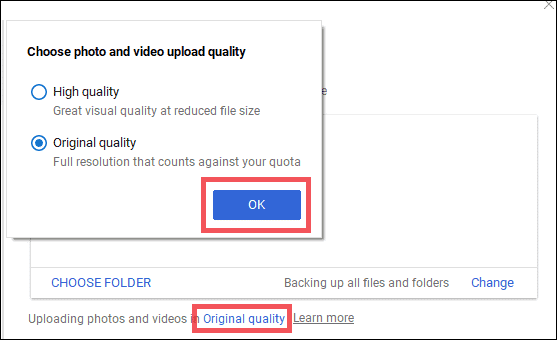
If you wish to change the quality of images to be uploaded, click on Original quality. A new window pops up where you can select the image quality. The original quality option uses up space, while High quality compresses your photos without affecting the quality.
The original quality option can consume the limited space on your drive quickly. You can choose the high-quality option, which gives you free unlimited storage for your photos.
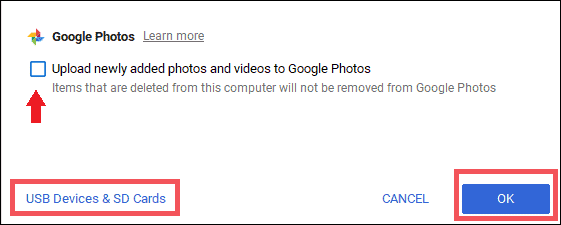
Next, click on checkbox Upload newly added photos and videos to Google Photos, to upload the images on your PC to Drive.
At the bottom of the window, there is an option named USB Devices and SD Cards. You can click on this to take a backup of images in cameras or USB Drive connected to PC.
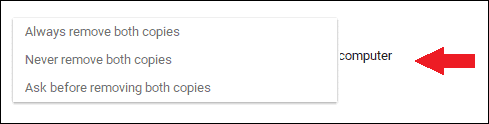
Lastly, you can select the option to remove/delete the images. There are 3 options; one is to remove everything that is from PC as well as drive.
The second option is not to remove anything.
The last and the default option is the safest; it is to ask before deleting both copies. However, you can change the default one to the option you prefer from the list.
Conclusion
Using the above-mentioned process, you can easily add Google Drive to File Explorer on Windows 10 in a few minutes.
We should be careful when we run the registry file, as it can sometimes hamper the registry record on your computer. If you already have done some other registry changes before, please take a complete registry backup before making any changes.


