OneDrive is the cloud storage and synchronization service from Microsoft that allows you to store your data online. You can sync it on another computer and access it anywhere. You can also share data online with other people with its help and users have a lot of expectations from OneDrive. It is available on all platforms like Linux, Windows, MAC, and Android.
OneDrive is in-built on Windows 10 and is easily accessible from File Explorer. However, Windows does not provide any direct way to remove or disable OneDrive. There are many indirect ways to remove OneDrive from File Explorer.
Check the Top 3 Ways to Remove Onedrive from File Explorer
OneDrive offers a lot of features. However, if you do not use it and feel that it is eating up the interface space in File Explorer, you can remove OneDrive from Windows 10.
You can choose any of the methods explained below to remove OneDrive from File Explorer. The choice of method depends on your tech-related knowledge. Some of the ways are quite easy and can even be done by a non-tech-savvy person.
1. Uninstall OneDrive
If you do not need OneDrive in the future and feel it is wasting your computer’s memory, you can uninstall it. Uninstalling OneDrive can only be done by Windows 10 users.
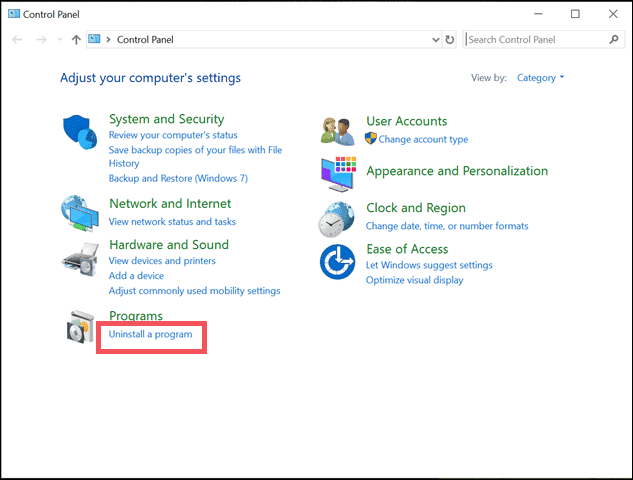
To uninstall OneDrive in Windows 10, go to the Control Panel.
Click on Uninstall a program under the Programs section.
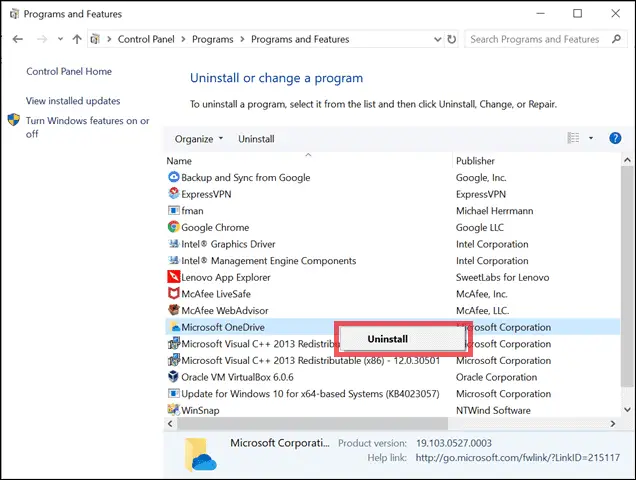
Search for Microsoft OneDrive in your installed programs list and right-click on it.
When you right-click on Microsoft OneDrive, the Uninstall option appears.
Click on it, and Microsoft OneDrive would be uninstalled.
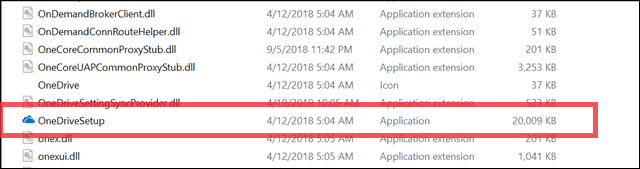
Note: If you want to reinstall OneDrive, then go to C:WindowsSysWOW64 for 64-bit Windows 10 and C:WindowsSystem32 for 32-bit Windows 10.
Double click on OneDriveSetup file, which is a .exe file. This setup file can install OneDrive again for you.
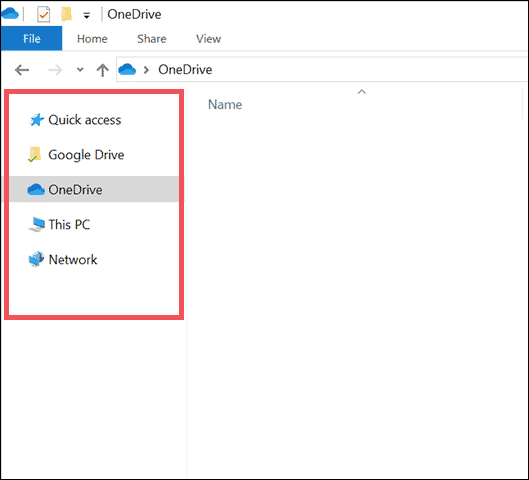
Even after uninstalling OneDrive, it appears on the left navigation pane of File Explorer.
If that OneDrive folder is not bothering you, then you are good to go, as now it is not eating up the system memory. If you still want to remove OneDrive from File Explorer, you can continue with the next step.
2. Edit Registry File
If you do not want to uninstall OneDrive but only want to remove OneDrive on Windows 10 File Explorer then ignore the uninstallation step and go through the steps below.
To remove the OneDrive folder from the Navigation Pane of File Explorer, you need to edit the registry file.
There are two ways to open the registry editor.
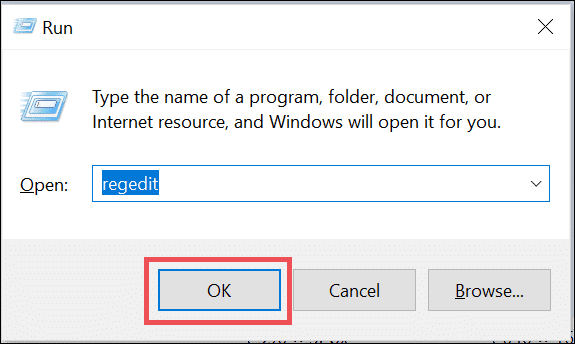
Press Windows key + R the keyboard shortcut to open Run.
Then, type Regedit in it and click on OK.
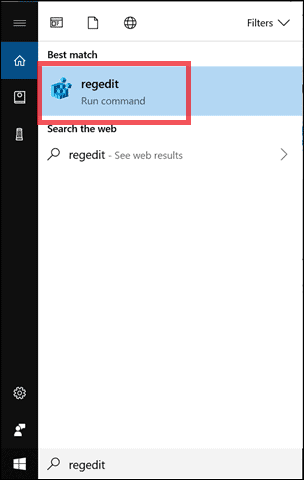
You can directly type regedit in the search option and click on it.
The registry editor is now open to you.
Note: Before making any changes in the registry file, take a backup of it.
Taking backup is essential as changes in the registry file affect the normal functioning of the system sometimes. So, just as a precautionary step, take a backup before editing the shown registry file.
After opening the registry editor and taking backup to go to the following path:
ComputerHKEY_CLASSES_ROOTCLSID{018D5C66-4533-4307-9B53-224DE2ED1FE6}
You can navigate to the desired folder on your own or copy and paste the following path after the word Computer.
HKEY_CLASSES_ROOTCLSID{018D5C66-4533-4307-9B53-224DE2ED1FE6}
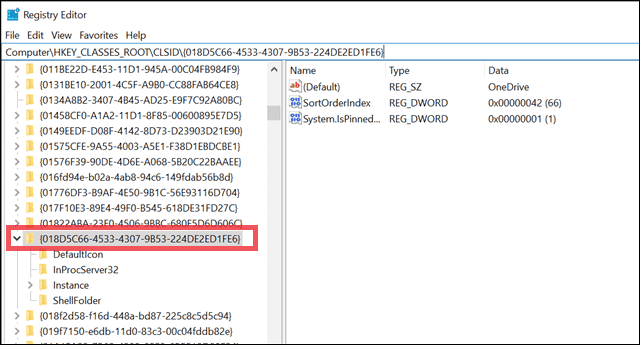
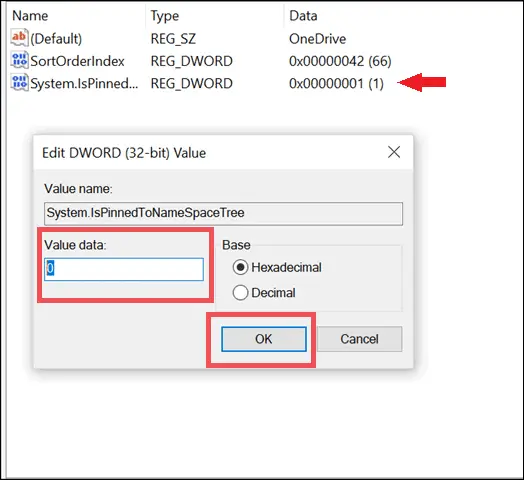
Now, double click on System.IsPinnedToNameSpaceTree.
Change the value data from 1 to 0 and then click on OK.
Now check your File Explorer, OneDrive has now vanished from the navigation pane of File Explorer.
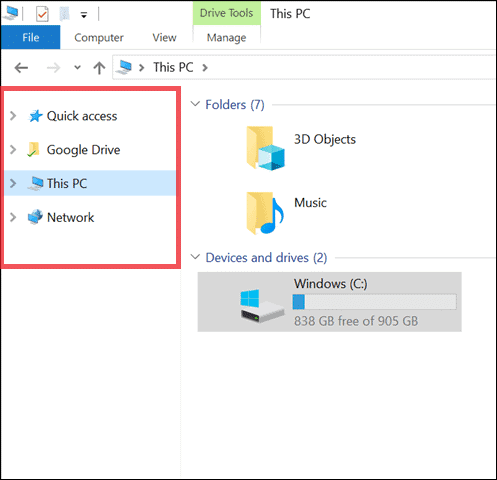
In case you can still see OneDrive in File Explorer, restart your computer and check if you have been able to remove OneDrive from File Explorer.
If you wish to have OneDrive in your File Explorer again, then navigate to the path mentioned below:
ComputerHKEY_CLASSES_ROOTCLSID{018D5C66-4533-4307-9B53-224DE2ED1FE6}
Double click on System.IsPinnedToNameSpaceTree and change the value data from 0 to 1 and then click on OK.

You can again see OneDrive in File Explorer. If it is not working, try restarting your computer.
3. Run the Registry File to Remove OneDrive from File Explorer
Editing the registry files on your own can be a bit hectic. If you do not wish to go through the entire process of editing registry files on your own, then this option is best for you.
Download the .reg files from the link below
Note: Before running these registry files, take a backup of registry files.
Open the downloaded folder.
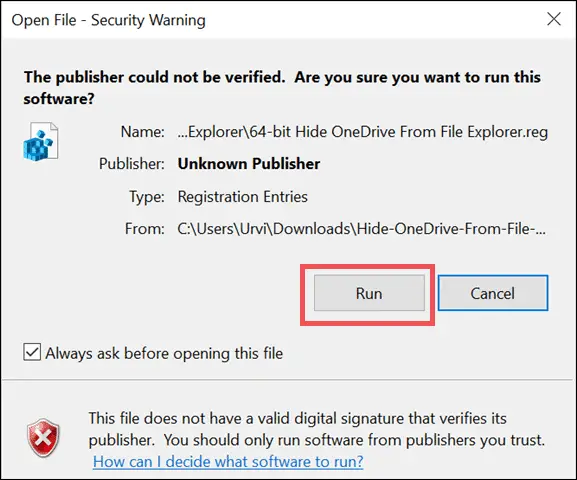
Double click on 64-bit Hide OneDrive From File Explorer for 64-bit Windows 10 and 32-bit Hide OneDrive From File Explorer for 32-bit Windows 10.
Then, click on Run.
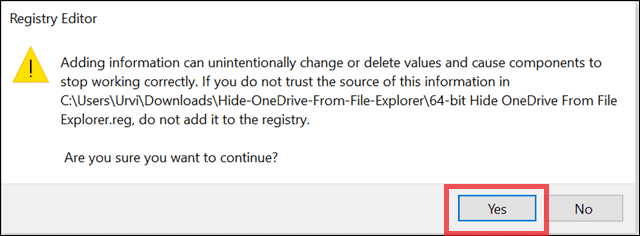
A warning message box would appear as you are trying to make the changes in the registry file.
Click on Yes.
You have managed to remove OneDrive from File Explorer.
If the change does not reflect in your File Explorer, you can restart the computer and recheck the File Explorer navigation pane.

The downloaded folder also contains a .reg file to restore the hidden OneDrive folder.
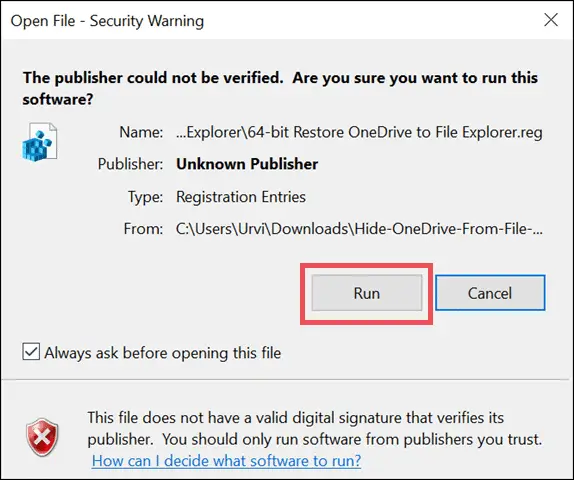
If you want to see it again in the navigation pane of File Explorer, double click on 64-bit Restore OneDrive to File Explorer for 64-bit Windows 10 and 32-bit Restore OneDrive to File Explorer for 32-bit Windows 10.
Then click on Run.
Now a warning message box appears on the screen.
Click on Yes.
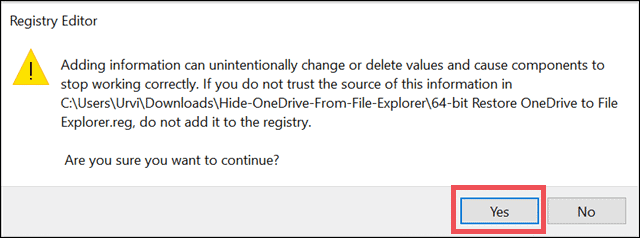
Now, Onedrive is again visible in File Explorer.
Note: You can hide OneDrive from the navigation pane of File Explorer in some versions of Windows. To hide OneDrive go to File Explorer and right-click on OneDrive icon. Go to properties and check the Hidden checkbox under the General tab.
If you do not wish to remove OneDrive from Windows 10 or uninstall OneDrive, then you can follow the steps mentioned below.
How to Turn-off OneDrive
Let’s learn how to turn-off OneDrive in Windows 10.
Go to OneDrive icon in the system tray and right-click on it.
Next, click on Settings.

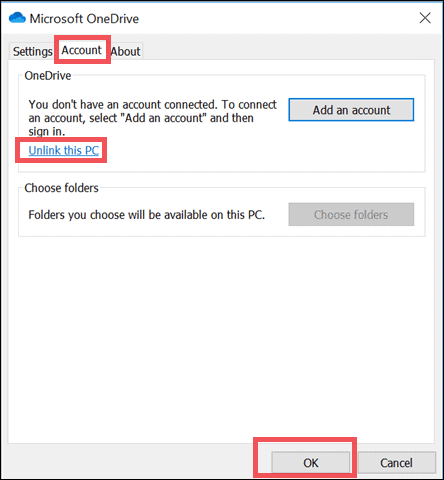
Go to the Account tab.
Now, click on Unlink this PC.
Then click on OK.
This step disables OneDrive in Windows 10. It unlinks your OneDrive account from pc and stops saving your files from your computer on OneDrive.
It is the simplest way to disable OneDrive in Windows 10 to stop syncing your files with OneDrive.
You can also check How to Disable, Uninstall, or Reinstall OneDrive in Windows 10
Final Thoughts
Thus, you can see that it is very straightforward to remove OneDrive from File Explorer. OneDrive is easy to uninstall or remove using the steps mentioned above in Windows 10. You need to be careful about registry files while removing OneDrive from File Explorer.
However, removing OneDrive from the navigation pane of File Explorer does not entirely uninstall it. You can still use it whenever needed in the future. If you wish to stop syncing your files and folders with OneDrive, you can disable OneDrive.


