Sleep mode is one of the essential features offered by Windows 10 computers. If you wish to switch off your PC for a brief time, consider putting it in sleep mode instead of shutting down to save power. However, if there is no sleep option in Windows 10, you will need to take the detour of shutting down and starting the PC again for saving power, instead of just pressing the sleep button.
Apart from power conservation, users can also resume their activities when they switch off the sleep mode; this saves time spent on waiting for the computer to start and then resuming the operations. This feature also prevents the hassle of opening the programs, software, and documents you are working on.
No Sleep Option In Windows 10 – How To Bring It Back
The absence of the sleep mode option can be caused due to several reasons. First and foremost, we need to check a few PC settings and then refer to a few methods to bring back the PC’s sleep mode option. Let’s look at how we can solve the no sleep option in Windows 10 with a few simple solutions.
1. Enable Sleep Mode
The sleep mode feature is available on all Windows 10 PCs. However, if you cannot see the Power menu option, you need to check if it is enabled.
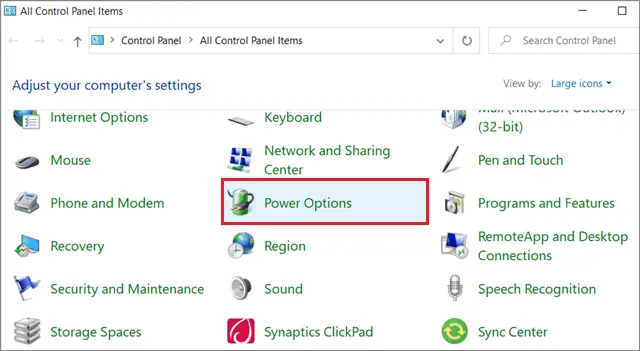
To begin with, open Power Options from the Control Panel.
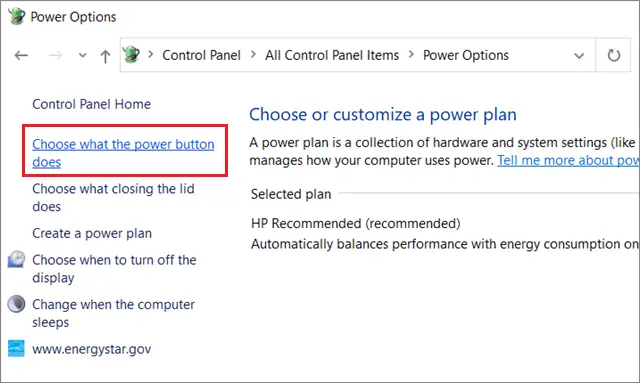
Then, click on Choose what power button does in the left pane.
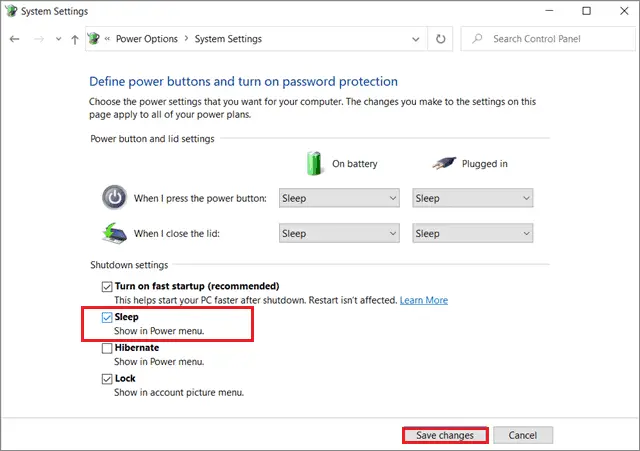
Click Change settings that are currently unavailable.

Next, go to Shutdown settings and check if the Sleep option is checked. If you make any changes to the settings, click on Save changes and close the Power Options window.
Restart the PC after you have done this process and check if the Sleep mode is working fine.
2. Tweak the Group Policy
One of the main reasons why the sleep option isn’t available is because it might be disabled in the Power menu settings. Making changes to the Group Policy can help you if there is no sleep option in Windows 10.
Press the Win key + R to open the Run window and enter ‘gpedit.msc’ in the address bar. Click on Run to open the Group Policy editor.
Now, go to the given path.
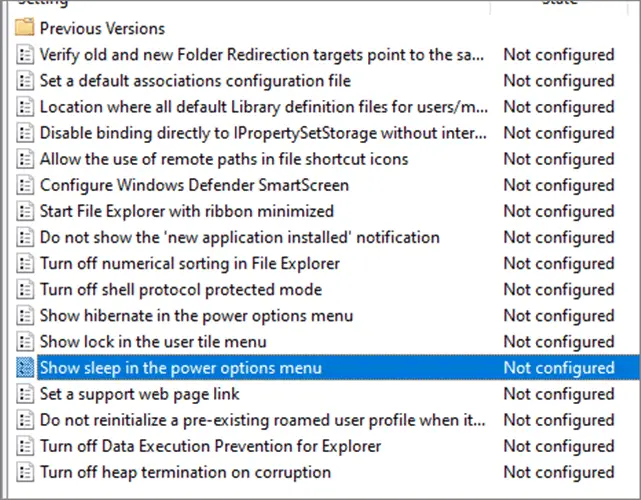
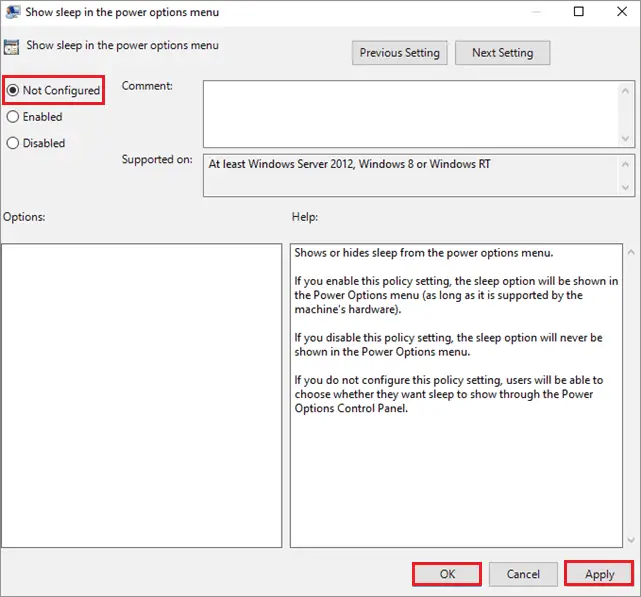
Computer Configuration\Administrative Templates\Windows Components\File ExplorerNow, search for the option ‘Show sleep in Power options menu’ in the right pane of File Explorer and double click on it.
Then, choose Enabled or Not Configured. Click OK to save the changes you have made to the settings. Now, check if the sleep options appear in the Power menu.
If these steps don’t deliver the required results, you can tweak the standby states and change how they behave during the sleep mode.
To start with, navigate to the following path.
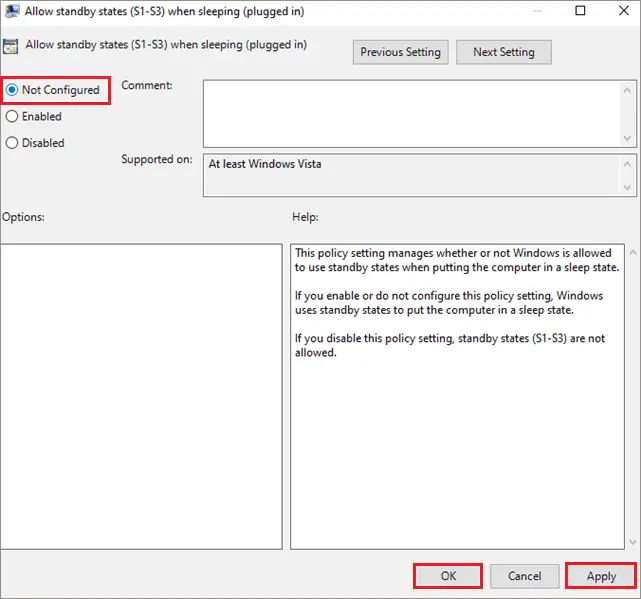
Computer Configuration\Administrative Templates\System\Power Management\Sleep SettingsIn the right pane of the Sleep Settings folder, locate ‘Allow standby states (S1-S3) when sleeping (plugged in)’ and ‘Allow standby states (S1-S3) when sleeping (on battery).’
Double-click on both of them and select the Not Configured option.
Click Apply and Ok to save the new changes.
Then, restart your PC and check if the Power menu issue exists.
3. Update Drivers
Updating drivers is an essential process to implement if you have no sleep option in Windows 10. Driver updates improve security and focus on eliminating various types of bugs that might slow down or cause any other issues to your computer. Installing the wrong version of a driver can affect the performance of a PC. To solve the missing sleep option issue, you need to update your display driver; here’s a quick guide to help you through the process of updating a display driver.
4. Reset the Power Plans
A power plan in Windows 10 is devised to maintain the proper consumption and conservation of power. If you have created any custom power plans, try resetting them to default and check if there is no sleep option in Windows 10.
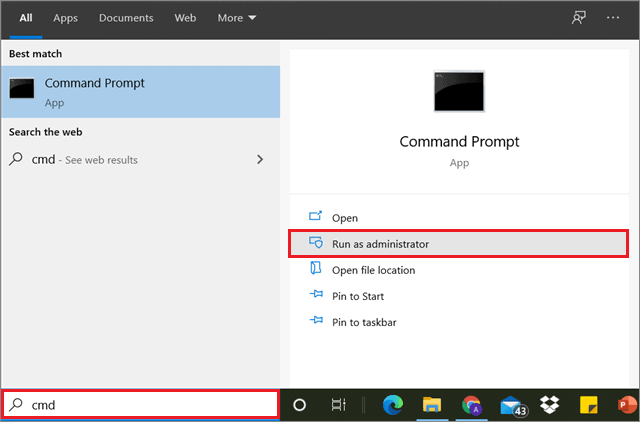
Open the Command Prompt using the Start menu search box in the administrator mode.
Then, enter the given command and press the Enter key.
powercfg –restoredefaultschemes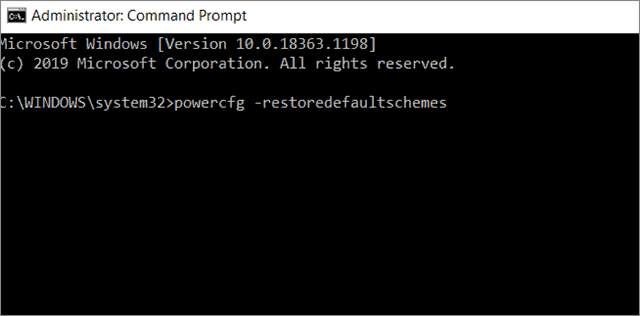
Once the power plans are restored to default, check if the Windows 10 Power menu issue has been resolved.
5. Use a Local Account
If your user account has started having any issues, it might not display the sleep option. You can verify if that’s the case by switching to a local Microsoft account.
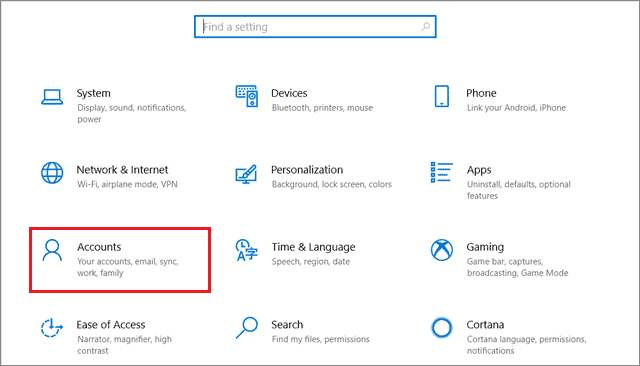
Open the Settings window by pressing the Win key + I keyboard shortcut. Then, click on Accounts.
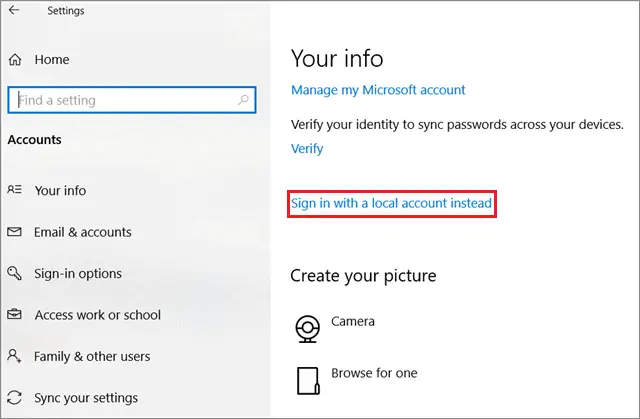
Then, select Sign in with your local account instead.
Once you do that, go to Settings, click on Accounts, and choose Your email and accounts and sign in with a Microsoft account.
After signing in with a Microsoft account, see if the sleep option appears.
6. Roll Back the Driver
When we roll back a device driver, Windows 10 uninstalls the latest driver update and reinstates the previous version. While updating a driver means leveling up, rolling back means going a step backward.
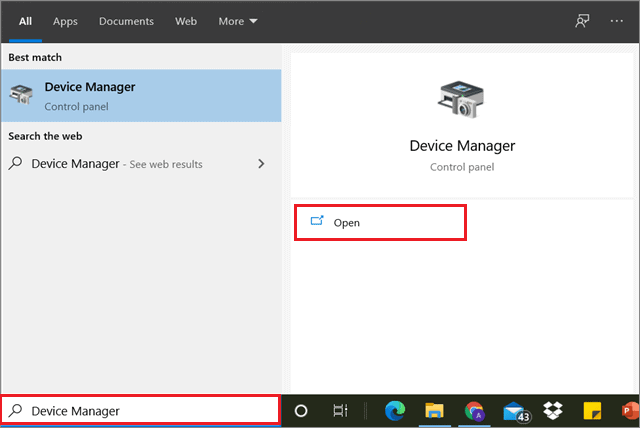
To start with, open the Device Manager from the Start menu search box.
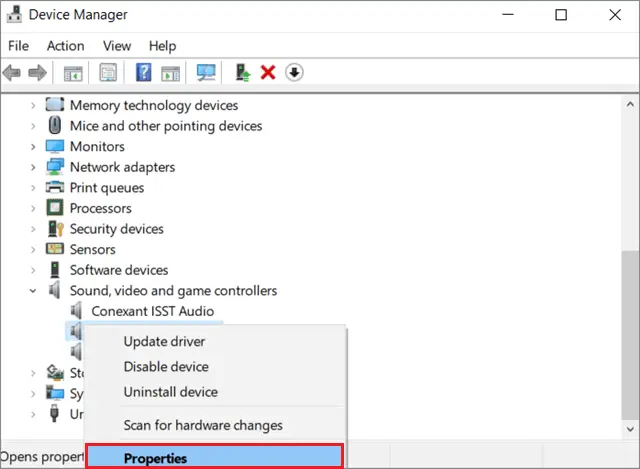
Then, expand the Sound and Video Game Controllers option.
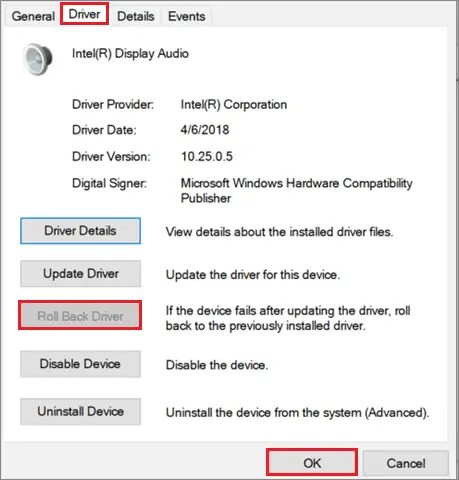
Right-click on the video card and choose Properties.
In the Properties window, select the driver tab and click on roll back driver to complete the process. In some cases, this button might not be enabled, meaning there is no previous version of the driver stored by Windows 10.
If the no sleep option in Windows 10 issue is resolved after this method, you need to make sure that the driver doesn’t update automatically.
7. Perform a Clean Boot
A clean boot is used to identify the corrupted programs that might be causing various issues to the PC. The clean boot requires only essential Microsoft services to be executed successfully.
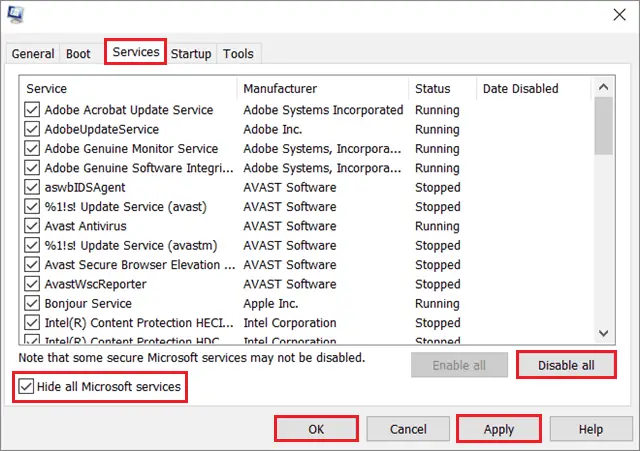
Open the Run command using the Win + R keyboard shortcut and enter msconfig in the address bar. Click on OK to open the System Configuration tab.

Then, check the box next to Hide all Microsoft services and click the Disable all.
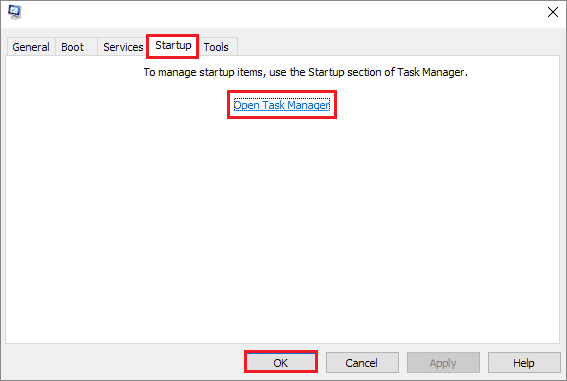
Now, open the Startup tab and choose Open Task Manager.
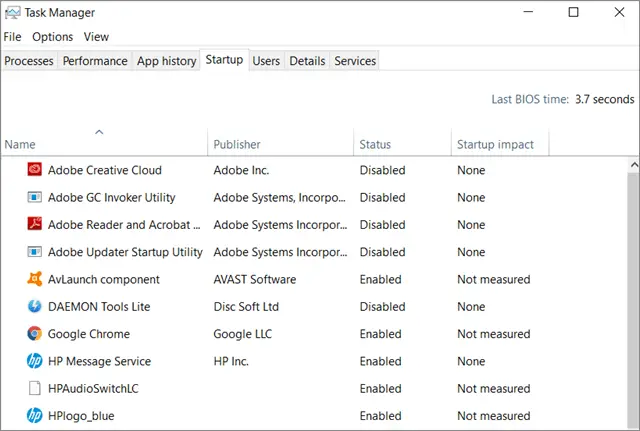
Then, right-click on the high-impact startup tasks and disable them.
Then, click on Ok to close the System Configuration window and reboot your computer. You will have no unwanted processes running in the background, which should solve the missing sleep option issue.
8. Switch On InstantGo
Previously known as Connected Standby, InstantGo helps users maintain internet connectivity when the PC drops into sleep mode. However, if you have changed any setting related to this option, it may have possibly affected the sleep option too.
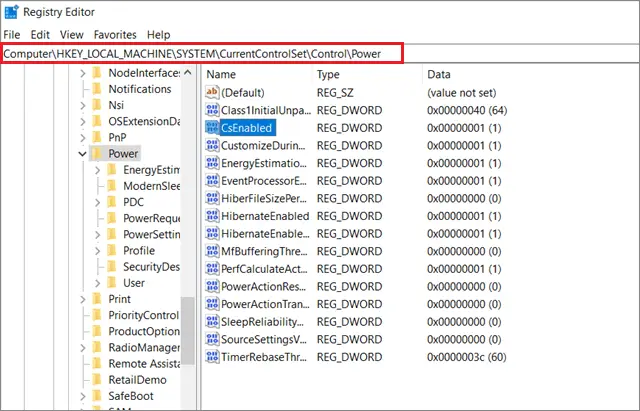
To rectify the issue, you need to turn on InstantGo again. Open the Registry Editor by running the regedit command in the Run window.
Then, go to the following path.
HKEY_LOCAL_MACHINE\SYSTEM\CurrentControlSet\Control\PowerIn the right pane of the Power folder, find and double-click on the CsEnabled option. The CsEnabled has been removed from the latest Windows update, so try another solution if you don’t find the file on your system.
In the next window, set the value of CsEnabled to 1.
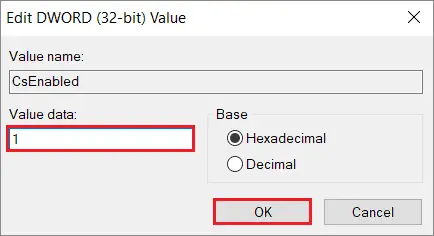
After making this change, close the registry editor and reboot your computer to see if the sleep options issue has been resolved.
9. Perform System Restore
System Restore is the process of rolling back the Windows OS to a previous restore point; it is usually used when users install specific updates and then want to return to the previous state. If you have no sleep option in Windows 10 Power menu, follow this guide on how to perform a system restore. This process doesn’t affect your files; it will tweak the settings related to apps, software, drivers, and newly installed updates.
Conclusion
The sleep mode is an important feature that allows Windows 10 users to conserve power without entirely shutting down the computer. It can be used when you don’t have to use the PC for a brief time span. One of the best things about having the sleep mode is it eradicates the wait time that takes place when the system starts; you can also start using the apps, software, and programs from where you left off after you close the sleep mode.
However, if there is no sleep option in Windows 10 Power menu, you might not be able to use this essential feature. Many easy solutions can help you get over this issue as soon as possible. However, if none of these methods work, the best option would be to contact a computer technician regarding the issue.


