In terms of the Windows operating system, the BCD stands for Boot Configuration Data. It is essential data required to boot the Windows OS without any issue. However, the BCD can sometimes get corrupted due to external factors, and you can no longer boot your computer because of it. In such a scenario, you need to rebuild BCD in Windows 10 to boot the PC again without any errors.
The corrupted or damaged BCD can cause dreadful blue screen errors like bad system config info in Windows 10. However, simply rebuilding BCD via commands can help you resolve such errors and issues.
What is BCD in Windows
Boot Configuration Data (BCD) guides the Windows boot loader about boot information during the Windows runtime environment. It also decides boot priority if your PC has more than one bootable partition during the boot process.
Therefore, if a BCD file gets corrupted, the boot process comes to a halt. This guide will help you resolve the corrupt, damaged, and missing BCD on Windows 10 computers.
How To Rebuild BCD in Windows 10 PC
You can follow the detailed steps given below to rebuild BCD on your computer. The Advanced Startup in Windows 10 can help you access Command Prompt without logging into the system. You can follow the detailed steps given below to rebuild BCD in Windows 10 successfully.
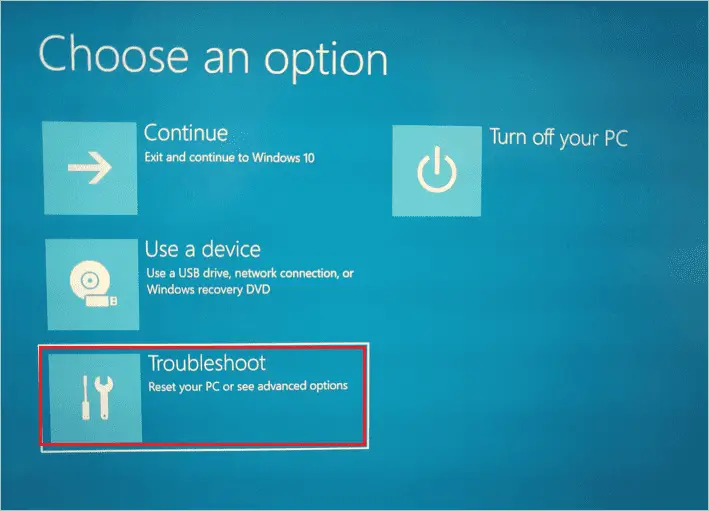
Step 1: On the blue screen of the Advanced Startup, select “Troubleshoot.”
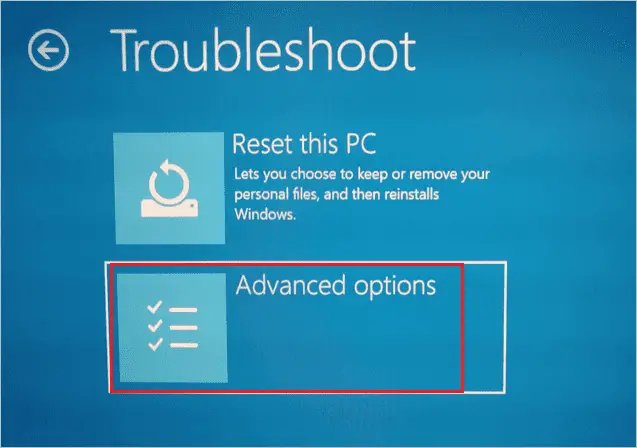
Step 2: Select “Advanced options” on the Troubleshoot screen.
Step 3: In the Advanced options, select “Command Prompt.”
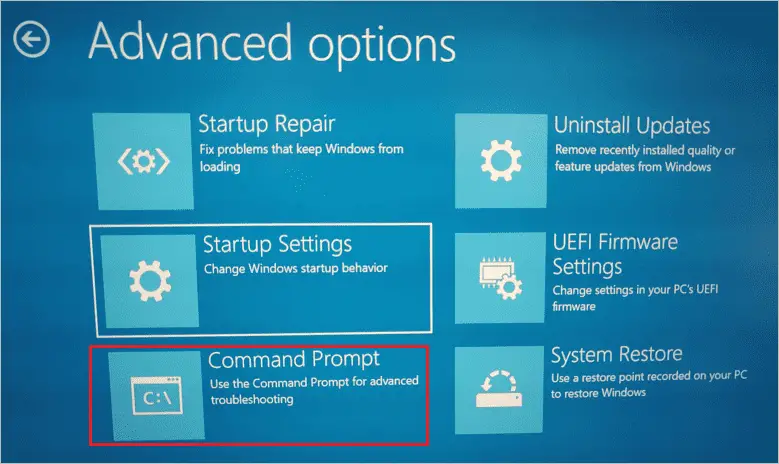
The Command Prompt may take a while to start, and before that, you may see a “Please Wait” message on your screen. It just indicates your PC is getting ready to open Command Prompt.
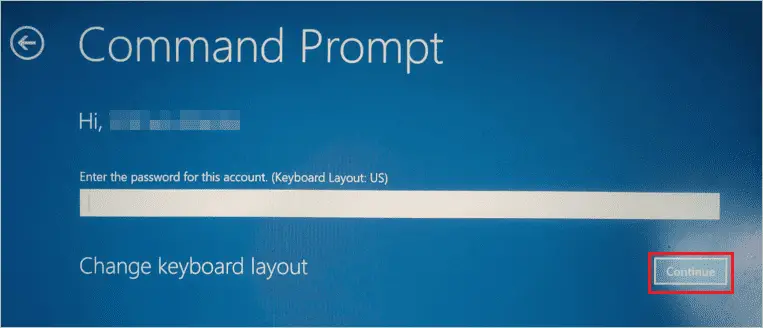
Step 4: Select the account using which you wish to access Command Prompt. If you have access to an administrator account, we recommend using it to rebuild BCD in Windows 10.
Step 5: Once the Command Prompt opens, type the below bootrec command and press “Enter” to execute it.
bootrec /rebuildbcd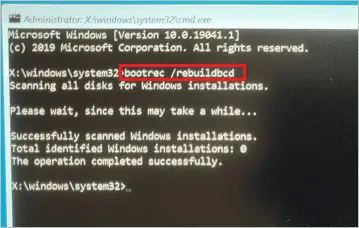
Step 6: There can be two outputs of the bootrec /rebuildbcd command.
Output 1: Scanning all disks for Windows installations. Please wait, since this may take a while… Successfully scanned Windows installations. Total identified Windows installations: 0 The operation completed successfully.
Output 2: Scanning all disks for Windows installations. Please wait, since this may take a while… Successfully scanned Windows installations. Total identified Windows installations: 1 [1] D:Windows Add installation to boot list? Yes/No/All:
In the case of Output 1, you can skip step 7 and move on to step 8. This is because there is no extra Windows installation present on your computer, which needs to be backed up.
In the case of Output 2, firstly press “Y” and wait till you see the “The operation completed successfully” message. You can then follow all the steps given below, including step 7.
Step 7: Execute the below bcdedit command on the command line to remove the Windows Installation present on the BCD. There is no need to add a file extension in the command.
bcdedit /export c:\bcd_backupStep 8: Now, use the attrib command to remove some files from BCD so that it becomes easy to handle.
attrib c:\boot\bcd -h -r -sThis command will remove system files, read-only files, and hidden files attributes from the Boot Configuration Data file, thus making it convenient to manipulate the file.
Step 9: Rename the BCD store to bcd.old.
ren c:\boot\bcd bcd.oldStep 10: Now, rebuild the BCD again using the same command as before.
bootrec /rebuildbcd Step 11: When asked, “Add installation to boot list?” press “Y”
“The operation completed successfully” message on the screen indicates that BCD was rebuilt successfully.
Step 12: Type “exit” on the Command Prompt window and press the “Enter” key to close the Command Prompt window.
Lastly, reboot the computer and check if you can boot the computer without any issues after you rebuild BCD in Windows 10.
Conclusion
It becomes impossible to boot with a corrupt, damaged, or missing BCD store. You can end up in such situations because of external factors like bad hard drive sector, viruses, malware, or power failure. Well, Windows operating system allows you to rebuild BCD via bootrec commands.
You can also resolve the BCD error by rebuilding the Boot Configuration Data file. And it is easy to rebuild BCD in Windows 10 by following the correct steps and commands. The above guide can help you with detailed steps to rebuild BCD. People with little technical expertise can quickly rebuild BCD on their PC with the help of the above guide.
FAQs
Where is the BCD file located in Windows 10 computers?
You can find a BCD file in the Boot folder, [active partition]\Boot\BCD. And for the EFI partition, you can find it in //EFI//Microsoft//Boot///BCD.
Will rebuilding BCD delete other files?
No, rebuilding BCD will not delete any of your personal files, folders, and data. It also won’t delete the partitions you created on your PC.
How do I fix the missing BCD?
You can fix the missing BCD by simply rebuilding the BCD. In addition, you can execute some commands in the Command Prompt terminal to fix the missing BCD.
What command can you use to rebuild BCD?
You need a series of commands to rebuild BCD. However, the main command that can rebuild BCD in Windows 10 is bootrec /rebuildbcd.


