Key Takeaways:
- Sometimes, using the default page margin can be insufficient for a particular document.
- Margin and indents are not the same.
- By changing the margin in Google Docs you can control how your text will appear on a printed page.
Margins play a very important role in the document layout. Using the default margins for a document can sometimes be insufficient. You may alter how your text appears on a printed page by modifying the margin. If you want your document to look presentable, you can change margins in Google Docs.
Margin and indents seem to be very similar – but that’s not the case. There can be numerous indents, but there can only be one margin in a document. In Google Docs, adjusting the margins is an indirect technique to reduce the number of pages. The smaller the margin, the more space you’ll have on a page to work with. This eliminates the need to create a new page for a single paragraph.
How To Change Margins In Google Docs
In Google Docs, changing the margin serves a variety of functions. For example, sometimes all you want to do is make the document seem nice. Alternatively, quick margin edits can give a professional look. The document is set to have a one-inch margin on all four sides by default.
Broadly speaking, there are two ways in which we can change margins in Google Docs. Those are by using the ‘Page setup’ option or by using the ruler.
How To Change Margins In Google Docs
1. Open the Google Document.
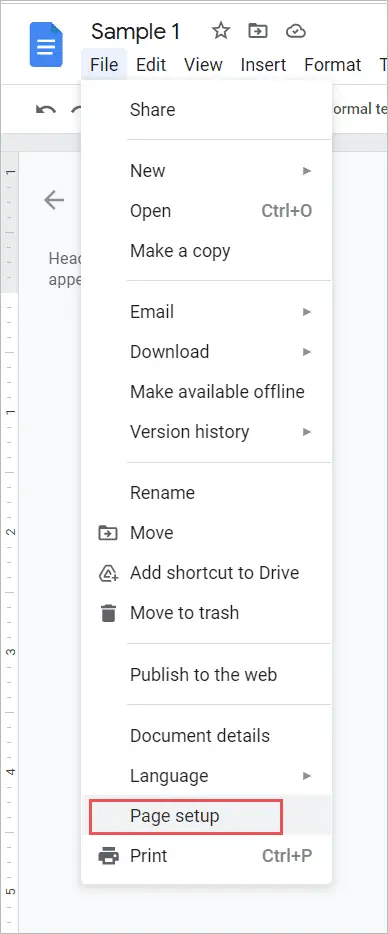
2. Click on the File menu from the drop-down menu bar.
3. Select Page setup option.
4. Change the margin size in the page setup dialog box as required.
5. Click OK.
Note: The above-mentioned quick steps are used for changing the margins using the Page Setup option. For the detailed steps along with images, you can check the details below.
Method 1: Use Page Setup Option
The Page Setup option allows you to define specified margin measures for the entire document and help you change margins in Google Docs. If you have certain precise numbers in mind for your margin, this way is more convenient. If you wish to specify big margins, such as two-inch right margin and left margins (2-inch margins each) and one-inch top and bottom margins (1-inch margins each), you’ll need to use the Page setup option.
1. Open the document, click on the File menu drop-down list.

2. Select the Page Setup option.

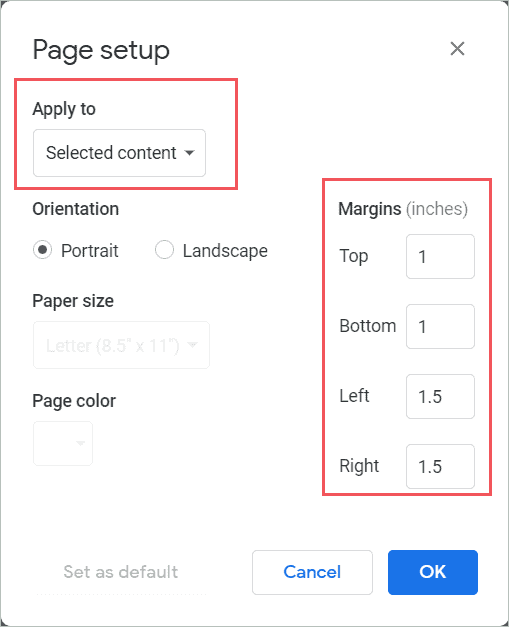
3. A dialogue box for page setup will display. The top, bottom, left, and right sub-options are found under the Margin option. In the corresponding text boxes in front of each option, you can specify the margin size in inches.
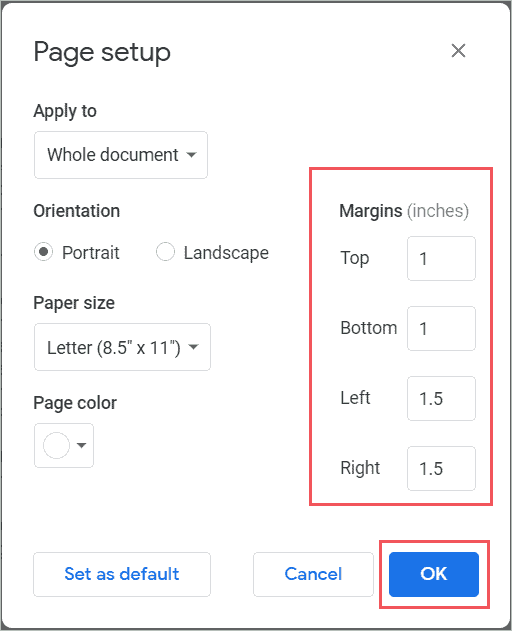
4. Once you have changed the margins as per your need, click OK. The default value is 1 inch margins. Remember that it is not compulsory to change all the margins, you can change at least one margin if needed.
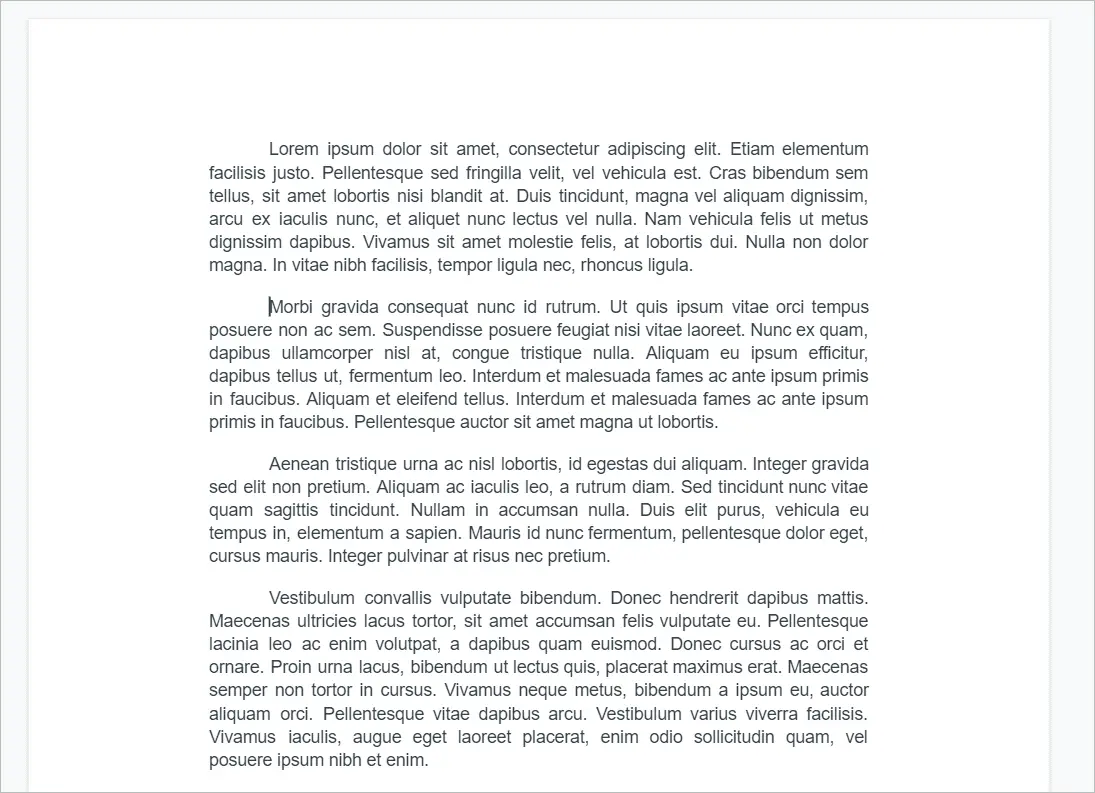
Google Docs will automatically change the margin settings as per the data we have entered.
Change Page Orientation:
By default, the page orientation of Google Docs is set to portrait. If you want to change the page orientation to adjust the content in less space and change margins in Google Docs, you can do so too. You can change the orientation to landscape by following the details given below.
1. Click on the File menu in your Google document.

2. Select the Page setup option.
3. On the pop-up window you can change the orientation. And Click OK.
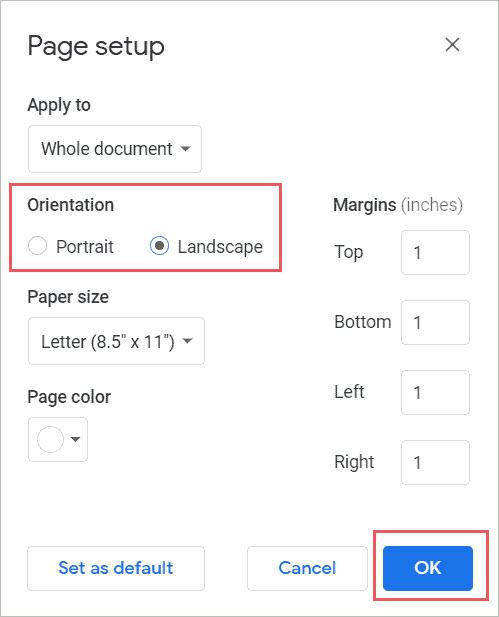
4. The Landscape orientation takes less space because the width of the page increases.
Change Paper Size:
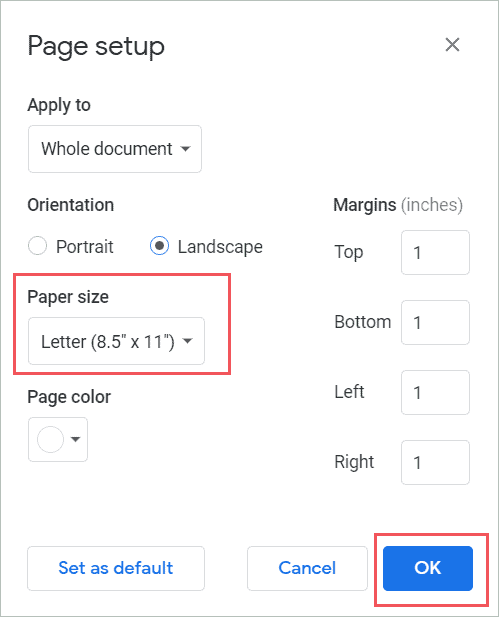
You can also change the Paper size which makes a difference when you change margins in Google Docs. Google Docs has given a variety of options for paper size which helps you set the page layout for printing.
1. Click on the File menu in your Google document.
2. Select the Page setup option.
3. On the page setup window you can change the paper size from the given dropdown list. And Click OK. The paper size will change as per the selected option.
Change Background Color:
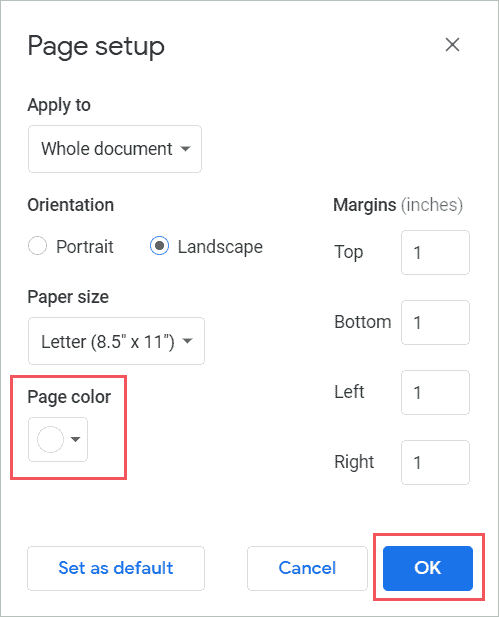
Once you change margins in Google Docs, you can change the background color in Google Docs too. This feature will help you in formatting your document to make it look more presentable. Try these steps to change the background color of your document.
1. Click on the File menu in your Google document.
2. Select the Page setup option.
3. Click on the Page color drop down. Change the Page color by selecting the color from the palette. And Click OK
All these Page setup options are useful and very easy to use.
Method 2: Use The Ruler
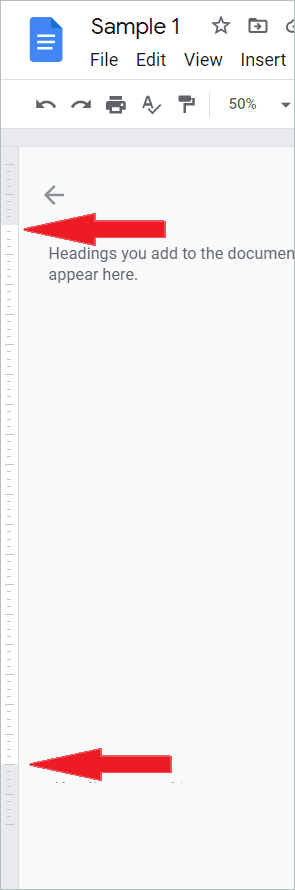
We can change margins in Google Docs using the ruler as well. The document ruler provides you with a visual tool to set the margins. Using the ruler we can set the margin by dragging the pointer as we wish.
This is the fastest way to change the margin as all you gotta do is drag the pointer to the desired position but it is not precise.
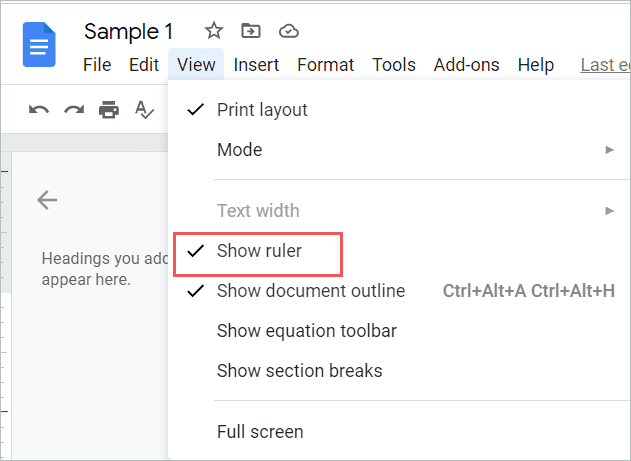
1. Ensure that you have a document ruler visible in Google Docs. If not, select the ‘Show ruler’ option from the View drop-down menu bar.
2. You can see the blue pointer (blue down-facing triangle) on the left corner and right corner of the ruler. By minimizing or maximizing the gray area to adjust the margins of both sides. Drag the downwards blue triangle to set the left indent of the paragraph the cursor is set on.
Similarly, you can click the right downward pointer to set the right indent.

3. You can also set the bottom and top margins of your document. You can drag the gray section of the vertical ruler to the point where you wish to resize the margin.
Note: Always remember that when you set the left margin size you are also adjusting the first line indent accordingly. You can see a blue rectangle icon above the pointer on the left-hand side. The blue rectangle icon is used to set the first line indent of the paragraph. It can also be set separately if needed.

How To Change Margins In Google Docs On Smartphones
Note: Currently, there is no feature available to change margins in Google Docs on your smartphones.
However, Android device users can change the other page setup option such as orientation, paper size, and page color to make the document look presentable. For using the page setup options you can follow these steps:
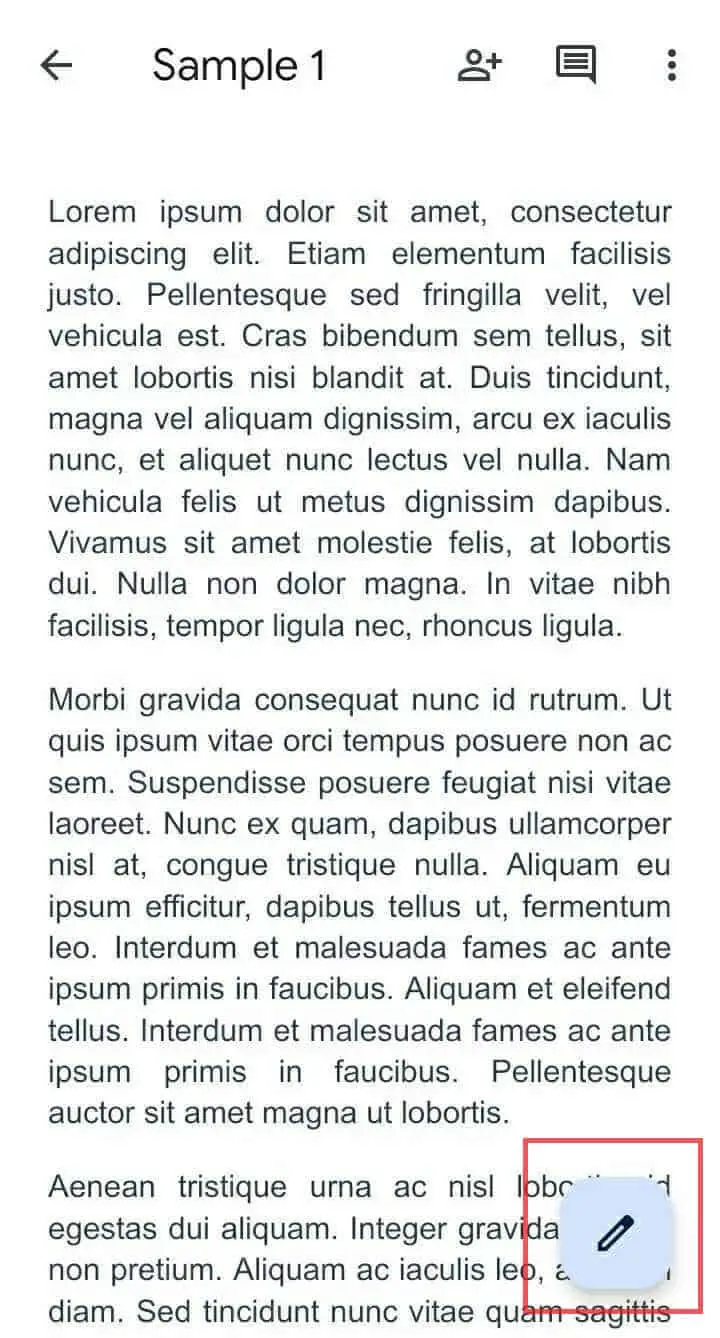
1. Open Google Docs App on your smartphone. Click on the file you want to open.
2. Click on the pencil icon to enable the editing mode.
3. Click on the three vertical dots on the top right corner of your screen.
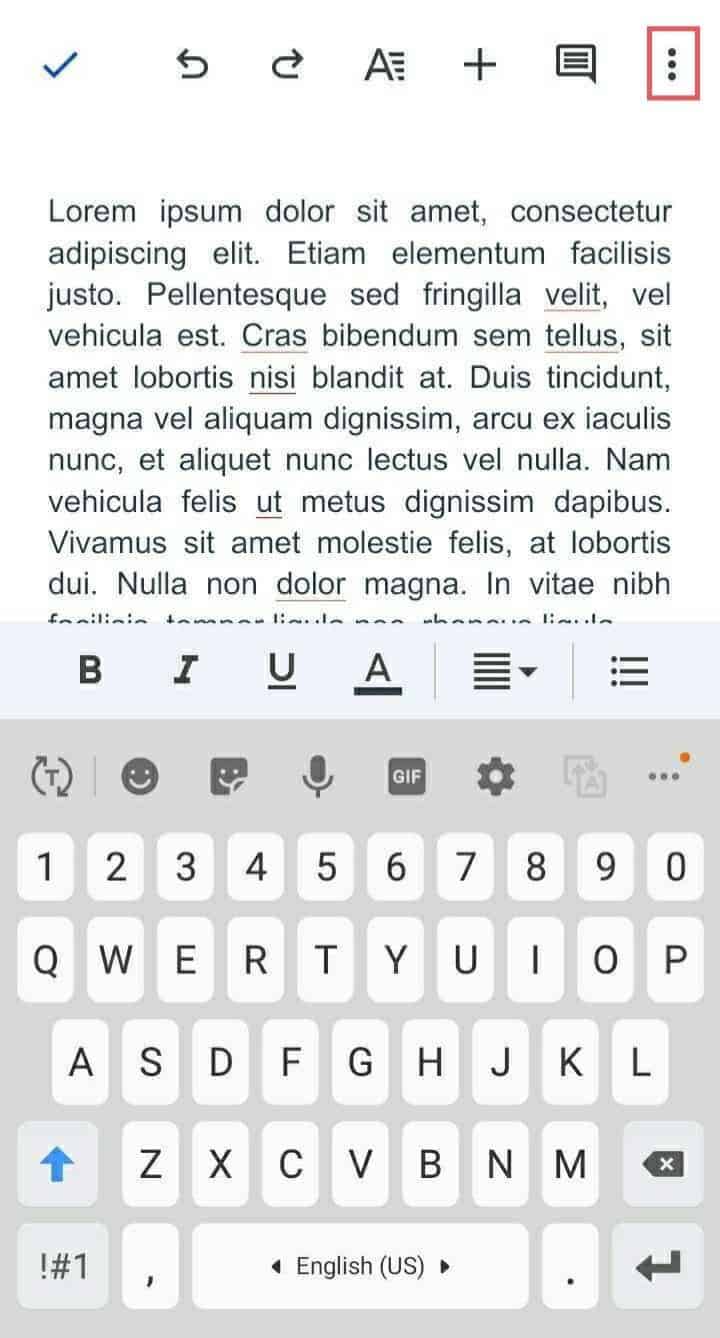
4. Select the Page setup option.

5. You have Orientation, Paper Size, and Page Color options available.
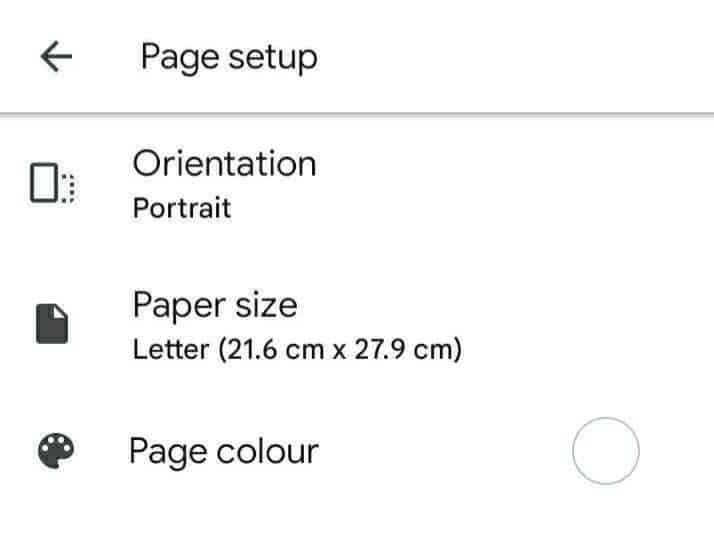
6. To change the page orientation you need to click on the Orientation option. It has two options viz. Portrait and Landscape.
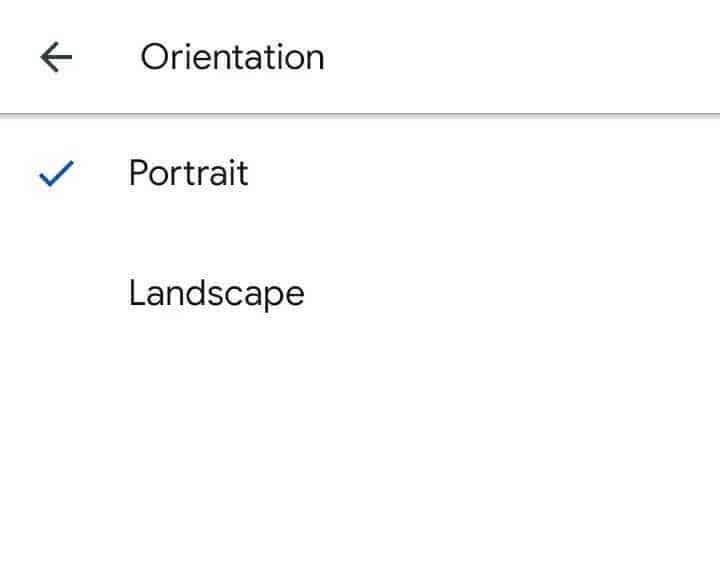
Select the page orientation
7. You can change the Paper size from the variety of options.

Select the Paper size
8. You can even change the Page color. The default color is white.

Change Margin In Header And Footer On Your Desktop
Users can also change margins in Google Docs for the header and footer. You can change the margin if you don’t want to leave much space above or below the header or footer.
If you want to change the margins of the header or footer section in the document we need to follow the steps mentioned below.
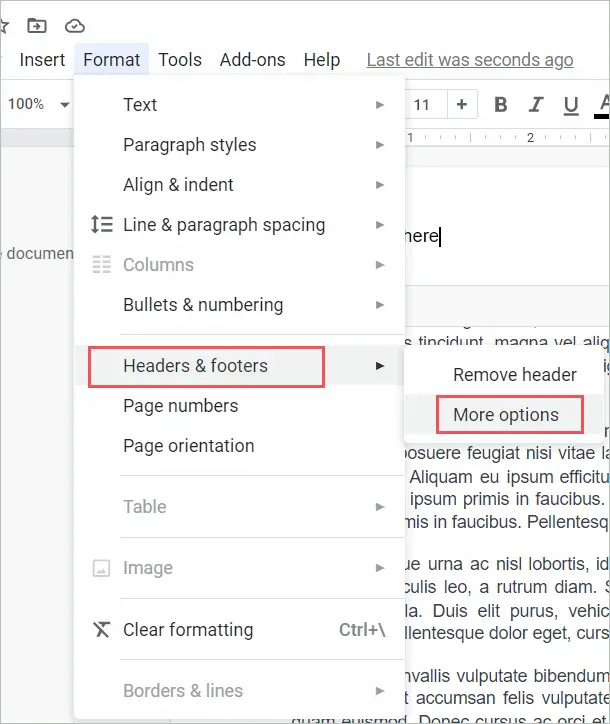
1. Select the ‘Format’ dropdown menu bar. Under that, there is an option ‘Headers and Footers’ click on More options.
2. Set the margins as required. The margin in inches appears. Next, click Apply.
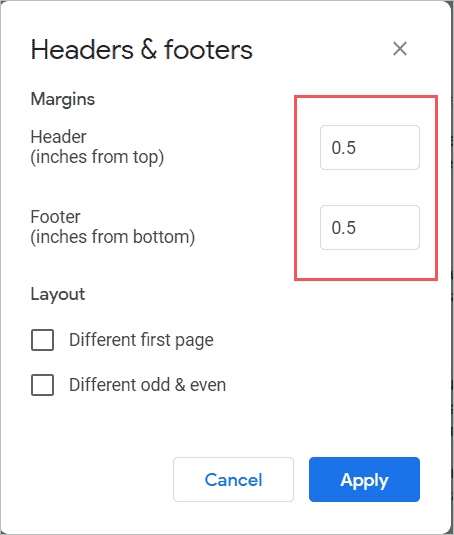
Once you click apply button, the margin for the header and footer is applied to your document.
How To Set Default Margin
In some cases, users want to write various documents with the same custom margins you made in your present document. In Google Docs, you can modify the margins for all future documents at once.
The steps to do so are similar to how we change margins in Google Docs using the Page setup method. Once you open the page setup, you can see the margin in inches. The only difference is that in the page setup dialogue box, you must click the Saved as default button.

Once you click on the button the text on the button will show as ‘Saved as default’.
Change Margin In Google Docs For Selected Text
To change margins in Google Docs doesn’t only mean to change the margins of the whole document. It’s also possible to change the margin of selected content or paragraph margins from the document. However, this results in a page break above and below the selected content. Follow these steps to fulfill the task.
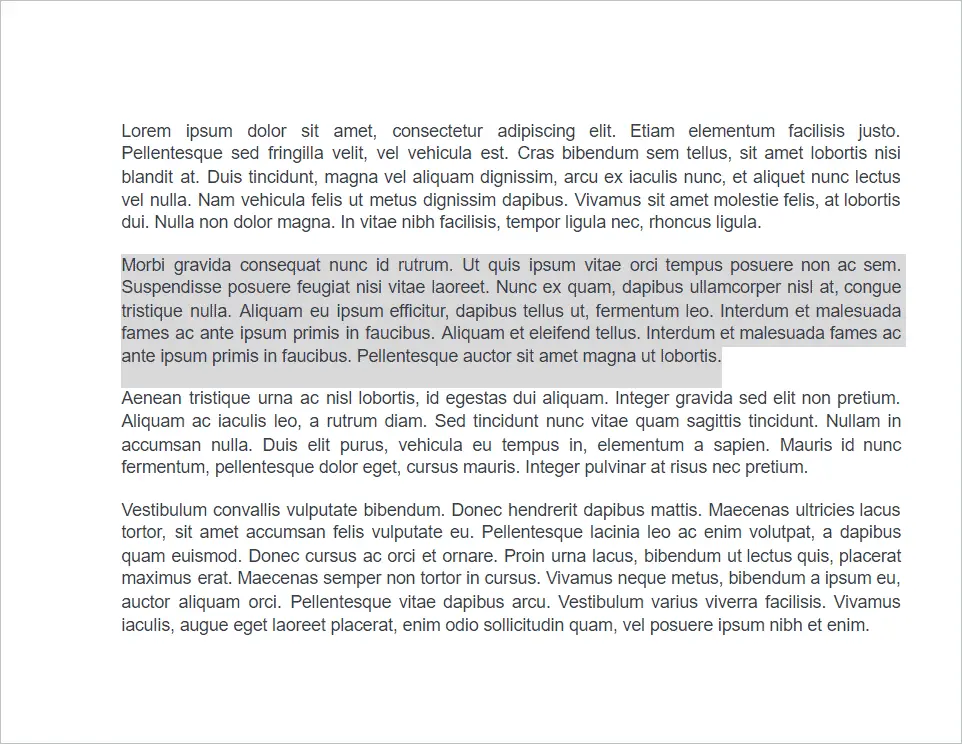
1. Select the text you want to keep the customized margin for as shown below.
2. Click on File from the menu bar and select Page setup menu.

3. Click on the Page Setup option.
4. In the Page Setup dialog box, the Apply to option shows selected content. Set the margins for the text. And click OK.
The result will be that the margins will get set for the selected and text and page break will be applied.
Lock Margins In Google Docs
Once you change margins in Google Docs, you can also lock it. One must note that there is no separate feature available for doing so. But, you can restrict other users from customizing the current margins of the document. You can do so by choosing the Viewer or Commenter profile before sharing the Google Docs. This will restrict any user from resizing the default margin sizes.
Open the Google document and click on the share button. After typing the person’s name you want to share with you can select the role as shown below.
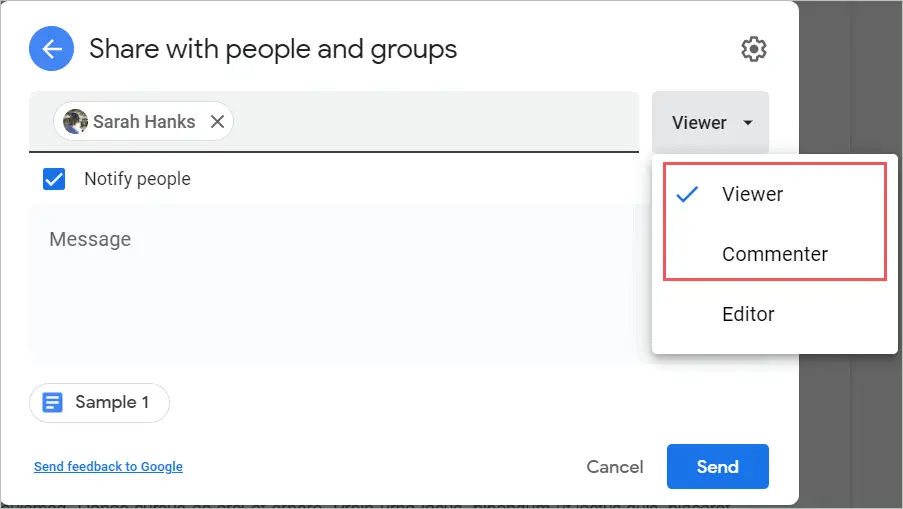
Setting the role helps will restrict the users from changing the document settings.
Conclusion
Google Docs provides a variety of options for the users to change margins in Google Docs and adjust it. The ruler is helpful for rapid margin adjustments, while the Page setup option is great for precise margin measurements. Be it narrow margins, half-inch margins, paragraph indentation, or precise measurements, depending on your requirement, you can decide which feature to go for. By changing the margin you can control how your text will appear on a printed page or future documents. And do not forget that you can set the default orientation for future use too!


