Key Takeaways:
- Word art in Google Docs makes the text more like an image, and you can reposition and resize.
- You can also insert Word art by using online word art generators and external add-ons.
We all know that a catchy title and formatted text can make any document pleasant and readable. Google Docs can also add and amplify the document’s look as Word Art is not just limited to Microsoft Office. Using word art in Google Docs can make your presentation document look presentable and user-friendly.
It’s similar to how we highlight a text in Google Docs. Today, there are several different tools to create word art. From curve word art to tilted word art, from wavy word art to colorful ones, there is so much you can do. Along with that, tools like the Word art generator and external add-ons help us with exciting and fun word art.
How To Insert Word Art In Google Docs
From outline color to adding dotted lines in a blank document, using word art in Google Docs can content creation fun. Plain text can sometimes make things boring for the readers. A catchy title with fun effects, bold fonts, your favorite border color, and innumerable design possibilities can make your actual document pleasant.
One of the easiest ways to insert Word art in Google Docs is to use the inbuilt word art tool. It is a direct option, as we do not need any drawing tool or applications.
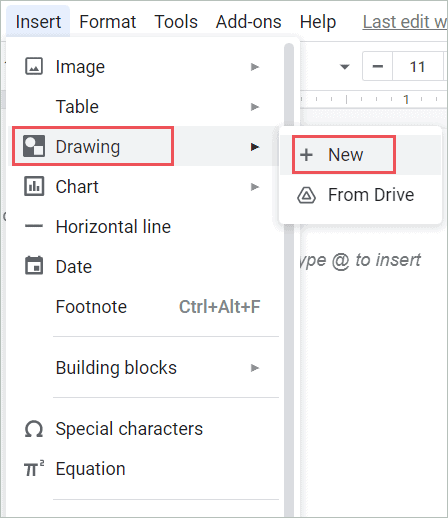
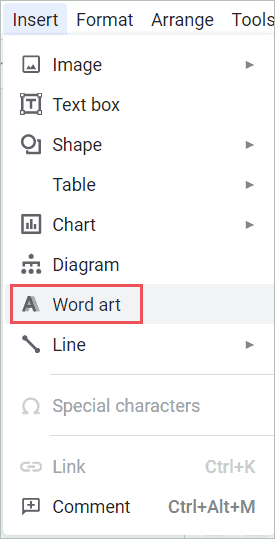
Step 1: Open the Google document. Select Insert drop-down menu from the menu bar.

Step 2: Select the Drawing option. It has two sub-options as New and From Drive. Select the New option.
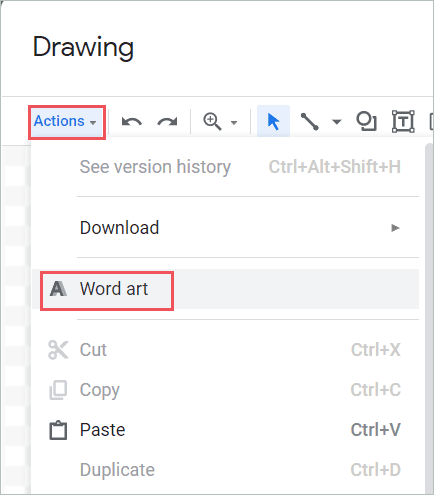
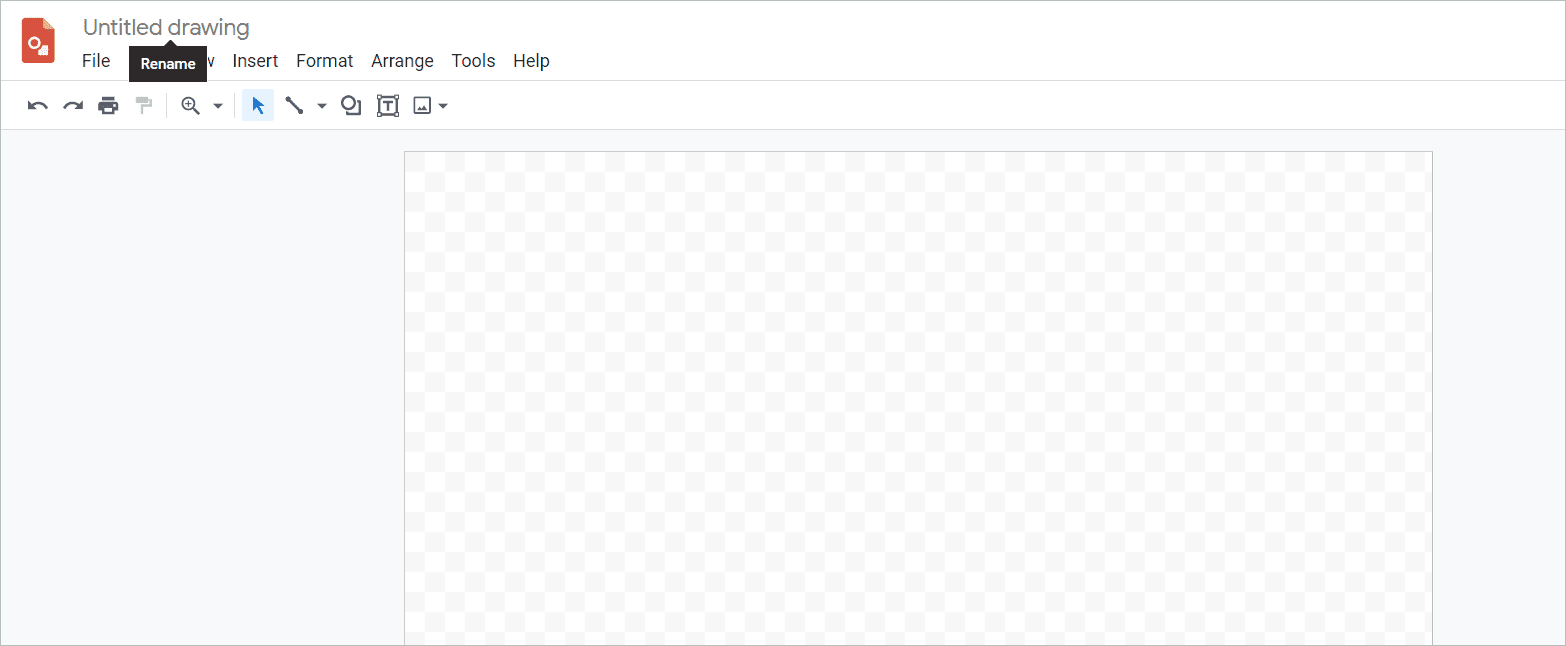
Step 3: A Drawing popup window will open. Click on the Actions menu and then select the Word Art option.
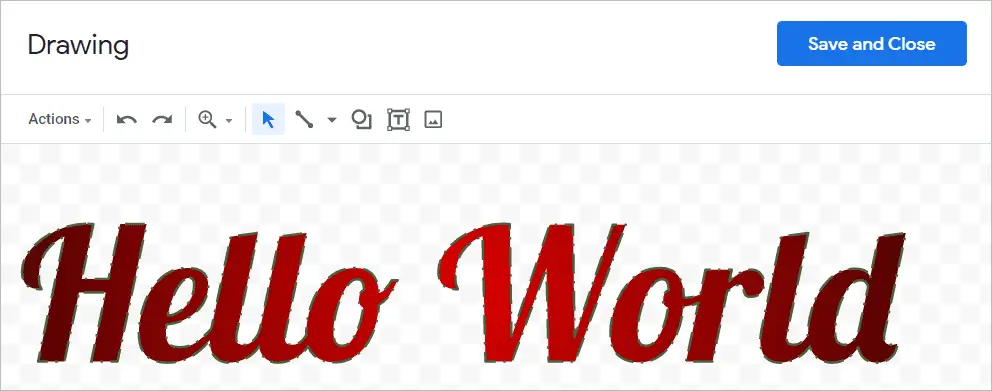
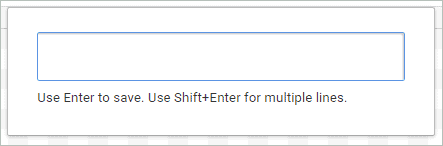
Step 4: A Text box will appear. Now, write the text that you want in Word art. After writing the text, you can press Enter key or Shift+Enter keys if you’re going to type in multiple lines or wrap text.

Step 5: You can also modify the text you have entered.
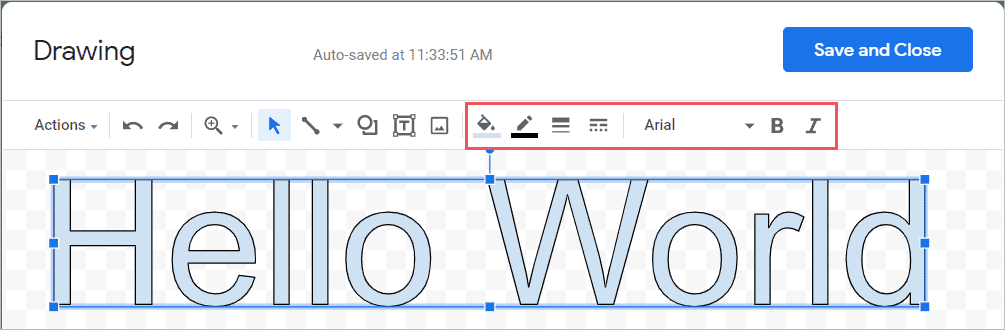
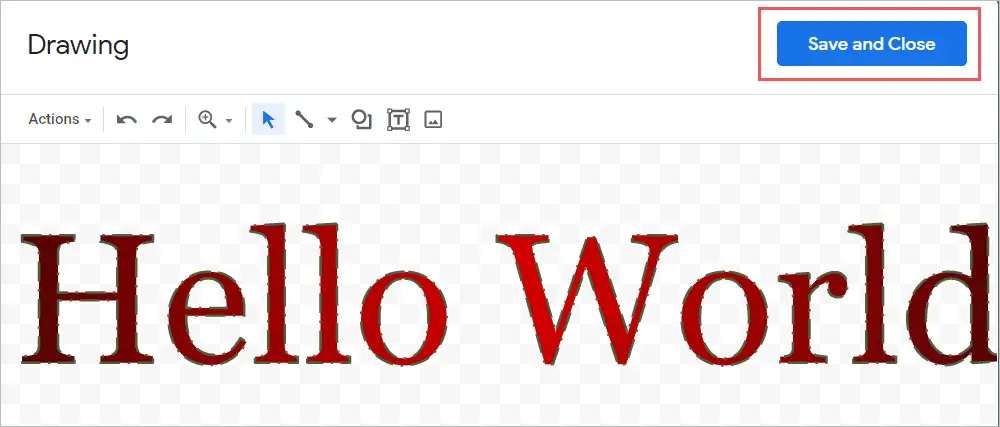
Step 6: Once done with the formatting, click on Save and Close Button.

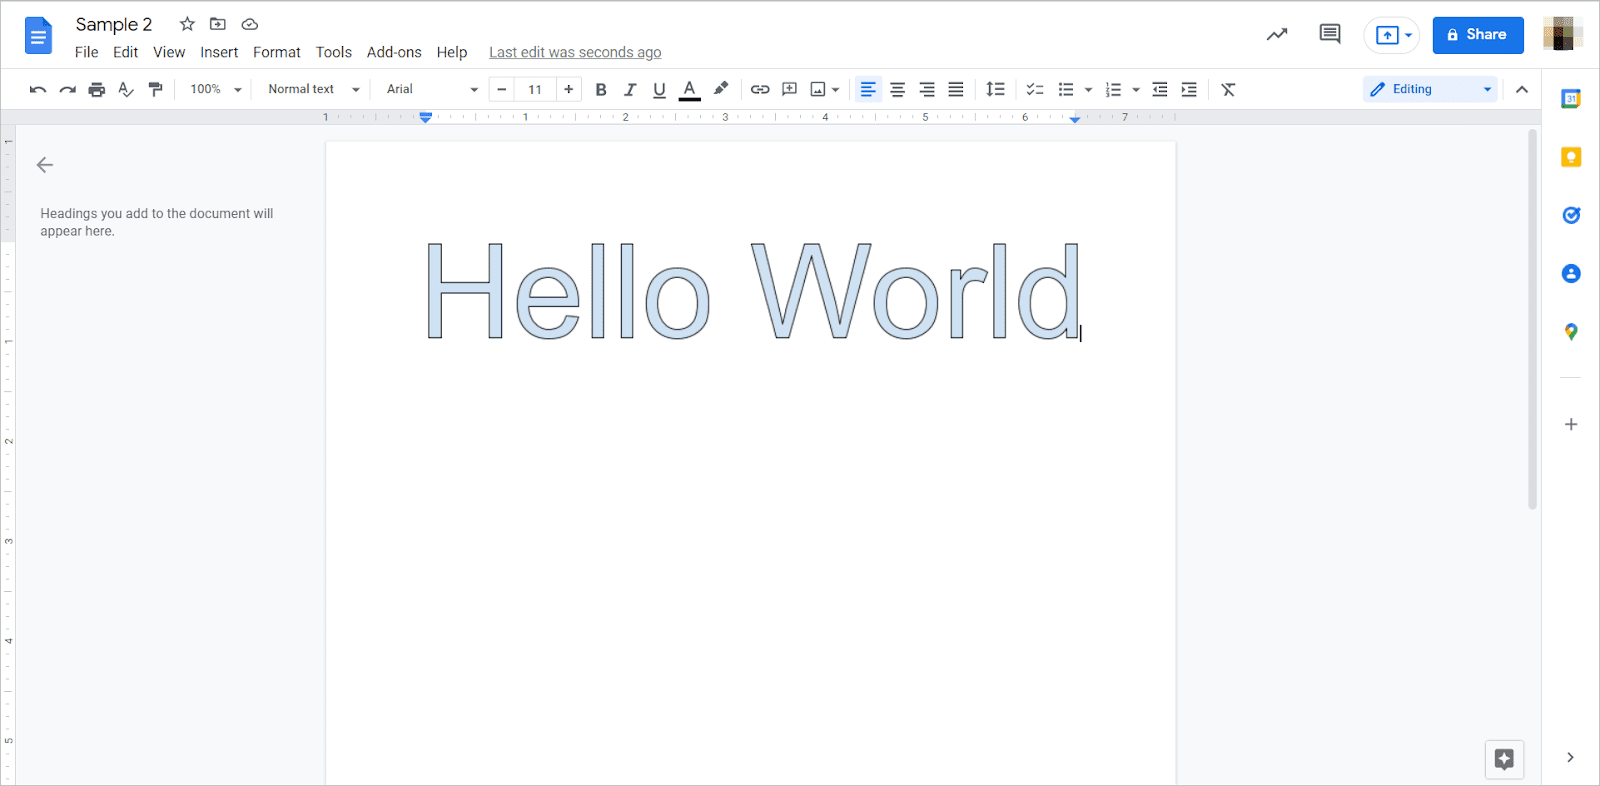
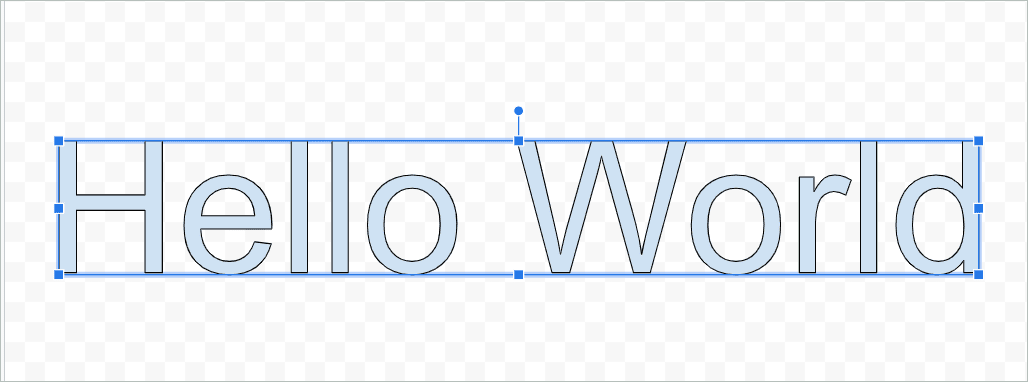
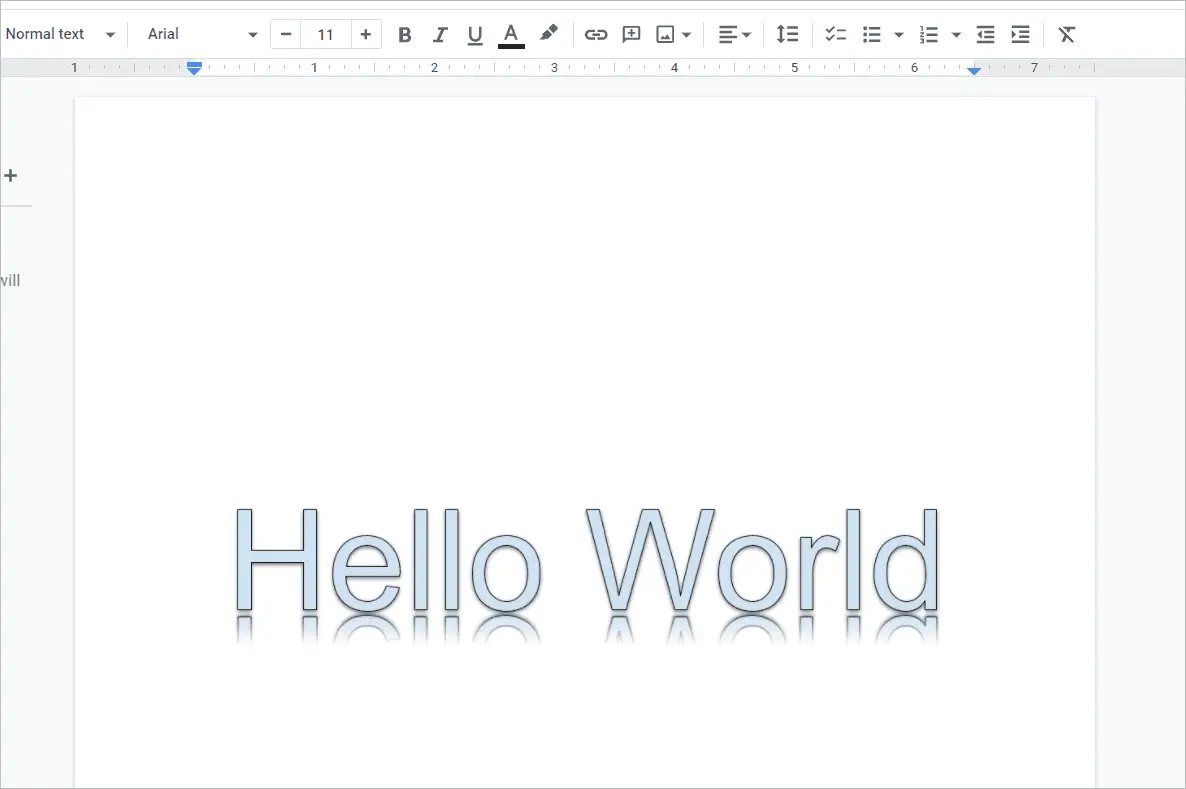
Step 7: The Word art will appear in your document.
Formatting Options For Word Art In Google Docs
There are several formatting options for word art in Google Docs. From color filling to custom fonts to basic animation effects, there is so much that you can add to the actual design and text.
The various formatting options available are:
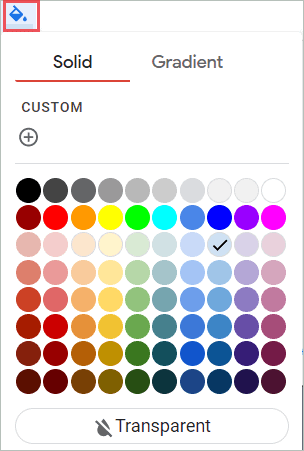
1. Fill Color Icon:
You can choose the filling color option from various color options or custom gradient color in your word art. In addition, you can make your custom fill colors gradient to make the word art look creative.
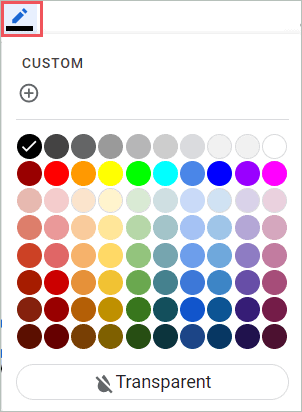
2. Border Color Icon:
You can choose a different border color button from the color palette for the letters. You can apply a custom color by setting the hue or setting the hex code.
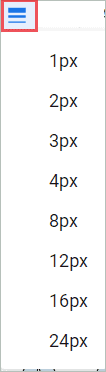
3. Border Weight Icon:
With the border weight icon, you can work around the border thickness of the letters. Thickness is given in pixels.
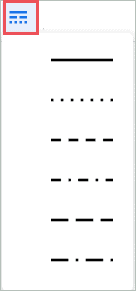
4. Border Dash Icon:
With the border dash icon, you can select different styles for the border from dash style, dots, dots, and dash, long dash.
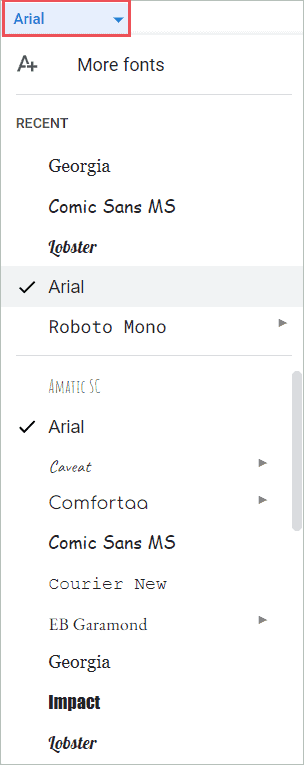
5. Font Style Icon
A good font can make or break the form of presentations. The docs presentation heavily relies on the font style and font size. Be it simple fonts or custom fonts, create exclusive content with the correct style. Select a font that is readable and adds style to your document.
You can even make your word art bold style or italic style if needed by using the respective icons.

6. Edit the Word Art In Google Docs
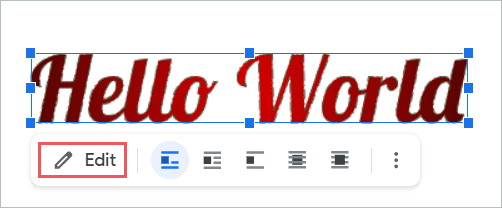
Once we know how to add word art in Google Docs, you can also edit the word art in Google Docs by changing its alignment and style.
To edit the word art, click on it, and a small toolbar will appear below it. Next, click on the Edit button.
The Google Docs Drawing pop-up window will appear. Edit the word art.
Once done, click on the Save and Close blue color button.
The Drawing window will close, and the edited word art will appear in your document.

There is a small toolbar below the word art for more editing options that has three vertical dots. Click on All image options.
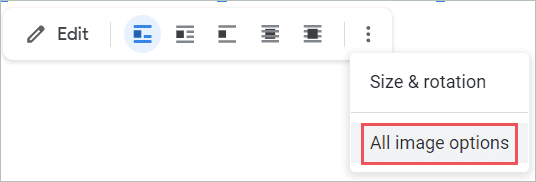
The image options side bar appears on the right side of the screen.
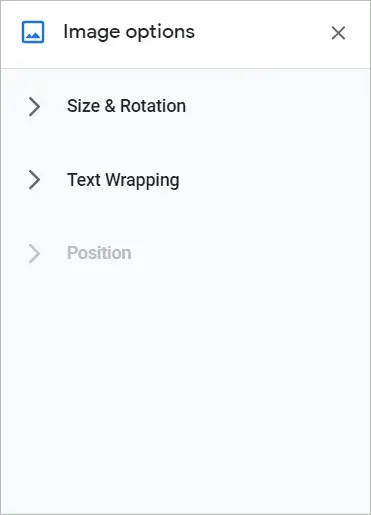
The options available are:
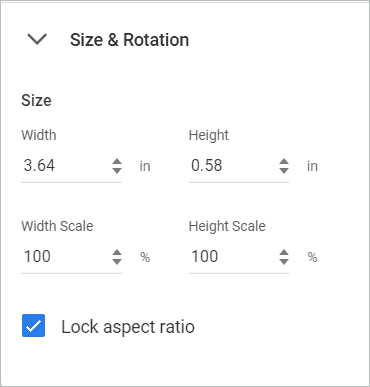
Size and Rotation: You can change the width and height of the text. You can rotate the word art either by specifying the angle or flipping it horizontally or vertically.
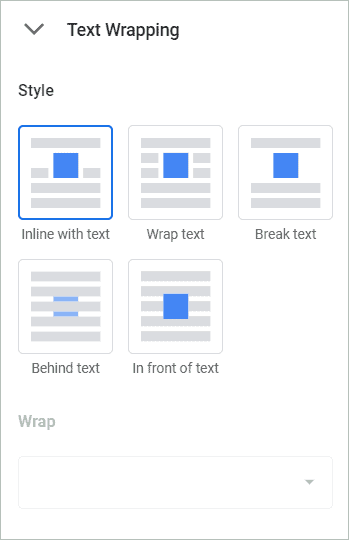
Text Wrapping: You get five text wrapping options. You can select any one style.
- Inline with text.
- Wrap text.
- Break text.
- Behind text.
- In front of text.
Position: You can also change the position of the image.
How To Use Word Art With Google Drawing Application
You can even insert word art in the Google Drawing application. Follow the simple steps mentioned below to insert word art in Google Docs using the Google Drawings tool.
Open Google drawing app.
Click Insert from the menu bar.

From the various drawing functions, click the Word Art option.
A textbox will appear on the screen. Here you can write the text you want in Word art. After writing the text, you can press Enter key or Shift+Enter keys if you want to type in multiple lines or wrap text.
As you press to enter, the word art is visible, and some formatting icons appear on the drawing toolbar.

A sidebar menu will appear.
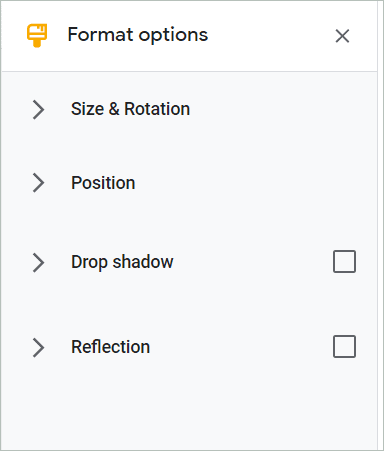
You can use the format options and edit the word art.
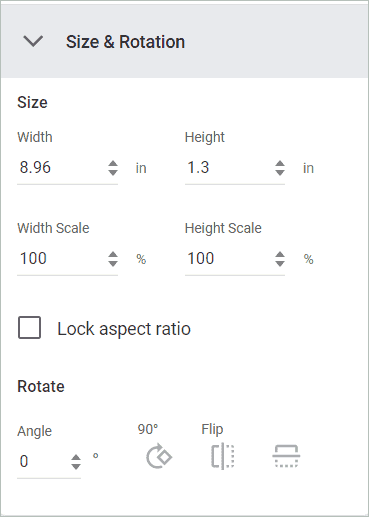
Size and Rotation: You can change the text’s shape, width, and height to get the desired shape. You can rotate the word art by specifying the angle or flipping it horizontally or vertically in the Google apps drawing window.
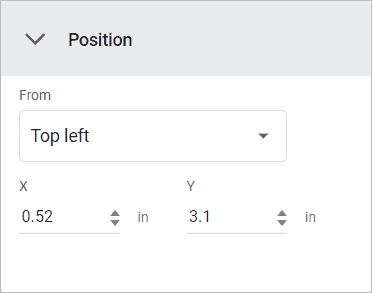
Position: You can change the position of the image.
Drop Shadow: You need to check the box to drop a shadow. You can set the transparency, angle, distance, and blur the radius of the word art.
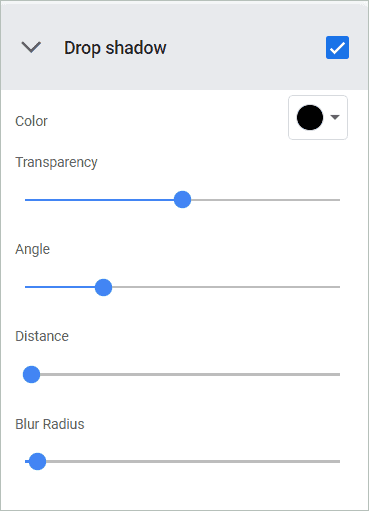
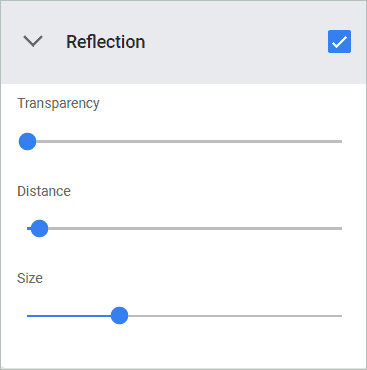
Reflection: To set the reflection check the box beside it. You can set the transparency, distance, and size of the reflection.
To save image in the Google drawing feature, give a name to the file. It will be saved in your Google Drive.

Now, open the Google document where you want to insert the word art. Then, click on the Insert from the menu bar.

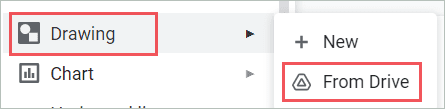
Select the Drawing option. Now, choose From drive.
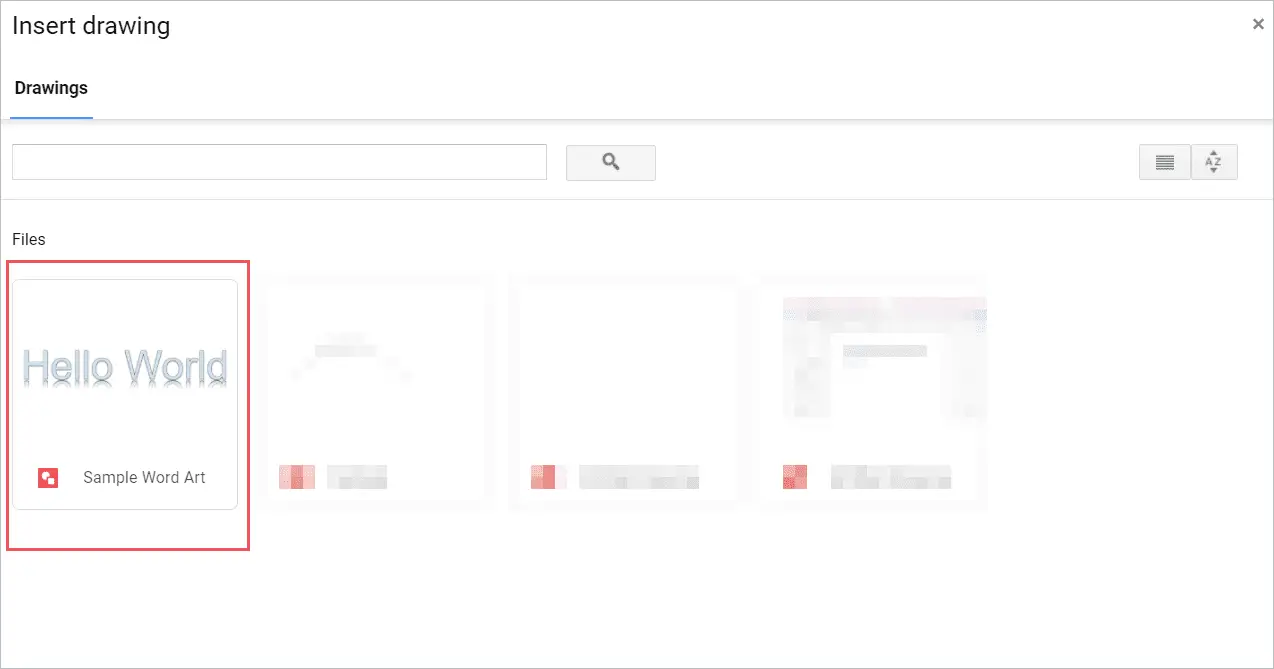
Double click the file you just created.
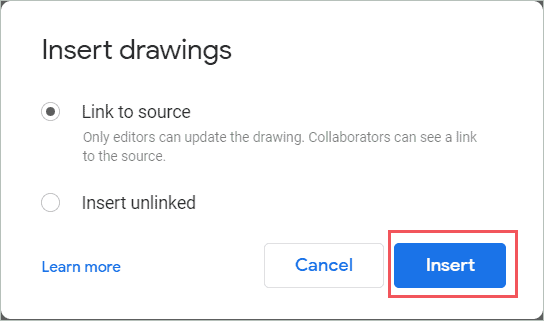
You will get two options before inserting the image. You can select either link to the source or insert unlinked. Select as you require. Click Insert.
You have now successfully inserted word art in Google Docs.
You can use the word art in your different Google apps such as Google Docs, Google Slide, Google Sheet, or Google form.
Using Word Art Generator
The Word art you create in Google Docs has minimal features. For more specifications, you need to use generators that are available online. After you complete the Word art in these generators, you need to save them on your computer. Later use it as an image in your Google Doc. You can do a google search for these generators.
We have listed some free and exciting word art generators available online to insert word art in Google Docs.
1. Inkpx.com

Inkpx is a website that helps you generate unique, vibrant 3D custom-designed word art. They have some fantastic word art styles from which you can choose. In addition, they have various format options, a color picker, and fashionable style shapes to customize your word art. It’s easy to use, and once done, download the Word art in either png or jpeg format. You can then use the image in your document. This generator also has a variety of word art that can be used in Google Docs.
2. Makewordart.com

The user interface of Makewordart is very similar to Microsoft Word’s older version. They have the basic Word Art styles just as they were available in the 90’s Microsoft Office. You can select from the various WordArt style and write the text you want. Click on the Download button once done. The image is saved in png format on your computer.
Use this Word art in Google Docs by using the image option in your document.
Using Add-ons To Insert Word Art In Google Docs
You can also use external add ons that are available on Google Workspace Marketplace to insert word art in Google Docs.
Adding these G suite add-ons in your Google Docs is simple. With these add-ons, you can create some awesome word art.
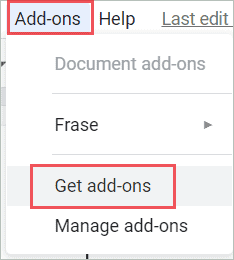
Step 1. Click on the Add-ons menu on the menu bar.

Step 2. Click on the Get add-ons button.
Step 3. Google Workspace Marketplace window will prompt. Type the add-on in the search bar and click on the add-on you want.

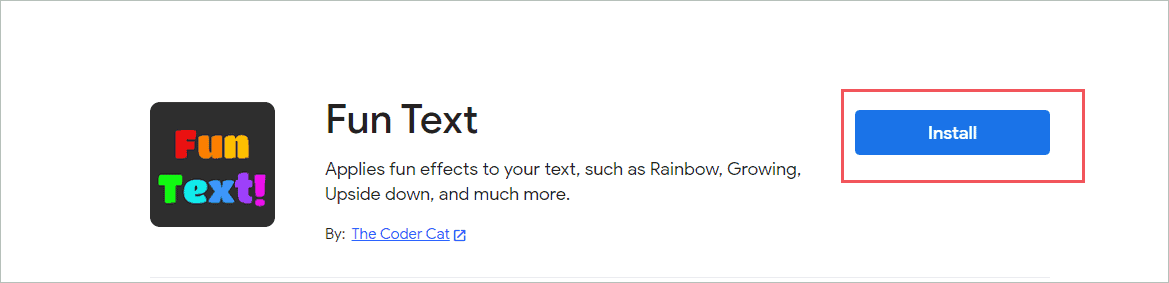
Step 4. Click on the Install button.
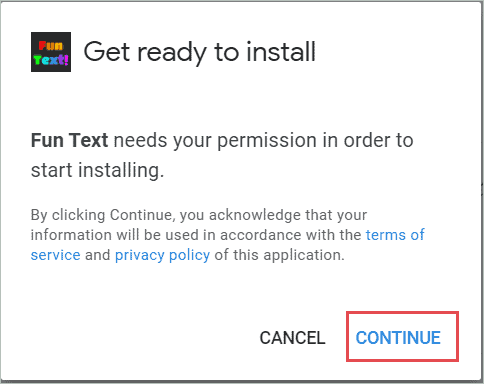
Step 5. A prompt will appear seeking permissions to continue. Click continue.
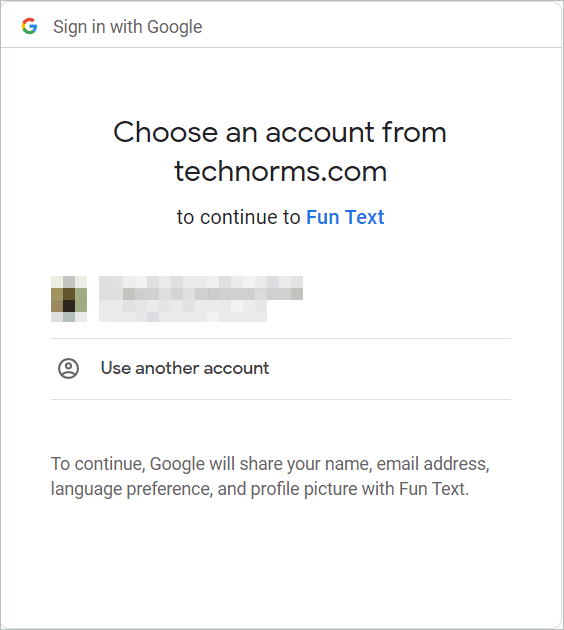
Step 6. It will ask you to sign in to your Google account.
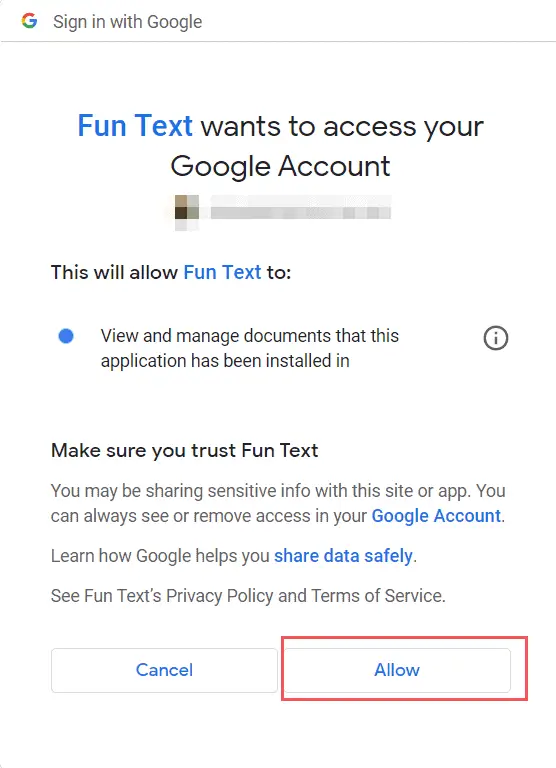
Step 7. Click on the Allow button to start the installation.
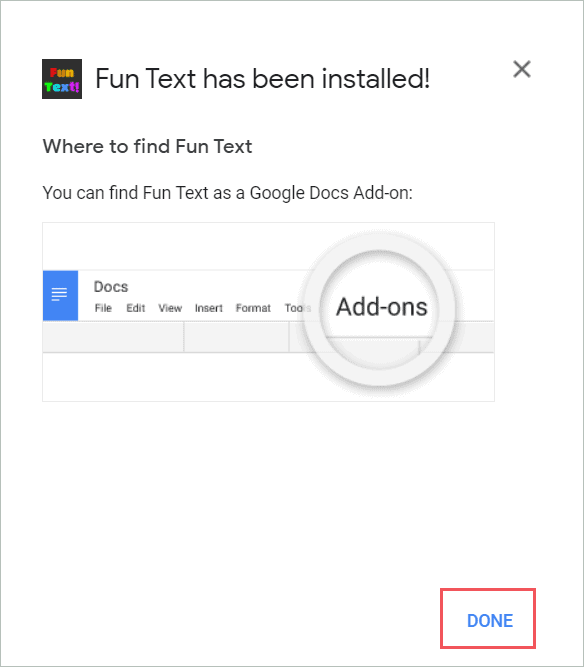
Step 8. Click on the Done button to finish the installation process.
Step 9. You will need to click on the Add-ons menu from the menu bar. You will be able to see the add-on drop-down list you just added. Now select the add-on you want to use from the list of options.
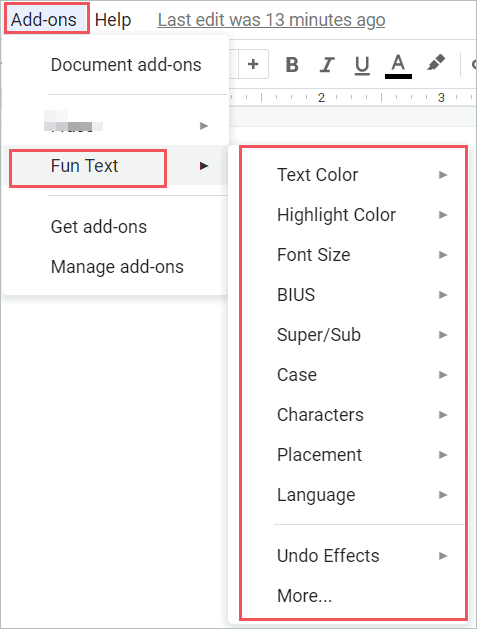
You can start using the add-on for inserting word art in Google Docs as per your need.
Let us check out some exciting and free-to-use Add-ons.
Fun Text

Fun Text is a simple word art add-on to give nice visuals to your text. You can undo the changes anytime you want using the Google Docs Undo button. It’s free and an easy-to-install add-on.
Text Themes
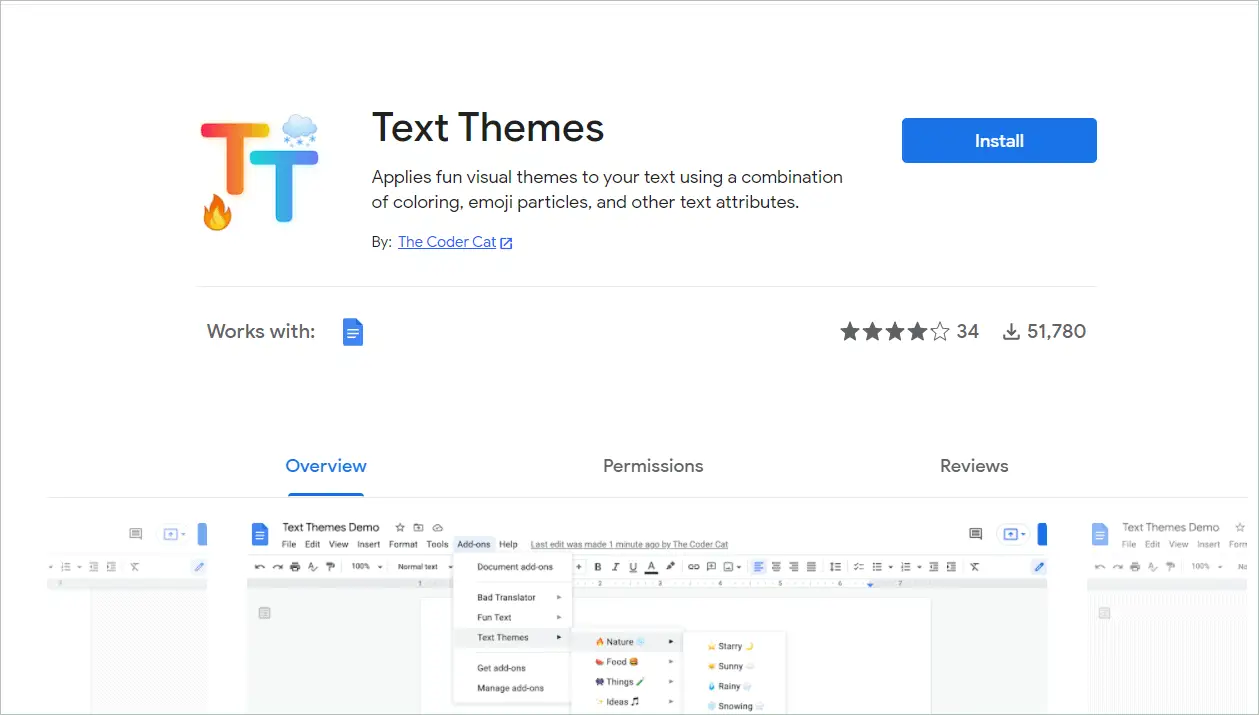
Text themes are an add-on to create a fun visual text. This Google Workspace Marketplace add-on is a friendly tool to add word art in Google Docs. It is free and an easy-to-install add-on.
Conclusion
Word Art highlights your title and makes it more interesting. You can create word art in Google Docs or use pre-formatted word art styles too. Google Workspace Marketplace add-ons are worth trying as they are free, easy to use, and fulfill your need to a great extent. Word art Generators are also an excellent option to customize your word art and use it.
Be it Google presentations or a Google docs document, adding Word art is a great way to give a visual treat to your readers. Furthermore, word art can also be used in different ways in Google spreadsheets, and a Google slides presentation.


