Key Takeaways
- Different keyboard layouts are handy for people who type in different languages.
- You can install a keyboard layout already in Windows 11 or create a custom layout.
- You can add, change and remove layouts with simple steps.
Do you work with multiple languages on your PC? If yes, you must be familiar with different keyboard layouts for users that help make typing easier. The default option for a keyboard can be used if you don’t prefer changing it, but it offers less convenience. When you change keyboard layout in Windows 11, you have additional symbols and characters specific to the chosen keyboard input language.
For users who are new to the whole concept, it can be challenging to add, change or remove the layouts without knowing the exact steps. This helpful article takes you through all these steps and a few more things that come in handy while working with different layouts. For better clarity of the layout, learn how to change screen resolution in Windows 11.
Install New Windows Keyboard Layout
Windows 11 allows you to install keyboard layouts in your preferred languages, including regional and foreign languages. Browse through the languages and install the French keyboard layout, German keyboard layout, regional keyboard, or any other. Once this is done, you can easily change keyboard layout in Windows 11. Here are the steps to install an additional keyboard layout using the Settings menu and PowerShell. Change Windows 11 custom scaling if you want smaller or bigger elements on the screen.
1. Using Settings
Type “Settings” in the search box and open the Settings app.

In the Settings window, select the Time & language tab in the left pane. Then, on the right side, select “Language & region.”

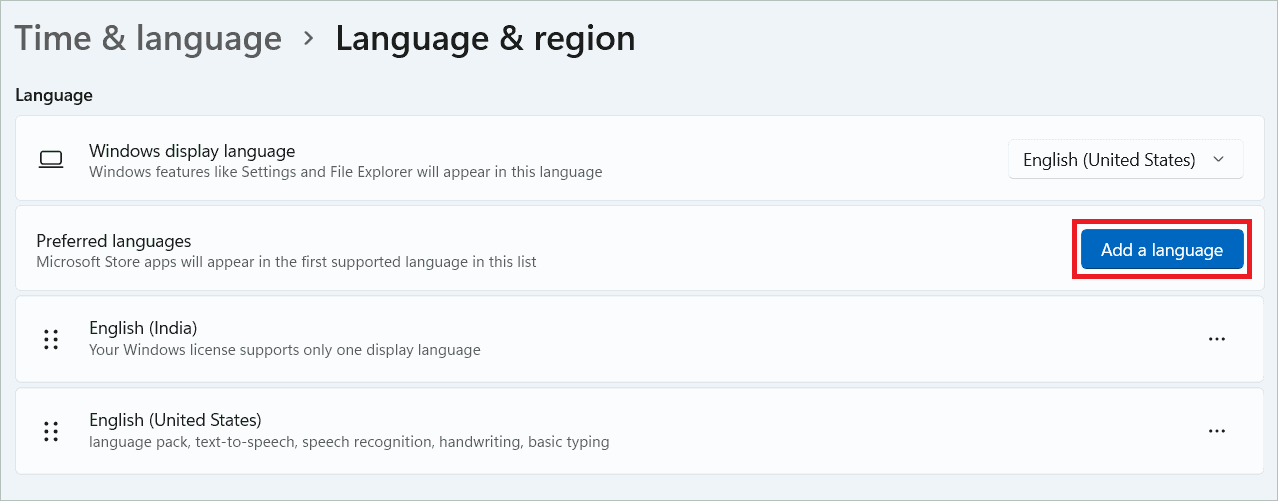
Under the Language section, look for Preferred languages. Then, click the “Add a language” button near it.
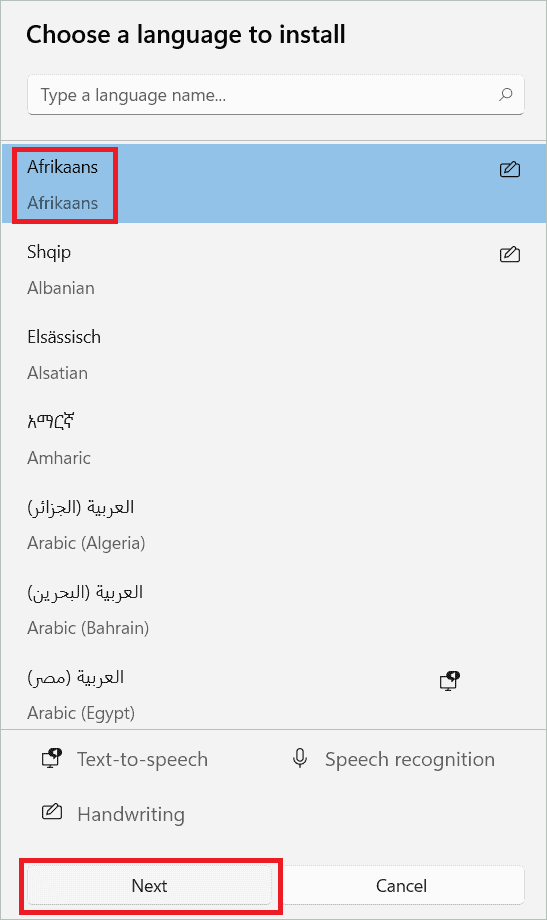
Type your desired language in the search bar and select the keyboard layout from the list. Click “Next.”
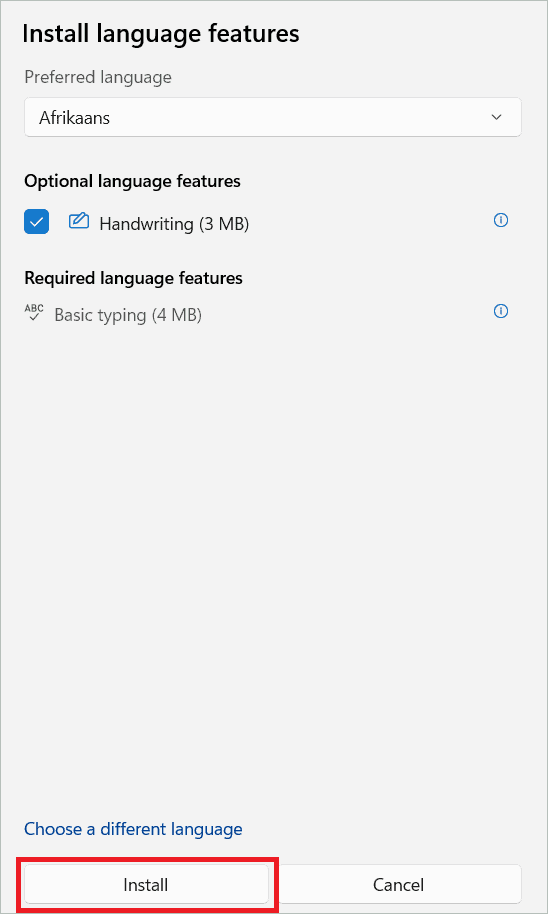
Click “Install” and complete the installation process.
2. Using PowerShell
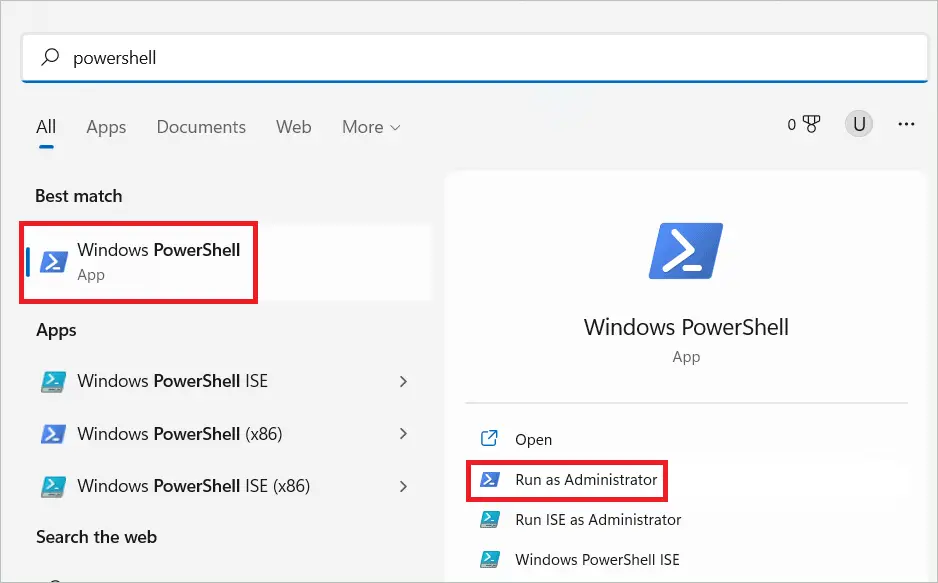
Type “Powershell” in the search bar and click the “Run as administrator” option.
Type the following command to retrieve the existing language list and press Enter.
$LanguageList = Get-WinUserLanguageList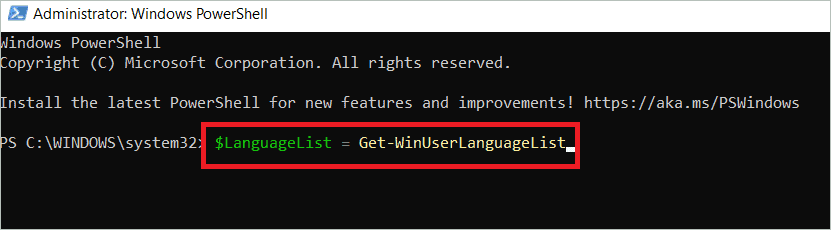
Now, type the following command to add a language and press Enter. Here, we are adding English (Great Britain).
$LanguageList.Add(“en-GB”)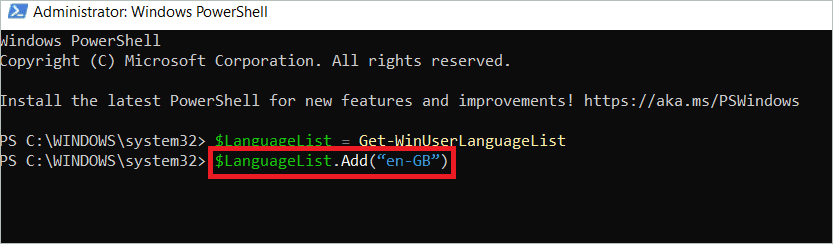
Next, type the following command and press Enter to update the language list.
Set-WinUserLanguageList $LanguageListYou will be asked whether you want to continue with the operation. Press Y to continue. Now, the language you entered has been successfully added. Finally, restart your machine.
Create A Custom Keyboard Layout
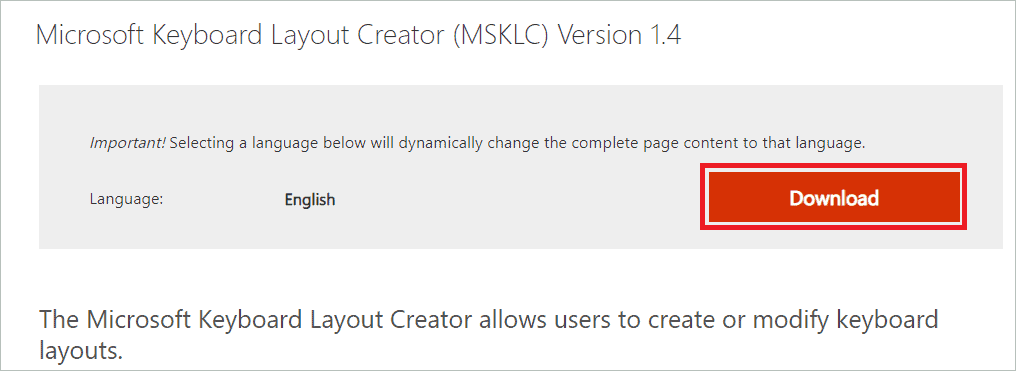
If you are not happy with the keyboard layouts available in Windows 11, you have the option to create custom keyboard layouts suited to your taste. The best thing is that you can play with the keys to interchange them. Once the keys are all set, you can change the keyboard layout in Windows 11 to the one you created. The app called Microsoft Keyboard Layout Creator 1.4 lets you create your favorite keyboard layout. Let us see how.
Go to the Microsoft Keyboard Layout Creator page to download the desktop app and click the “Download” button.
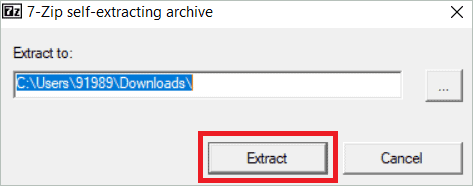
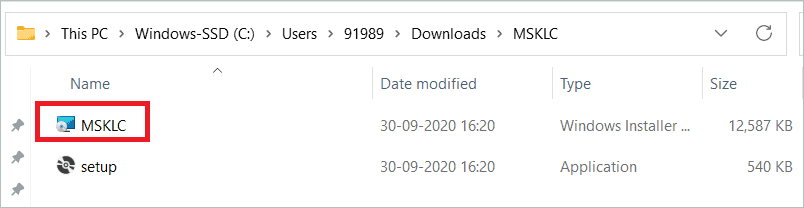
Go to file explorer and find MSKLC.exe in the folder you downloaded the app. Then, double-click on it and click “Extract.”
Go to the folder and double-click on the installer.
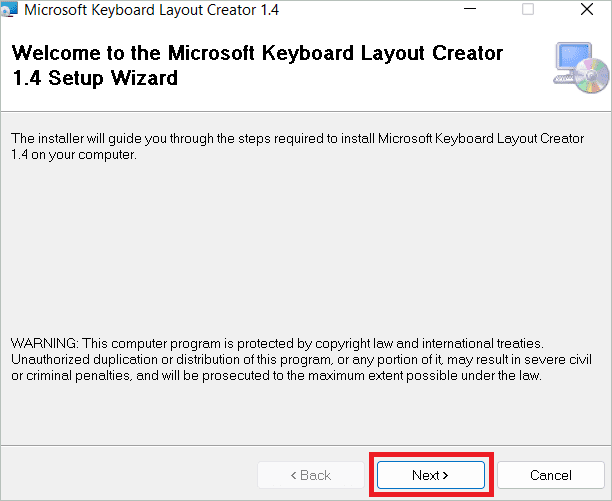
Now, the setup wizard opens. Click “Next.”
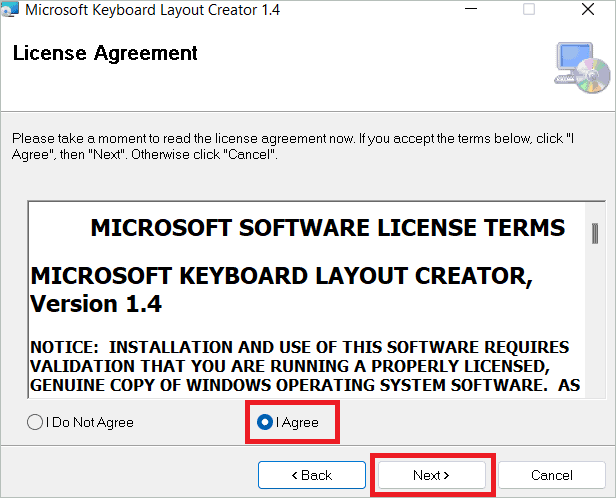
In the license agreement window, select “I Agree” and click “Next.”
Select the installation folder and click “Next.”
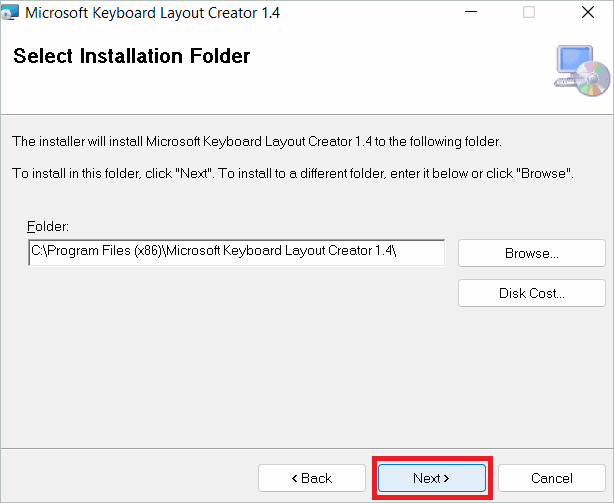
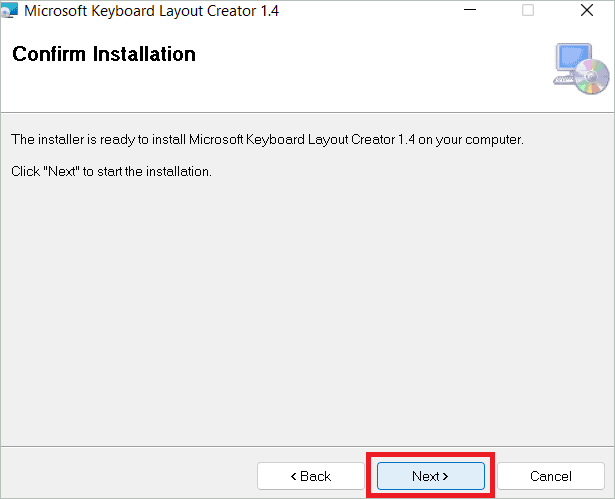
Click “Next” to start the installation. Once complete, you will get a confirmation message.
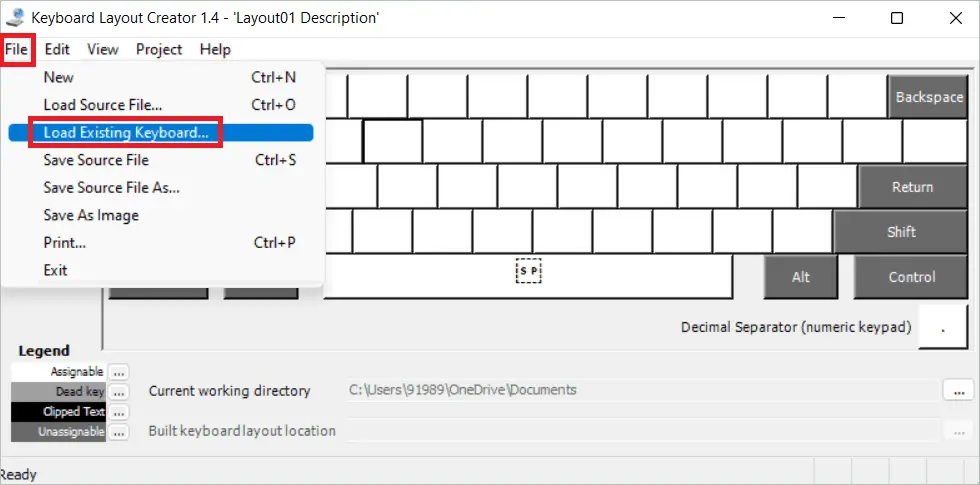
Open the Keyboard Layout Creator app. Select File > Load Existing Keyboard.
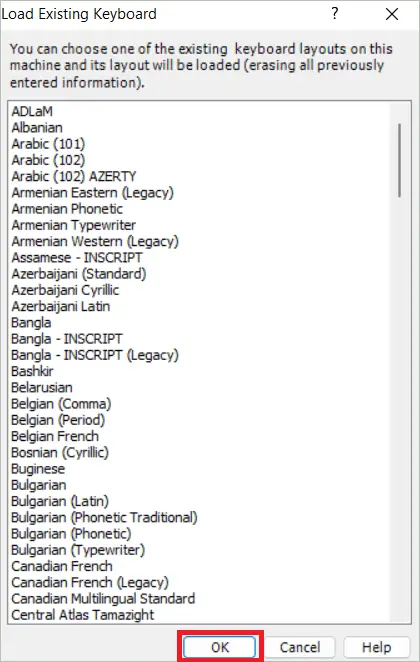
Select an existing keyboard and click “OK” to load it with the default language.
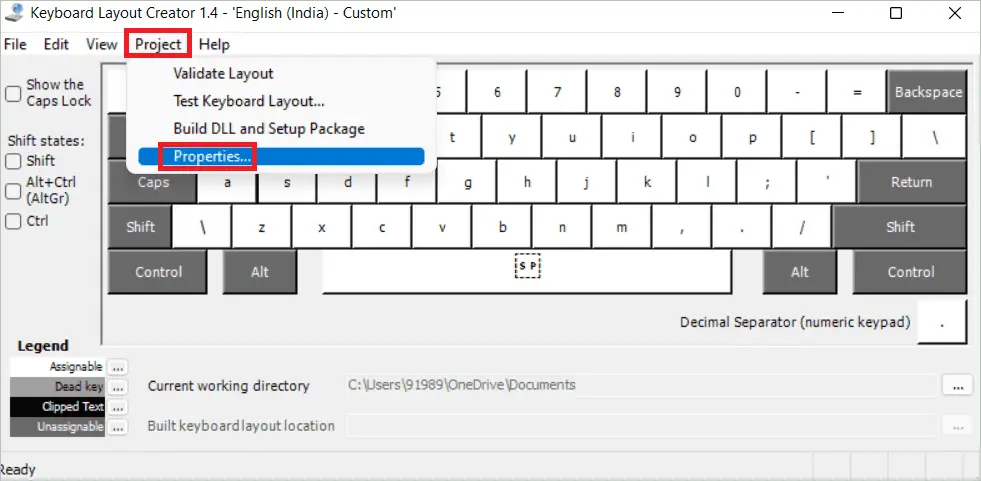
Select Project > Properties and give a name and description for your keyboard.
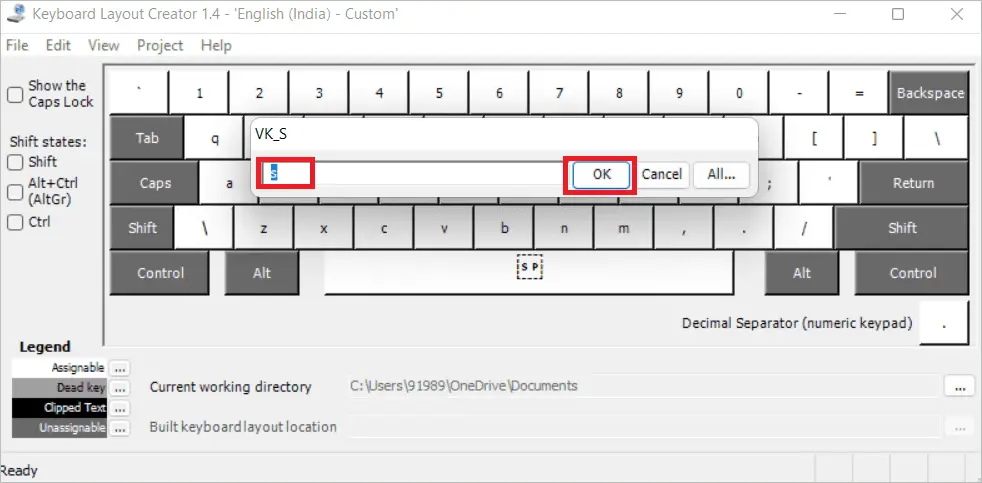
Now, you can select a key on the onscreen keyboard and enter the new key you want in that place. Repeat and complete the layout as per your wish.
Select Project > Validate Layout to verify.

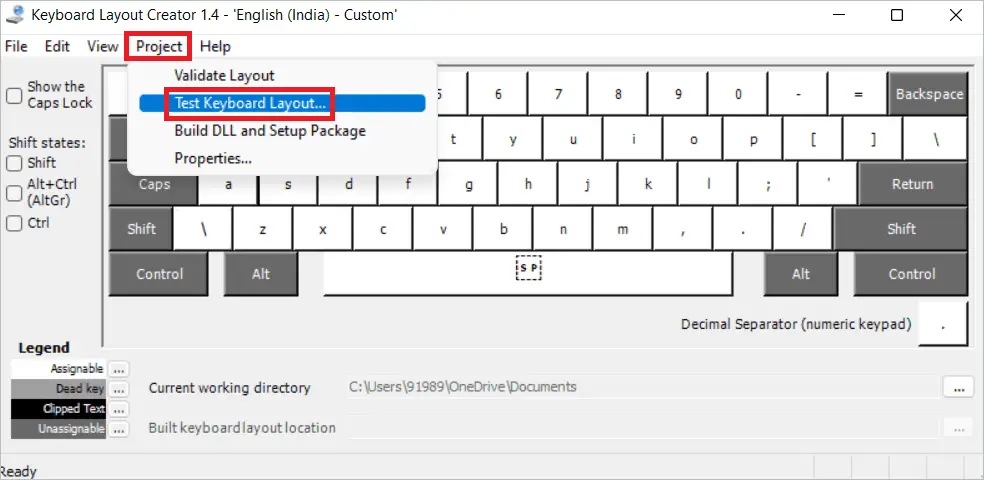
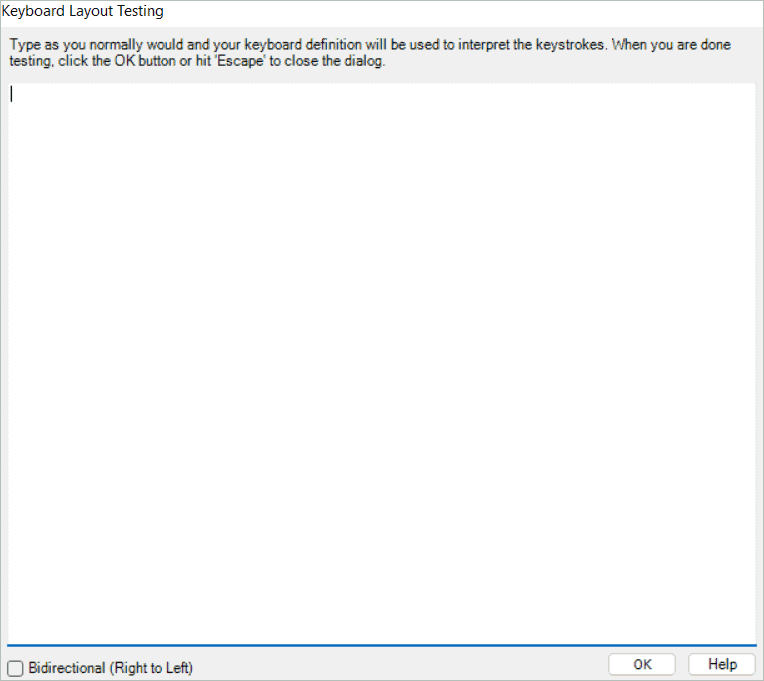
Select Project > Test Keyboard Layout to open a text editor to try out the keys.
Select Project > Build DLL and Setup Package if the layout works fine to install it. Click “Yes” in the confirmation window. Next, double-click on the setup.exe file to install the custom layout. Lastly, restart your system. Your custom layout has been created now.
Add, Change and Remove a Computer Keyboard Layout in Windows 11
Now that you know how to install a keyboard layout, it is time to learn how to add, change and remove a layout. Adding a new format lets you switch between or change keyboard layout in Windows 11 whenever you want. And when you feel that a keyboard layout is no more required, it can be removed from the list.
Add a Keyboard Layout
Open the Settings app and select Time & language > Language & region.
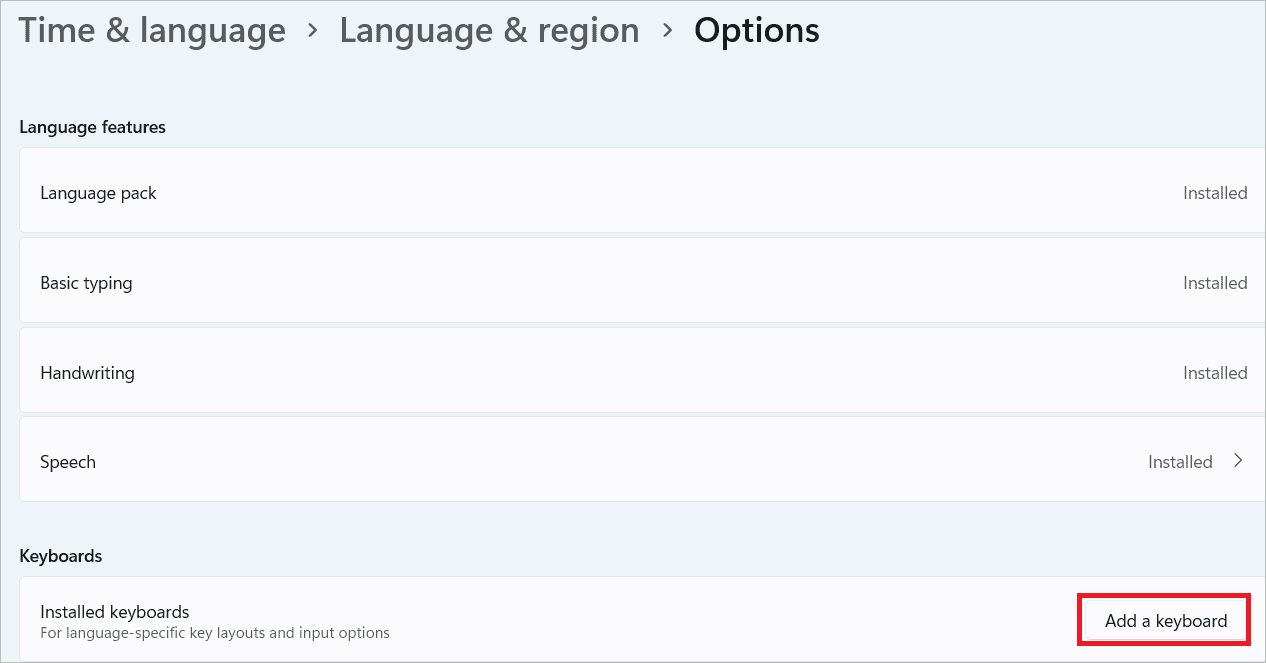
Click on the three-dot menu beside your pre-installed language pack and select “Language options.”

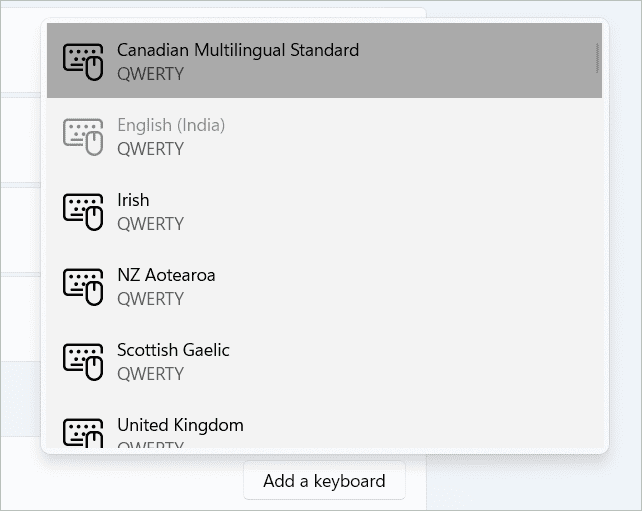
Under the Keyboard section, click the Add a keyboard button near “Installed keyboards.”
Select the keyboard from the list that appears, so it is added.
Change The Keyboard Layout
There are three common methods to access the language keyboard layouts and change keyboard layout in Windows 11. Switching between the layouts is not a big task once you decide which method to use. Here are the three ways and the steps to perform the job.
1. Using shortcut keys
Keyboard shortcuts or hotkeys use different key combinations to perform specific tasks quickly. As a result, the tasks that usually require many steps can be done in a single keystroke. The hotkeys for keyboard layouts let you view all the keyboard layouts and select the one you wish. For example, press the Windows key and spacebar key together to open the keyboard layout list and choose one. Or, press the Shift and Alt hot keys simultaneously to switch from the current keyboard layout to another.
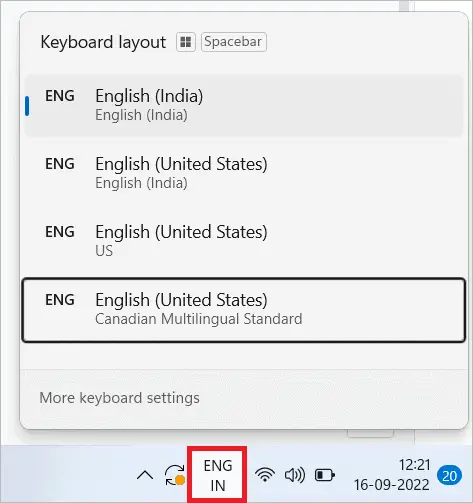
2. Using the taskbar
If you have noticed, the taskbar shows you the language and the active keyboard you are currently using. Click on the language abbreviation button and choose one from the list of keyboard layout selection. Like the first method, this one also takes only a few seconds to make the changes.
3. Using Quick Settings Panel
The Quick Settings panel has a shortcut to change keyboard layout in Windows 11.
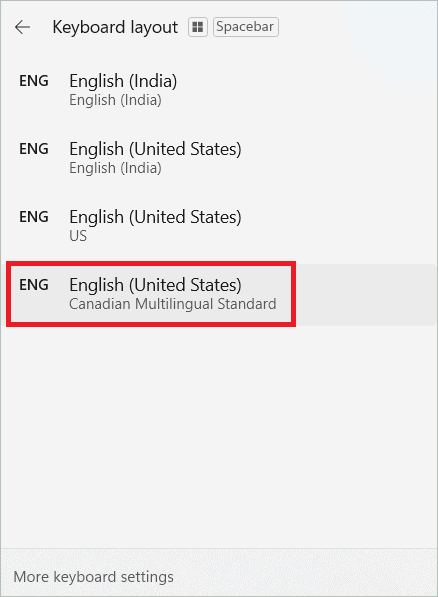
Click on the Wi-Fi, volume, or battery icon to open the panel where you will find the keyboard layout icon.
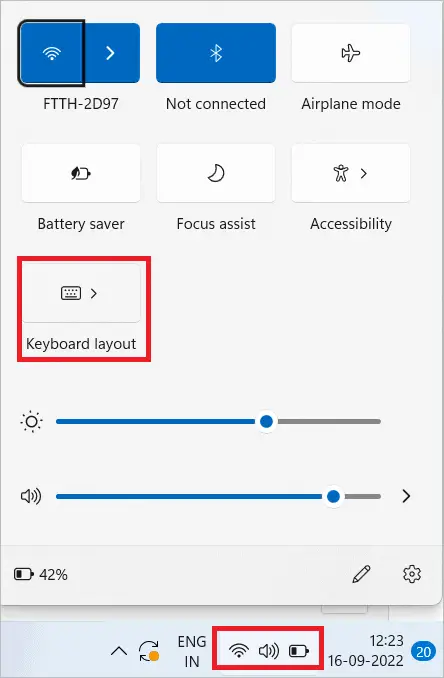
Click on the icon to select the desired layout, and that’s it. Your layout has been changed.
Remove a Keyboard Layout
Open the Settings app and select Time & language > Language & region as in the previous methods.
Click on the three-dot menu beside language and select “Language options.”
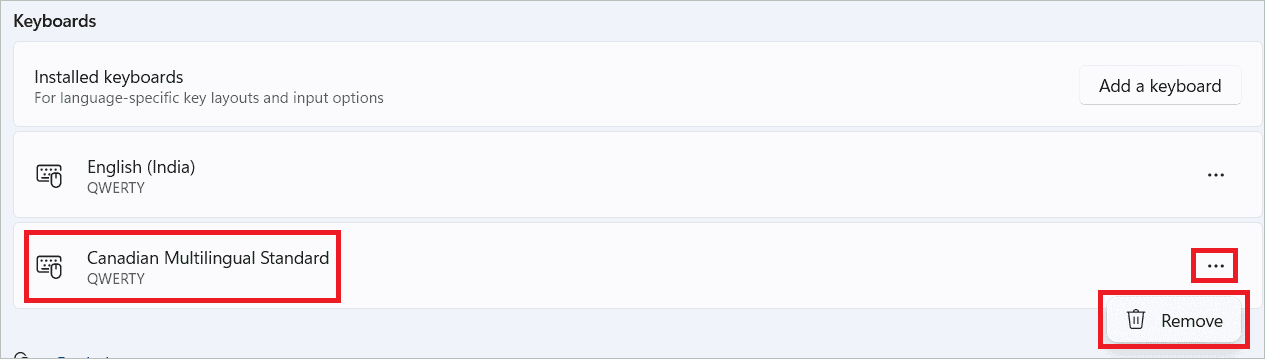
Click on the three dotted menu next to the layout you want to remove. Click “Remove” to remove an individual keyboard.
Enable Different PC Keyboard Layout for Different Apps
Adding a language will automatically set the default keyboard layout. But new keyboards must be installed if you want input options and layouts that are more adapted to the language. When you change keyboard layout in Windows 11, it will be reflected across your account. You have the option to set different layout options and input methods for each app window. This can be achieved in two ways, as given below.
1. Using Settings
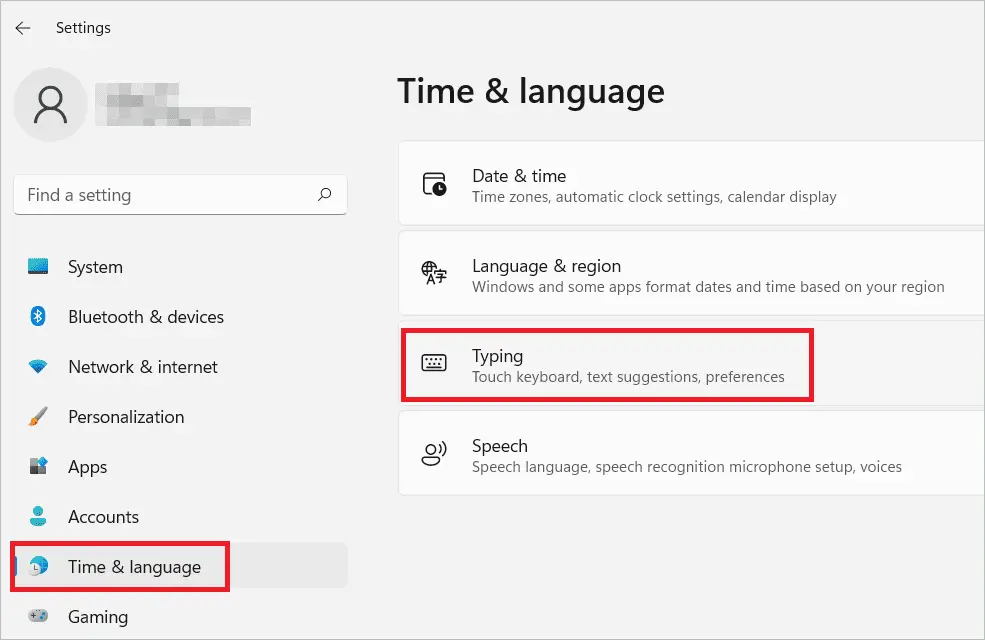
Open the Settings app and select “Time & language” in the left panel. Next, select “Typing” on the right, which has a keyboard icon.
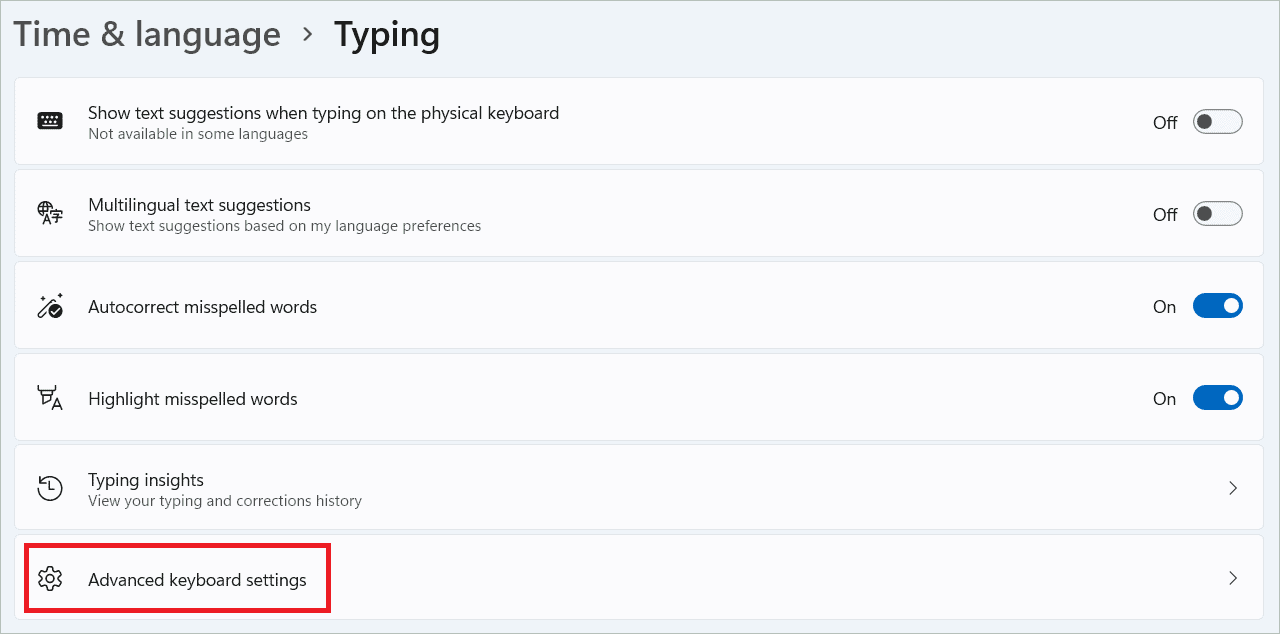
Select “Advanced keyboard settings.”
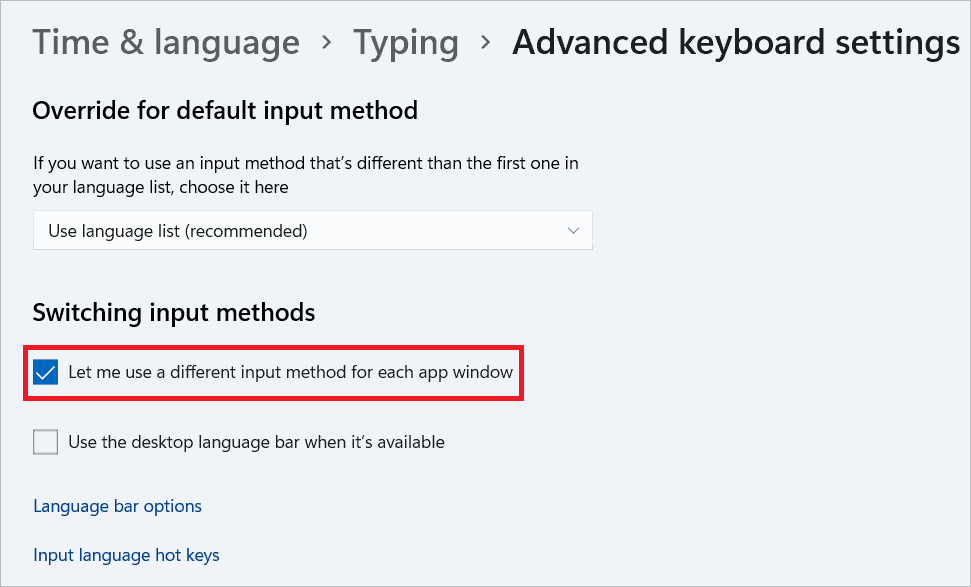
To enable different layouts for different apps, check the Let me use a different input method for each app window option. Your preference will be automatically saved.
2. Using PowerShell
Open PowerShell and type the following command to check “Let me use a different input method for each app window.”
Set-WinLanguageBarOption -UseLegacySwitchModePress Enter, and you are done.

These methods allow each app to have an individual keyboard layout.
Final Thoughts
Users who want to type in languages other than the default language can change keyboard layout in Windows 11. There are options to change the keyboard language and layout so you can enjoy language-specific features. Choosing the correct keyboard layout can make you more productive and get things done faster.
Windows gives you options to install a keyboard layout. Once a layout is installed, it can be added or removed depending on your needs. If the layouts available don’t satisfy you, go for a custom layout where you get to select each key’s position.


