Key Takeaways
- The Snipping Tool is the built-in tool in Windows 11 that let’s take screenshots quickly.
- Sometimes, users face the Snipping Tool not working in Windows 11.
- Many reasons can result in the error, and changing the system and the app can help resolve the issue.
You will get several third-party software to take screenshots on Windows 11 PC, but the built-in tool called Snipping Tool has its own grace. It is simple, quick, and easy. Unfortunately, of late, the recent upgrades resulted in the Snipping Tool not working in Windows 11. While a bug causes the issue in the OS, there could be other reasons as well.
Except for the occasional glitches, the operation of the Snipping Tool is praiseworthy. You can open it with the keyboard shortcut Windows key + Shift + S., But if you find the Snipping Tool isn’t working or working weirdly, you may troubleshoot the issue. The problem is common in both upgraded systems and clean installations. Fortunately, you can fix the problem in many different ways.
How To Fix Snipping Tool Not Working In Windows 11
The Snipping Tool may be improperly installed, or there may be problems with Windows system files, leading to the Snipping Tool not working in Windows 11. Whatever the issue is, try these fixes we have suggested here. Depending on your scenario, one of them might work for you.
1. Repair Or Reset The Tool
If something doesn’t work, we often resort to repairing it. The same idea applies to fixing the Snipping Tool not working in Windows 11. You can either repair or reset the app to make it work again. Here is how.
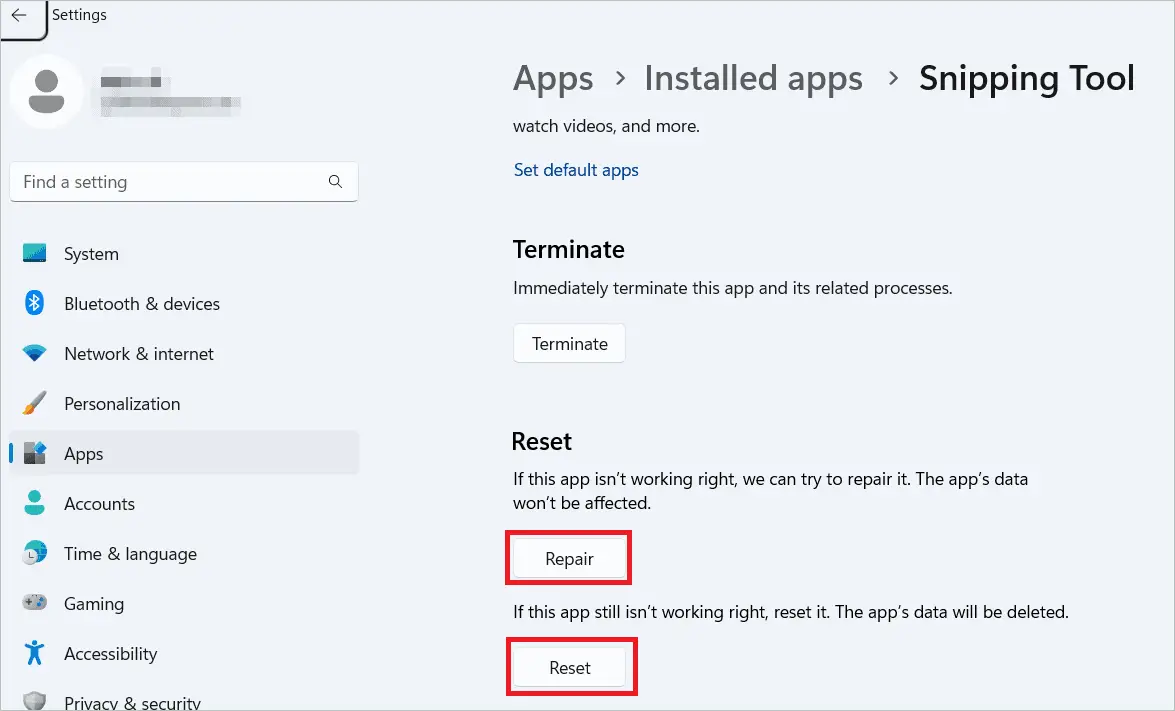
Type “snipping tool” in the search bar, and the option appears. Right-click on the Snipping Tool app and select “App settings.”

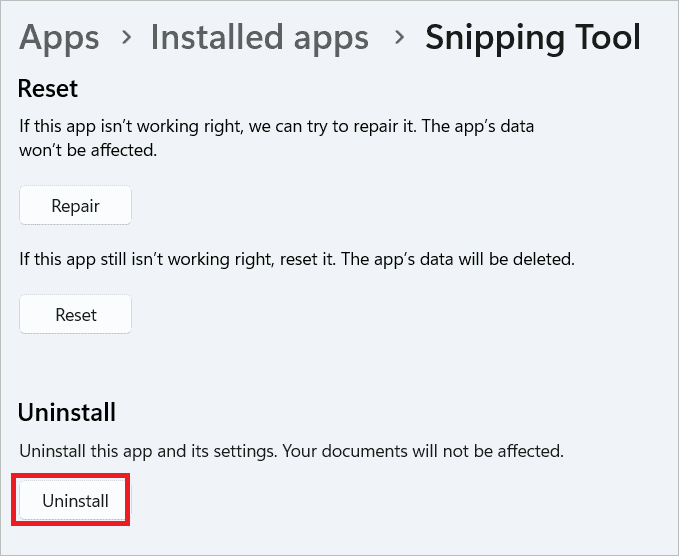
Scroll down and click the Repair button under Reset. If that doesn’t work, you can click the Reset button to reset the app. Note that this will delete the app’s data.
2. Clean Boot
A clean boot is used to start your device with only the basic programs. This helps identify if any of the third-party apps affect the working of the Snipping Tool. If the tool is working fine after a clean boot, you may find out which program caused the problem.
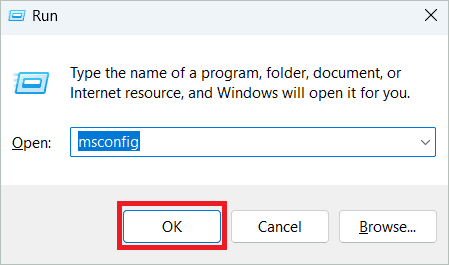
Press the Windows key + R to open the Run dialog box. Type “msconfig” and click “OK.”
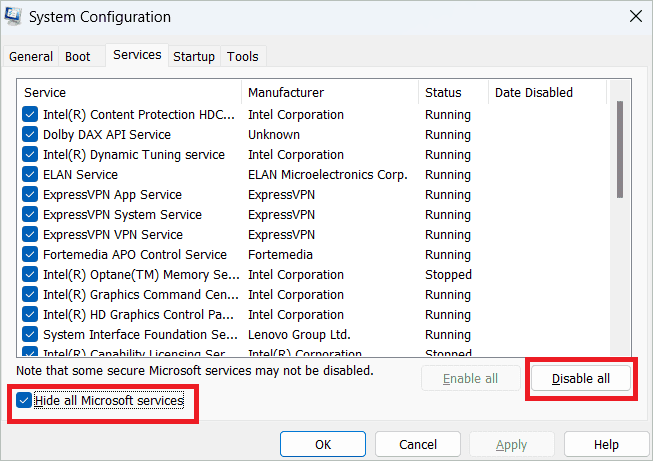
Select the Services tab, check the Hide all Microsoft services, and click the Disable all button.
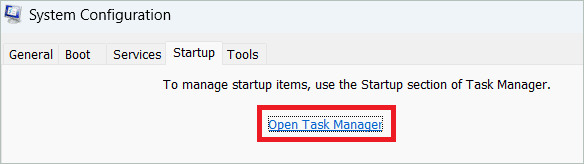
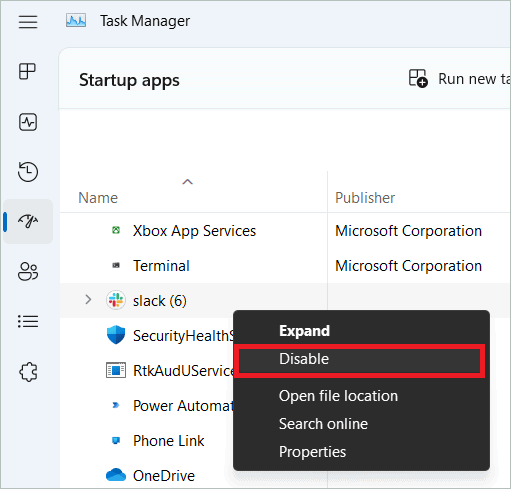
Select the Startup tab and click “Open Task Manager.”
Right-click on every third-party application and select “Disable.”
Click “OK” in the System Configuration dialog box and restart your computer to see if the problem has been resolved.
3. Disable Focus
The new Focus feature in Windows 11 helps eliminate distractions and gain focus while working on your PC. But the session may prevent the Snipping Tool from opening. However, when the tool is included in the priority list, you can use it even when in the Focus session. Follow the steps below to resolve the Snipping Tool not working in Windows 11.
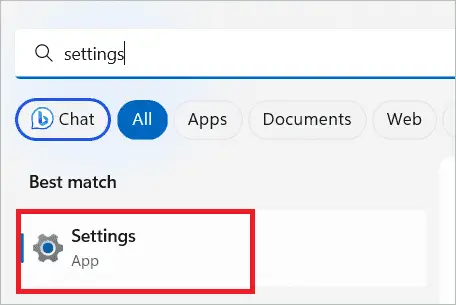
Type “settings” in the search box and open the Settings app.
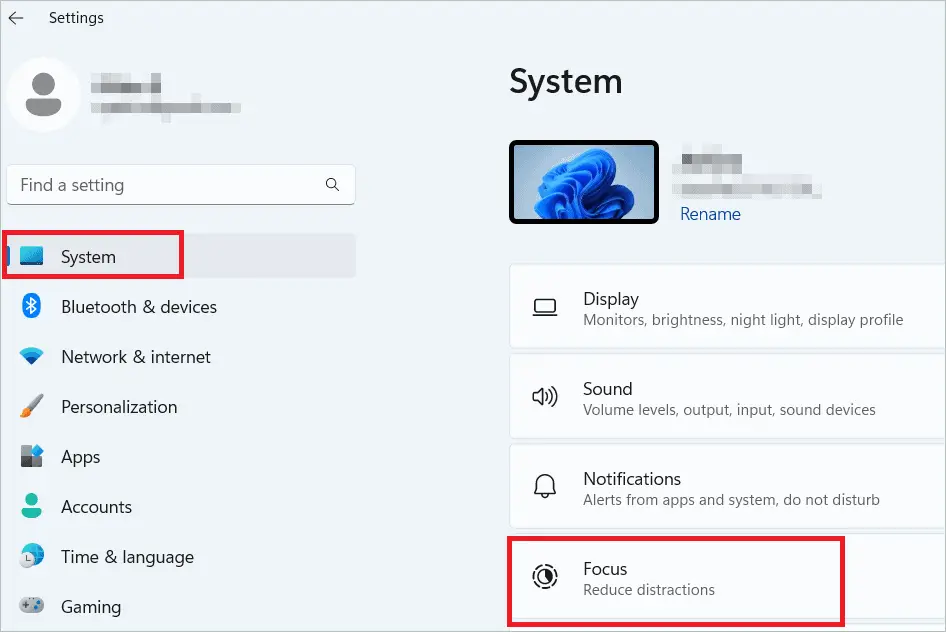
Select “System” in the left menu and “Focus” in the right.
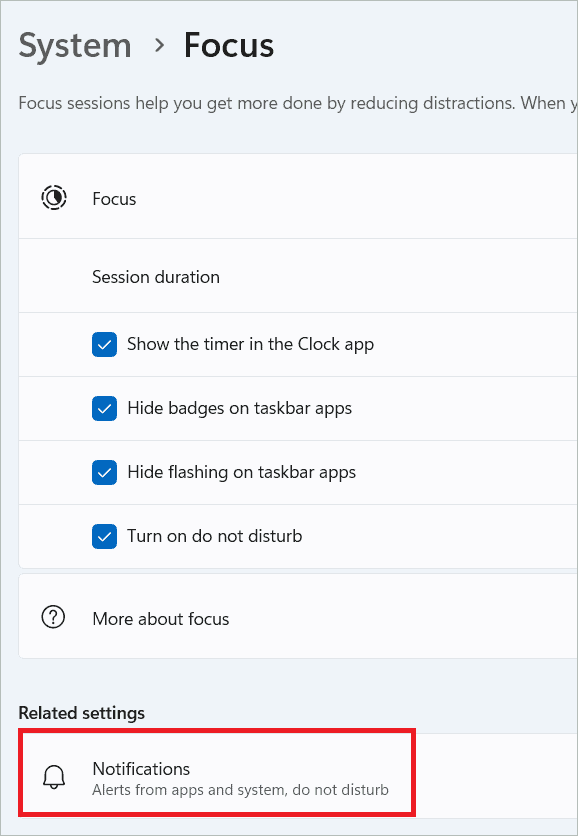
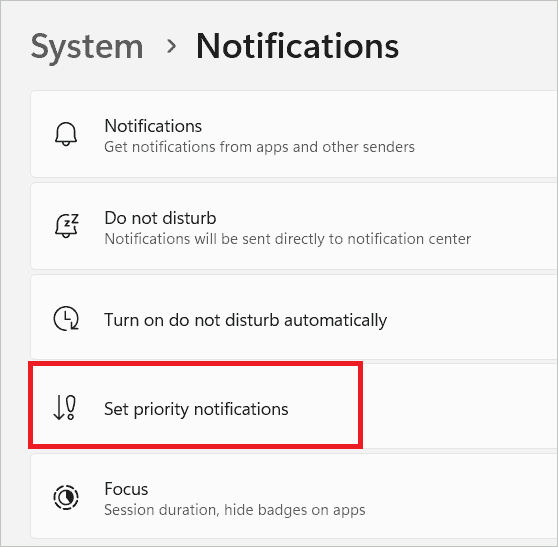
Select “Notifications” under Related settings.
Select “Set priority notifications.”
Click the Add apps button beside Apps, and add the Snipping Tool.
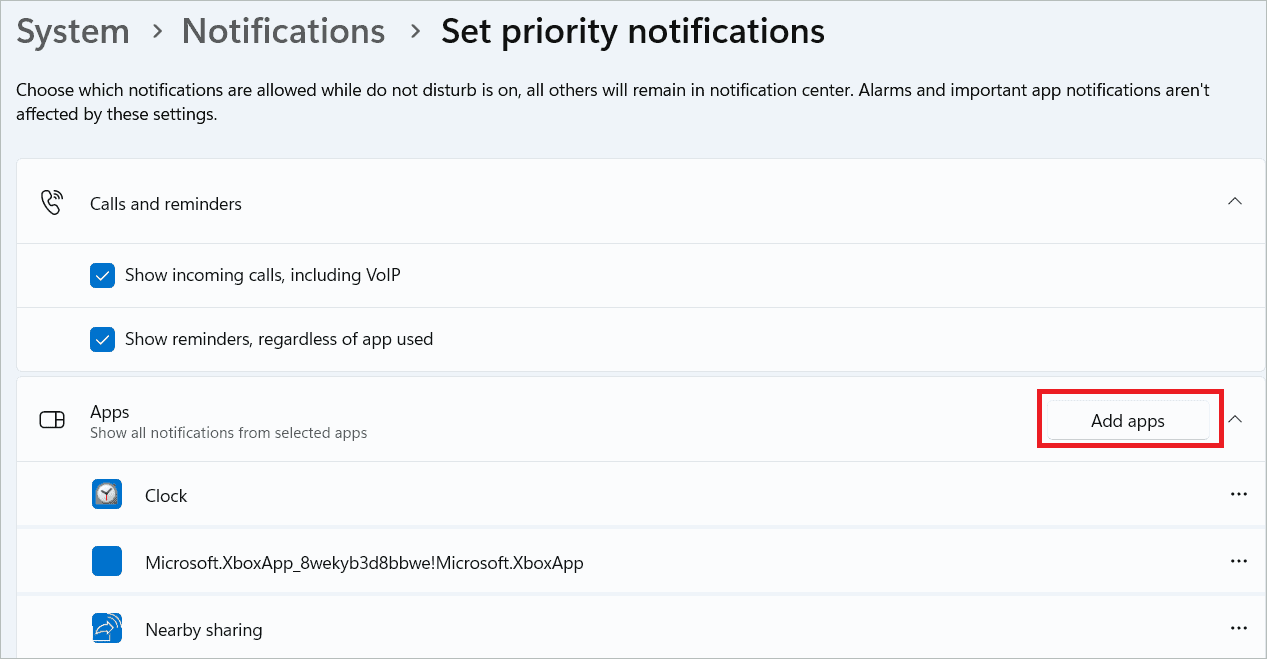
Now, check whether the tool is working.
4. Disable Automatic Time Temporarily
The Windows Snipping Tool may not work properly if there is an issue related to the date and time of the application’s digital certificates. You can change the setting from automatic to manual to find a solution. Once the issue is resolved, remember to make it automatic again.
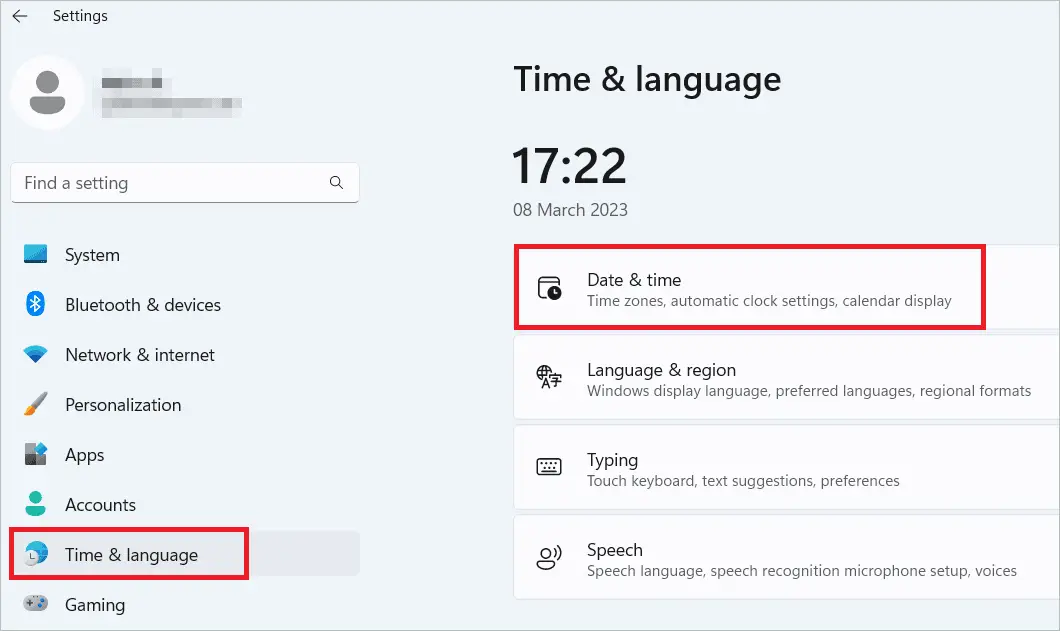
Open Settings and go to Time & language > Date & time.
Turn off the Set time automatically toggle button. Then, click the Change button near Set the date and time manually.
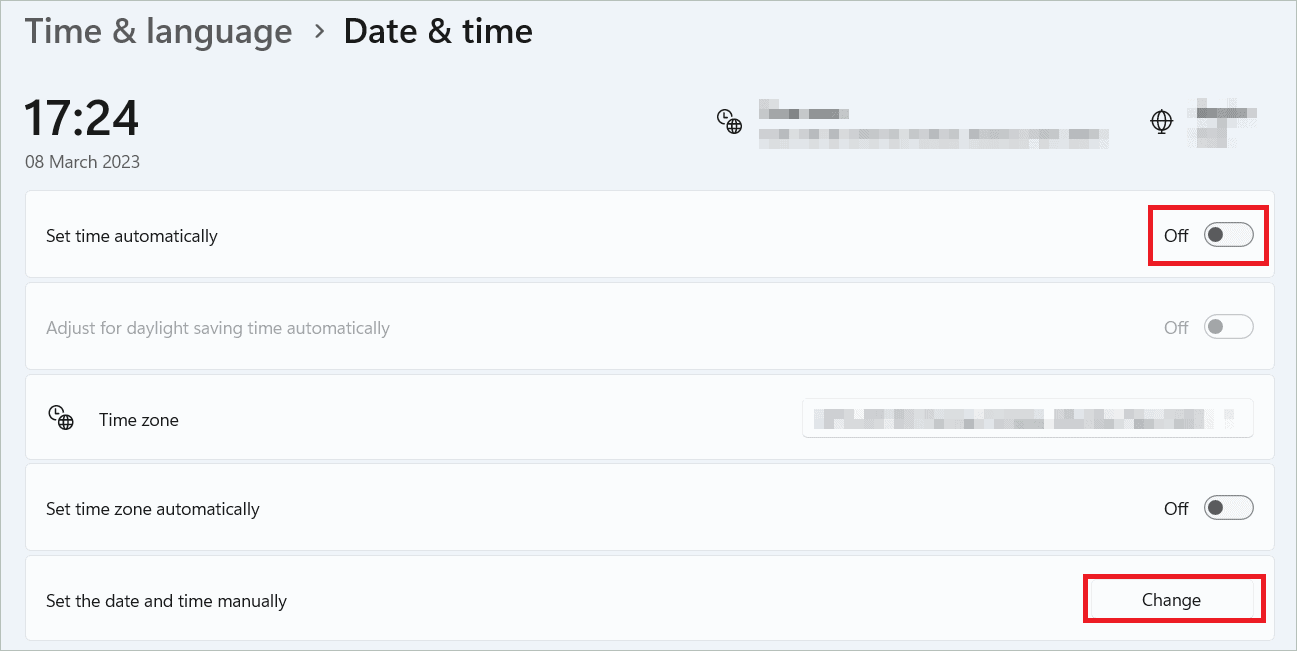
Change the date to October 30, 2021, and click Change.
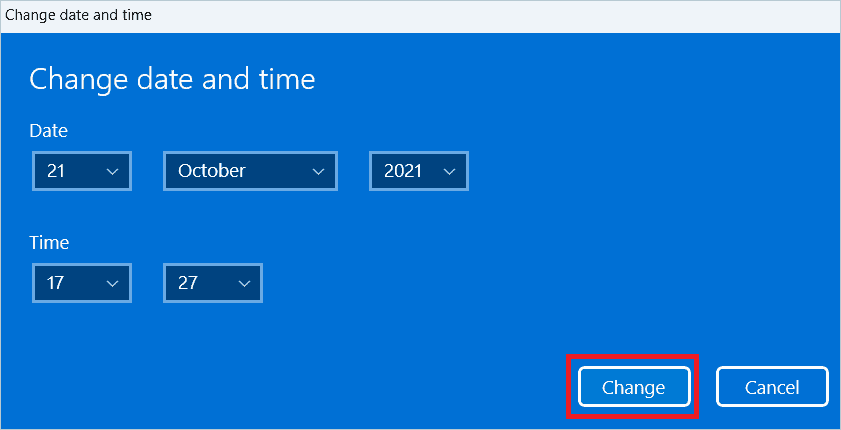
Check your Snipping Tool now. If it is working fine, toggle the button On.
5. Windows Update
A bug in your Windows 11 system sometimes easily gets fixed by a Windows update. If you doubt that the Snipping Tool not working in Windows 11 could be due to an outdated OS, run the updates for Windows. You may also update the tool by visiting the Microsoft Store.
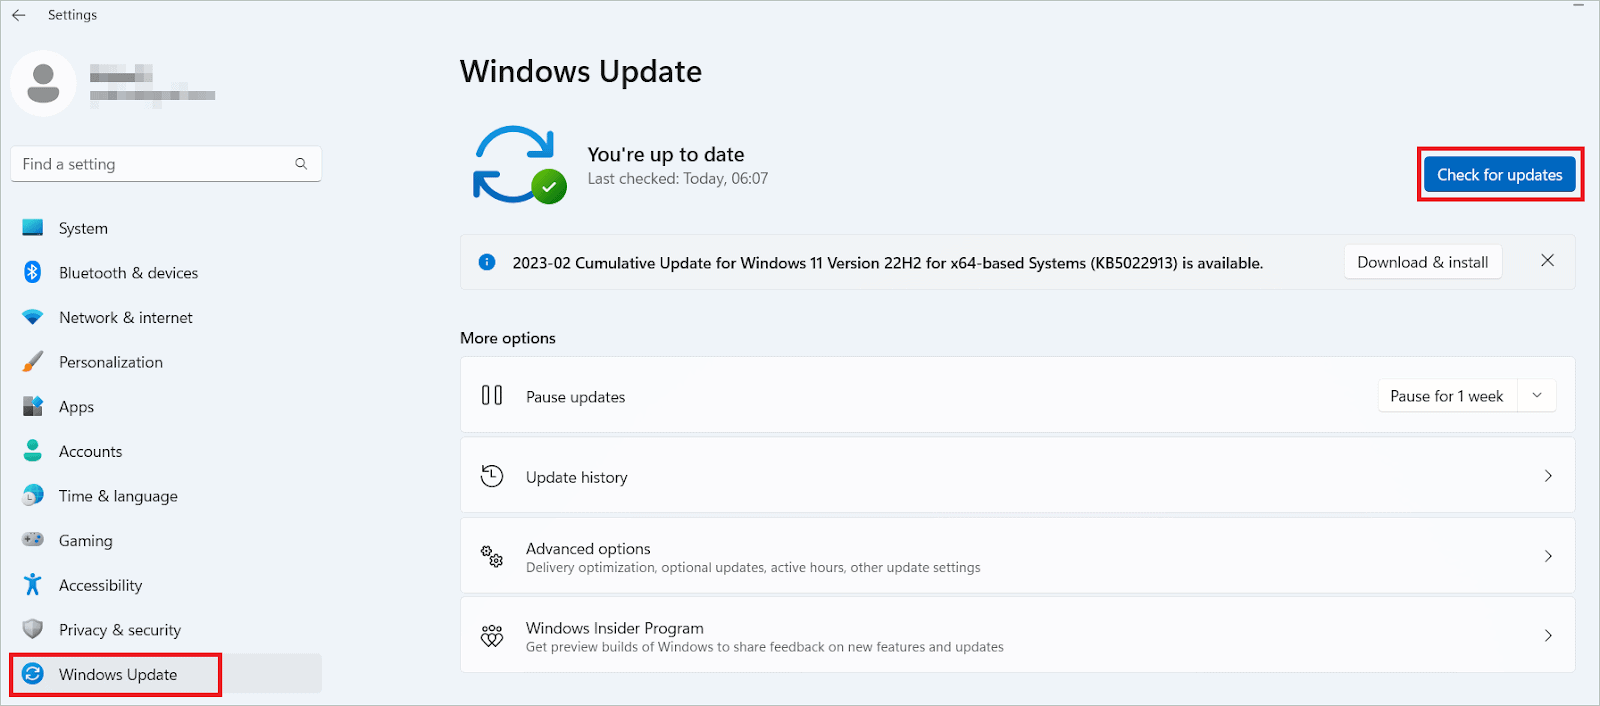
Open Settings and select “Windows Update” in the left pane. On the right, click the Check for updates button. If there are pending updates, download and install them. Then, restart your PC.
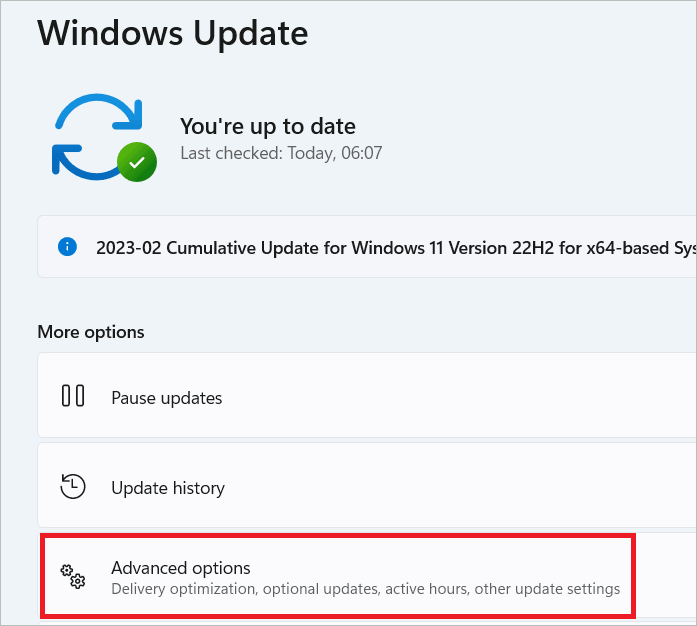
Now, select “Advanced options” under More options.
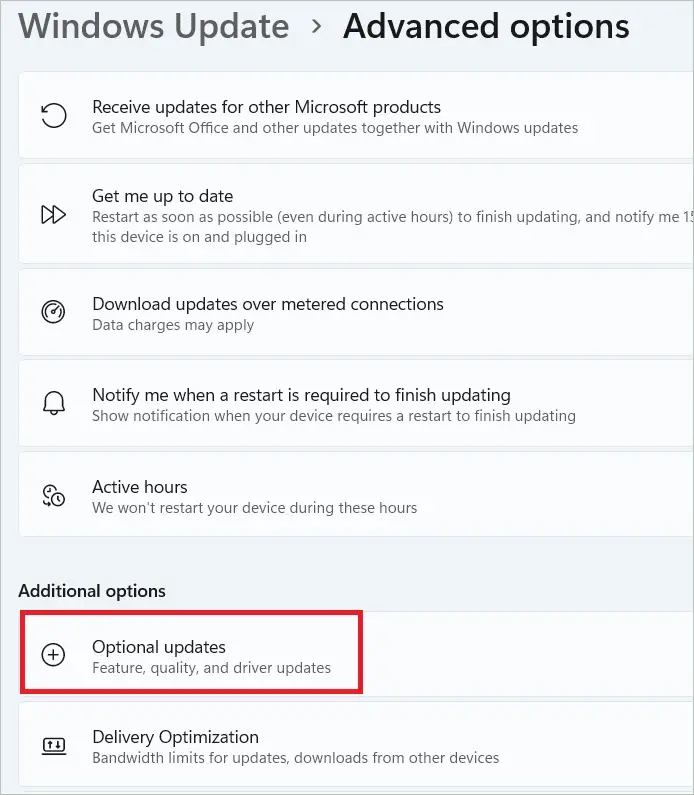
Select “Optional updates” under Additional options. If there are any pending updates here, download and install them. Finally, restart your device.
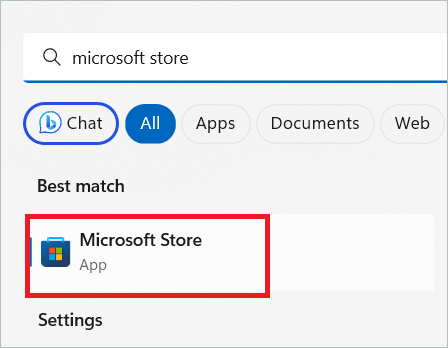
Search for Microsoft Store and open it.
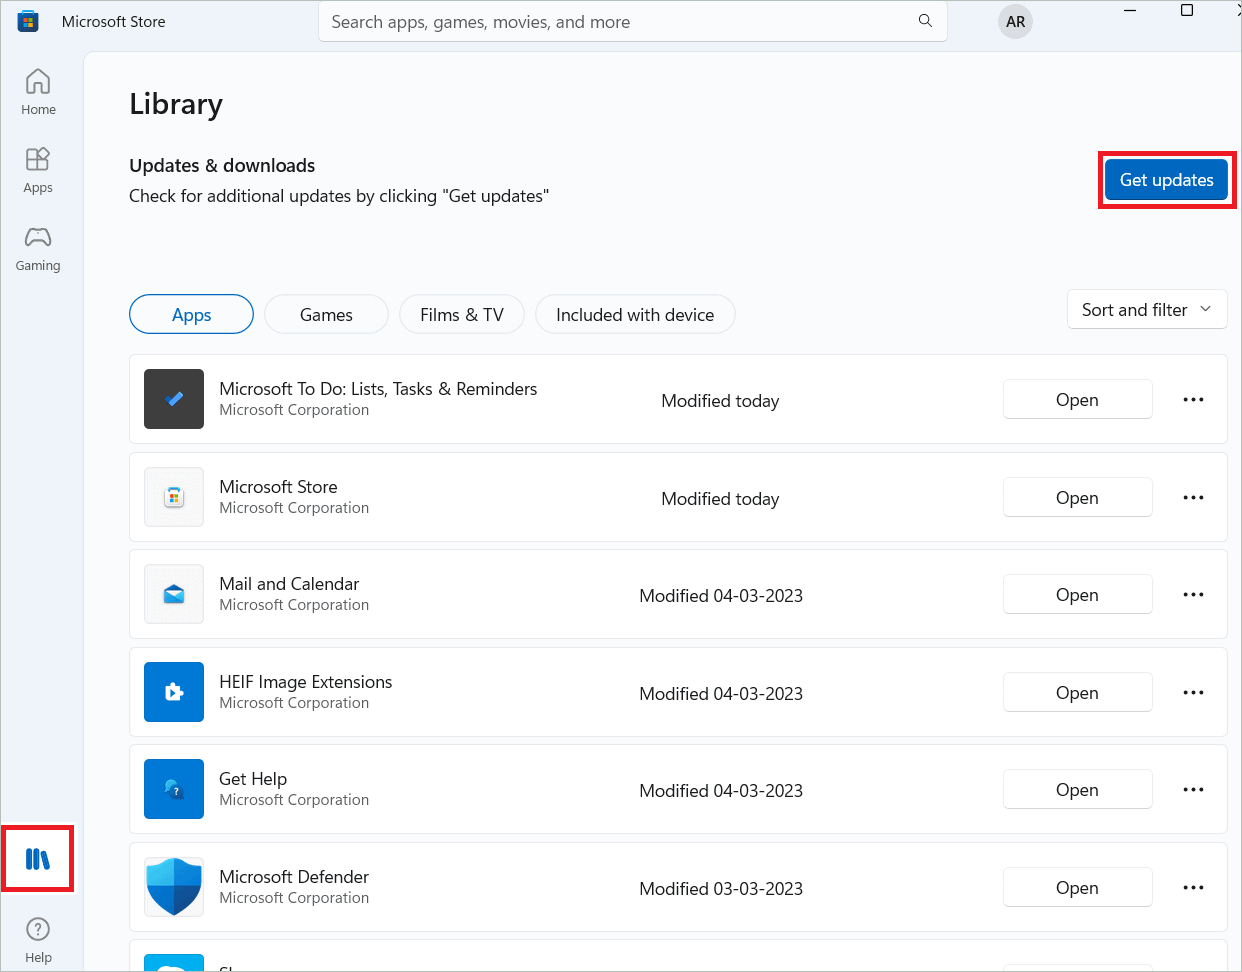
Select the Library tab and click the Get updates button. Install the updates, if any.
Search for the Snipping Tool in the search bar and install any available updates.
6. Open Through The Start Menu
The keyboard shortcut is the easiest way to open the Snipping Tool. But if it fails to open or work properly, you could open it through the Start Menu. Here are the steps in order.
Type “snipping tool” in the search box and open the Snipping Tool.

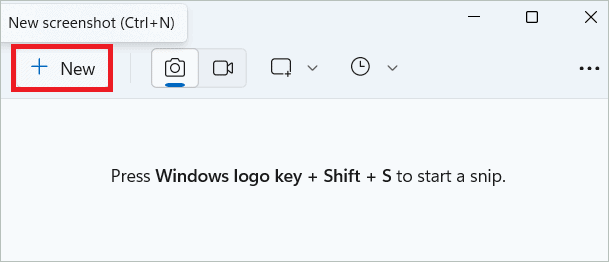
Click the New button to check the tool’s working.
If you are facing issues, close it and open it again as an administrator. Then, change the clipping mode to Full-screen mode in the drop-down box and check again.

7. Disable Automatically Copy Changes
Snipping Tool has a feature that automatically copies changes to the clipboard. If it does not work for some reason, it affects the tool also. You may try disabling the feature to find a solution to the Snipping Tool not working in Windows 11.
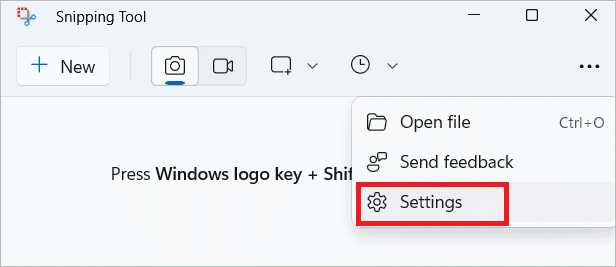
Open the Snipping Tool by searching in the search bar. Next, click the three dots on the top-right corner, and select “Settings.”
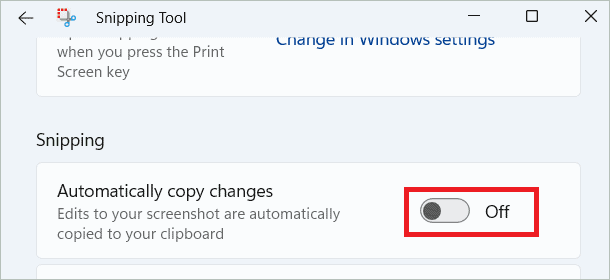
Toggle off “Automatically copy changes” under Snipping.
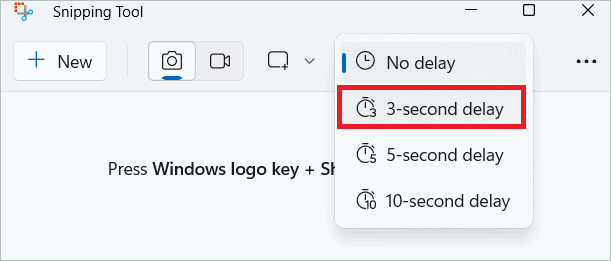
If the tool still doesn’t work on reopening, select “3-second delay” in the Delay snip drop-down menu, and try again.
8. Update The Graphics Driver
The graphics driver of your PC is fundamental to the proper working of the Snipping Tool. So, if you have an outdated driver, chances are that the snipping process doesn’t work as intended. So, updating the graphics driver of the system to the latest version is a good try.
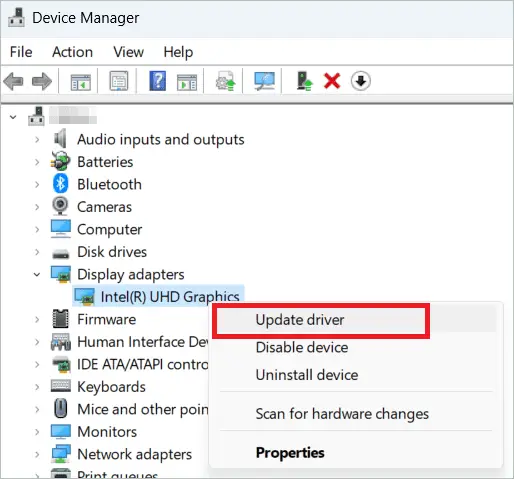
Right-click on the Start Menu and select Device Manager.

Double-click on Display adapters to expand it, right-click on the graphics card, and select “Update driver.”
In the next window, select “Automatically search for drivers.”
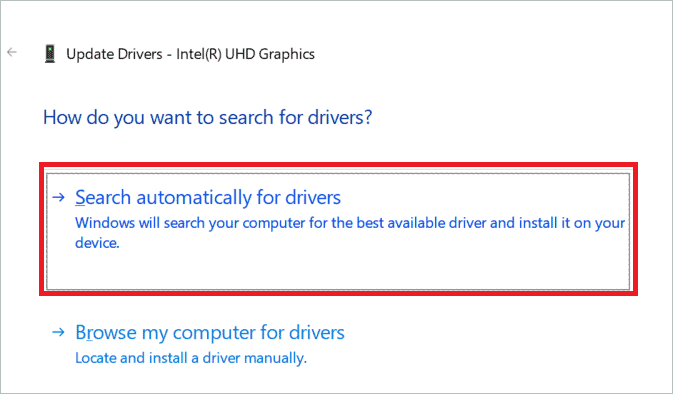
Install the graphics driver update if available and restart your computer. You may also go to the manufacturer’s website and get the latest driver to install. Finally, check if the Snipping Tool is working well after the driver update.
9. Run SFC And DISM Scan
When the Windows system files are corrupted or not found, the issue will interrupt the working of the Snipping Tool. To fix the Snipping Tool not working in Windows 11, you may run an SFC scan and a DISM scan, short for System File Checker and a Deployment Image Servicing Management, respectively.
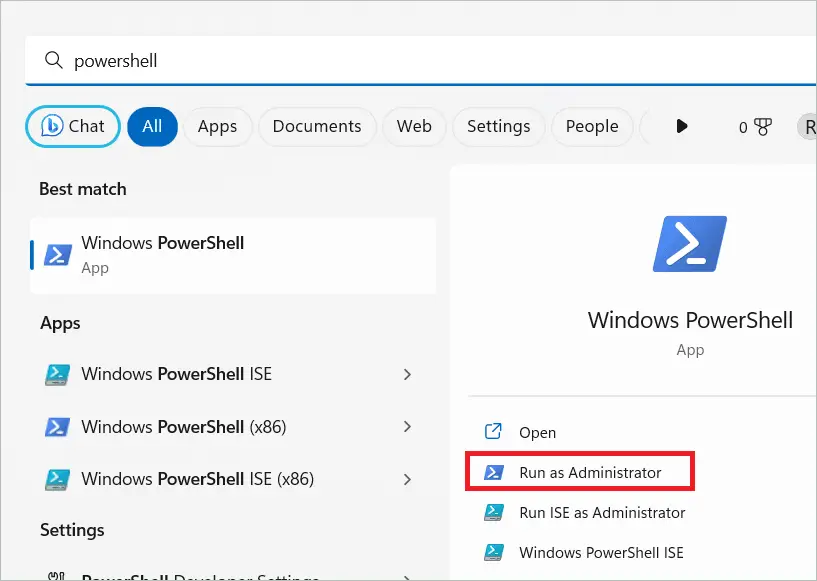
Type “PowerShell” in the search bar and open Windows PowerShell by selecting “Run as administrator.”
Type the following sfc /scannow command in the PowerShell window and hit Enter to execute it.
sfc /scannow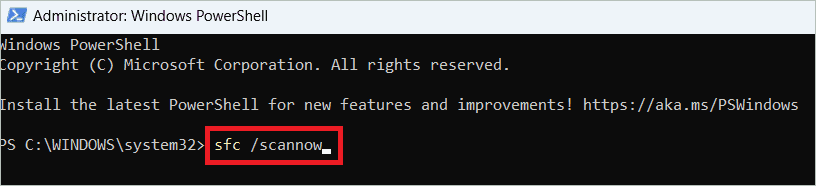
To do a DISM scan, type the following command and press Enter.
DISM /Online /Cleanup-Image /RestoreHealth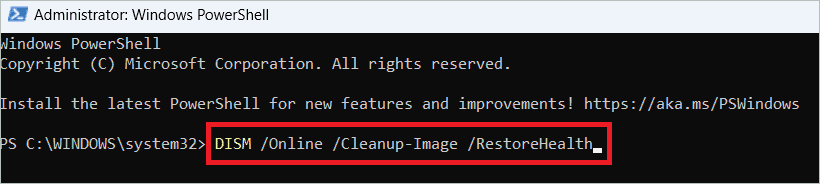
Wait for the commands to run, and then close the window. Now, check the status of the Snipping Tool.
10. Enable Background App Permissions
If the Snipping Tool doesn’t have the necessary app permissions for the pictures as a background app, it will not work when you try to take pictures. You may provide permission manually to make the tool work in all scenarios.
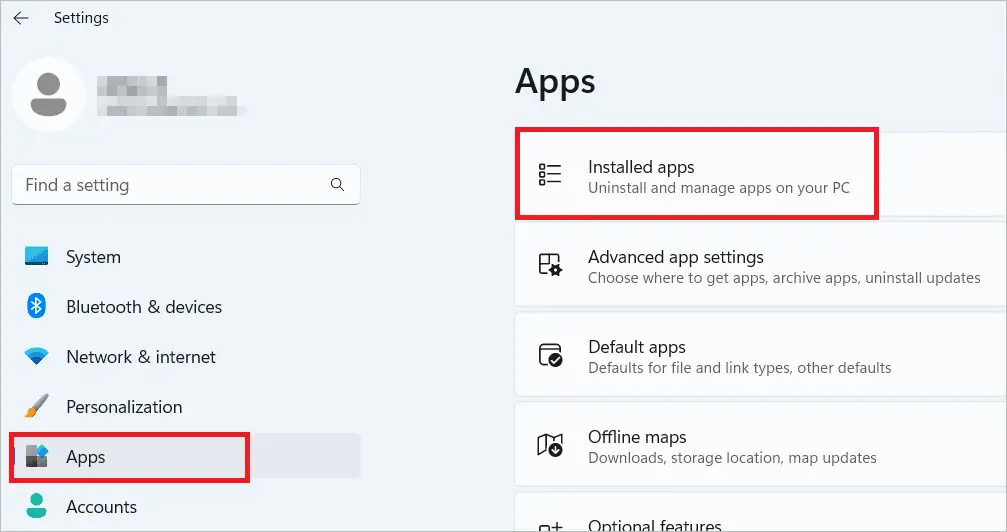
Open Settings and navigate to Apps > Installed apps.
Locate the Snipping Tool, right-click on the three dots near it, and select “Advanced options.”
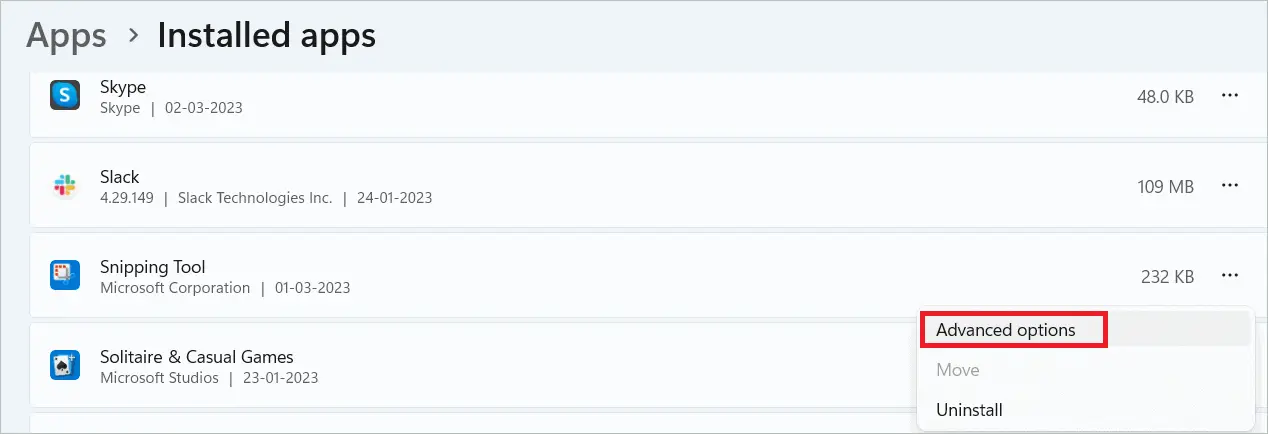
Under the Background apps permissions, select the option for Let this app run in background as “Power optimized” or “Always.”

This gives necessary access permissions to take pictures.
11. Use Registry Editor To Fix Snipping Tool Not Working In Windows 11
The Registry Editor can be used to make changes to the Registry keys. If, for some reason, you face the Snipping Tool not working in Windows 11, you can enable it through the Registry Editor. Follow the steps to get it done.
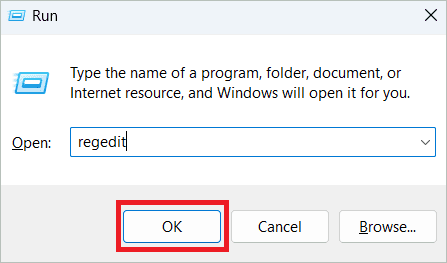
Press the Windows key + R to open Run. Type “regedit” and click “OK.”
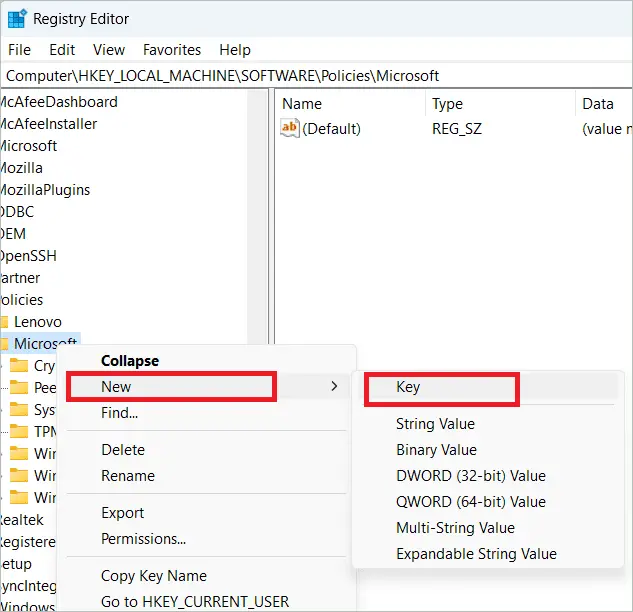
Copy the following path in the address bar of the Registry Editor and press Enter.
ComputerHKEY_LOCAL_MACHINESOFTWAREPoliciesMicrosoftRight-click on Microsoft and select New > Key and give it the name TabletPC.
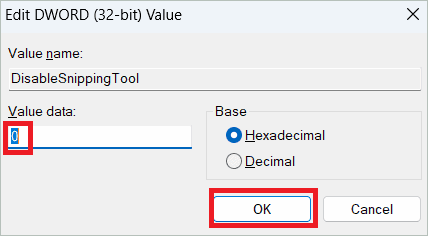
Right-click on TabletPC and select New > DWORD (32-bit) Value. Assign it the name DisableSnippingTool.
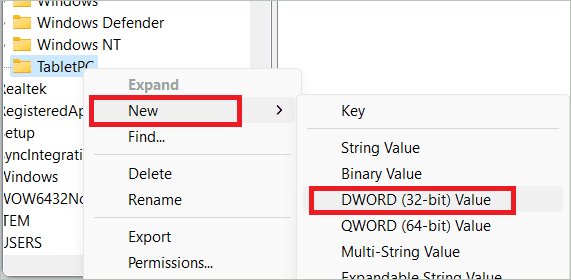
Double-click on DisableSnippingTool, give Value data as 0, and click “OK.”
12. Set Print Screen Key Shortcut
If you face issues opening the Snipping Tool, you can set the Print Screen key as the shortcut key to open it. This can be easily done from the Snipping Tool Settings.
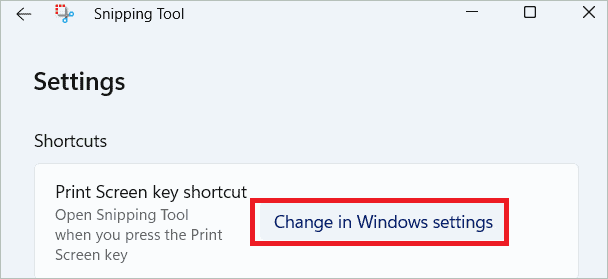
Launch Snipping Tool, click the three-dotted menu, and select “Settings.”

Click “Change in Windows settings” under Shortcuts.
Toggle on the “Use the Print screen button to open screen snipping” option.
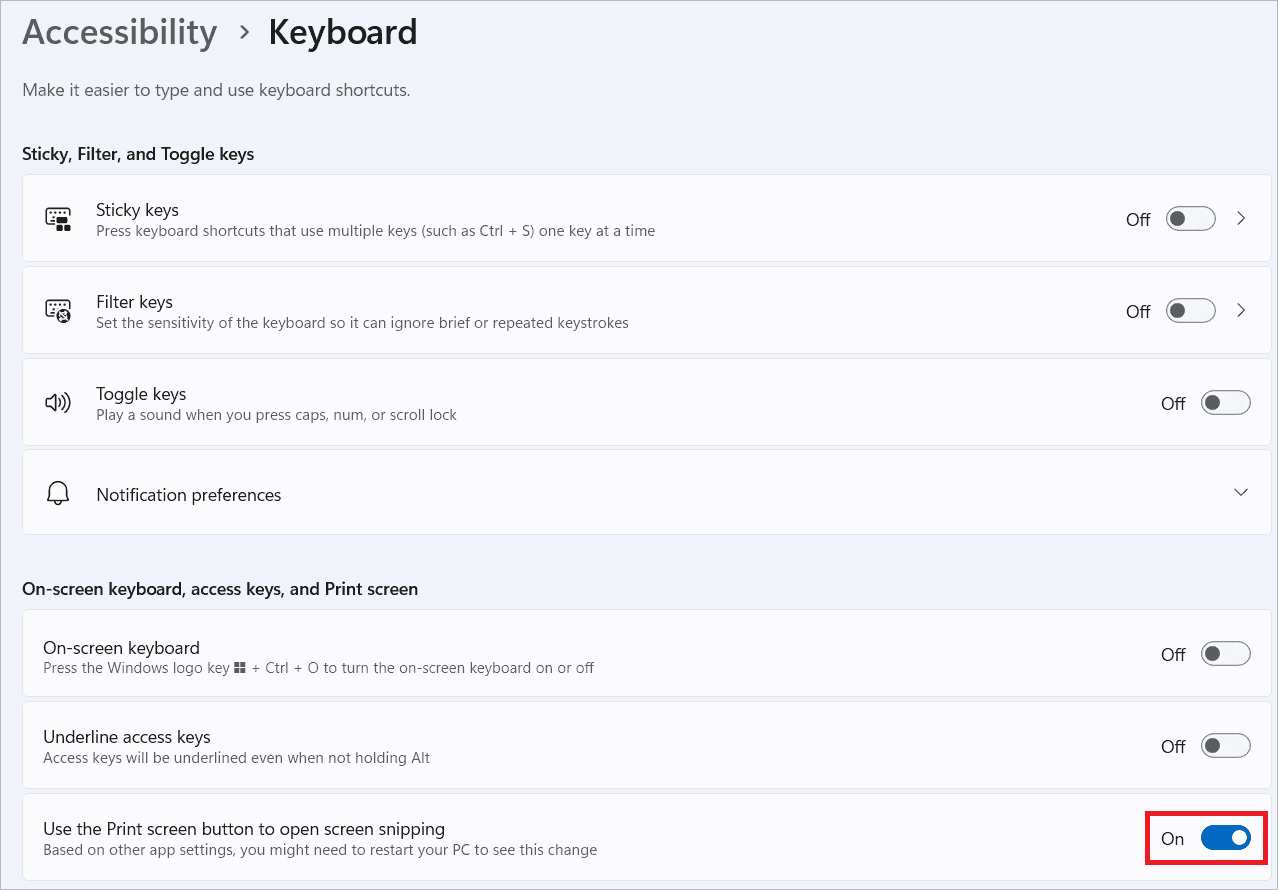
You can now use the PrtSc key to open the Snipping Tool.
13. Use Group Policy Editor
Group Policy Editor helps change administrator-level settings. The reason for the Snipping Tool not working in Windows 11 could be some policy setting that has disabled the tool. Let us see how to reverse it.
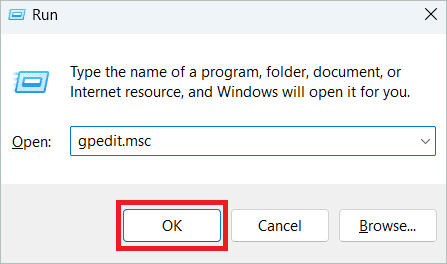
Open the Run dialog box, type “gpedit.msc” and click “OK.”
In the left pane, scroll down and select TabletPC > Accessories.
Double-click on the “Do not allow Snipping Tool to run” option in the right pane.
Select the Disabled radio button, and click “OK.” Now, you can take screenshots on your Windows 11 machine.
14. Set As Main Display
This method works for users who have connected an external monitor to their PC. The second monitor set as the main display may break the Snipping Tools operation. So, set the computer’s display as the main display to resolve the issue.
Open Settings and select System > Display.
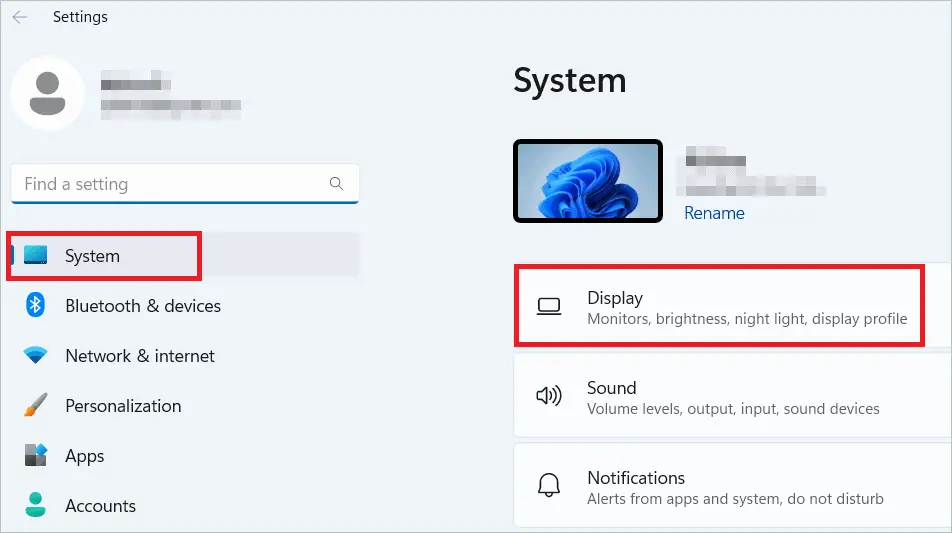
Select your PC’s display and check the Make this my main display checkbox. If the Snipping Tool still doesn’t work, increase the scaling of the main display to make it higher than the other display’s scaling.
15. Reinstall Snipping Tool
At times, an upgrade to Windows 11 or a clean OS install might lead to some issue that results in the Snipping Tool not working in Windows 11. Also, improper installation can cause the program to stop working. Reinstalling the tool will solve the problem in such cases.
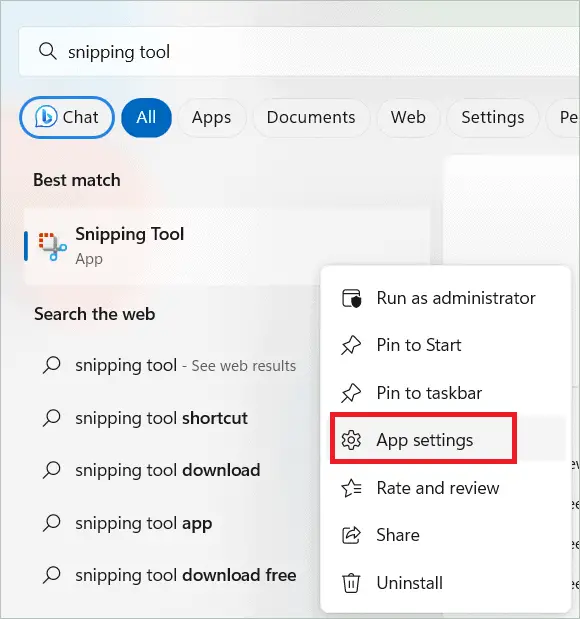
Type “snipping tool” in the search bar. When the tool appears, right-click and select “App settings.”
Scroll down and click the Uninstall button. Confirm your action and restart the PC.
Like in a previous method, go to the Microsoft Store and search for the Snipping Tool to get it replaced with a new version. Then, click the Get button to get the Snipping Tool and install it.
16. Use The Traditional Snipping Tool
If the Windows 11 Snipping Tool is not working well for you, you can use the older version of the Snipping Tool. For this, the Windows.old directory must be present in your system. If not, you can get it from a Windows 10 device.
Find below the steps to use the classic Snipping Tool.
Open the File Explorer and go to the following path.
C:/Windows.old/Windows/System32/Run the SnippingTool.exe and see if it works well. You can create its shortcut on the desktop for ease of access.
17. Cloud Reset
You can do a cloud reset of your Windows 11 system just like you perform a clean install. The difference is that here, you will download from the cloud. This will solve your Snipping Tool not working in Windows 11.
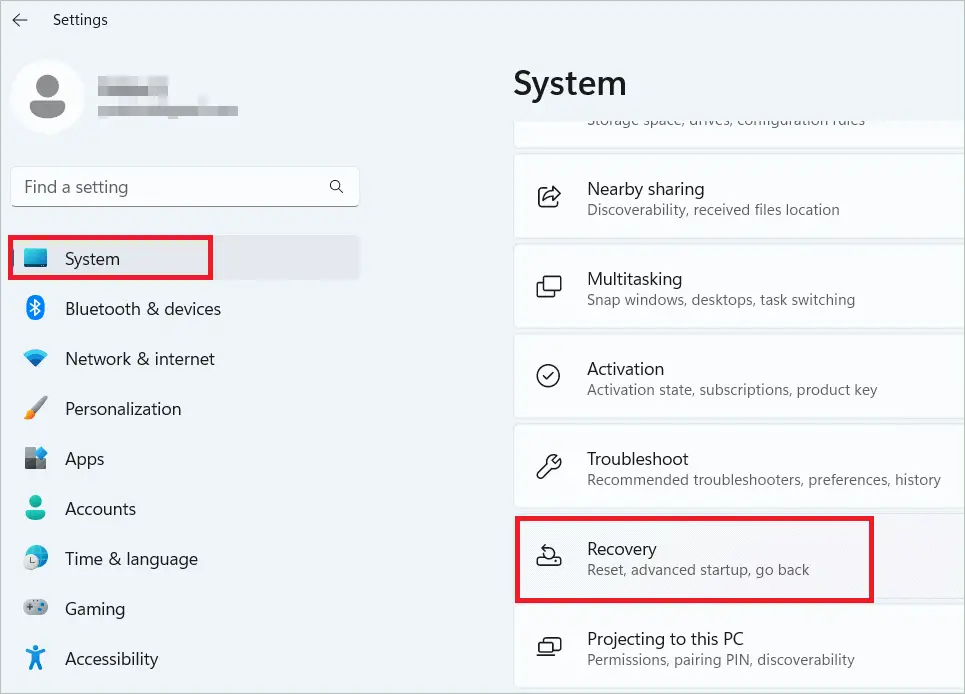
Open Settings and go to System > Recovery.
Click the Reset PC button near Reset this PC under Recovery options.
Choose the Remove everything option to delete all the files. Next, select “Cloud download” when asked how to reinstall Windows. After the reset, the latest Windows version will be installed from the cloud.
Final Thoughts
The Snipping Tool on Windows 11 is undoubtedly the go-to app for taking screenshots easily. When you install Windows 11, the tool comes in-built. But if the Snipping Tool not working in Windows 11 persists, it is better to try different solutions to fix the problem as soon as possible.
The article will have the correct solution if you cannot find the Snipping Tool in Windows 11 or it does not work properly. Once you make some changes to the Windows 11 operating system, you may restart your machine and check if the Snipping Tool not working issue has been resolved.


