I’ve certainly had issues in the past where resizing an application window becomes a whole separate, and unnecessary, process. You have to make sure your mouse pointer is exactly on the corner of the window and then click and drag to resize.
Win-X Move makes resizing and moving windows extremely quick. Hold down the Alt key and simply drag around the screen to resize or move. It’s bundled has a portable application making mobility possible for use on different computers. You’ll find it much easier once it’s enabled.
Using Win-X Move
Because Win-X Move is a portable program, run the “winxmove” executable from the extracted folder, where it will launch and enable itself automatically. An application window isn’t used for managing settings like most other programs.
Win-X Move works just by using the mouse and the left Alt key on the keyboard. Nothing works until the Alt key is pressed and held down. Hold down the Alt key and click+drag with the left mouse button to move any window around the screen. To resize, hold the same Alt key and click+drag with the right mouse button.
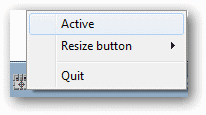
Right-click the icon from the taskbar to see some options on changing the default settings.

Select “Active” to disable the default checkmark, disabling Win-X Move. Click it again to re-enable. Alternatively, double-click just the icon to toggle between on and off. When on, the colors are present, while black and white indicates an inactive status.

Under the “Resize button” menu are two options.

In the default configuration, “Right mouse button” is chosen to resize a window. Select “Middle mouse button” to use it with the Alt key instead.
Note that windows that don’t normally allow resizing still will not resize with Win-X Move.
Launch Win-X Move on system startup
Because there aren’t many settings, with launch on startup being one of them, we’ll place a shortcut to Win-X Move in the startup folder.
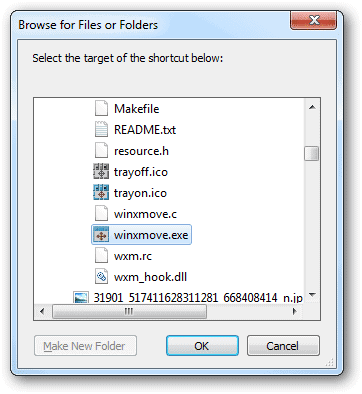
To start it up for every user who uses the computer, navigate to “%ProgramData%\Microsoft\Windows\Start Menu\Programs\Startup” in Windows 7. For the currently logged in user only, open “%UserProfile%\AppData\Roaming\Microsoft\Windows\Start Menu\Programs\Startup.” Right-click an empty area, choose “New > Shortcut” and browse for the “winxmove.exe” file in the unzipped install folder.

Choose “OK” and then “Next.”

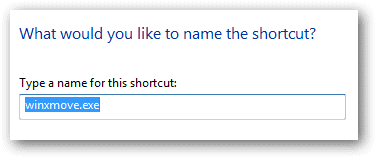
Make a name for the shortcut and choose “Finish” to complete.

Win-X Move will now launch for all users when they first login.
Pros:
- Very small and portable
- Easy to configure and use
Cons:
- There aren’t many customizable options
- No built-in setting for launching at startup
Win-X Move is a handy little program for anyone. Similar to a tool like Moo0 Window Menu Plus, it’s great for installing and running in the background, forgetting about it until it’s use is desired.


