When you are working on projects on planning strategies, having a timeline of events is a necessary entity that you cannot omit. A timeline is a simple structure, a roadmap of events that a user tends to execute in a certain order. Knowing how to create a timeline in Google Slides is one of the first steps towards making a robust plan or strategy.
Users can choose either a Google Slides or Microsoft Powerpoint presentation to create a timeline. However, going with the former is a better choice, given that you can easily share it with other collaborators and access it from any place at any time. If you have already created a timeline for your project, you can check out these Microsoft Project alternatives for real-time management.
How To Create A Timeline In Google Slides
You can also create a timeline in Google spreadsheet or Google Docs. There are two ways to use Slides or Google Docs to create a detailed timeline of tasks or events. You can check out the methods below to add Google slides timeline.
How To Create A Timeline In Google Slides
1. Open Google Slides.
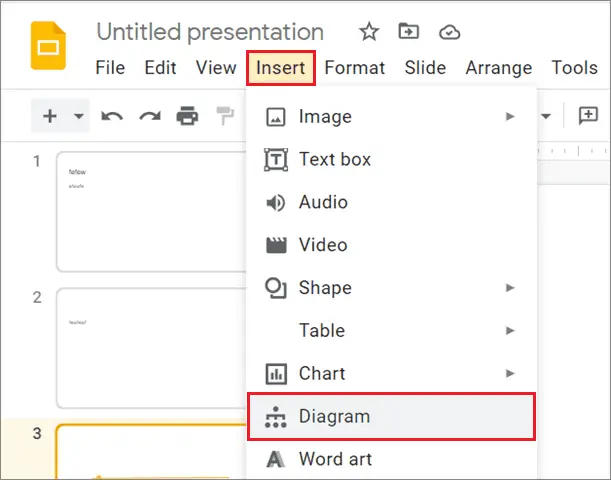
2. Click on Insert and select Diagram.
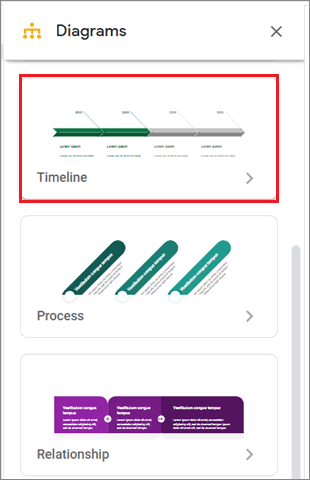
3. Choose the timeline template from the right sidebar.
Note: When you follow these simple steps, you can create a Powerpoint template or a Google Slides template for a timeline according to your needs and requirements.
How To Create A Timeline Using A Template
Creating a project timeline template is one of the easiest tasks in Slides, irrespective of whether you are a beginner or expert at using the tool. The tool offers an array of beautiful and creative timelines for users.
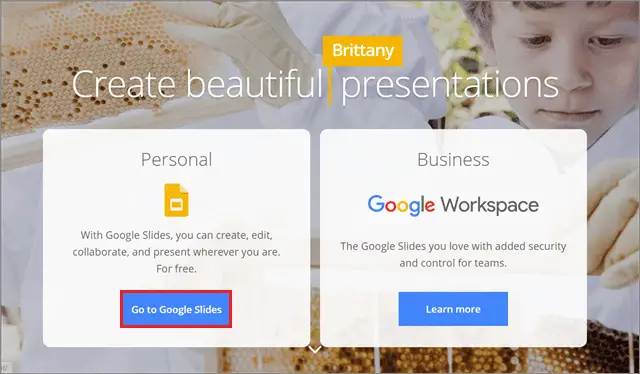
Open Google Slides on your Google Chrome browser window. Click on Go to Slides once the page opens up.
Next, click on the Insert tab and choose Diagram from the drop-down list of options.
Doing this will open a sidebar on the right side. Choose the custom timeline diagram from the list of timeline styles.
In the next step, choose the number of dates for which you need the timeline. Next, select the color schemes to represent key milestones on the timeline in your presentation file. Then, choose the final template.
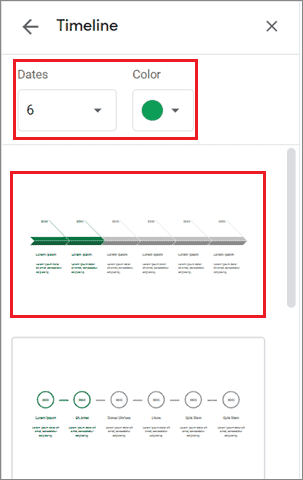
Once the visual representation is uploaded, you can enter the required text and complete the timeline slide template to create an appealing timeline presentation.
This is the basic answer to how to create a timeline template in Google Slides. You can create a simple visual timeline chart within minutes by using this technique.
How To Create A Template Manually
If the free Google Slides timeline template isn’t something you like, you can choose to create any type of timeline that suits your preferences. You can create a horizontal or vertical timeline; the Slides or Powerpoint timeline layout is a matter of your choice.
Create The Outline
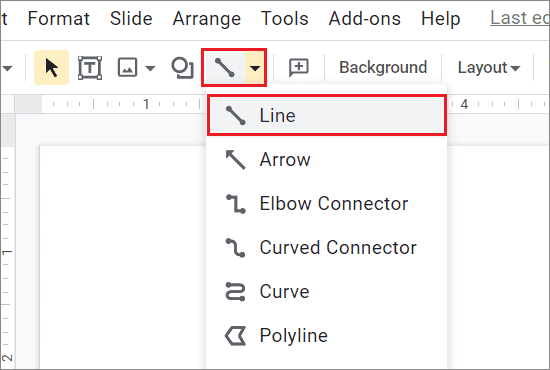
To begin with, make sure you have a blank slide on your screen. Then, delete the Title and Subtitle boxes from the slide. Next, click on the Line button and choose the first Line option from the drop-down button.
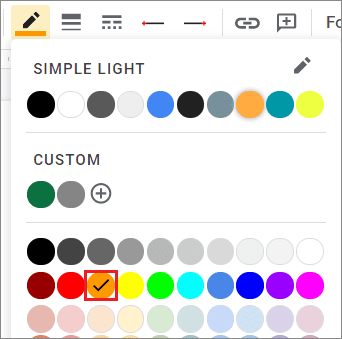
If you wish to use a custom gradient color, click on the Line color tool and select a color of your choice from the color menu.
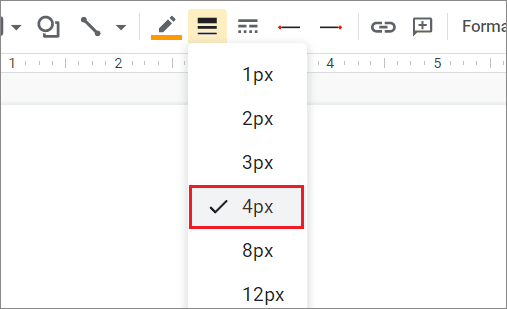
Then, click on the Line Weightage option to increase the line’s thickness. Select the number of pixels by which you want to increase the border weight. Make sure the line is selected before you exercise this option.
Create Circles On The Timeline
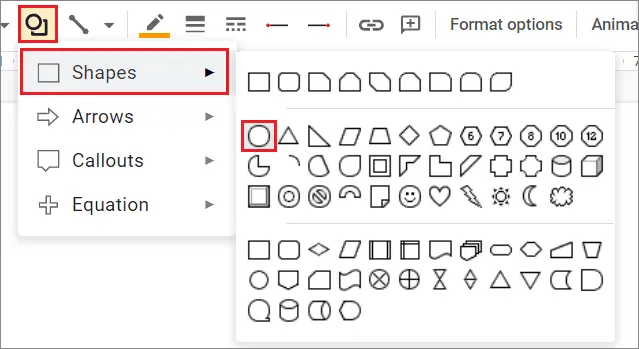
You can use small circles to represent a particular stage on the timeline. To begin with, click on the square and circle icon and select Shapes from the drop-down menu. Then, choose a circle from the available shapes.
To enhance it further, you can use the Fill Color palette to change the circle’s color to your choice. Next, use the same shape colors for the circle’s border by using the Border color option on the same toolbar.
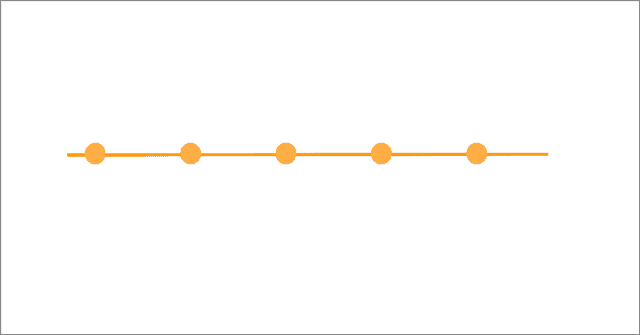
Once you are done with these steps, copy and paste the circle according to the number of stages you want to have on your beautiful timeline. By doing this, you will complete the first base of the timeline creation process.
Create Square Callouts
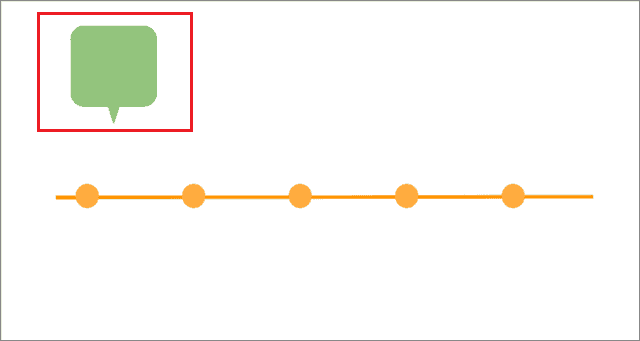
The next step in how to create a timeline in Google Slides is to make callouts to describe each stage of the timeline. Callouts are diagrams that will hold the text description of each stage.
There are two simple ways to create callouts – you can either do it manually or use the built-in options in Google Slides.
Use The Built-in Option To Create Callouts
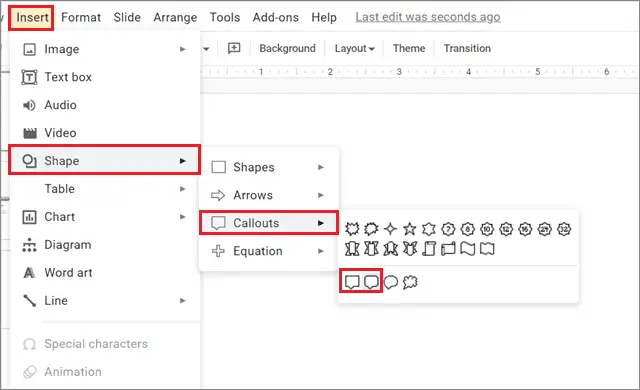
Click on the Insert menu, choose Shapes, and select Callouts from the nested menu. Then, choose any callout from the list of options available. For better professionalism, we recommend going for either one of the two square callouts.
Create A Callout Manually
Click on the square and circle icon and choose Shapes from the list of options. Next, select a square with rounded edges and an inverted triangle.
Make sure you place the triangle half-submerged in the square.
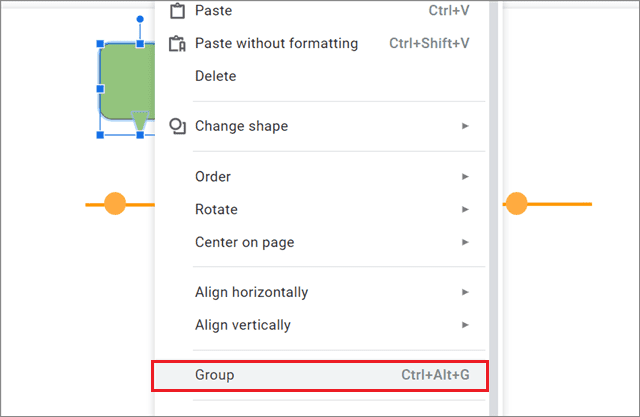
Once you have created both shapes and placed them appropriately, select both and right-click on them. Then, select Group from the context menu.
Now, you can move the two elements together. Make sure the color of the shapes and their respective borders are similar. You can do that using the Fill Color and Border Color options, as we saw while creating the circle.

Now, you can create copies of this callout and place them appropriately across the timeline.
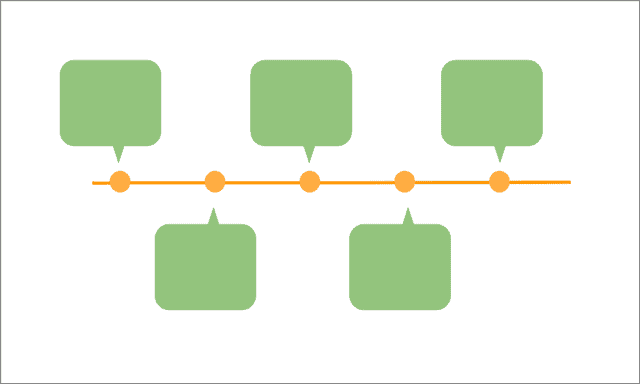
Since we are working with a big shape, it won’t be possible to fit all copies in the same line. So, you can invert some shapes and place them below the timeline, as shown below.
Also, you need to invert the callouts that are to be placed below the line so that they can point towards the circle. Select the callout and click on Arrange on the menu bar. Next, choose Rotate from the menu and select Flip vertically.

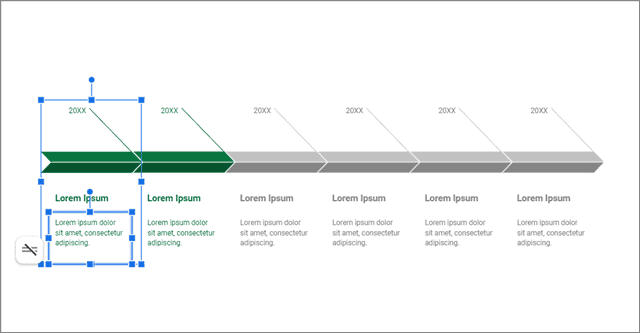
This is how the timeline will look once all the elements are in order.
Create A Text Box
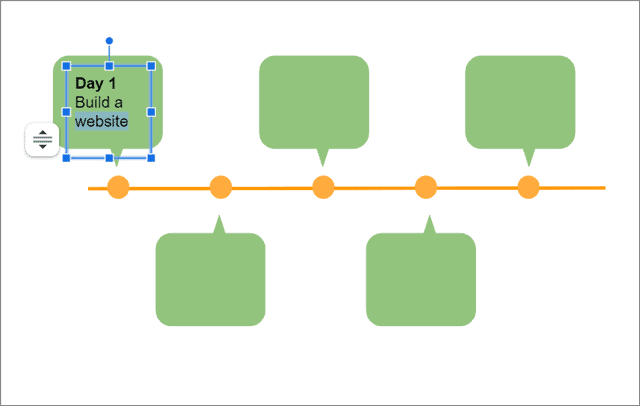
This is the final step in how to create a timeline in Google Slides. Click on the Text icon and draw the text dialog box inside the callout on the individual slide.
Once you draw the text box, you can enter the details accordingly. In addition, you can use a wide variety of features like Bold, Italic, or Underline to distinguish the type of text you are entering in the box.
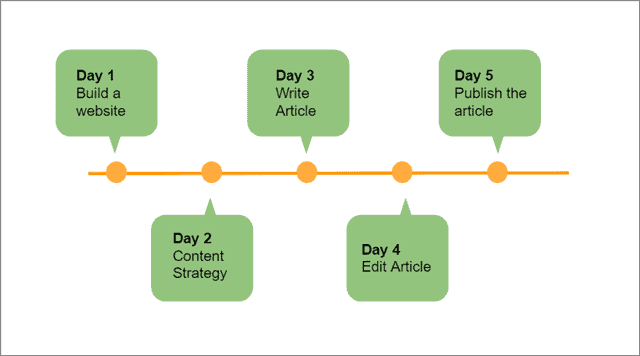
You can create a text box in all the callouts and enter the text. This is how the final timeline will look once you have entered all the details.
That’s pretty much everything about adding a free timeline template in Google Slides. You can use other design features and additional options to make it look better as per your preferences.
How To Use Google Drawing To Create A Timeline For Google Slides
Google Drawing is a brilliant alternative timeline maker tool to Google Slides, albeit Google Workspace doesn’t directly integrate both.
For instance, you can use the Google Drawing tool to create a timeline in Google Docs. All you need to do is create the timeline in a Google Doc and insert it.
But for Google Slides, you need to create a timeline in Google Drawing, group all the elements correctly, and then copy it to your Google Slides presentation template. This is an excellent alternative to use for timeline creation if you cannot access your Google Slides account for any reason.
If you want to have better flexibility than Google Drawing, you can go for a tool like Lucidchart Diagram or create a SmartArt graphic to make a creative timeline. If you are not a fan of a graphic timeline, you can make a simple timeline record on a Google sheet. That’s all about how to create a timeline in Google Slides.
Can You Create A Google Slides Timeline On Mobile?
We tried creating a timeline in the Google Slides mobile app. And the two inferences we drew from our experience –
1. There is no way to use a timeline template in the Google Slides app. You can only create one using different shapes.
2. Since the size of the slide on mobile is very small, it’s a tedious task to create shapes and then create text boxes inside them. In addition, the user interface isn’t large enough to create an excellent graphical representation of a timeline.
We recommend using a PC over a phone for creating a timeline to have better clarity at the job. You can use the Google Slides app to make minor changes in your timeline on the go.
Conclusion
Users can choose Google Slides to create a good-looking timeline and share it with their team members. You can opt for a readymade Slides template or create a timeline yourself using various lines and shapes. Knowing how to create a timeline in Google Slides can help you whip up a timeline in no time.
Microsoft Powerpoint also allows users to create a timeline of events similar to how we do it in Slides. However, Google Slides is the best option amongst the two as it allows users to collaborate over documents and access them from any place at any time. The choice of using the software depends upon the user’s needs and requirements.
FAQs
How can I create a timeline in Google Slides?
You can use a readymade template or create a timeline manually in Google Slides.
How do I make a Gantt chart in Google Slides?
You can use a template to create a Gantt chart in Google Slides.
Can we create a Gantt chart template or a timeline infographic template for Google Slides?
Yes; Google Slides offers various functionalities apart from creating presentations.
Can we create a timeline on a Google form?
No; Google Forms is strictly a tool used for feedback purposes only.


