Key Takeaways:
- WiFi network lets you connect to the Internet without any Ethernet cable
- You can connect to WiFi using the Settings app, Control Panel, Command Prompt, and Quick Settings panel in Windows 11
- The fastest and easiest way to connect to WiFi is to use Quick Settings
If given an Ethernet and WiFi connection option, most of us will opt for the latter. WiFi is one of the most used technologies to connect to the Internet. You don’t need to sit in one position and use long cables if you are connected via WiFi instead of Ethernet. So if you are thinking about how to connect to WiFi on Windows 11, we have got you covered.
WiFi makes it easy to connect to the Internet, as no additional configurations are required. Furthermore, once you add the network, you can connect to it automatically. Thus this reduces the efforts required to connect the Windows 11 PC to the Internet. One of the ways to connect to WiFi on Windows 11 is to use the Windows 11 Settings app.
How To Connect To WiFi On Windows 11
You can use the Quick Settings panel, Windows Settings app, Control Panel, and Command Prompt to know how to connect to WiFi on Windows 11 computer. Firstly, check out all the ways below and choose the one you are feasible with.
1. Use Quick Settings
The quickest way to learn how to connect to WiFi on Windows 11 is to use the Quick Settings panel.
Step 1: Click on the volume icon on the taskbar to open the Quick Settings panel. Alternatively, you can press Windows + A hotkey to open it.
Step 2: If the WiFi is not already enabled, click on the “Wi-Fi icon” to enable it.
Note: If you cannot find a Wi-Fi icon, you can customize Quick Settings and add it manually.
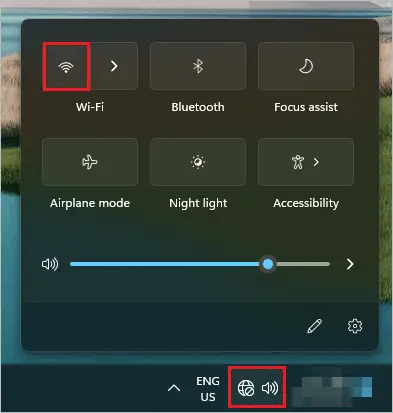
Step 3: Click on the arrow next to WiFi to see available networks.
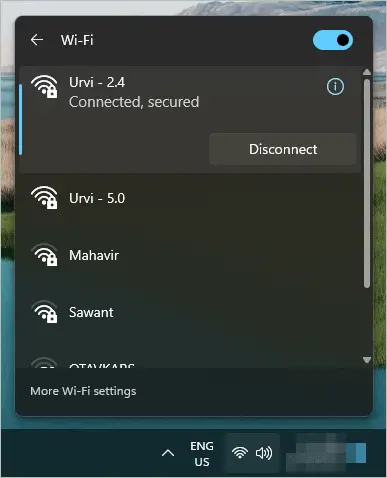
Step 4: Now, click on the network you want to connect to and click on the “Connect” button. Also, check the checkbox next to “Connect automatically” if you’re going to connect to the same network whenever it is in range.

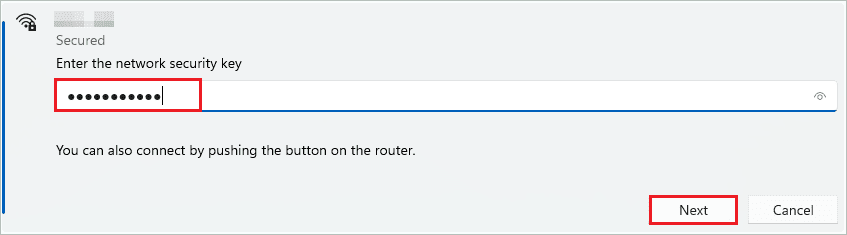
Step 5: If you are connecting to the network for the first time, you must enter the correct Wi-Fi password/network security key to connect successfully.
This is applicable only for secure network connections. So, for example, if you are connecting to an open network, the password won’t be asked.
Once the password is added, click on “Next” to proceed.

Once you see ‘Connected’ below the network, the Wi-Fi connection was successful.
You know how to connect to WiFi on Windows 11 using Quick Settings.
2. Use The Settings App
If you are more comfortable with the Settings app, you can use it to connect to WiFi on Windows 11.
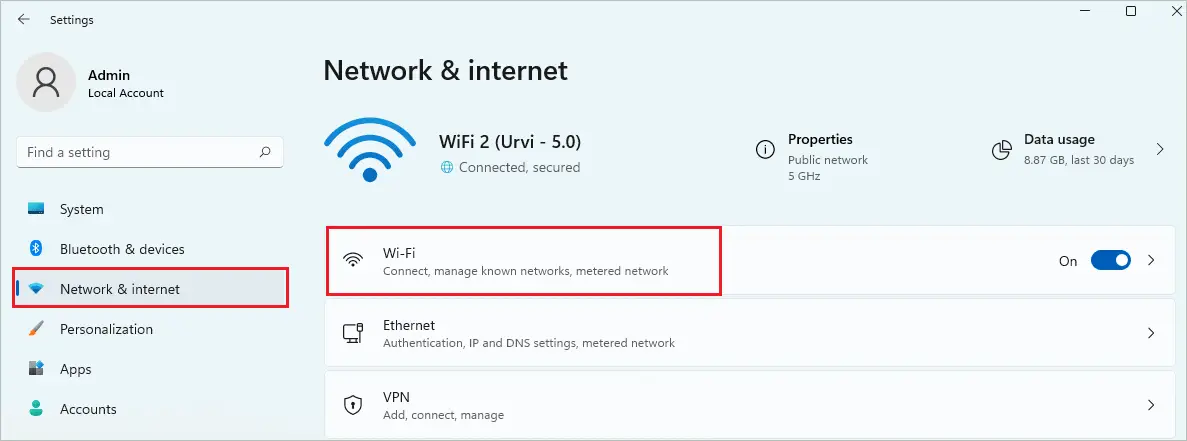
Step 1: Press the Windows key + I keyboard shortcut to open the Settings app and go to the “Network & internet” section from the left panel.
Step 2: Click on the “Wi-Fi” subsection.
Also, make sure the toggle button next to it is turned on.
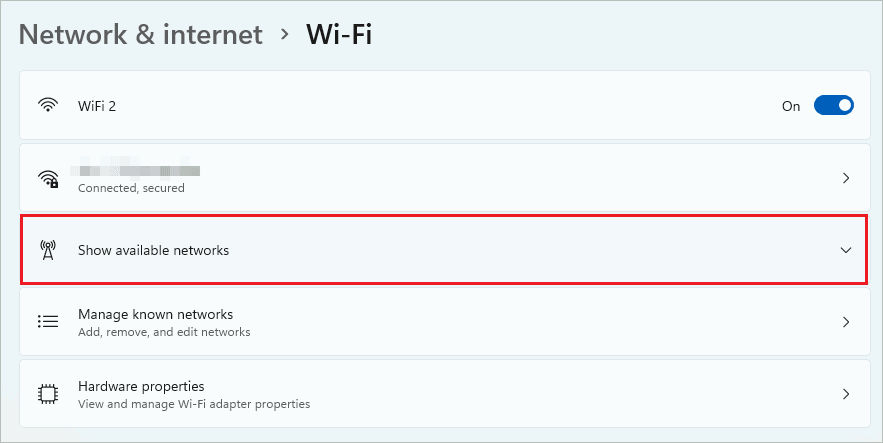
Step 3: Click on “Show available networks” to see the available Wi-Fi network.
Step 4: Once you find the required network from the Wi-Fi name, click on the “Connect” button to proceed.

Step 5: Add the Wi-Fi password/network security key and click “Next.” If the Wi-Fi network is not secured, this step won’t be there to connect to it.
You will now see Connected below the WiFi network.

You can enjoy the Wi-Fi connection now. It is easy to connect to the WiFi network in this way.
3. Use Command Prompt
The netsh command-line tool can be used to connect to WiFi on Windows 11. If you use the terminal prompt more often, this will be a more feasible option for you.
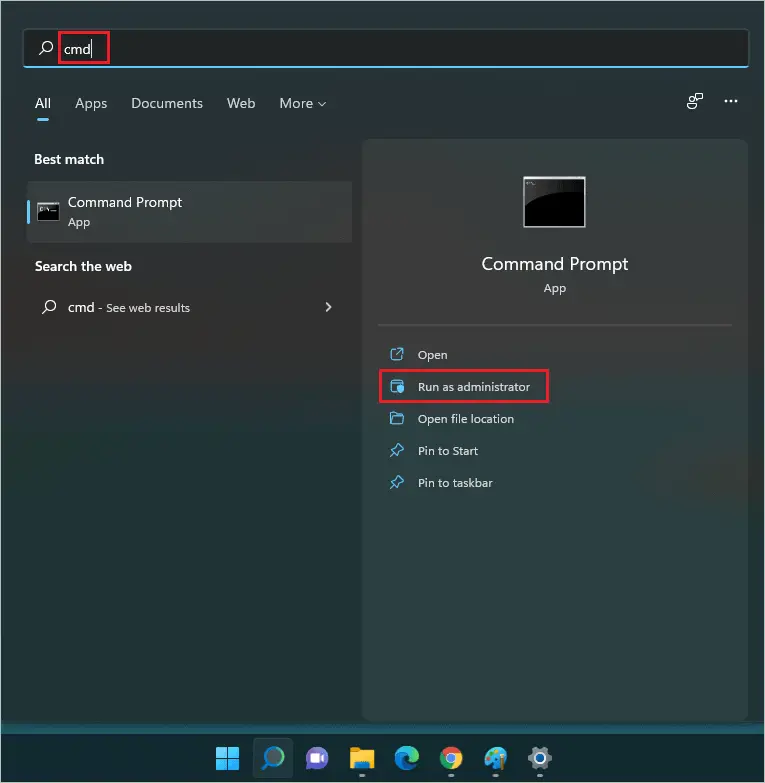
Press the Windows key on your keyboard to open the Start menu and search for “cmd” in the search box there.
Click on “Run as administrator” to launch Command Prompt as administrator.
First, type the below command in the Command Prompt window and press “Enter” to execute it.
netsh wlan show profileYou will see all the profiles that were connected to your PC.
To connect to a specific WiFi profile, execute the below command in the Command Prompt window.
netsh wlan connect ssid=WiFi_SSID name =Profile_name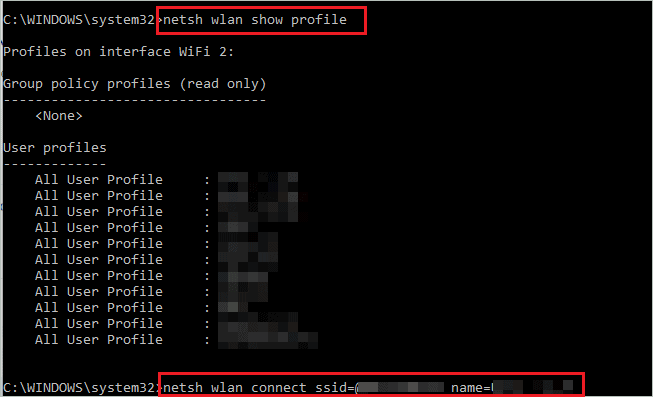
Here, change the SSID and Profile name as per your WiFi configuration.
You can use this approach only if you have previously connected to the WiFi network. You may need to use other methods mentioned in the guide for any new network you connect with for the first time.
4. Use Control Panel
If you wish to connect to the WiFi network manually, you can use the Control Panel. This can also be helpful while connecting to the hidden network in Windows 11. But, first, let’s see how to connect to WiFi on Windows 11 manually.
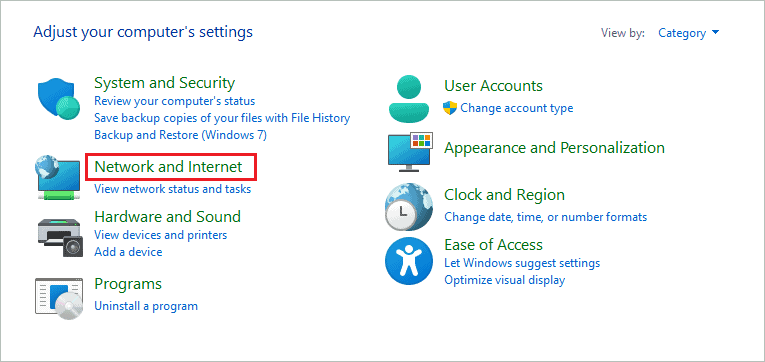
Step 1: Open the Control Panel by searching for it in the Start menu search bar.
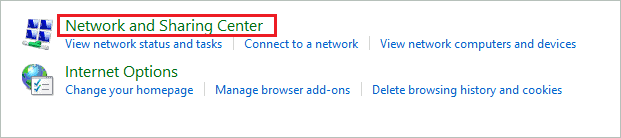
Step 2: Click on “Network and Internet” in the Control Panel window.
Step 3: Click on “Network and Sharing Center” in the next window.
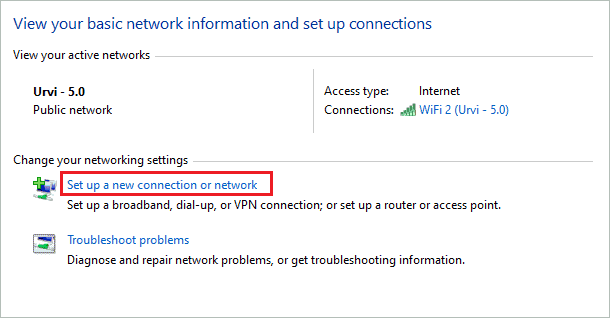
Step 4: Next, click on the “Set up a new connection or network” link.
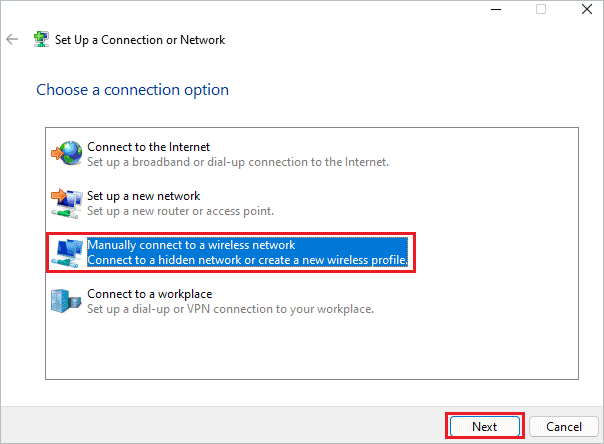
Step 5: Select Manually connect to a wireless network and click on “Next” to proceed.
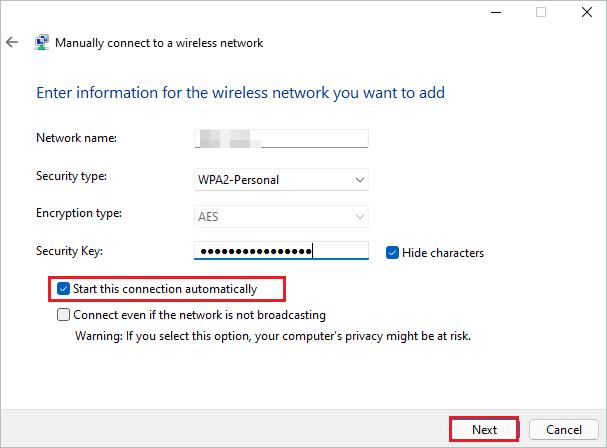
Step 6: Enter all the details about the WiFi network you want to connect to and click on “Next” once done.
If you wish to connect to this network automatically whenever it is in range, check the checkbox next to “Start this connection automatically.”
Step 7: Click on “Close” to finish the process.
Well, this can be a difficult task for someone who doesn’t have details about the wireless network they are trying to connect to.
How To Disconnect the WiFi Network?
If you don’t wish to be connected to the WiFi network, you can disconnect it temporarily.
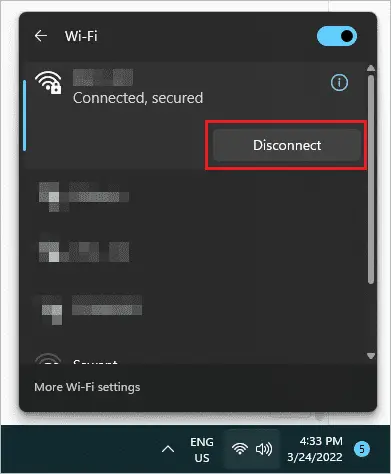
Launch the Quick Settings panel by pressing Windows key + A and click on the arrow next to the “Wi-Fi icon.”
Now, click on the connected network and then click on the “Disconnect” button.
You need to connect again to the network manually to enjoy an Internet connection on your device.
How To Forget the WiFi Network in Windows 11?
If any specific wireless network connection is no longer in use, you can remove/forget it from your Windows PC.
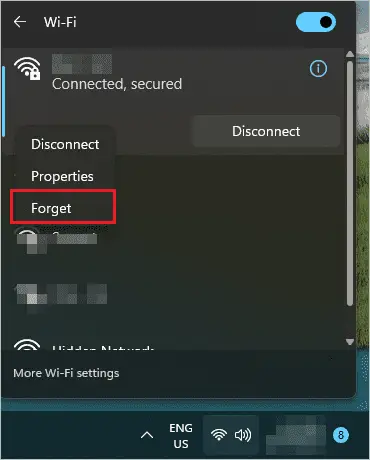
You can do so via the Quick Settings menu. So, go to the Quick Settings panel and click on the Wi-Fi arrow.
Next, right-click on the connected network and select “Forget” from the menu.
This will disconnect the network connection and will also not connect it automatically. Therefore, if you wish to connect to this network in the future, you may need the credentials again.
How to Reconnect to WiFi Network Automatically?
If you wish to automatically connect to the WiFi network, you need to select the appropriate option while connecting to it. And this is possible only while connecting to the WiFi network using the Quick Settings and Windows Settings app.
So, to reconnect to the WiFi network automatically whenever in the range, make sure you check the checkbox saying “Connect automatically” while connecting to the network.
Final Thoughts On How To Connect To WiFi On Windows 11
Wireless connection is the most used connection nowadays. There are different ways to connect to WiFi on Windows 11 device. You can use the Quick Settings panel, Settings app, Command Prompt, and Control Panel.
With the help of the Control Panel, you can add hidden networks manually. However, if you wish to opt for a simpler and quicker way, you can use the Quick Setting or Settings app option. The guide explains how to connect to WiFi on Windows 11 using all the possible ways.
You can also know how to disconnect, forget and reconnect to the same network with the help of this guide.


