Key Takeaways
- If the elements on your computer screen appear too small or big, you can change the scale size to make them readable.
- You can change the display scale size using the Settings app or Registry
- It is also possible to change the custom scaling for specific applications
As a casual computer user, you need not know about dots per inch or DPI, which is the physical measurement of the sharpness of your display. But if the text and images seem too small or big to be clear, then it is better to go for Windows 11 custom scaling. The display scaling settings let you change the size of the elements on the screen, so they are readable and sharp and do not disturb the native resolution of the display.
Windows 11 has excellent features in that it automatically chooses a scale that is just perfect. But many times, you may have to manually adjust the settings to suit varying scenarios like poor eyesight or the presence of an external monitor that has a different display resolution. Another way to improve the screen elements is learning how to change screen resolution in Windows 11. Whatever situation you are in, reading this dedicated article will help you set the scale to an optimum value suited to your laptop or desktop monitor.
How To Change Windows 11 Custom Scaling
Having your text, icons, or images a little larger than recommended can ease the strain on your eyes. It would also be necessary to use Windows 11 custom scaling if your display is high resolution. In short, it doesn’t hurt to change the custom scaling level feature to bring in a better user experience. So, here we go to the best methods you can employ to change your display DPI scaling level. You can also learn how to create a keyboard shortcut in Windows 11 to access folders and applications quickly.
Method 1: Change the Display Scale to a Predefined Value
The display settings let you choose one of the four values from a default drop-down box to set Windows 11 custom scaling. The available values for custom display scale sizes are 100%, 125%, 150%, and 175%, out of which 125% is the default scale size. But if the situation demands, you can choose a different scale factor. Let us see how.
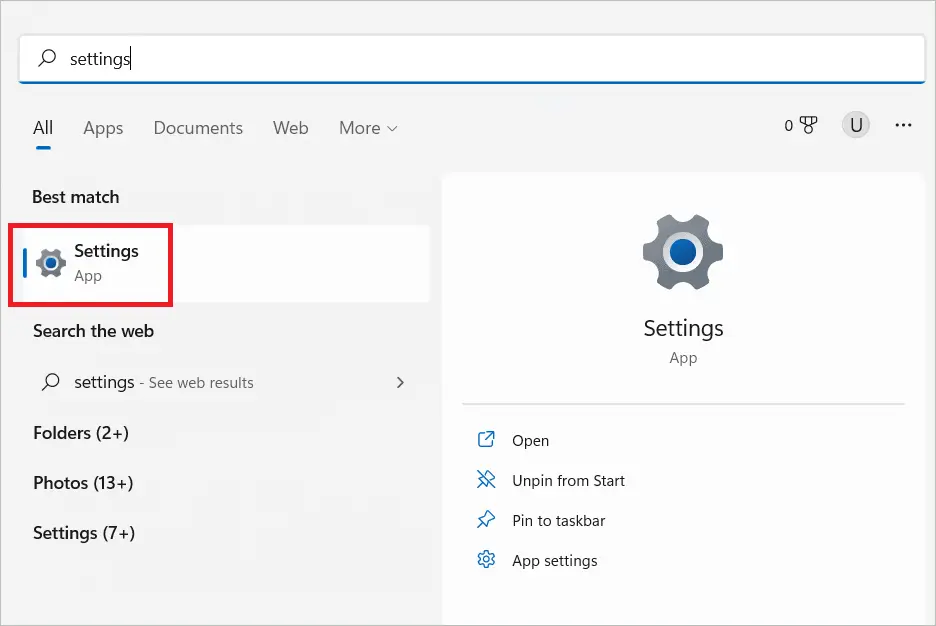
1. In the search bar, type “Settings” and open the Settings app when it appears.
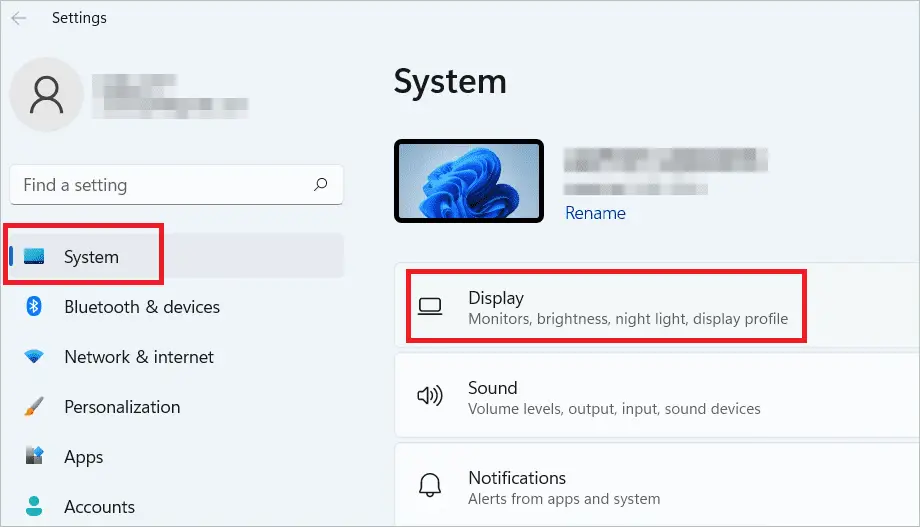
2. Select “System” in the left pane and then select “Display” at the top of the list on the right side. Alternatively, you can right-click on the desktop and select Display settings to go to the display scale settings window.
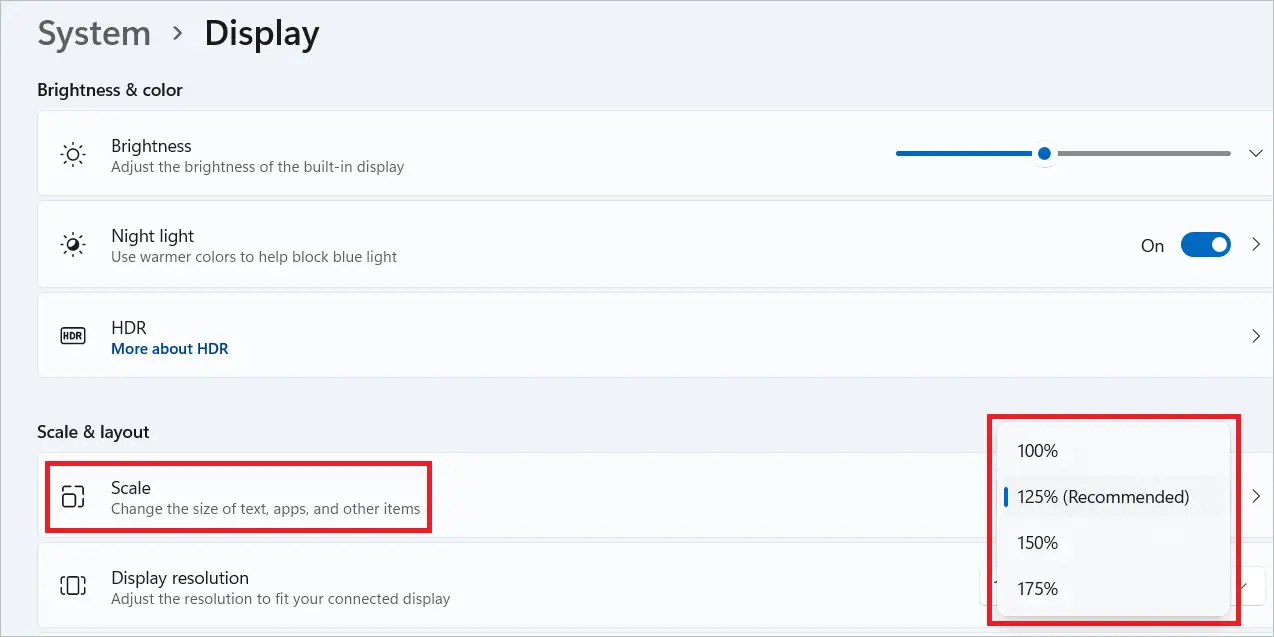
3. Under the section Scale & layout in the display settings window, you will see “Scale.” At the right end of Scale, select a scale size from the drop-down list to change Windows 11 custom scaling.
Your scale size has changed now. As a result, some applications may have to be restarted to incorporate the new monitor DPI percentage.
Method 2: Change the Display Scale to a Custom Value
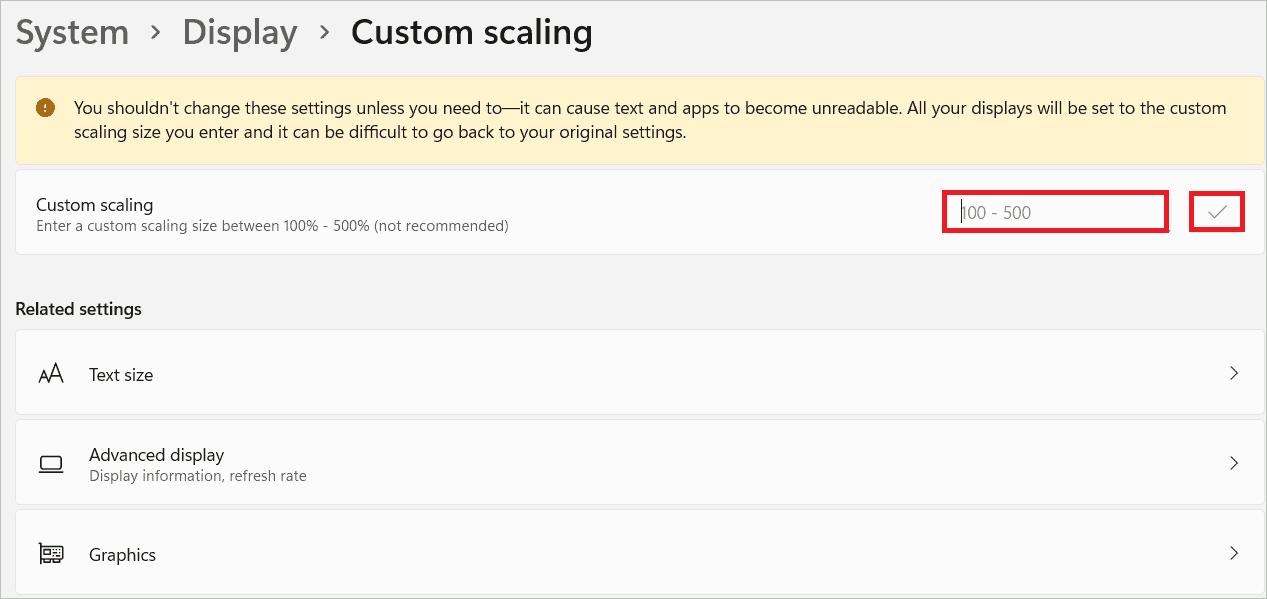
In this method, we are not interested in the four display scaling options provided in the display drop-down. Instead, we would opt for Windows 11 custom scaling option, where we type in a custom scale size. When you go to the page where the value can be entered, the OS warns that it is not recommended to use a custom value. But it still allows one to type in a value between 100 and 500. Here are the steps to change the scale size.
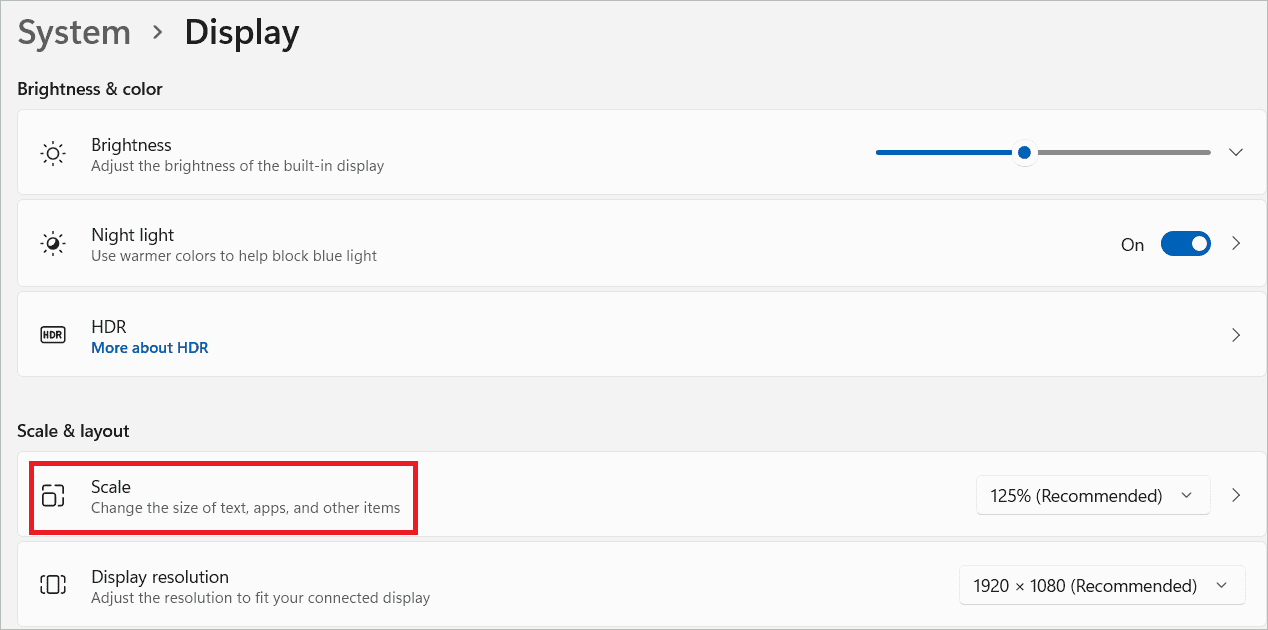
1. Open the Settings app and go to System > Display. Click “Scale” under the section Scale & Layout.
2. Beside Custom scaling, you will find a text box where you can enter your custom scale size. Check the box near it and click the “Sign out now” button.
Once you sign back in, you will find that the Windows 11 custom scaling and the scale size have been changed.
Method 3: Change the Display Scale in the Registry
The Registry Editor graphical tool lets users look at the Windows Registry and make changes if required. All the configuration settings, like custom display scaling, are stored in this database, so your computer performs efficiently. Remember that it is advised to make a backup of the Registry before making any changes as you don’t want to mess with the configurations. Using the following steps, you can change the Windows 11 custom scaling value in the Registry Editor.
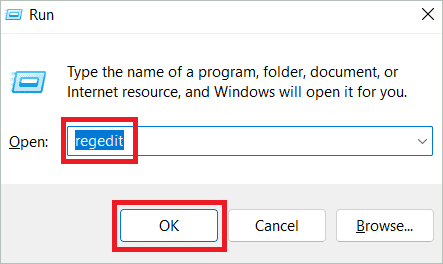
1. Press the Windows key + R, type “regedit,” and click “OK.”
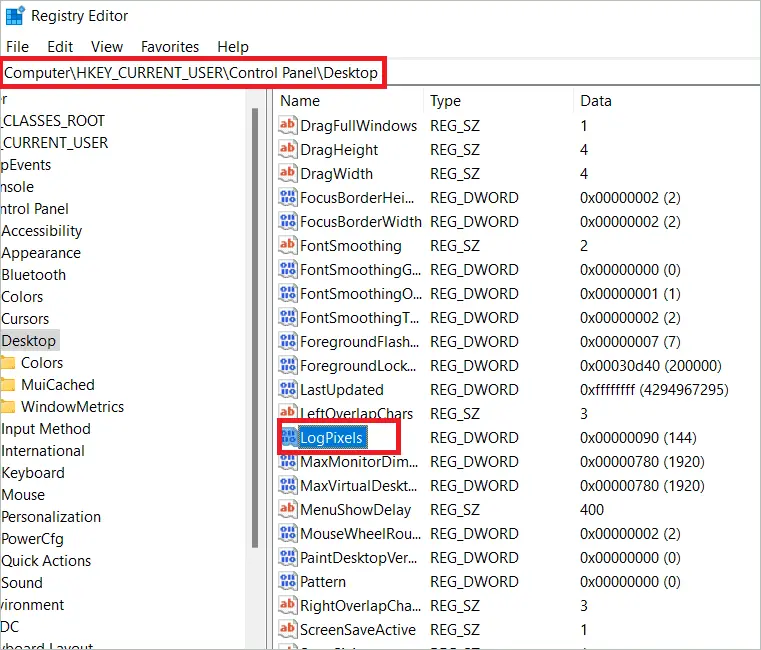
2. Copy the following path in the Windows Registry Editor address bar.
HKEY_CURRENT_USER\Control Panel\DesktopScroll down and look for Logpixels. Double-click on it.
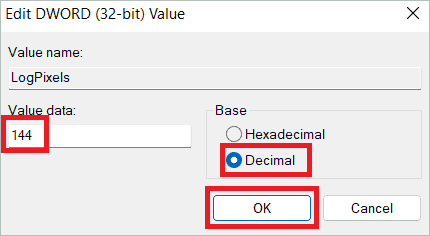
3. Under Base, select Decimal and give a value from the following: 96 (default 100%), 120 (medium 125%), 144 (larger 150%), 192 (extra-large 200%), 240 (custom 250%), 288 (custom 300%), 384 (custom 400%), 480 (custom 500%). Click “OK.”
4. Now, go back to the Registry and find Win8DpiScaling.
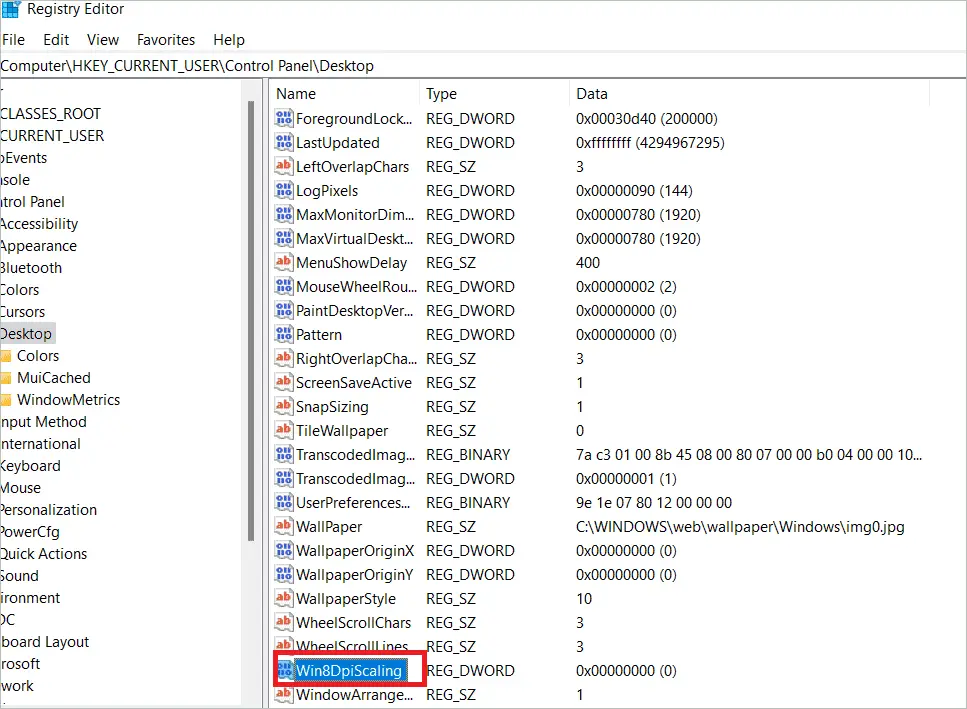
Caption:
5. Double-click on Win8DpiScaling. Assign the value 0 if you have chosen 96 in step 3. For all other values, assign 1. Click “OK.”

6. Restart your machine, so the changes are applied.
Method 4: Change Text Size on Windows 11
Sometimes, the images and icons are perfect for you but not the text on the desktop or laptop display. You don’t have to change the Windows 11 custom scaling in such cases. However, there is a way to change the display text size without affecting the default settings of other elements on the screen. So let us see how to make the text size smaller or bigger.
1. Open the Settings app.
2. Select Accessibility in the left pane and select Text size at the top of the list on the right side.
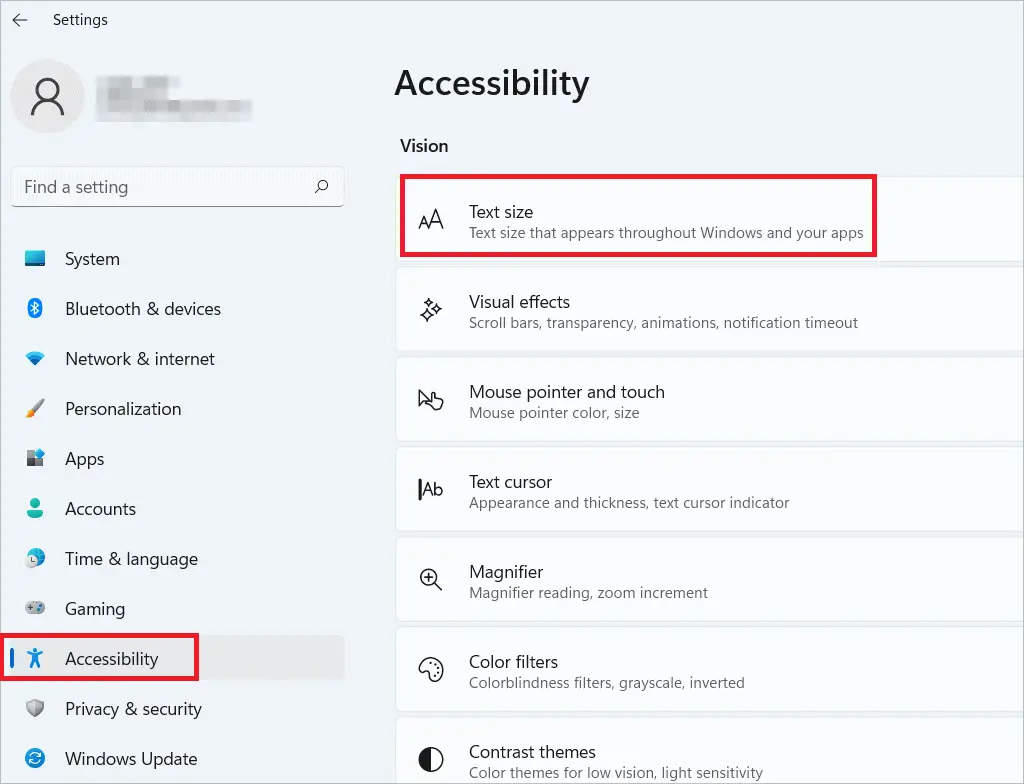
Caption: Select Text size
3. The next page shows a slider that can be slid right and left to make the text size smaller and bigger, respectively. Once the size is selected, click “Apply.”
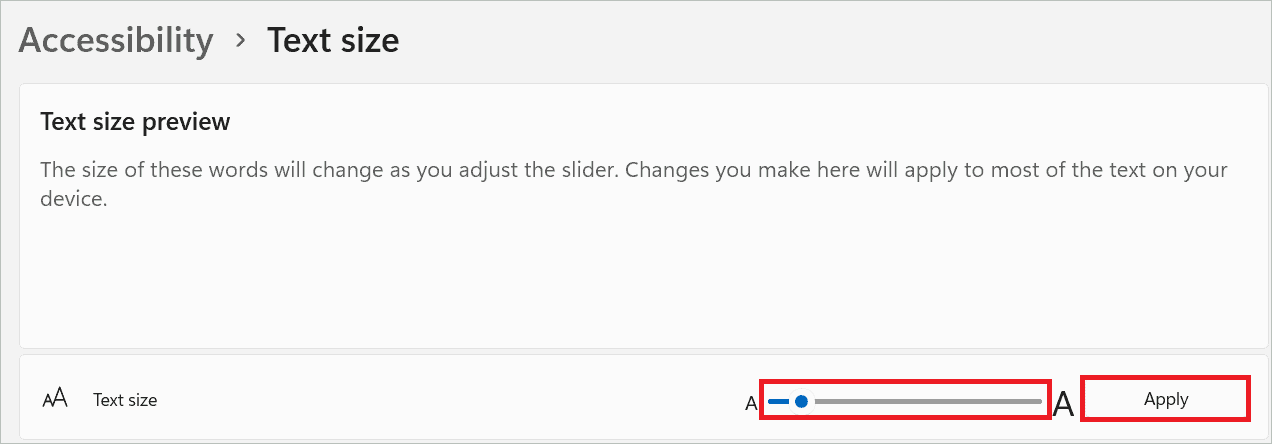
You will get a “Please wait” message while applying the change. Now, the text size has been changed without changing any other elements via display scaling.
Method 5: Change Display Scale for Specific Apps
Changing the Windows 11 custom scaling for specific apps is intended for high-DPI displays with high pixel density. In such displays, a few applications display unclear or smaller text making it difficult to read. Changing the properties of the app in question can solve this issue in high-DPI devices. Let us see how to fix this display scaling issue that makes the content in the application blurry.
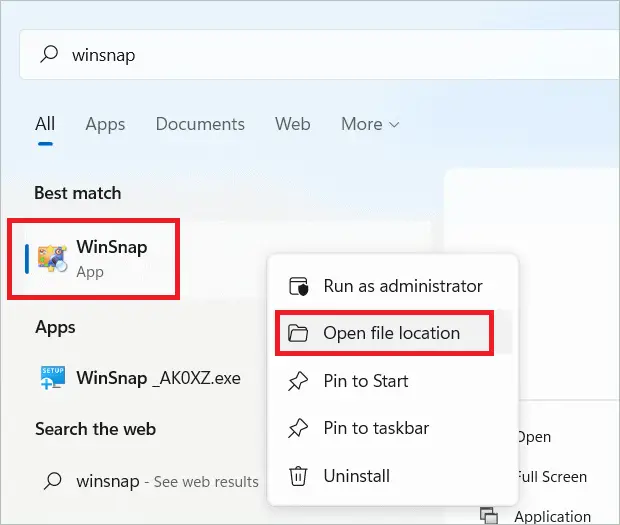
1. Search for the application in Windows search. Right-click on the app and select “Open file location”.
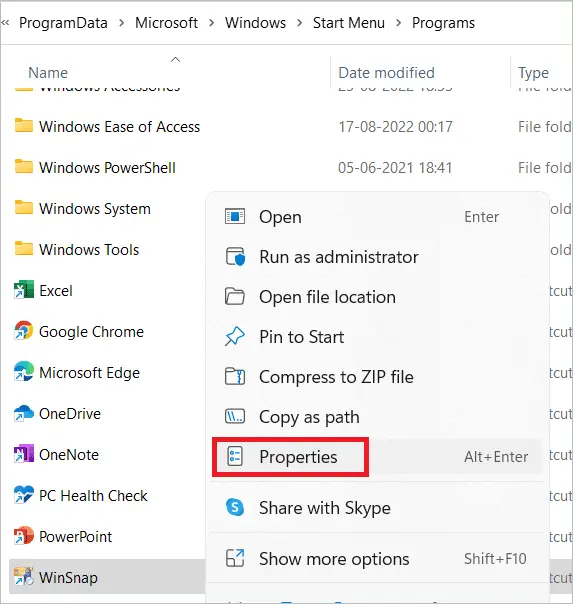
2. Right-click on the application file and select “Properties” to open the application properties window.
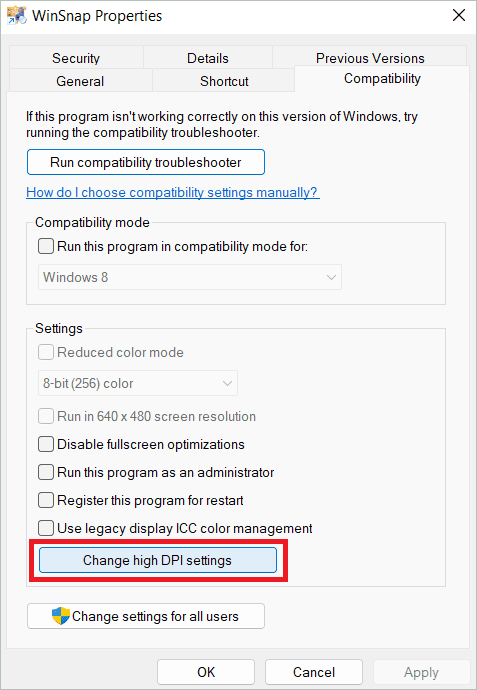
3. Under the Compatibility tab in the application properties window, click on the “Change high DPI settings” button. You can click on “Change settings for all users” if the settings need to be applied for all monitor users.
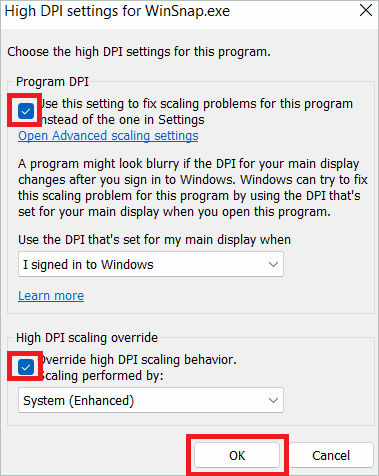
4. In the dialog box that appears, select the checkbox “Use this setting to fix scaling problems for this program instead of the one in Settings.” You can choose the default option from the drop-down menu or change it depending on your needs.
Under High DPI scaling override, select “System (Enhanced)” from the dropdown menu for a crisper interface.
You can select “Application” (Named “Disable display scaling on high-DPI settings” previously) from the list if you want the app to work on a per-monitor DPI awareness mode. Selecting “System” will stretch the app interface, which could result in blurry text.
Now, click “OK” to change Windows 11 custom scaling.
Final Thoughts On Windows 11 Custom Scaling
Keeping a tab on DPI display scaling can be beneficial in achieving the sharpest elements displayed on the screen. Applying Windows 11 custom scaling is pretty straightforward, as most methods take a few steps to reach the correct scale size for your display. The vital thing to remember is that some changes make it challenging to reverse the settings. So, ensure you thoroughly understand what you are up to before changing the default scale level. The same applies when you change keyboard layout in Windows 11.
Settings configured by Windows 11 can be great, but they may not be tailored to specific user needs. Making changes to suit your needs results in better productivity in the long run. Before using any of our methods, it is good to analyze why you want to change the scale size in the first place.


