The brightness slider helps us adjust the screen brightness based on the lights around us. Windows users often reduce the brightness to save the battery, especially when the power supply is not available. It is very convenient to move the slider to adjust the brightness. But, sometimes, you may experience that the Windows 10 brightness slider is not working as expected.
You may not be able to increase or decrease the screen brightness in such a situation. Even if your brightness slider is missing you can end up in this situation. And working on the same brightness throughout the day can stress your eyes and hamper your work. The brightness slider not working issue in Windows 10 is fixable by tweaking the power and device drivers settings.
Solutions for Windows 10 Brightness Slider Not Working
The most common reason to experience issues with the brightness control slider is outdated and corrupted display drivers. Sometimes, the power settings can also cause the brightness slider not to work properly. The list of solutions given below can help to fix the brightness slider easily.
1. Update Windows 10 Operating System
The device drivers update are often included in the Windows update. And if the previous version has some issues, Microsoft rolls out a new update to fix it. You can check for updates on your Windows 10 PC.
Press Windows key + I to open the Settings app and click on Update & Security. Now, under Windows Update, click on the Check for updates button.
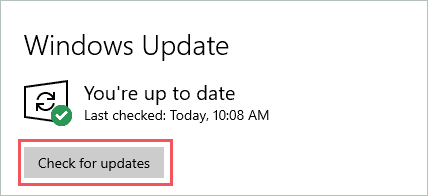
If there are any new updates, make sure you have a stable internet connection and then download the update. Restart your computer to install the recently downloaded updates.
After the restart, check if Windows 10 brightness slider not working issue is fixed with this or not.
2. Update Display Device Drivers
The outdated display drivers can cause the screen brightness problem. You can update the display device drivers manually in Device Manager or use any third-party software to do it for you. If you think of doing it manually, make sure you download the correct driver from the manufacturer’s website.
To update drivers manually, press Windows key + X and click on Device Manager to open it. Expand the Display adapter and right-click on the display driver to update it. The Windows 10 brightness slider will start working after the driver update.
3. Run Power Troubleshooter
Windows 10 offers in-built troubleshooters for many devices and features. If there are any issues with power settings, it can lead to Windows 10 brightness slider not working. You can run the Power troubleshooter to find and fix the power-related issues on your computer.
Open the Settings app and go to Update & Security. Click on Troubleshoot from the left frame and then click on Additional troubleshooters.

On the next window, search for Power and click on it. When the Run the troubleshooter button becomes visible under Power, click on it to start the troubleshooting.
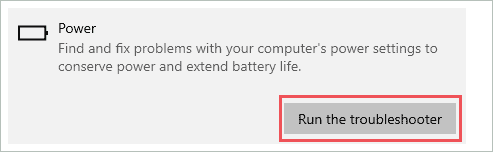
Once Windows fixes the power issues, check if you can adjust the screen brightness settings.
4. Perform SFC and DISM Scan
The system files play a crucial role in the smooth functioning of Windows PCs. If you cannot adjust the brightness by moving the slider, it can be because of corrupt system files. You can scan and fix system files by using Windows 10 SFC (System File Checker) utility.
The sfc /scannow command needs to be executed to use the SFC utility in Windows 10. Once the SFC command is executed, you need to execute the DISM command. So that if SFC leaves out any damaged system files, the DISM command can take care of them.
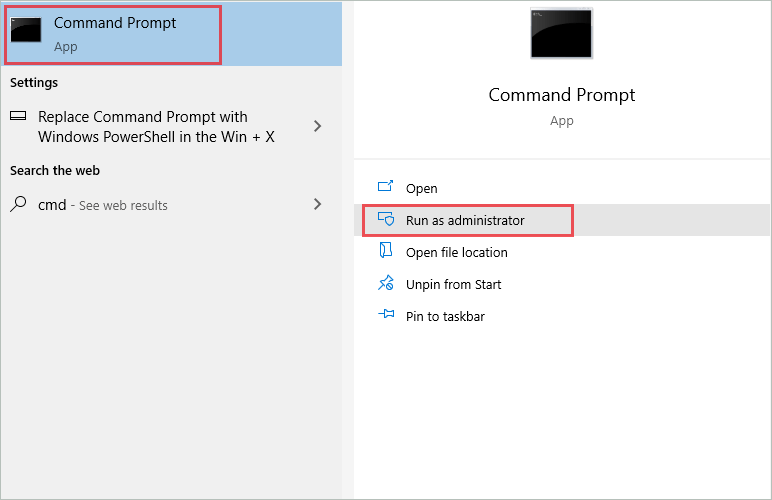
Type cmd in the Start menu and open Command Prompt as an administrator, like shown in the screenshot below.
When the command prompt terminal opens, type the following command and hit Enter.
dism /online /cleanup-image /restorehealth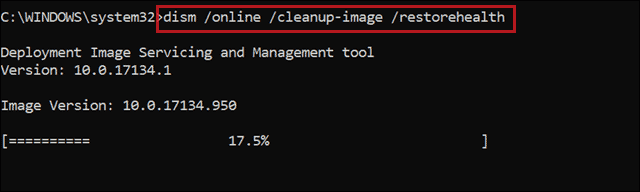
Post the execution, reboot your computer and check if the Windows 10 slider not working issue is fixed with this or not.
5. Disable and Re-enable Graphics Drivers
If there is a temporary glitch in the display drivers software, the brightness control slider won’t work. You can disable the graphics card driver and then re-enable it to get rid of temporary issues.
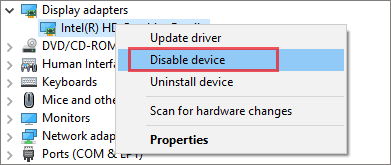
Open the Device Manager and expand Display adapters. Right-click on the graphics driver and click on Disable device.
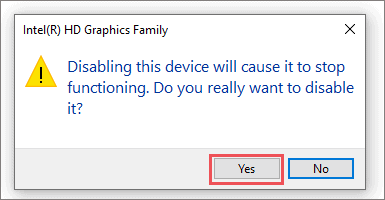
When asked for confirmation, click on Yes.
Now, wait for some time, and then again right-click on the display driver. This time click on Enable device.
Once the driver is enabled again, check if you can increase/decrease your screen’s brightness.
6. Restore Default Power Settings
You can restore the default settings for the power plan to fix Windows 10 brightness slider not working. If you recently made any changes to power settings, restoring it to default can be of help.
Open Control Panel by searching for it in the Start menu’s search box. Next, search for power options in the control panel and open the same.

Click on Change plan settings.

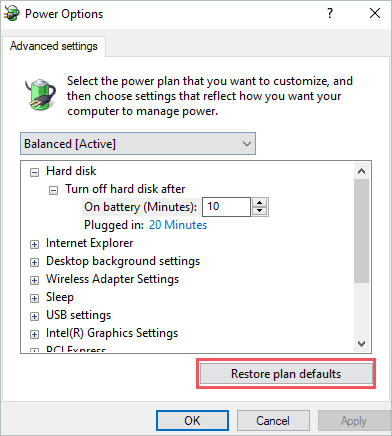
Now, click on Change advanced power settings.

In the Power Options dialog box, click on Restore plan defaults.
You can now reboot your computer and check if this can change the laptop brightness.
7. Disable Adaptive Brightness
Adaptive brightness is the feature that adjusts the brightness of your screen according to the lights around you. Well, this can be helpful if you don’t wish to adjust brightness by yourself, but at the same time, it can prevent you from adjusting brightness by moving the slider.
You can disable adaptive brightness and check if that can fix Windows 10 brightness slider not working problem in your PC.
Open Control Panel and go to Power Options ➜ Change plan settings ➜ Change advance power settings.
Now, expand the Display section in the Power Options dialog box. Expand the Enable adaptive brightness and select Off in the Settings option.
You can now check if moving the slider increases the brightness of your screen.
Note: For some Windows users, changing the Settings to On also helped fix the brightness slider. So you can try changing the Settings to On if turning it off didn’t help.
8. Reinstall Display Drivers
You can reinstall graphics drivers to fix the bugs and temporary issues.
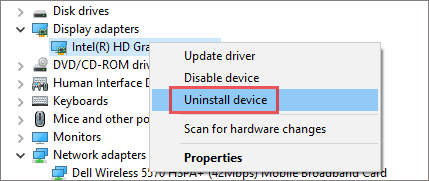
Open Device Manager and right-click on the graphics driver. Choose Uninstall device from the context menu.
Wait for some time and then click on Action ➜ Scan for hardware changes.
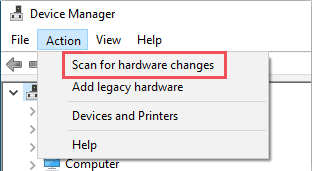
This will reinstall the display drivers for you.
9. Modify Registry
You can modify the registry to fix the brightness slider not working in Windows 10. However, before making any changes, we recommend backing up the registry. This can help you to restore the registry values if something goes wrong.
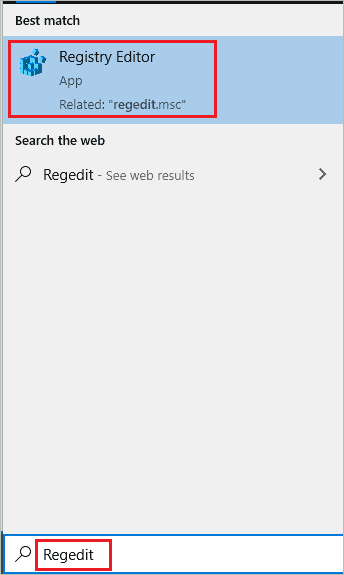
Type Regedit in the Start menu and open Registry Editor from the search results.
Now, navigate to –
HKEY_LOCAL_MACHINE\SYSTEM\ControlSet001\Control\Class\{4d36e968-e325-11ce-bfc1-08002be10318}\0001Open FeatureTestControl and change its value to 0000ffff.

Click on OK to save the changes. Close the Registry Editor and reboot your computer.
10. Enable PnP Monitor
You need to enable the PnP monitor to fix the brightness control slider on your PC. To do so, open Device Manager and expand Monitors.
Right-click on the Generic PnP Monitor and click on Enable device.

If the driver is already enabled, you can move on to the next set of solutions. However, if you just enabled the PnP monitor, check if you can change the screen brightness by dragging the brightness control slider.
11. Roll Back Display Device Drivers
If you recently updated the display drivers and started experiencing issues after that, you need to roll back the drivers. There are chances that you have installed an incorrect or unstable driver.
To roll back display drivers, open Device Manager and right-click on the graphics driver—select Properties from the context menu.
In the Properties dialog box, go to the Driver tab and click on Roll Back Driver. Now, follow the wizard on the screen to roll back the driver to the previous stable version.
Once you roll back the display driver, reboot the PC and check if Windows 10 brightness slider not working issue is fixed with this.
12. Use Basic Microsoft Display Adapter
You can use Microsoft basic display adapter to fix the brightness slider in Windows 10. To use the generic Windows drivers, follow the steps given below.
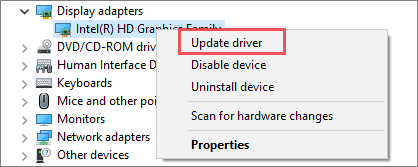
Step 1: Open the Device Manager and right-click on the display driver. Select Update driver.
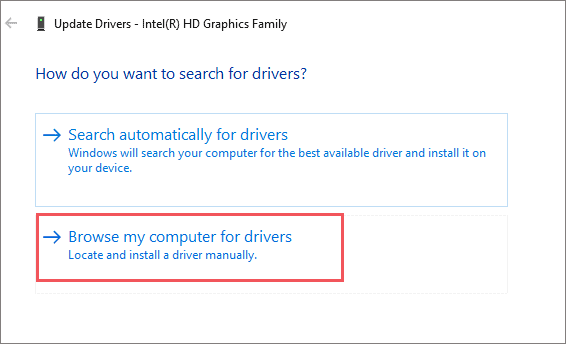
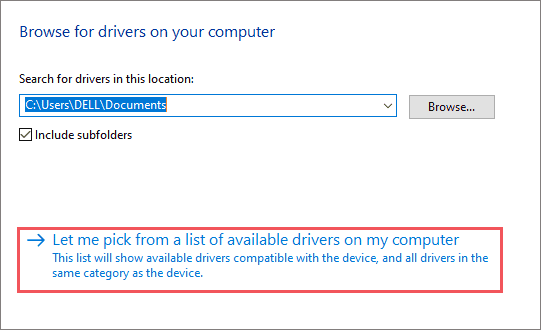
Step 2: Click on Browse my computers for drivers.
Step 3: Next, click on Let me pick from a list of available drivers on my computer.
Step 4: Select Microsoft Basic Display Adapter and click on Next.
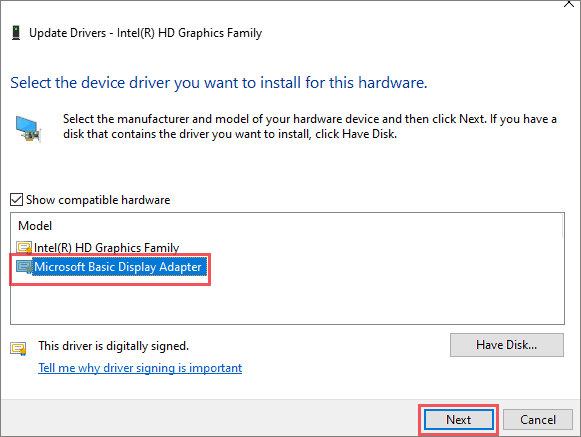
You can now follow the prompts on your screen to complete the remaining process. Once the driver software is updated with a generic Windows driver, you will be able to adjust the brightness level as per your wish.
13. Reset the PC
If nothing from above helps you fix the brightness slider, the last option is to reset Windows 10. The reset installs Windows 10 without any installation media. You can fix many issues with a simple reset.
There is also an option to keep personal files, which saves you from the trouble of backing up everything before reset. The only issue is all the software and applications installed by you will be removed after reset. So, make sure you have credentials and a list of all the apps on your system.
Post the reset; you will be able to increase and decrease the screen brightness.
Conclusion
It can be annoying when you cannot change the brightness of your monitor screen as per your wish. Sometimes, a temporary glitch can prevent you from increasing or decreasing the brightness, while other times, it can be device drivers. The solutions mentioned above can help you fix Windows 10 brightness slider not working issue.
You may be able to fix the brightness slider unless there are any hardware faults in your PC. If the above fixes did not resolve the brightness slider issue, you could visit the local repair shop to check for the damaged hardware.


