Key Takeaways:
- After an upgrade to Windows 11, it is essential to make a few changes in the settings to accommodate it as per our use.
- You can disable unwanted notifications and advertisements to prevent interruption.
- Changing the power mode and Start menu settings can help you customize Windows 11 in your way.
If you have recently upgraded to Windows 11 and don’t know how to get started with it, don’t worry, as we have covered you. There are a few settings to change in Windows 11 that can help you get rolling with this new Microsoft operating system.
The new and sleek Windows 11 Settings app is designed perfectly for Windows users. You can tweak some settings to have a pleasant experience while using your computer. This guide can help you with the best Windows 11 settings to change. So, let’s get started and get your Windows 11 PC ready for you.
12 Settings To Change In Windows 11 For Better User Experience
You can make a few changes in different sections of the Settings app to operate your Windows 11 computer smoothly. The guide contains basic setting changes that can help new users to get started with Windows 11. Well, the changes can differ according to your use and requirements.
You can open the Settings app by pressing the Windows key + I hotkeys. And then make the below-mentioned changes as per your needs.
1. Disable Advertisements and Suggested Contents
You can disable advertisements and suggested content on your Windows PC. Who likes unwanted advertisements popping here and there? You can simply disable ads from the Settings app.
Open the Settings app window and go to the “Privacy & Security” section. Next, click on “General” under the Windows permissions section.
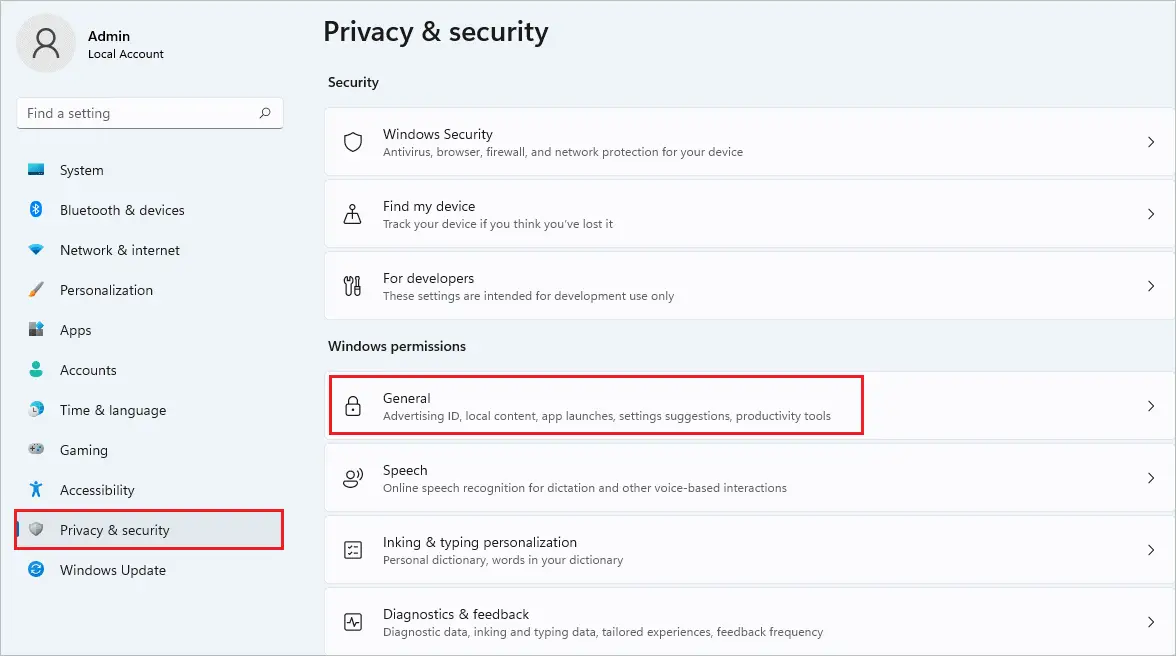
Now, turn off the switch next to Let apps show me personalized ads by using my advertising ID, Let websites show me locally relevant content by accessing my language list, Let Windows improve Start and search results by tracking app launches, and Show me suggested content in the Settings app.
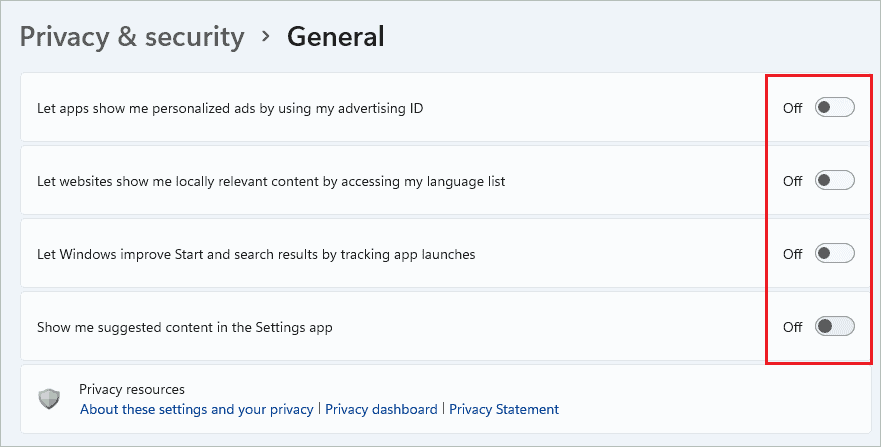
This will disable all the advertisements and suggested contents on your computer. You can re-enable it anytime in the future.
2. Sign-in With Local Account
If you are not a fan of the Microsoft account, you can create and use a local account to work on your Windows 11 computer. Again, the tracking and other things will be prevented.
Launch the Settings app window and go to Account ➜ Your info. Click on “Sign in with a local account instead” under Account settings.
You can then follow the instructions on your screen to complete the process. If you don’t have any local account on your computer, you may need to create one.
3. Check for New Updates
It is important to install all the latest updates, security patches, and driver updates on your computer. In addition, you should check for updates and install them to avoid issues with the PC.
Go to Settings app ➜ Windows Update and click on the “Check for updates” button.
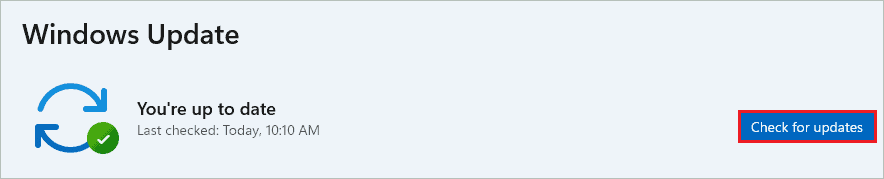
If there are any updates, they will be downloaded and installed automatically on your computer.
4. Turn Off Unwanted Notifications
Windows 11 offers tips and suggestions to use the PC better. These notifications are helpful, but they can get annoying if you do something meaningful. You can disable annoying notifications from the Settings app window.
Follow the instructions below to see which settings to change in Windows 11.
Navigate to Windows Settings app ➜ System ➜ Notifications and scroll down to the end of the Notifications settings.
Now, uncheck the checkbox next to “Offer suggestions on how I can set up my device” and “Get tips and suggestions when I use Windows.”
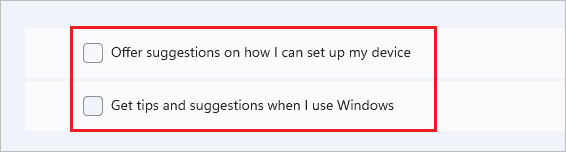
You will no longer receive notifications related to suggestions and tips.
5. Change your Default Browser
If you want a specific file type to open in a particular browser, you can make the right changes in the Settings app. By default, every Internet file and link is opened in Microsoft Edge. But if you like Google Chrome, Mozilla Firefox, or Opera, you can change the Windows 11 settings.
Go to Apps ➜ Default apps in the Settings app and scroll down till you see “Microsoft Edge.”
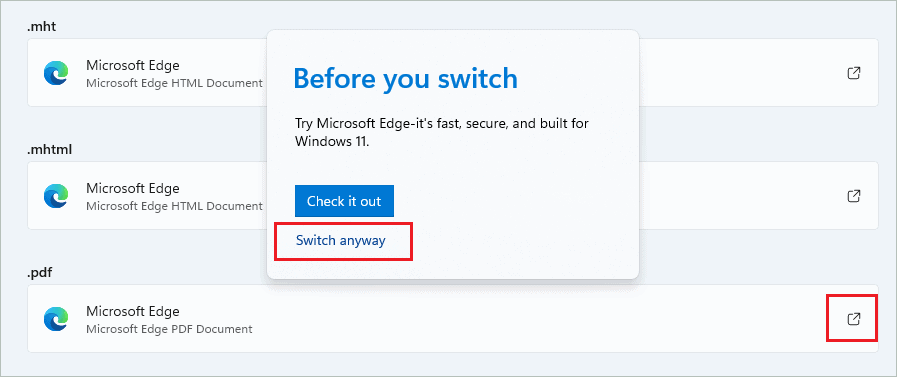
Once found, click on it, and you will see which file types open in Microsoft Edge. Click on the icon next to file type to change it, as shown in the screenshot below.
If the dialog appears explaining the benefits of Microsoft Edge, click on “Switch anyway” to proceed.
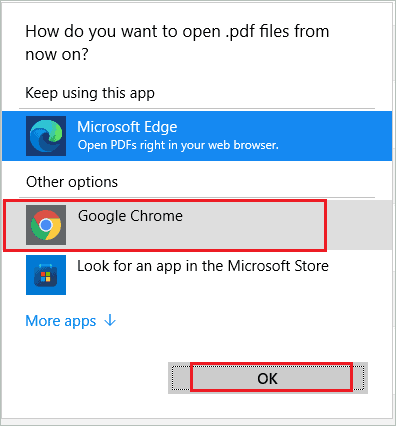
Select the browser of your choice and then click on “OK.”
If you don’t find your browser, click on the “More apps” option.
You can now see the default browser changed for the file type.

Similarly, you can change the default browser for all the file types.
6. Customize Windows 11 Start Menu
Many users loved the new Windows 11 Start menu, while many wanted the old Windows 10 Start menu back. You can customize the Windows 11 Start menu as per your choice.
It is possible to add folders to the Start menu and remove them. For example, you can change the Start menu color and remove the recommended section from the Start menu.
You can modify the Start menu the way you want from the Settings app. The related settings are available in the Personalization ➜ Start section of the Settings app.
7. Disable Unwanted Startup Apps
Many apps launch as soon as you start your PC. Unfortunately, some of these apps are unwanted and can be removed from the startup apps list. In this way, your PC won’t slow down because of multiple apps starting at once on startup.
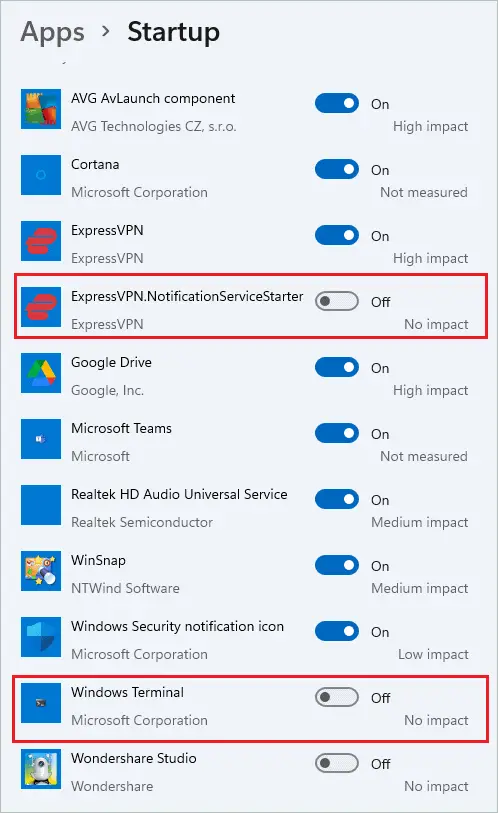
In the Settings app, go to Apps ➜ Startup.
Now, toggle the switch next to the apps you don’t want to launch at startup such that they are turned off.
Well, you can launch them later whenever the need arises.
8. Disable AutoPlay for Media and Videos
If you don’t like AutoPlay for all media and devices, you can simply disable it. Also, the Microsoft videos can be annoying, especially if you are working with multiple people around. Therefore, you can disable video AutoPlay in Microsoft Store as well.
Disable AutoPlay For Media and Devices
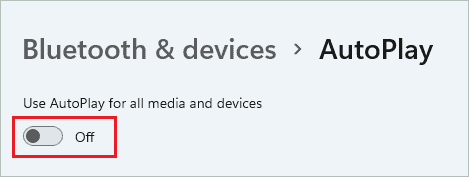
Launch the Settings app and navigate to Bluetooth & devices ➜ AutoPlay.
Disable the switch below “Use AutoPlay for all media and devices.”
You can enable it again in the same way, if required.
Disable Video AutoPlay
Open Microsoft Store and click on your profile icon in the top right corner. Then, click on “App settings.”

Turn off the switch next to “Video autoplay” by toggling it.

Now, videos won’t play on their own in Microsoft Store.
9. Change Power Mode Settings
You can change these settings only if you are using Windows 11 on a laptop. In the case of desktop computers, you can skip these settings to change in Windows 11.
Change the Power mode option to “Best performance” by going to Settings app ➜ System ➜ Power & battery.
You can now have better performance on your Windows 11 computer.
10. Block App Installation From Other Sources
If kids are using your computer and you don’t wish to install viruses or malware on your computer, it is recommended to block third-party apps. Well, kids tend to download attractive apps from untrusted sources, which can cause vulnerabilities. You can check the below settings to change in Windows 11 to protect your PC.
Open the Settings app and go Apps ➜ Apps & features.
Now, in the “Choose where to get apps” option, select “The Microsoft Store only (Recommended)” from the drop-down list.
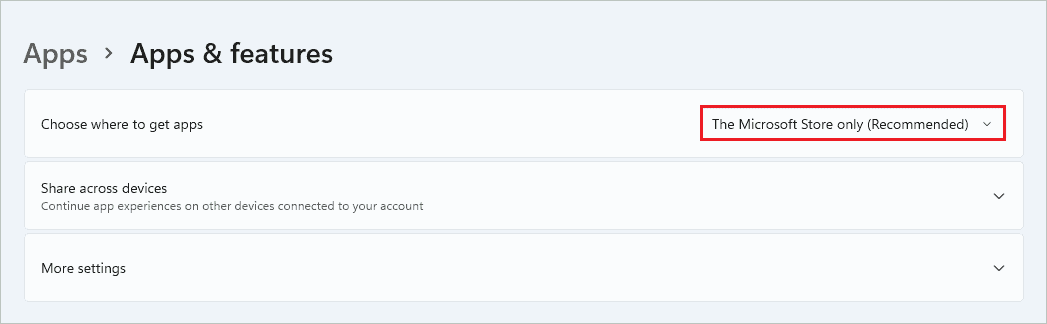
You can change this to “Anywhere” when you wish to download the app from any third-party source.
11. Change Display Resolution
You can set the recommended screen resolution for your monitor. The recommended resolutions are perfect for a smooth experience.
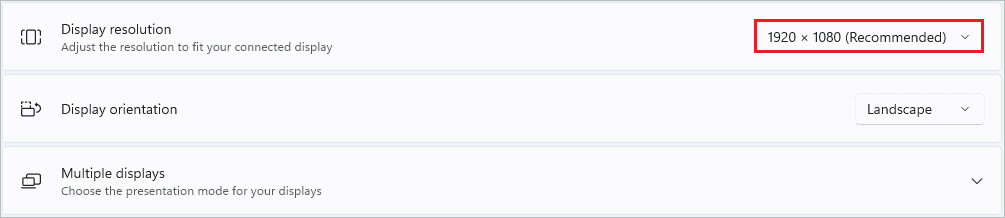
Navigate to the Settings app ➜ System ➜ Display and scroll down to the “Scale & layout” section.
Now, change the Display resolution to the recommended option from the drop-down menu.
When asked for confirmation, click on the “Keep changes” button to confirm the resolution change.
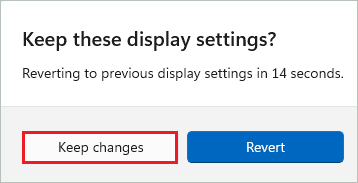
If you are not satisfied with the resolution, you can change it again.
12. Other Settings to Change in Windows 11
You can make many other changes to your Windows 11 settings based on your requirements. The right-click menu can be modified as per your needs. It is easy to customize Windows 11 as per your usage, depending on many factors.
Users can customize Windows 11 for better performance and change gaming settings for the best gaming experience. The taskbar can also be modified in the Personalization ➜ Taskbar section.
The Windows security can be left on the default app or third-party antivirus software.
You can also reset the Settings app if it does not function as expected.
Conclusion
Microsoft gives many customization options in its Windows operating system. For example, you can change your PC’s color, look, and feel as per your wish. Well, the same implies in the case of settings.
You can change the settings in Windows 11 to use it in the best possible way. There are some necessary settings to change in Windows 11 to help you get started with the new operating system. You can disable ads, notifications, third-party app installation, unwanted startup apps, and autoplay settings. The sign-in way, default browser, Start menu, power mode settings, and display resolution can be changed.
FAQs
What should I turn off in Windows 11?
You can turn off advertisements, annoying notifications, autoplay features, installation from any source, and unwanted startup apps.
What Settings should I change in Windows 11?
You can change the type of account used for sign-in, Start menu, power mode, screen resolution, notification settings, right-click menu, and app-related settings in Windows 11. The settings to change in Windows 11 depend on users, their type of work, and the number of people using their computers.


