Key Takeaways:
- You can change the time manually via the Settings app, Control panel, Command Prompt, and Windows PowerShell.
- If the time zone is set correctly and automatic time update is enabled, you don’t need to change time while changing locations.
- You can have a 24-hour clock or 12-hour format on Windows 11.
Time and date play a crucial role in any operating system. If the time is incorrect, you won’t be able to use basic apps and features on your Windows 11 computer. In addition, the new users can sometimes get overwhelmed with the Windows 11 user interface. So, if you are looking for how to change time on Windows 11, you are at the correct place.
If you are still getting the hang of the new Windows 11 user interface, you can also check our guides on connecting to WiFi, turning on Bluetooth, and turning on Auto HDR in Windows 11. You can also change your computer’s time zone and time format as per your requirements.
How to Change Time on Windows 11?
There are four ways to learn how to change time on Windows 11 computer. You can use the Settings app, traditional Control Panel, or command line terminals like Command Prompt and PowerShell. Check out all the ways below to alter time setting, and then decide which way you wish to go.
1. Use the Windows Settings App
You can change the time via the Windows 11 Settings app easily. Follow the steps below to do it correctly.
Step 1: Right-click on the date and time seen on the taskbar and select “Adjust date and time” there.
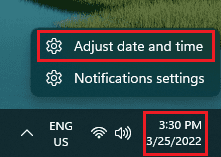
Alternatively, you can open the Settings app and go to Time & language ➜ Date & time.
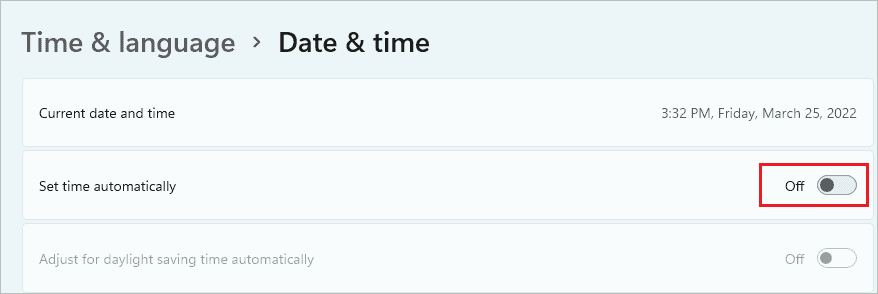
Step 2: Now, turn off the toggle switch next to “Set time automatically” in the Settings screen so that you can change the time manually.
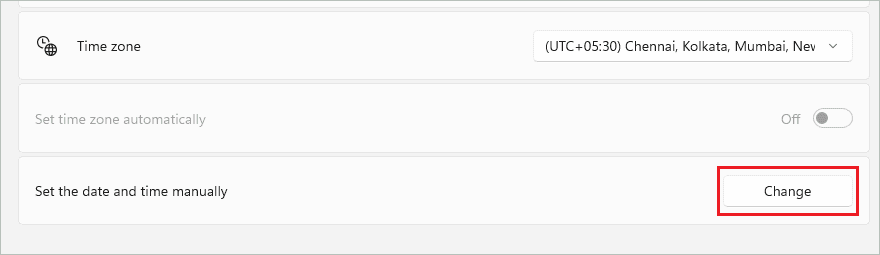
Step 3: Click on the “Change” button.
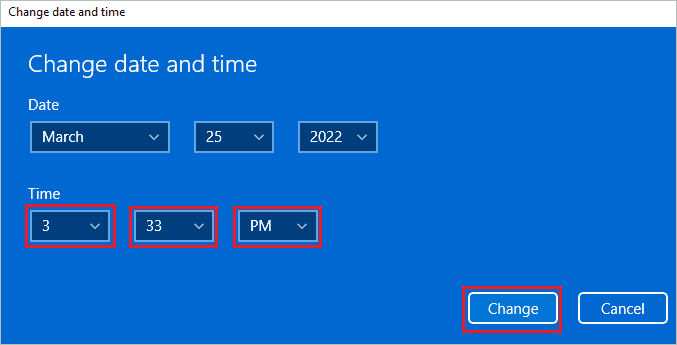
Step 4: When the “Change date and time” dialog opens, you can set the right time from the drop-down menu.
Also, ensure you select AM or PM correctly.
Step 5: Once the time is set, click on Change to confirm the changes.
You will now see the time you set on the taskbar as well as all over the Windows 11 PC.
2. Use the Control Panel
You can use the traditional way to know how to change time on Windows 11 PC. The Control Panel works in the same way as it was in the previous versions of Windows. So, if you are more familiar with the Control Panel, you can check out how to change time on Windows 11 using it.
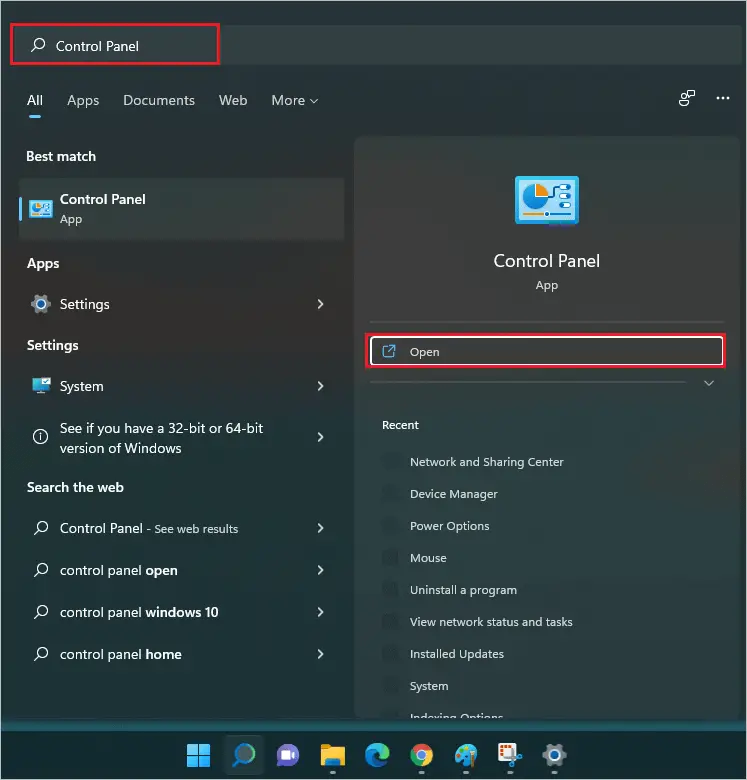
Step 1: Press the search icon on the taskbar and search for “Control Panel.” Open the same from the search results.
Step 2: Set the “View by” option to “Small icons” in the Control Panel window.
Step 3: Click on “Date and Time.”

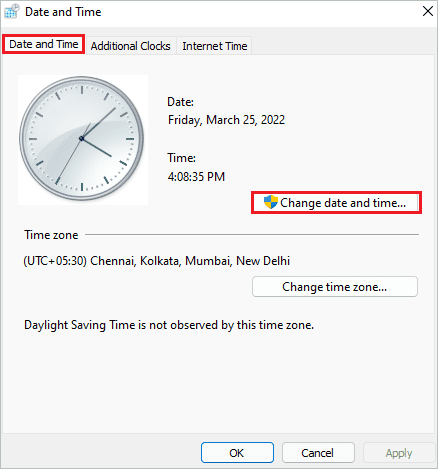
Step 4: In the Date and Time dialog box, ensure you are in the “Date and Time” tab and click on “Change date and time…”
Step 5: Now, set the date and time as per your requirement and click on “OK” to save the changes.
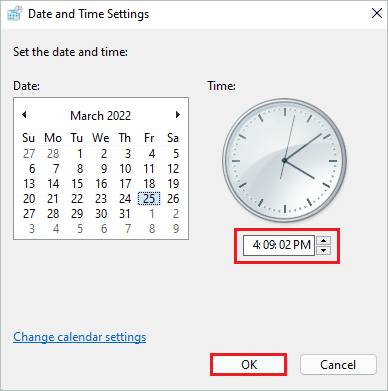
You will see a computer clock reflecting changes.
3. Use Command Prompt
If you are more comfortable with the command-line terminal, you can use Command Prompt to know how to change time on Windows 11.
Search for “cmd” in the Start menu search bar and click on “Run as administrator” for Command Prompt.
This will open an elevated Command Prompt.

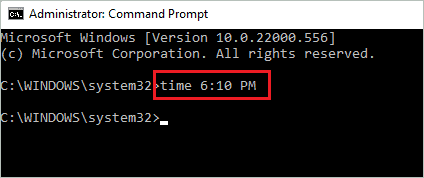
In the Command Prompt, type in the below command and press the “Enter” key to execute it.
time HH:MM AM\PMHere, change HH with hour, MM with the minute, and then add AM or PM. For example, time 6:10 PM sets the time as 6.10 in the evening on your Windows 11 computer.
If you want to change the date, you can execute the below command on Command Prompt.
date mm/dd/yyyyHere, make changes to the command as per the date format on your computer. It can either be dd/mm/yyyy or mm/dd/yyyy. In our case, it was mm/dd/yyyy, so the command goes as date 03/25/2022.
Now, you know how to change time on Windows 11 using a single command.
4. Use Windows PowerShell
Another terminal prompt that can be used to change the date and time in Windows 11 is Windows PowerShell. You can simultaneously use a single command to change the date and time in the PowerShell window.
Search for PowerShell and click on “Run as administrator” for Windows PowerShell from the search results.
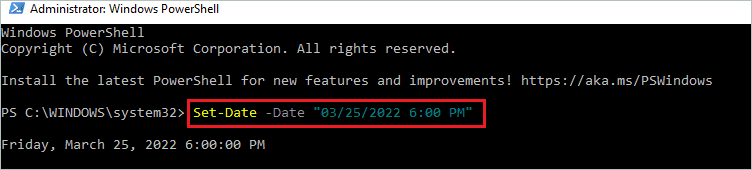
In the PowerShell terminal window, type the below command and press “Enter” to execute it.
Set-Date -Date "mm/dd/yyyy HH:MM AM\PM"Here, add date and time in the command. Make sure you add AM or PM according to the time in the command.
If you use a 24 hours format, you can add the time as per that format and skip AM and PM at the end of the command. An example of a command for 24 hours format is Set-Date -Date “03/25/2022 23:00.”
Note: You need to use dd/mm/yyyy or mm/dd/yyyy format as per your system’s date format.
The changes will be reflected on your Windows 11 taskbar when the command is executed.
How To Change the Time Zone on Windows 11?
If you moved to another country with your Windows 11 laptop and didn’t want to change the time manually, you can change the time zone settings and enable the set time automatically option. First, let’s see how to change time zone on Windows 11.
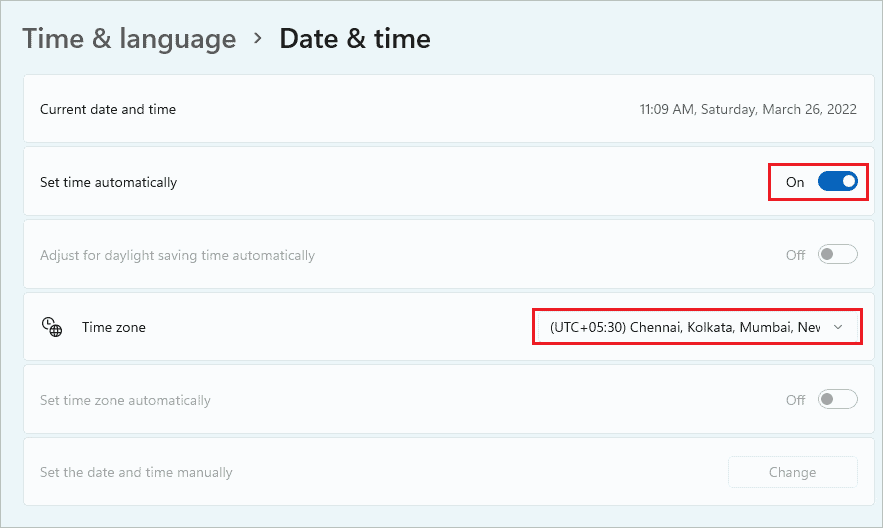
Go to Settings app ➜ Time & language ➜ Date & time from the Settings menu to change the time zone.
Now, click on the drop-down menu next to “Time zone” to see a list of time zones and select your current time zone.
You can also turn on the switch next to “Set time automatically” to change the time according to your current time zone.
Well, if you don’t wish to set the time automatically, you can disable it and change the time manually from the ways mentioned above.
Windows 11 can change the time zone by detecting your location. However, if the location service is off, you may need to set the time zone by following the instructions above manually.
How To Change Time Format in Windows 11?
The date and time format can be changed easily in Windows 11. For example, you can have time in 24 hours and 12 hours formats. Also, the date can be seen in different ways as per your preference.
Go to the Settings app and click on “Time & language” settings from the left panel.
Next, expand “Regional format” and click on the “Change formats” button.

Select the first day of the week you want to see on your Windows 11 calendar from the drop-down list. You can also change how the date appears on the taskbar via the Short date option.
The time format can also be changed. For example, the time format, which has “AM” at the end, is 12 hours format and one without AM is 24 hours format.

You can make all the changes according to your requirements and close the Settings app.
How To Sync and Un-sync With Internet Time Servers in Windows 11?
You can sync and un-sync Internet Time Servers using the Control Panel.
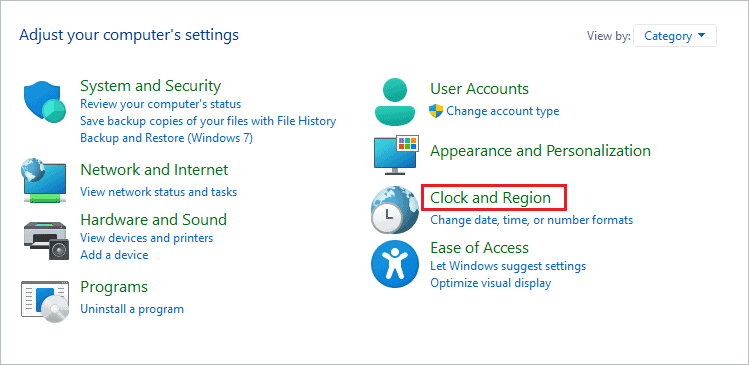
Open the Control Panel and click on “Clock and Region.” If you don’t find it, make sure you change the “View by” option to “Category.”
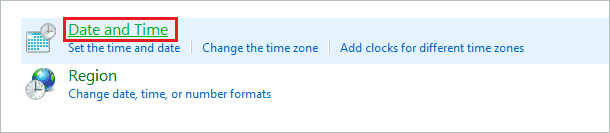
On the next window, click on “Date and Time.”
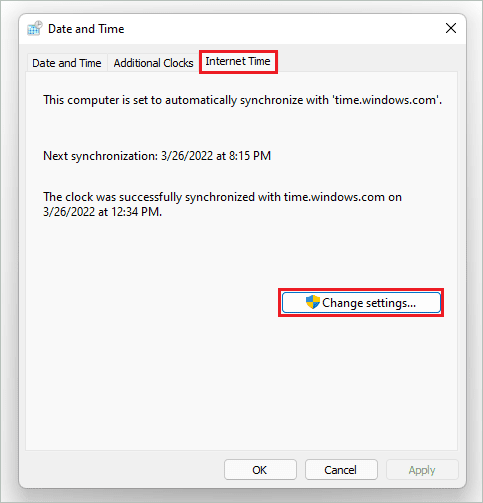
In the Date and Time window, click on “Internet Time” and click on the “Change settings…” button.
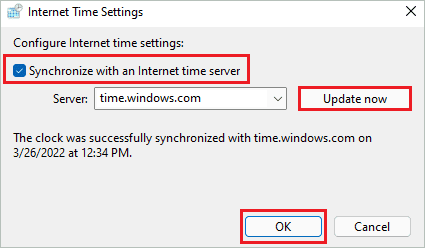
Now, to sync the Internet time server, check the checkbox next to “Synchronize with an Internet time server” and then click on “Update Now.”
Click “OK” to save the changes.
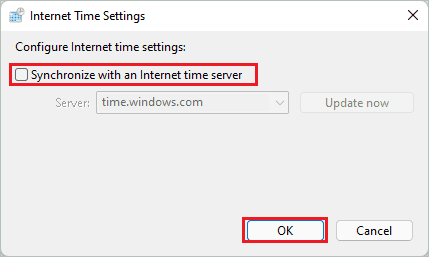
On the other hand, if you wish to un-sync with an Internet time server, uncheck the checkbox next to “Synchronize with an Internet time server.”
Click on “OK” to save the changes.
Close the Control Panel once the changes are made.
Conclusion
If the time is incorrect on the system, you can experience many major and minor issues. The time can be set automatically based on the time zone you select. However, there is also an option to set it manually via Settings app, Control Panel, Command Prompt, and PowerShell.
The above guide can help you with how to change time on Windows 11 using all the possible ways. You can also know to change the time zone and the date and time format. Furthermore, if you wish to sync and un-sync Internet Time Server, you can do that too with the help of this guide.


