Key Takeaways:
- Windows Update has security patches, new features, and bug fixes.
- You can stop Windows 11 updates if you don’t wish to install any new Windows 11 version on your computer.
- To temporarily block the updates, you can pause them from the Windows Settings app.
- You can disable the Windows Update service to stop the update permanently.
Sometimes we don’t want to update our PC to a new Windows 11 OS build. In such a case, you can stop Windows 11 update. Although keeping the PC updated constantly is recommended, you can block the updates if you are experiencing issues with it.
Sometimes, updates can help you fix issues like the Start menu not working and the Settings app not opening in Windows 11. However, other times it may lead you to such problems because of buggy updates. Stopping the PC updates is an individual choice, and Microsoft provides different ways to do it.
How To Stop Windows 11 Update?
There are five different ways to disable updates in Windows 11. For example, you can use the Settings app, disable Services, modify Registry Editor, change Group Policies, and set up a metered connection to block Windows 11 update.
1. Use Windows Settings App
You can pause the updates temporarily using the Windows 11 Settings app. It is easiest to pause the updates for a few weeks from Windows Update settings.
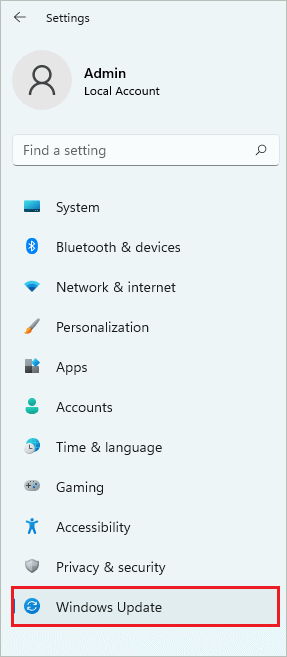
Press Windows key + I to open the Settings app and go to the “Windows Update” section from the left panel.
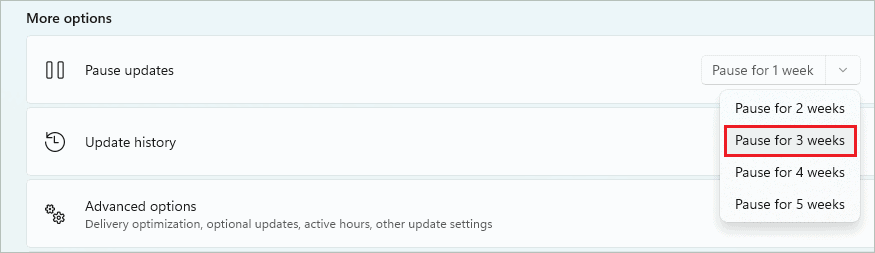
Select the duration you want to pause the updates from the drop-down menu next to “Pause updates.”
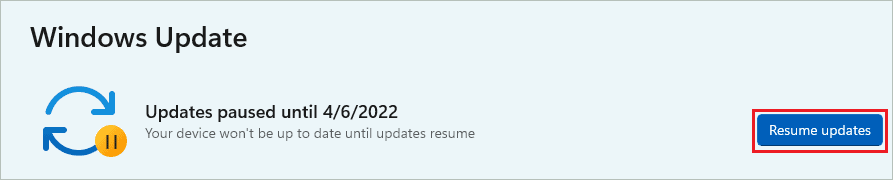
Once you select the duration, the updates will be paused automatically for that duration. And the Check for updates button will be replaced by Resume updates. So if you wish to resume the updates in between, you need to click on the “Resume updates” button.
Although this is a simple way to stop Windows 11 update, it is not a permanent way. If you want something permanent, check out the other methods.
2. Disable Windows Update Service
The services are responsible for the smooth working of all the processes on your computer. So, if you want to stop Windows 11 update, you can stop the Windows Update service and disable it.
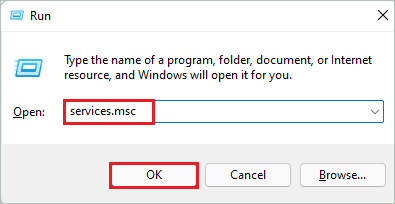
Step 1: Press Windows key + R to open the Run window and type “services.msc” there. Click “OK” or press “Enter” to open the Windows Services app.
Step 2: Search for the Windows Update service and double-click on it to open the Properties window in the list of services.
Step 3: If the Windows Update service is running, click on the “Stop” button to stop it.
Step 4: Once the service is stopped, change its Startup type to “Disabled” from the drop-down menu next to it.
Step 5: Click on Apply and OK to save the changes.

The automatic Windows Update will be blocked until you start this service again.
3. Set Up A Metered Connection
You can set up a metered connection to stop Windows from updating. Although setting up a metered connection is not recommended to stop Windows 11 updates, you can give this way a shot.
The installed app and browsing can be affected when you enable a metered connection. However, if you wish to set up a metered connection, you can follow the detailed instructions below.
Step 1: Open the Settings app and go to the “Network & Security” section.
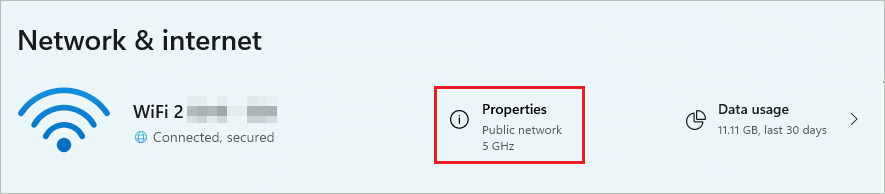
Step 2: Click on “Properties” next to the connected network.
Step 3: Now, turn on the toggle switch next to “Metered connection” to enable it.

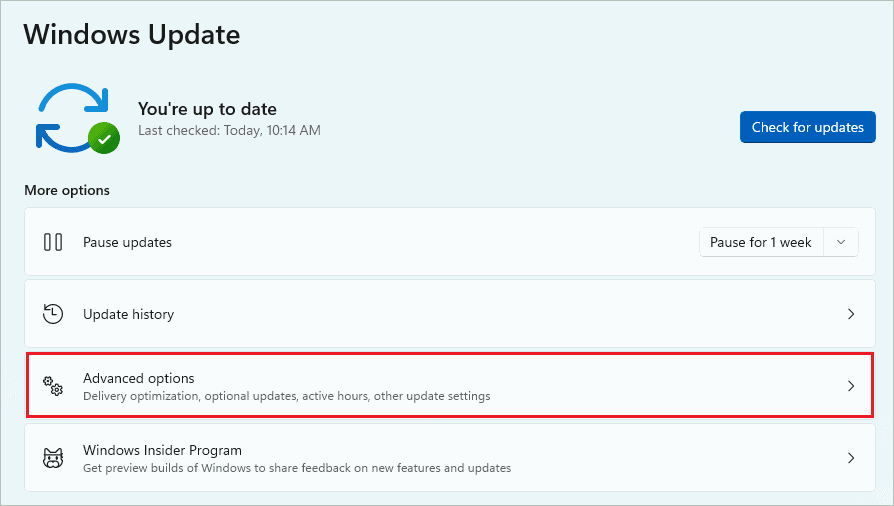
Step 4: Navigate to “Windows Update” from the left panel and click on “Advanced options.”
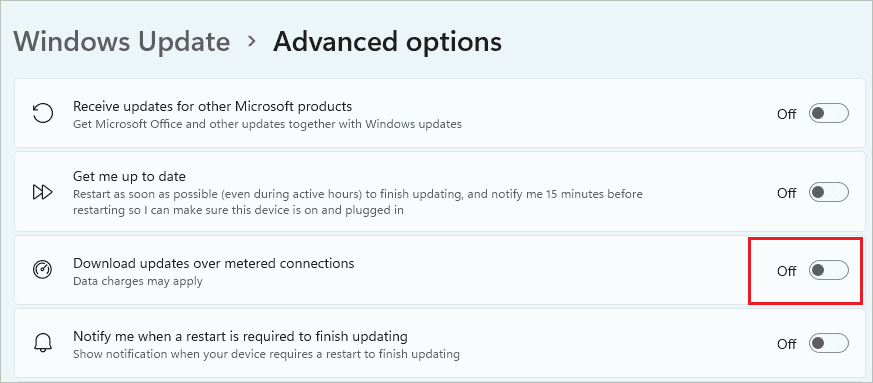
Step 5: Turn off the switch next to “Download updates over metered connections” to block the updates.
If you frequently change the network connection, you need to enable metered connection for all networks you connect to.
4. Use Local Group Policy Editor
If you are annoyed about automatic update features, you can disable them via Local Group Policy Editor. This approach can only be taken by Windows 11 Professional and Enterprise users. If you have the Home version of Windows 11 installed, you can use Registry Editor or any other approach mentioned above.
Open the Run window and type “gpedit” there. Then, click OK to open Group Policy Editor on your computer.
Alternatively, you can also type “gpedit” in the Start menu search box and open “Edit group policy” from the search results.
In Group Policy Editor, go to Computer Configuration ➜ Administrative Templates ➜ Windows Components ➜ Windows Update ➜ Manage end user experience from the left sidebar.
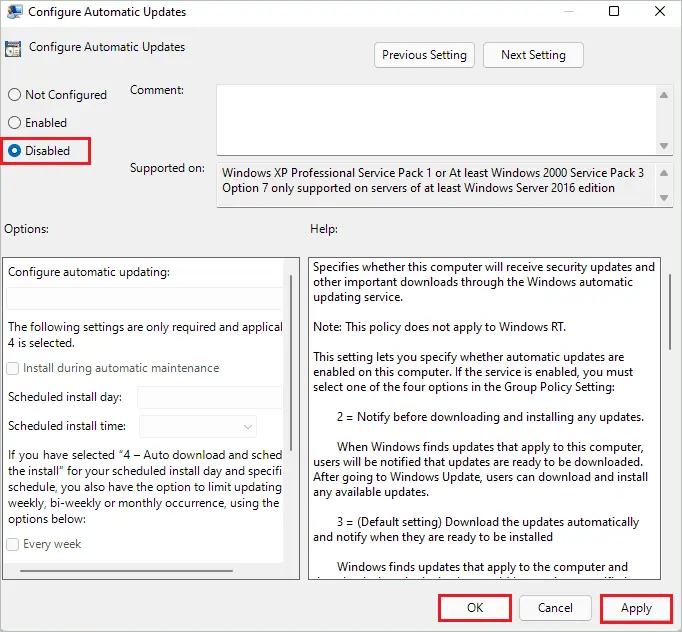
In the right frame under Setting, double-click on “Configure Automatic Updates.”

Select the “Disabled” option and click on “Apply” followed by “OK” to save the changes.
The Windows 11 automatic updates will be disabled now.
5. Use Windows Registry Editor
Windows 11 Home users can use the Registry Editor to stop automatic Windows 11 updates. If you are more comfortable with registries, you can use this way to disable auto-updates.
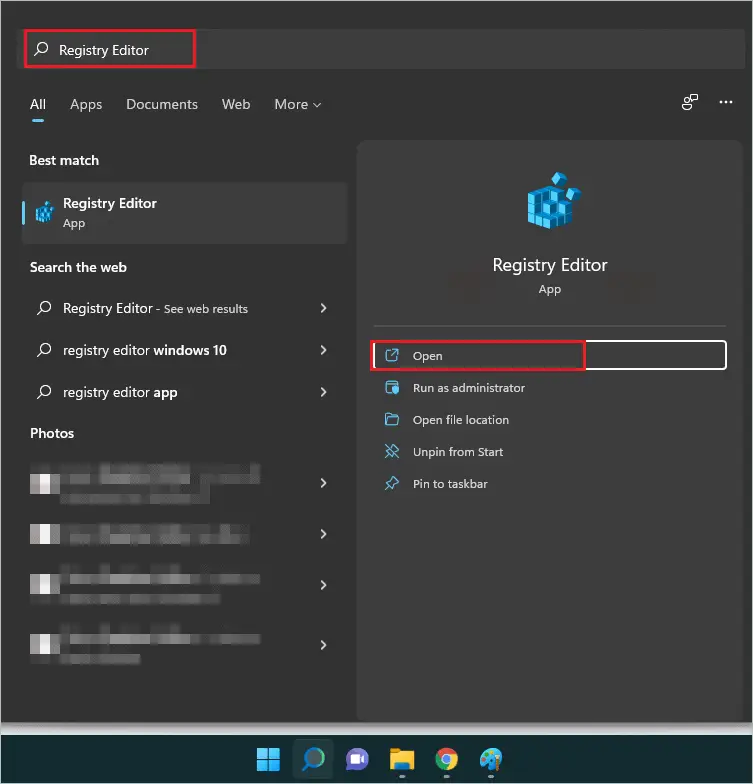
Step 1: Search for “Registry Editor” in the Start menu and open the same from the search results.
Step 2: In the Registry Editor, go to the below-mentioned path.
HKEY_LOCAL_MACHINE\SOFTWARE\Policies\Microsoft\WindowsStep 3: Now, in the Windows key, check if you can find “WindowsUpdate.” If WindowsUpdate is not available, right-click on Windows from the left panel and select New ➜ Key.
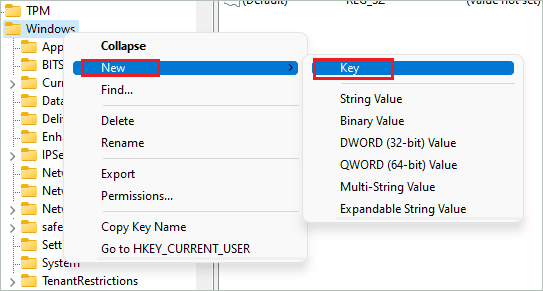
Name the key as “WindowsUpdate.”
Step 4: In Windows Update, again try to locate “AU.” If not available, create a new key in WindowsUpdate named “AU.”
In many cases, you may find the WindowsUpdate key but won’t find the AU key.
Step 5: In the AU key, right-click on the blank space in the right panel and select New ➜ DWORD (32-bit) Value.
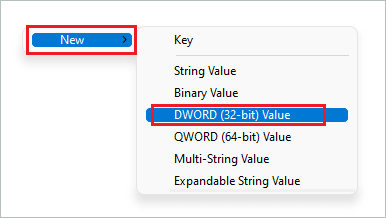
Name the new DWORD as “NoAutoUpdate.”
Step 6: Double-click on NoAutoUpdate and change its Value data to “1.” Click “OK” to save the changes.
Close the Registry Editor and reboot your computer. The automatic updates will be stopped on your Windows 11 PC from now on.
Conclusion
There are different ways to stop the Windows 11 update on your computer. However, the easiest way is to use the Settings app and pause it for 5 straight weeks. In this case, you may need to remember when the five weeks end and then pause the update again.
Therefore, if you want to block the updates permanently, you can disable the Windows Update service. Setting up a metered connection is also a way to stop Windows 11 updates, but we don’t recommend it as it can compromise the other apps using the Internet.
You can also use Registry Editor and Group Policy Editor to disable automatic updates. Here, you can still update Windows manually via the Settings app. Some third-party apps can work as Windows Update blockers, but we don’t recommend them as they can mess with your system.
FAQs
Can I decline Windows 11 update?
If by decline you mean stop the Windows 11 update, you can definitely do so by pausing the updates from the Settings app.
How do I permanently disable Windows 11 updates?
You can disable Windows 11 updates permanently by disabling the Windows Update service in the Services app.
How do I stop a Windows Update in progress?
If the update is installed on your computer, you cannot stop it. If you try to do so, you can crash or damage your PC. So, we recommend not to do so.


